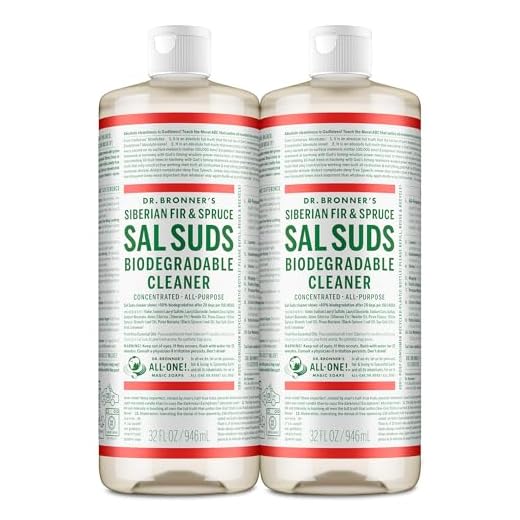



Based on years of hands-on experience, I recommend using sodium hypochlorite-based products, especially for tough mould and mildew stains. This type of agent not only targets organic growth but is also gentle on surfaces when diluted properly. Always ensure to follow manufacturer guidelines for mixing ratios to avoid damage.
For general dirt and grime, biodegradable surfactants are a superior option. They are effective in lifting dirt without harming the environment, making them suitable for residential use. Look for formulations that include natural enzymes for better breakdown of common stains.
Another consideration involves specific formulations designed for different surfaces. For instance, if you’re working with delicate materials, consider a gentler soap-like product that avoids harsh chemicals. Conversely, tougher materials such as concrete may require industrial-strength cleaners that can cut through grease and grime effectively.
Always test a small area first to ensure compatibility with the surface you’re cleaning. Remember to wear appropriate safety gear, including gloves and eyewear, to protect yourself while handling any cleaning agents.
Choosing the Right Type of Cleaning Solution
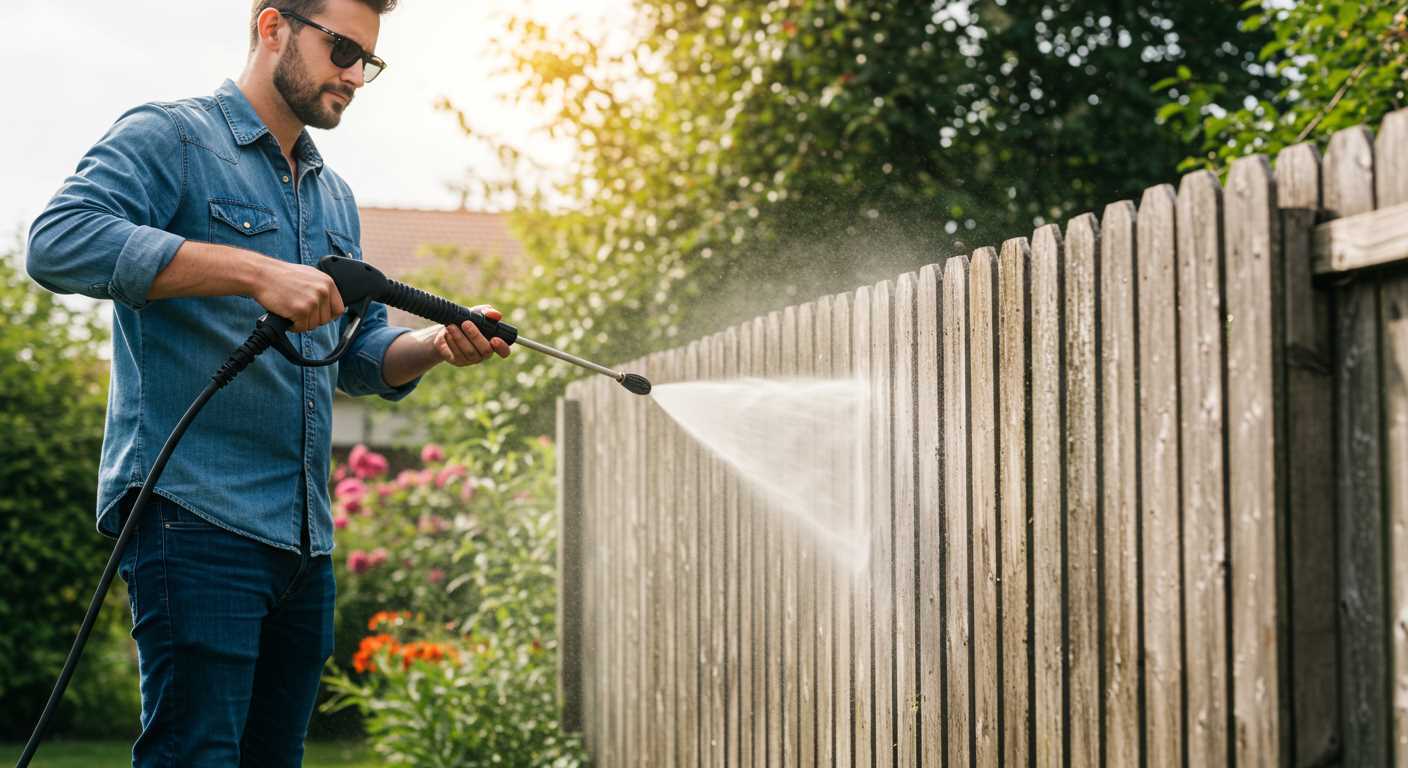
Selecting an appropriate detergent hinges on the surface and material needing attention. For instance, when tackling concrete surfaces, opt for a heavy-duty degreaser that efficiently breaks down oil stains. A specially formulated alkaline cleaner can expedite the process, ensuring optimal results.
When addressing delicate surfaces like wooden decks or painted exteriors, choose a mild, biodegradable cleaner to prevent damage. Citrus-based alternatives work well and provide a pleasant aroma while effectively removing dirt and grime.
Surface Compatibility
Understanding surface compatibility is fundamental. Vinyl siding, for example, often requires a gentler approach; a soft wash detergent can safely lift dirt without eroding the surface. Uncoated metal surfaces may benefit from a rust-inhibiting formula to extend longevity.
Environmental Considerations
Environmentally conscious formulations are gaining traction. Opt for phosphate-free products to minimise ecological impact. Additionally, many brands now offer concentrated formulas that require less water, contributing to overall sustainability during cleaning tasks.
Understanding Specific Stains and Materials
Addressing unique blemishes requires a tailored approach. For grease and oil, a degreaser with alkaline properties has proven effective. When tackling mildew or mould, opt for a solution containing bleach or hydrogen peroxide to inhibit regrowth. For rust stains, products with phosphoric or oxalic acid can do wonders in conjunction with high-pressure application.
Surface composition plays a significant role. Concrete and stone surfaces can endure powerful chemicals, while wood demands gentler formulations to prevent damage. For painted surfaces, use a mild detergent mixed with water, as harsh agents may strip the finish.
Plastic and vinyl need a focus on gentleness; an oxygen bleach solution does the trick without causing discolouration. Glass only requires a simple window cleaner mixed with water, applied with a low-pressure nozzle to avoid shattering.
Always test any formulation on a small, inconspicuous area first, especially when working with delicate materials or unknown stains. This approach mitigates the risk of damage and ensures the chosen method is suitable.
Comparing Commercial vs. Homemade Cleaning Agents
Commercial products often provide a powerful and consistent performance. These agents are formulated with industrial-grade ingredients that tackle tough grime effectively. Brands like Simple Green and Karcher have specific mixes designed to be highly effective against grease, mould, and mildew. Safety data sheets are readily available, allowing users to understand the chemical composition better. However, the higher price point may deter some users.
On the other hand, homemade alternatives can be a cost-effective solution, utilising common household items. A mixture of vinegar, baking soda, and dish soap can work wonders for lighter stains and general cleaning tasks. These agents are often more environmentally friendly and less harsh on surfaces and indoor air quality. However, they may require more effort for stubborn stains and might not match the efficiency of commercial formulations.
Advantages of Commercial Options

Reliability is a significant advantage of off-the-shelf products. Manufacturers conduct extensive testing, providing confidence in their claims about efficacy. Additionally, commercial agents come with specific instructions for use, reducing the risk of incorrect application that could damage surfaces. For those who prioritise convenience over cost, this route often proves to be advantageous.
Benefits of DIY Alternatives
Using homemade mixtures allows for complete control over the ingredients. This can be an attractive feature for those concerned about environmental impact or allergies. Most recipes are straightforward, relying on ingredients that are readily available, making it simple to adjust proportions based on cleaning needs. It’s an excellent approach for regular maintenance without the need to purchase specialised products continually.
Checking Compatibility with Your Pressure Washer Model
Ensure the chosen product matches your specific machine. Reference the owner’s manual for compatibility guidelines before making a selection. Each unit has distinct operational requirements that must be adhered to in order to avoid damage or reduced performance.
Consider these factors when verifying compatibility:
- Manufacturer Recommendations: Review the instructions provided by the manufacturer to identify acceptable agents.
- Pressure Rating: Verify that the pressure classification of your device aligns with the performance specifications of the cleaning agent.
- Materials Compatibility: Check that the substances do not harm your equipment’s materials, such as seals and hoses.
- Concentration Requirements: Confirm whether the product requires dilution or can be used undiluted in your machine.
- Model-Specific Adaptors: Be aware of any necessary attachments for using specific agents, as some formulations may need additional equipment.
Focusing on these aspects will help maintain the longevity of your device while ensuring optimal results during usage. Always perform a small test if uncertain about a new formulation, observing any adverse reactions in an inconspicuous area.
Important Safety Considerations When Using Cleaners
Prioritising safety is paramount when applying any product during your washing tasks. Always wear gloves and eye protection to prevent skin irritation and eye damage. If you’re working with strong formulations, consider wearing a mask to avoid inhaling harmful vapours.
Be aware of the surfaces you treat. Some materials react negatively to certain agents, leading to damage or degradation. Test in a discreet area before proceeding with the entire surface, ensuring compatibility.
- Ensure adequate ventilation if you’re inside or in a confined space; fumes can accumulate and pose health risks.
- Never mix different brands or types of formulations, as this may create toxic reactions or ineffective mixtures.
- Keep formulations away from children and pets; secure storage is critical to prevent accidental exposure.
Always read labels carefully for guidance on usage and precautions. Following manufacturer guidelines will help you minimise risks and achieve effective results.
If you accidentally spill any product, clean it immediately according to the instructions. Familiarise yourself with first aid measures in case of exposure to skin or eyes.
Your equipment also requires care. Rinse nozzles and hoses thoroughly after use to prevent residue build-up, which could affect performance and longevity.
Being mindful of these practices will enhance both your safety and the effectiveness of your washing tasks.
Preparing Your Pressure Washer for the Cleaning Solution
Begin by selecting a suitable detergent that aligns with your tasks. Check the manufacturer’s instructions regarding the use of soaps. Some devices require specific mixtures, while others can utilise a range of products. Regardless, it’s paramount to follow the guidelines to avoid damaging components.
Inspect your unit for any leaks or wear before introducing any product. A thorough examination ensures optimal performance and prevents unwanted spills. Ensure that all connections are secure and that hoses are free from kinks or blockages.
Prepare your detergent by diluting it if necessary. Refer to the label for mixing ratios. Always wear protective gear; gloves and eyewear are essential to shield against harmful splotches. Protect nearby surfaces and plants from chemical exposure.
Before applying, test the solution on a small, inconspicuous area to gauge its effect. This step is critical to avoid any unintended reactions. Once satisfied, appropriately mix it into the detergent tank or apply it using a foam cannon, depending on your model.
During application, maintain a consistent distance from the surface–generally, 2 to 3 feet works well–ensuring even coverage. Let the product sit for the recommended time to break down grime effectively, then rinse thoroughly with clear water to remove residues that could harm your surfaces.
| Step | Description |
|---|---|
| Select detergent | Choose one compatible with your device and intended cleaning job. |
| Inspect unit | Check for leaks or damages before proceeding. |
| Prepare mixture | Dilute as per instructions; safety gear is a must. |
| Test application | Apply to a small area first to ensure no damage occurs. |
| Apply and rinse | Use at the right distance and thoroughly rinse surfaces. |
How to Properly Apply the Cleaning Agent
Begin with mixing according to the manufacturer’s guidelines on the container. Achieve optimal results by ensuring the mixture is well-blended, avoiding excess concentrations that could damage surfaces.
Next, adjust your equipment to the low-pressure setting. This approach prevents damage while allowing the agent to adhere effectively. Apply from a distance of around 30 to 36 inches to maintain control and avoid oversaturation.
Work in sections, starting from the top and progressing downwards. This technique prevents streaking and ensures even coverage. Allow the agent to dwell for 5 to 10 minutes without letting it dry; this enhances penetration into stains and grime.
After the dwell time, rinse thoroughly using a high-pressure nozzle. Maintain a consistent distance and use sweeping motions to avoid concentrated areas of water that may cause etching or damage.
For stubborn stains, a second application may be necessary. In such cases, allow a bit more dwell time while monitoring closely to prevent any adverse reactions with the surface material.
Finally, always follow with a clean water rinse to remove any residual elements of your solution. This step is crucial to ensuring surfaces do not become slippery or compromised after treatment. Proper application not only maximises effectiveness but also protects your surfaces and equipment in the long term.

