

From my extensive experience in the cleaning equipment industry, the most prevalent issue users encounter involves inadequate water flow. This can lead to inefficient cleaning processes, frustrating users and diminishing the overall effectiveness of their tools.
Regular inspections of the water inlet filter and hose connections can help mitigate this dilemma. Ensure that filters are kept clean, as debris accumulation directly affects water delivery. If flow appears restricted, disconnect the hose and check for blockages along the entire length, including any attachments or nozzles.
Furthermore, fluctuations in water pressure may stem from another frequent source: pump problems. Low pressure often indicates wear on seals or pistons within the pump assembly. Maintaining and promptly replacing worn components will significantly extend the life of a unit and enhance performance.
Lastly, never overlook the quality of the water supply. Using hard water can lead to mineral buildup within the machine, ultimately resulting in subpar functionality. Regular descaling with appropriate solutions can keep machinery running optimally and reduce long-term maintenance challenges.
Understanding Low Water Pressure Issues
Check the hose and connections first. A kink or leak can significantly reduce water flow. Ensure all fittings are secure and there are no visible damages.
Inspect the water source. If you’re drawing from a tap, make sure the tap is fully opened. Sometimes, municipal supply issues can lead to reduced flow, so if this is a consistent issue, it’s worth contacting your water provider.
Clear the inlet filter and nozzle. Debris can accumulate, blocking proper water intake. Cleaning these components can restore adequate pressure and improve performance.
A clogged or improperly installed pressure regulator can also cause trouble. Ensure it’s functioning correctly and isn’t hindered by sediment or buildup.
Examine the pump. If there are internal issues, such as wear or damage, it may not draw water efficiently. Regular maintenance checks can prevent such problems from escalating.
If all else fails, consider upgrading your equipment. Sometimes, older models may struggle to maintain adequate pressure due to outdated technology. Investing in a modern unit could yield better results.
Troubleshooting Electric Pressure Washer Issues
Start by ensuring the unit is plugged into a functional outlet. A tripped breaker or blown fuse can cause disconnection. Test the extension cord separately if one is used.
If the machine doesn’t start, inspect the power cord for damage. Look for fraying or cracks. If present, replace the cord immediately to avoid electrical hazards.
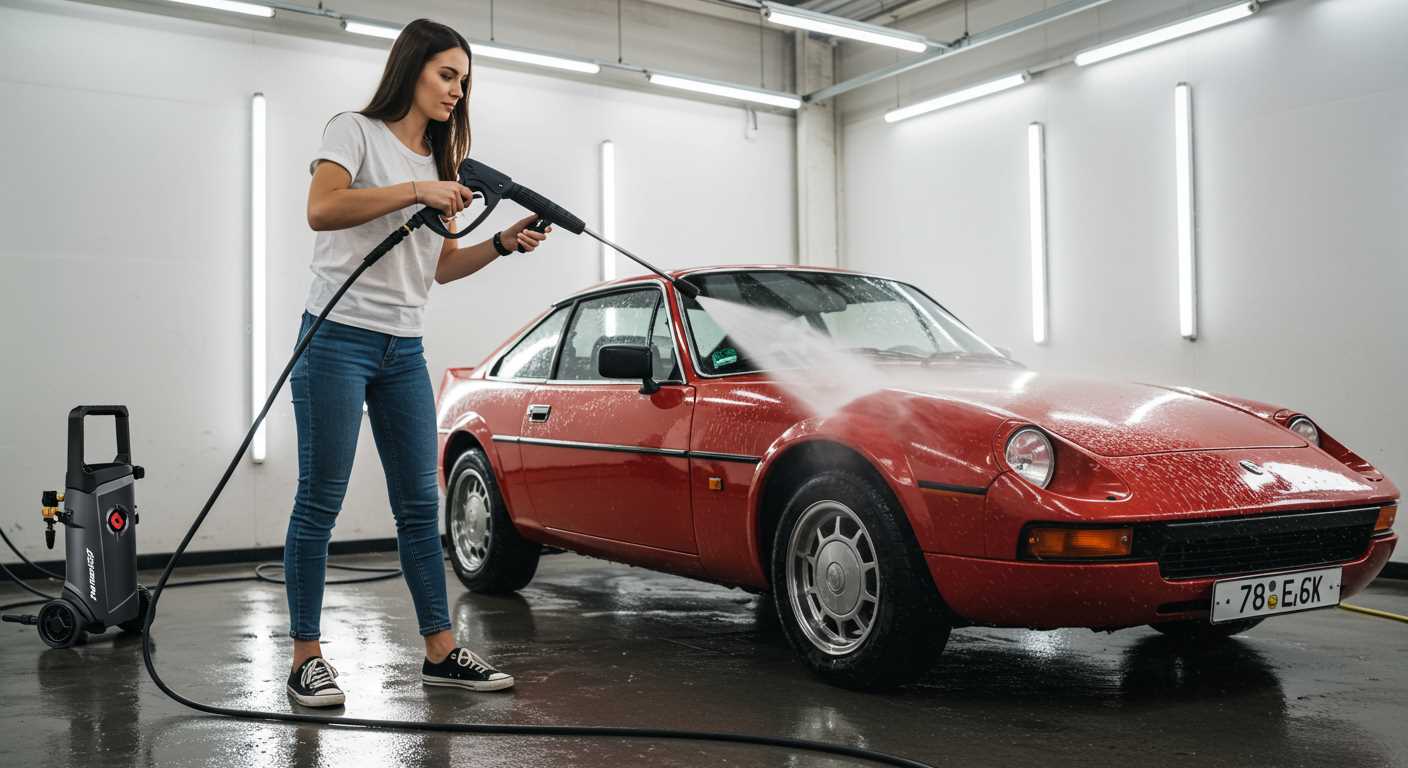
In cases where water won’t flow, verify the water supply. Check the garden hose for kinks and ensure it’s connected correctly. Clear any blockages in filters or nozzles that might restrict flow.
Experiencing irregular pressure? Most often, this relates to air trapped in the system. To expel trapped air, run the washer without the nozzle attached for a short period.
For those faced with excessive noise or unusual sounds, start by checking for loose parts. Tighten any screws or bolts that have come loose. If issues persist, the internal pump may need servicing or replacement.
A common sign of wear is leaking water. Evaluate seal rings and hoses for cracks or misalignment. Replacing worn or damaged seals can restore proper function.
If you notice the motor running continuously without building pressure, the unloader valve might be stuck. This can often be resolved with a simple cleaning or adjustment.
When troubleshooting, always remember to consult the user manual. Each model has specific guides that can assist in identifying and resolving issues.
- Check outlet and cord integrity.
- Ensure proper water supply and hose conditions.
- Release air from the system.
- Tighten loose parts to eliminate noise.
- Inspect for leaks and replace seals as necessary.
- Adjust or clean the unloader valve if required.
Taking the aforementioned steps can help maintain optimal operation and prolong the lifespan of your equipment.
Identifying Engine Starting Failures in Gas Models
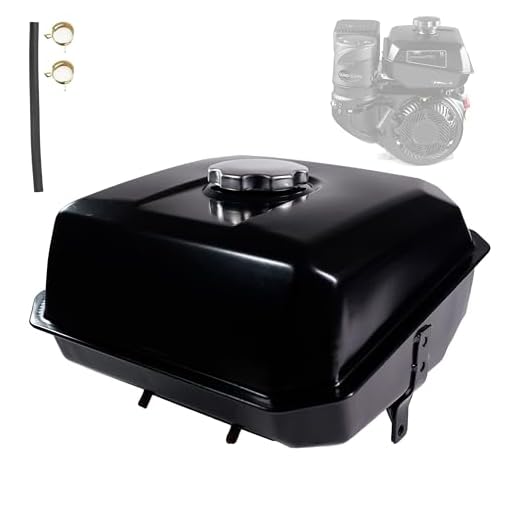
Check fuel first. Ensure there’s enough fresh gasoline in the tank. Old or contaminated fuel can lead to starting issues. If fuel is present, inspect for blockages in the fuel line.
Next, examine the spark plug. Remove it and look for damage or wear; clean or replace if necessary. Proper spark ensures combustion, which is crucial for ignition.
Inspecting the Battery and Ignition System
If your gas model features an electric start, inspect the battery’s charge and connections. Corroded terminals can disrupt power flow. Ensure all electrical connections are tight and intact.
Consider the ignition switch as well. A malfunctioning switch can prevent activation. Engage the switch and listen for any clicks; no sound may indicate replacement is necessary.
Understanding Engine Safety Features
Many engines include safety features that inhibit starting under certain conditions. Verify that the choke is in the correct position and the safety lock or handle is engaged when attempting to start. Also, check for low oil levels, as some models will not start if oil is insufficient.
By systematically addressing these areas, starting failures in gas-powered equipment can often be diagnosed and resolved swiftly. Regular maintenance is key to avoiding such issues in the future.
Dealing with Clogged Nozzles and Hoses

Regularly check nozzles and hoses for blockages. If water flow is diminished, inspect these components to ensure they are clear. Start by removing the nozzle from the lance and gently cleaning it with a soft brush or cloth. For stubborn debris, soaking in warm soapy water can help dissolve clogs.
Next, examine hoses for kinks or obstructions. A visual inspection often reveals bends that restrict flow. Straightening the hose can restore proper water delivery. If a blockage persists, disconnect the hose from both the machine and the nozzle for a thorough inspection. Use a garden hose to flush out any remaining dirt or buildup.
Consider using a nozzle cleaner tool, designed for precise clearing of tiny jets in nozzles. This tool can effectively remove mineral deposits or other build-up that brushes may miss. If the blockage is severe and persists after cleaning attempts, replacing the affected parts may be necessary to ensure optimal performance.
Remember to regularly maintain equipment as part of preventive care. This includes using clean water, as impurities can lead to clogs over time. Incorporating a routine that involves checking and cleaning these components will greatly enhance longevity and effectiveness of your cleaning unit.
Resolving Overheating in Pressure Washers
.jpg)
To address overheating, it’s crucial to monitor the water flow. Insufficient water supply leads to increased temperatures, risking damage to components. Always ensure the input water source is adequate, free from debris, and correctly connected.
Regular maintenance of the pump is essential. Over time, seals and valves can wear out or become dirty, reducing efficiency and causing overheating. Replace worn parts promptly to maintain optimal performance.
Check the nozzle size as well. A nozzle that is too narrow can create excessive pressure, leading to overheating. Using the appropriate nozzle for your task can alleviate this issue significantly.
For electric models, verify the power supply. A voltage drop can affect the motor’s performance, causing it to overheat. Ensure all electrical connections are secure and that the extension cord used is rated for the equipment’s requirements.
Below is a table summarising quick tips for preventing overheating:
| Tip | Action |
|---|---|
| Water Supply | Ensure adequate flow and pressure at the inlet. |
| Pump Maintenance | Regularly inspect and replace worn seals and valves. |
| Nozzle Size | Use the correct nozzle size for the intended job. |
| Power Supply Check | Confirm the voltage meets the specifications. |
Cooling off periods during extended use can also prevent overheating. Allowing the unit to rest helps maintain its efficiency and longevity.
Recognising Oil Leaks and Their Implications
Inspecting for fluid stains around the unit is vital. If you notice dark spots or a slick residue on the ground beneath, an oil leak could be present. Check the manufacturer’s manual for specific instructions on how to locate the oil reservoir and inspect for leaks. Typically, you’ll want to look around seals, gaskets, and connections. Regularly reviewing the oil levels can also provide insights into potential issues.
In cases where oil levels drop significantly, this may lead to improper lubrication of internal components. Operating with low oil increases friction, causing overheating and potential engine damage. It’s imperative to address leaks quickly–ignoring them could result in costly repairs or even the need to replace the entire unit.
Utilising absorbent materials around the leaking area can help manage spills temporarily while you identify the source. If you determine that the leak stems from a damaged seal, replacing it sooner rather than later could prevent further complications. Always ensure the machine is powered down and cooled before conducting any maintenance tasks.
In gas-operated variants, persistent oil leaks might indicate a failing pump or engine seals. For electric models, oil presence is unusual and could suggest a serious malfunction requiring professional evaluation. Consulting a repair technician can clarify the severity of the issue and provide expert strategies for addressing it. Maintaining vigilance over these indicators ensures your cleaning equipment operates safely and effectively for years to come.
Maintenance Practices to Prevent Common Failures

Regular inspections can significantly extend the lifespan of your cleaning device. Check for signs of wear and tear on hoses and connections to avoid leaks and ensure optimal functionality.
- Inspect hoses for cracks or kinks before each use. Replace any damaged sections immediately.
- Ensure all connections are tight to prevent air leaks, which can reduce performance.
Flushing the system after use is crucial. Residual soap or debris can lead to clogs and impair operation. Run clean water through the equipment for several minutes.
- After cleaning, detach the nozzle and wand, and let plain water run through the unit.
- Store all attachments in a clean, dry place to prevent rust and corrosion.
Focusing on oil maintenance is necessary for gas-powered models. Check oil levels frequently and change oil according to the manufacturer’s recommendations.
- Use high-quality oil suitable for the engine type to enhance efficiency.
- Regularly inspect the air filter, replacing it as needed to keep the engine running smoothly.
Pay attention to the electrical components for electric versions. Check the power cord for frays and replace it if necessary to avoid electrical failures.
- Keep the motor ventilated and free from dust and debris.
- Avoid overloading electrical circuits during operation.
Investing time in winterising gas models before off-season storage prevents major issues. Store them in a dry, sheltered location and consider using fuel stabiliser to prevent degradation.
- Drain fuel from the tank and carburettor to prevent clogs.
- Protect pump and hoses from freezing conditions by storing indoors.
Following these straightforward maintenance steps will help in minimising issues, ensuring a reliable and effective cleaning experience for years to come.


