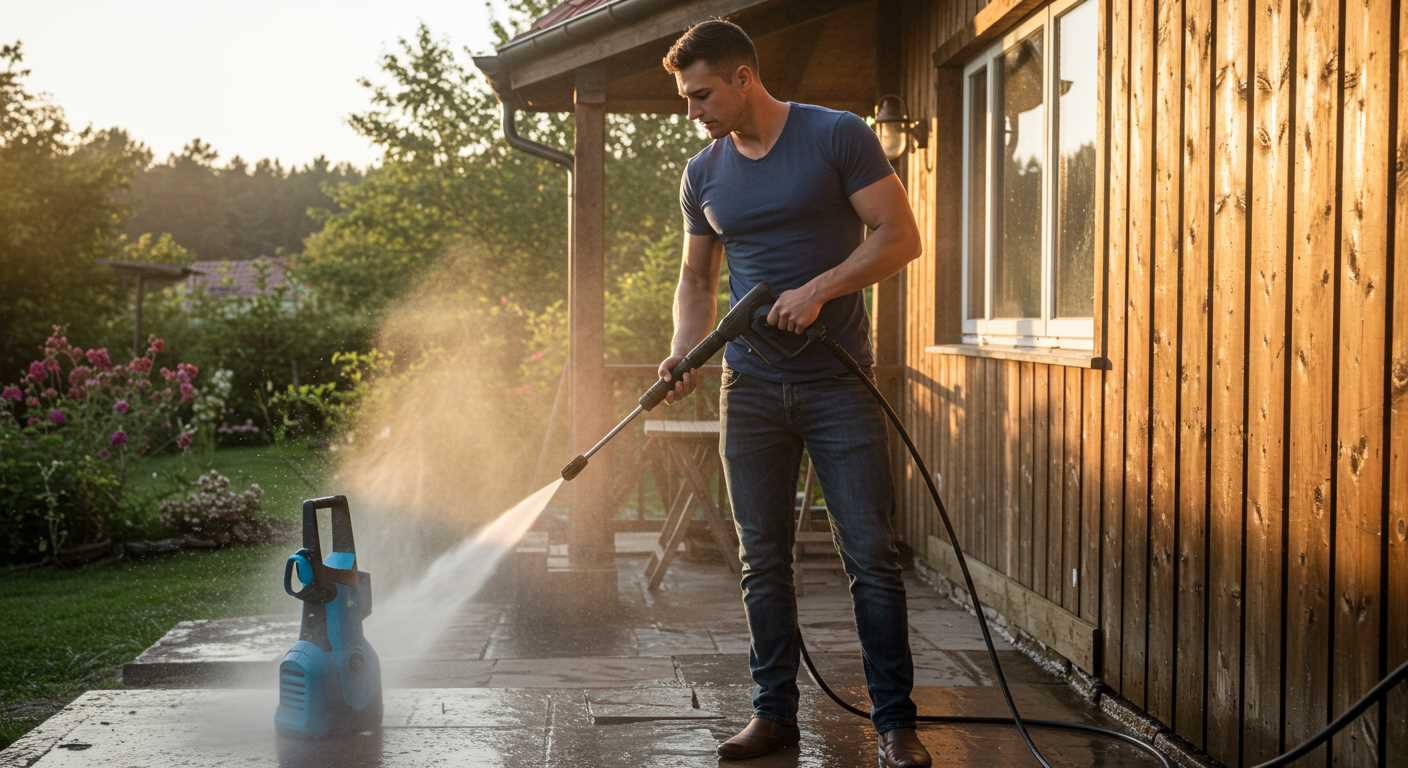

For maintaining the beauty and longevity of your outdoor surface, a model operating between 1500 and 2000 units is highly recommended. This level of output efficiently removes grime, mildew, and dirt without causing damage to the wood fibres, preserving the integrity of the material.
Selecting a unit with adjustable settings ensures versatility to tailor the cleaning intensity to the specific needs of your surface. Look for features that allow for a gentle spray option, enabling you to navigate around delicate areas without risk of splintering or gouging.
A unit equipped with a rotating nozzle enhances cleaning performance by employing a concentrated spray pattern, effectively tackling stubborn stains while minimising effort. Additionally, consider models that offer compatibility with various cleaning detergents, which can amplify results and provide an extra level of sanitation.
Ultimately, investing in a reliable solution from a reputable brand guarantees durability and ease of use. Through my extensive experience, I have found that thoughtful selection in this category not only delivers outstanding results but also transforms your outdoor maintenance routine into a simpler, more enjoyable task.
Understanding PSI Ratings for Wood Deck Cleaning
For preparing surfaces made of timber, I recommend a cleaning tool with a rating between 1500 to 2500. This range strikes a balance between sufficient force to remove grime and the care necessary to avoid damaging the material.
Key Recommendations
Based on my experience, consider the following specifications: use a model with adjustable pressure settings. This feature allows you to customise the strength according to the condition of the surface. For regular upkeep, a setting around 1500 can suffice, while heavily stained areas may require a boost to around 2500.
| Cleaning Task | Recommended Pressure Setting (PSI) |
|---|---|
| Light cleaning and maintenance | 1500 – 2000 |
| Moderate stains and mildew | 2000 – 2500 |
| Severe dirt and weathered wood | 2500 |
Additional Considerations

Utilising an appropriate nozzle also influences the effectiveness of the cleaning process. A wide-angle nozzle (25° or 40°) disperses pressure over a broader area, reducing the chances of damage, while a narrow nozzle can concentrate the force for stubborn spots. Always test on a small, inconspicuous section before proceeding with extensive cleaning.
Finally, maintain an appropriate distance from the surface. Standing too close may cause gouging, especially with softer timbers. Keeping a distance of 12 to 18 inches generally yields optimal results while protecting the integrity of the material.
Recommended PSI Range for Different Wood Types
For treated pine, a setting of 1200 to 1500 is optimal. This type of timber is durable, yet caution is needed to avoid splintering, especially with older boards.
Cedar requires a gentler touch. I suggest keeping the pressure between 1000 and 1200 to maintain its natural oils and prevent damage. Over time, this will help retain its colour and texture.
Redwood, similar to cedar, benefits from similar settings around 1000 to 1200. This preserves its rich hue while effectively removing dirt and mildew.
Hardwoods like oak and maple can withstand higher levels, so a range of 1500 to 2000 is appropriate. However, it’s advisable to test a small, inconspicuous area first to ensure there’s no adverse effect on the finish.
When dealing with composite materials, a pressure range of 1300 to 1600 is typically safe, as excessive force can compromise the integrity of the board.
Regardless of the timber type, always maintain a distance of at least 12 inches from the surface while cleaning. Periodically check the condition of the surface during the process to avoid unforeseen damage.
How to Choose an Appropriate Cleaning Nozzle

Selecting the right cleaning nozzle is critical for achieving optimal results on surfaces. I recommend considering the following types:
- 0 Degree Nozzle: This nozzle delivers a concentrated stream ideal for tough stains. Use it sparingly on durable surfaces, but avoid softer materials to prevent damage.
- 15 Degree Nozzle: A more versatile choice, effective for stripping paint or stubborn grime. This option allows for a wider spray and is safer for most surfaces.
- 25 Degree Nozzle: Suitable for general cleaning tasks. This nozzle offers a good balance between cleaning power and surface protection, making it ideal for most outdoor areas.
- 40 Degree Nozzle: Best for rinsing and light cleaning. This gentle spray is perfect for delicate areas and ensures that surfaces are cleaned without risk of harm.
- Soap Nozzle: Designed for applying detergents; this nozzle optimises chemical coverage but should be followed by a rinse for the best results.
Consider nozzle material as well. Metal options provide durability, while plastic may offer flexibility in different cleaning scenarios. Ensure that the nozzle fits securely to prevent leaks and maintain pressure.
Match the nozzle type to the cleaning task at hand. For stubborn mildew or heavy stains, a tighter spray pattern will deliver more force. Conversely, broader patterns work well for rinsing and protecting softer surfaces. Always test a small area first to avoid unintended damage.
Factors Influencing Washer Specifications
Choose your cleaner based on various factors that greatly impact its capabilities. These include the type of surface to be cleaned, the level of grime, and the specific materials involved.
Surface Material Considerations
Different materials require distinct approaches. For instance, softwood may need gentler handling compared to hardwood. Select equipment that matches the resilience of the surface. Ensuring compatibility will prevent damage while effectively removing dirt and stains.
Impact of Cleaning Agents

Utilising cleaning solutions alongside your equipment can enhance results. Some chemicals react differently depending on the machine’s specifications. Always verify that the selected model can handle the chosen cleaning agent without causing harm to itself or the intended surface. Do not mix incompatible compounds as they could reduce the machine’s performance or even lead to malfunctions.
Maintenance aspects also contribute. A unit that is easier to clean and maintain will perform better over its lifetime. Evaluate the frequency of use and consider how readily available parts and service support are for each model. Long-term durability matters significantly for efficiency during cleaning tasks.
Lastly, take into account the weight and portability of the model. Heavier units may offer higher performance but can be cumbersome to move. If your tasks require mobility, lighter designs with good handling characteristics will greatly enhance user experience.
Preparation Steps Before Cleaning Your Outdoor Surface
Clear the area surrounding the surface by removing furniture, plants, and any decorative items to ensure an unobstructed cleaning process.
Inspect the surface for any damage such as splintered or rotten boards. Addressing these issues before starting will help prevent further damage during the cleaning process.
Check for any nails or screws that might have come loose. Hammer in or replace them to avoid injuring yourself or causing damage to the cleaning equipment.
Conduct a thorough sweep to eliminate dirt, leaves, and debris. This will help improve the efficiency of the cleaning and prevent clogging.
Wear appropriate protective gear, including safety goggles and gloves, to shield yourself from any debris kicked up during cleaning.
Prepare a detergent solution suitable for your surface material. Follow the manufacturer’s guidelines for mixing and application to ensure safe usage.
Ensure access to water supply and check all hoses for leaks or blockages to maintain a steady flow during the task.
Test the equipment on a small, inconspicuous area to confirm that the selected nozzle and pressure settings are appropriate before proceeding with the entire surface.
Adjust any settings on your equipment based on the test area results to achieve optimal cleaning while ensuring the integrity of the surface.
Following these steps helps create a safe and effective environment for cleaning, enhancing the overall results and longevity of your outdoor surfaces.
Common Mistakes to Avoid When Pressure Washing Wood
A common error is using excessive force, which can lead to surface damage. Always adjust your equipment to prevent gouging or splintering. Aim for a gentle touch.
Failing to test a small area beforehand often results in unintended consequences. I recommend selecting an inconspicuous spot to observe how the surface reacts before cleaning the entire area.
Another mistake is neglecting to choose the appropriate nozzle. Each nozzle type offers different spray angles, thus affecting the cleaning dynamics. A narrow nozzle may be too aggressive, while a wider one might not remove stubborn grime effectively.
Not pre-treating stubborn stains can lead to repeated efforts. Before starting, apply a suitable cleaning solution and allow it to penetrate for the recommended time.
Ignoring the condition of your tools can also diminish results. Regularly inspect the equipment, ensuring nozzles are clogged and hoses are free of kinks. This attention to detail will enhance performance.
Overlooking safety measures is a grave mistake. Always use protective eyewear and gloves to shield against debris, particularly when working at high pressure.
Lastly, failing to maintain proper distance from the surface can cause uneven cleaning. Maintain a consistent distance of approximately 12-18 inches as you move along the boards, adjusting as necessary based on the cleanliness required.
Post-Cleaning Maintenance Tips for Wood Surfaces
After revitalising your outdoor timber flooring, it’s crucial to follow a maintenance routine that preserves its appeal and lifespan. Start by allowing the surface to dry completely before applying any treatments. Usually, 48 hours is suitable, depending on the weather conditions.
Applying Protective Coatings
Consider applying a sealant or protective finish once the area is dry. Look for products specifically designed for timber, offering UV protection and moisture resistance. Reapply every 1 to 3 years based on product instructions and local climate conditions to ensure ongoing protection against the elements.
Regular Inspections
Implement a routine inspection every six months. Look for signs of damage, such as cracks or splintering. Address minor issues immediately to prevent further deterioration. Keeping an eye on the joints and hardware can also prevent more significant problems over time.
Plan for annual deep cleaning using gentle methods. Avoid harsh chemicals that can strip your timber of its natural oils and colours. Opt for biodegradable detergents. A soft-bristle brush may help maintain the surface without causing scratches.
Finally, ensure debris and leaves do not accumulate on the surface or in between the boards. This traps moisture and promotes mould growth, leading to potential damage. Regular sweeping can help keep your outdoor space looking its best.


