


Choose the right nozzle tip for the task at hand. Each colour-coded nozzle serves a different purpose: the red tip delivers a concentrated jet perfect for tough stains, while the wider fan tips help cover more area, making them ideal for gentler cleaning tasks. Understanding these specifics enhances your outcomes significantly.
Before beginning any cleaning project, ensure the surface is free of debris and loose items. This preparation prevents damage and improves efficiency. Also, check the manufacturer’s guidelines for your model to familiarize yourself with safety measures and operational parameters. Regular maintenance, such as checking hoses for leaks or wear, can keep your equipment functioning optimally.
Maintain a safe distance while applying pressure, adjusting the distance according to the cleaning intensity required. Keeping the device in motion prevents uneven cleaning and potential surface damage. Be mindful of surrounding areas, as high-pressure water can cause unwanted splashes or kick up debris.
After completing your cleaning task, immediately turn off the unit and release any remaining pressure by disengaging the trigger. This simple step ensures safety and prevents any accidental discharge. Additionally, proper storage of your equipment extends its lifespan and keeps it ready for the next use.
Recommendations for Responsible Operation
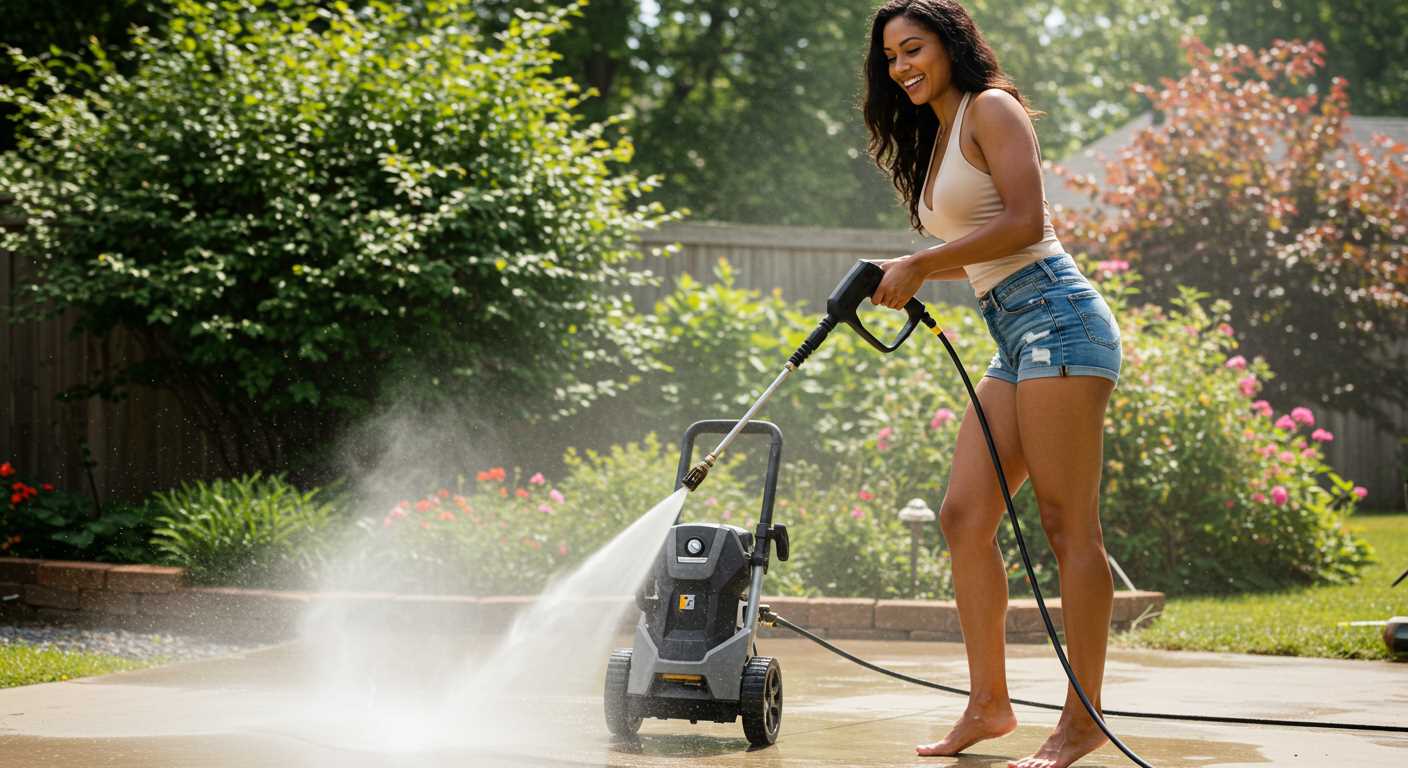
Always wear appropriate protective gear including gloves, goggles, and sturdy footwear. Safety is paramount to prevent injuries from both the high-pressure stream and potential debris dislodged during the cleaning process.
Check the equipment thoroughly before each use. Inspect hoses for cracks or leaks, and ensure all connections are secure. This prevents malfunctions that could cause accidents or ineffective cleaning.
Begin at a distance. When you first start the machine, maintain a safe distance from surfaces. Gradually move closer as you assess the effect of the water jet to avoid damaging delicate materials.
Utilize nozzles wisely. Understanding the function of different nozzle sizes helps tailor the force to the specific cleaning task. A wider angle is better for gentle cleaning, while a narrower jet tackles tough stains.
Adjust pressure settings according to the surface type. Hard surfaces can withstand more force, while softer materials require lower settings to avoid etching or damage.
Maintain a consistent motion while cleaning. Sweeping the nozzle back and forth helps distribute pressure evenly and ensures thorough cleaning while preventing streaks.
Be cautious around electrical installations and outlets. Keep the spray angle away from any electrical components to mitigate the risk of damage or electrocution.
Use appropriate detergents if necessary. Select cleaners designed for your specific machine and task, and follow mixing instructions carefully to achieve optimal results without harming surfaces.
After completing tasks, store equipment properly. Drain any remaining water from hoses and the machine itself to prevent freeze damage and corrosion.
Choosing the Right Nozzle for Your Cleaning Task
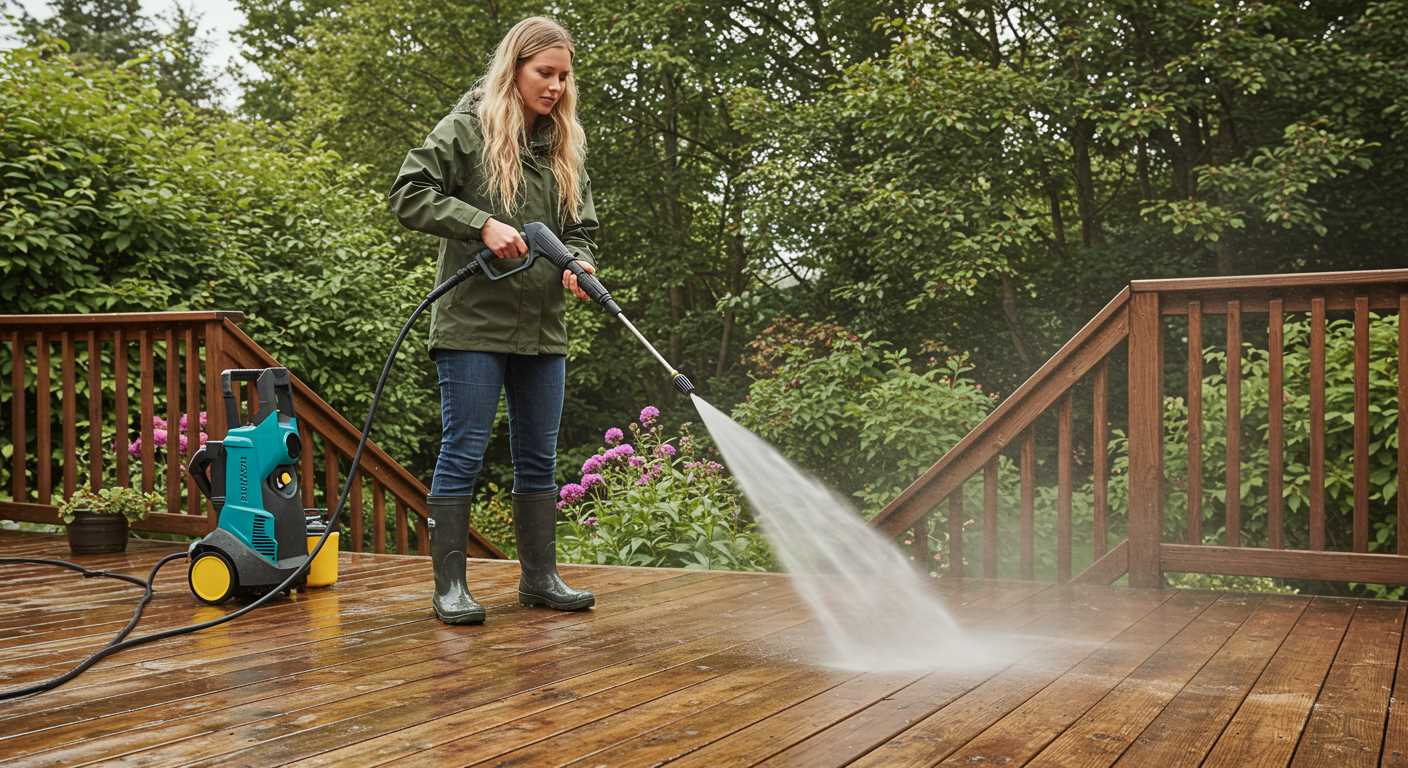
Select the appropriate nozzle type based on the surface and level of dirt. Nozzles typically vary in degrees, altering water spray patterns. A 0-degree nozzle delivers a narrow, high-pressure jet, ideal for stubborn stains on concrete or stone. However, be cautious, as it can damage softer materials.
A 15-degree nozzle works well for tough grime; it’s effective on weathered wood or masonry. For painted surfaces or softer materials, a 25-degree nozzle provides a wider spray pattern while still offering adequate cleaning power. Use this for driveways or decks.
The 40-degree nozzle creates the widest spray, perfect for rinsing and cleaning delicate surfaces such as vehicles, patios, or outdoor furniture. It ensures a gentle clean without risk of damage.
Consider Special Attachments
Specialty nozzles are available for specific tasks. Turbo nozzles spin the high-pressure stream, enhancing cleaning capability while reducing cleaning time. They are exceptional for dirty surfaces but not advisable for fragile items. Furthermore, foam cannon attachments can provide rapid pre-treatment for car washes by foaming detergent onto surfaces efficiently.
Understand Your Machine’s Limitations
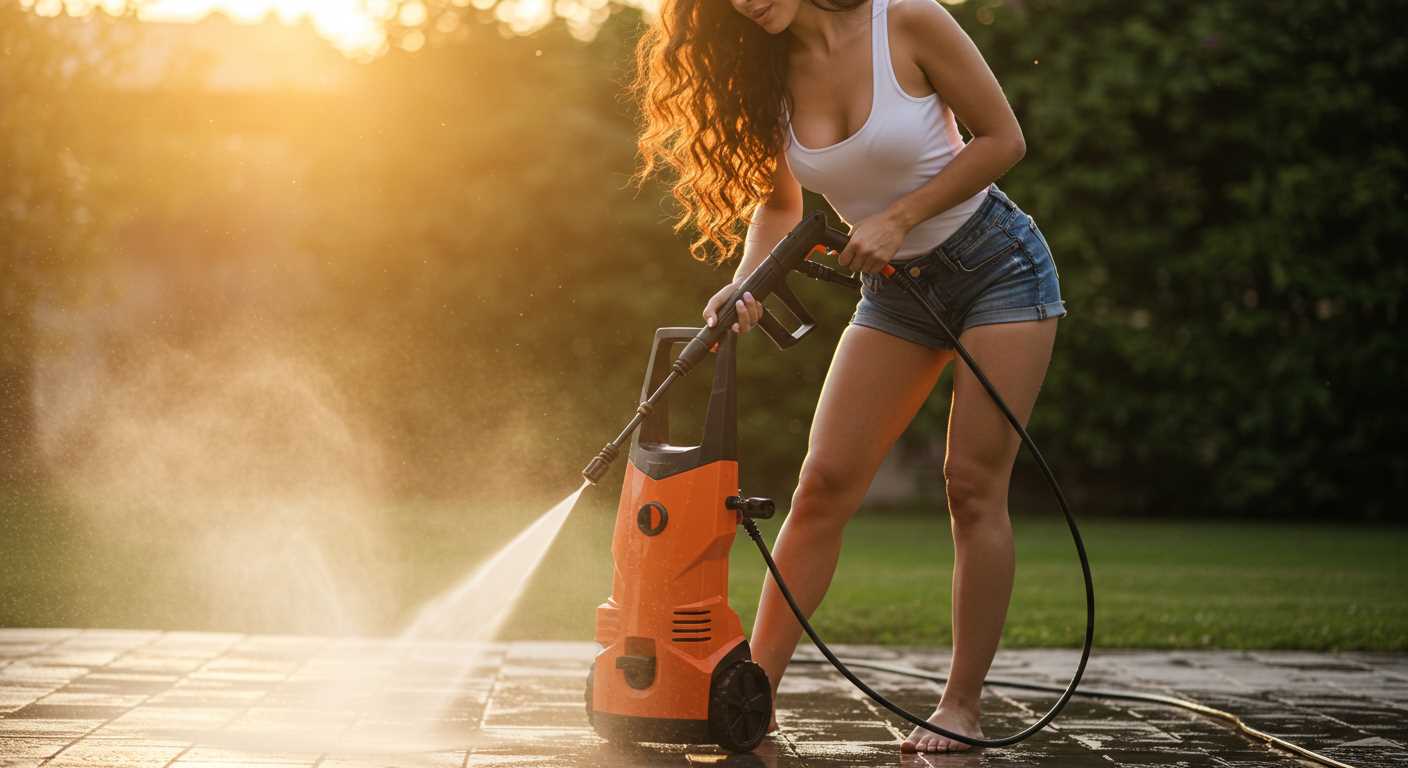
Familiarise yourself with the maximum pressure and flow rate of your equipment. Ensure that the chosen nozzle is compatible and doesn’t exceed the manufacturer’s recommendations. Using an unsuitable nozzle can lead to inadequate results or cause damage to both the machine and the cleaning surface.
Ultimately, select nozzles thoughtfully to tailor the cleaning experience to the task at hand. This will maximise both efficiency and effectiveness, saving time and effort.
Preparing the Surface Before High-Pressure Cleaning
Ensure the area is free from furniture, decor, and other obstructions to facilitate unobstructed access. Move items such as planters, grills, and carports away to avoid damage during the cleaning process.
Inspect for loose paint, debris, or mildew that may need prior attention. If the surface shows signs of wear, consider scraping or sanding to promote uniform cleaning and avoid residue accumulation.
For surfaces like driveways or patios, sweeping away dirt and dust is key. This initial step clears the way for more effective results and reduces the chances of abrasive particles getting driven into the material.
Evaluate delicate surfaces carefully – brick or painted wood may require pre-washing solutions to soften tough stains. Apply appropriate cleaning agents and allow adequate dwell time for the solution to work its magic.
Assess potential hazards such as power lines or fragile objects nearby. It’s crucial to maintain safety and ensure no accidental water contact can cause harm or damage.
Finally, conduct a test on an inconspicuous area to determine how the surface will respond to the cleaning method. Note any adverse reactions and adjust your approach accordingly.
| Surface Type | Recommended Preparation |
|---|---|
| Concrete | Sweep debris, check for cracks |
| Wood | Inspect for loose paint, sand if needed |
| Brick | Clear dirt, apply pre-cleaning solutions |
| Metal | Remove rust, verify for loose parts |
Understanding the Appropriate Pressure Settings
To achieve optimal cleaning results, it’s crucial to select the correct pressure level for your task. Each surface requires a different approach to avoid damage while effectively removing dirt and grime.
Choosing the Right Pressure Level
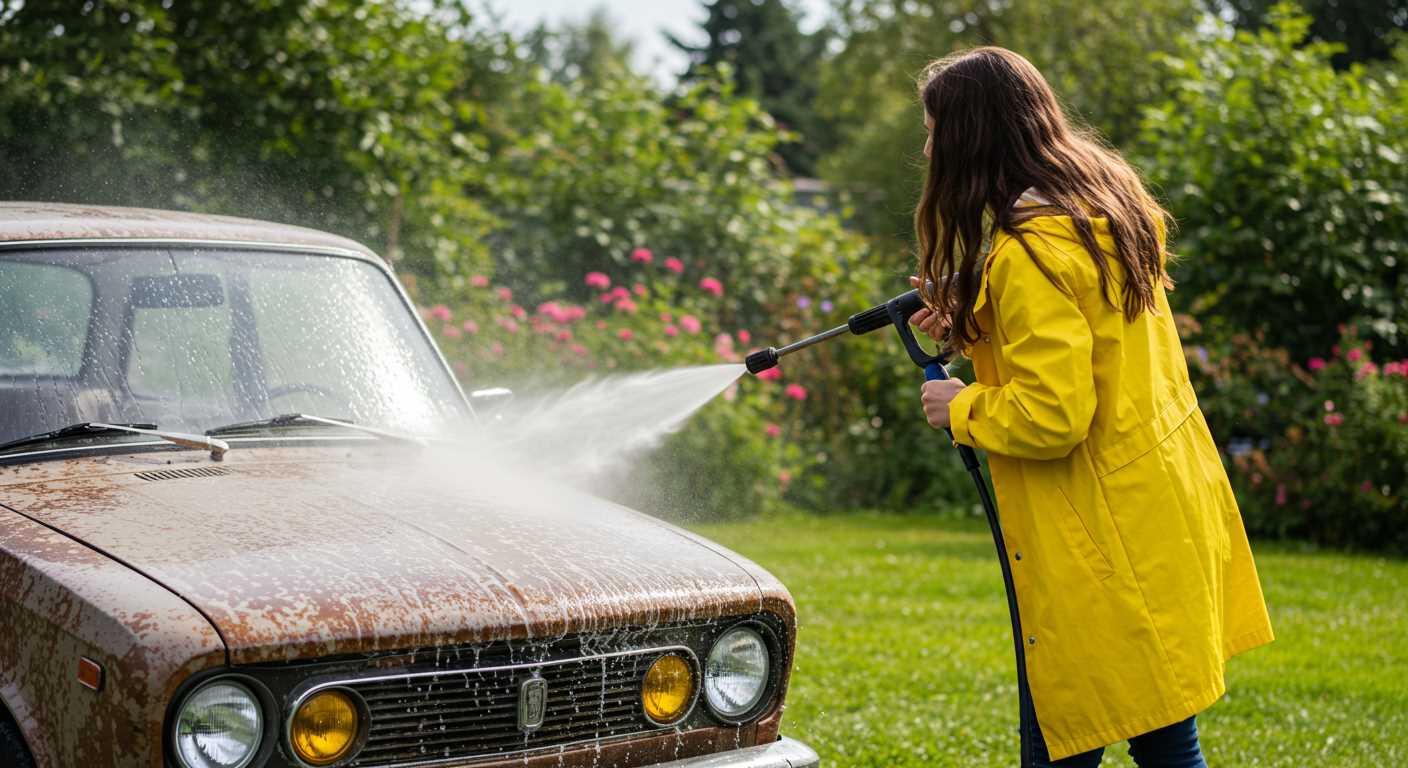
Here’s a quick guide for determining the suitable pressure settings for various surfaces:
- Soft Surfaces: For delicate materials like wood siding or automotive paint, keep the psi (pounds per square inch) between 1300 to 1600. This will clean effectively without causing harm.
- Medium Surfaces: Brick, concrete, and stone can handle pressures in the range of 2000 to 3000 psi. Use these levels for patios and driveways to remove stubborn stains.
- Hard Surfaces: Heavy-duty tasks like stripping paint or cleaning industrial equipment may require 3000 psi or more. Ensure the nozzle is appropriate to prevent surface damage.
Adjusting Pressure Settings
If your cleaning device has adjustable settings, start with a lower pressure. Gradually increase until you achieve the desired level of cleanliness. This approach minimizes risk to surfaces and guarantees better control.
Regularly check for nozzle compatibility with varying settings. An incorrect combination can either underperform or lead to unwanted damage.
Testing a small area before full application is wise, allowing you to refine settings without risk. This precaution can save time and maintain the integrity of your surfaces.
Safety Precautions to Take While Operating a Pressure Washer
Always wear safety goggles to protect your eyes from debris and high-pressure water jets. This simple step prevents potential injury during your cleaning tasks.
Don heavy-duty gloves to safeguard your hands from chemical exposure and injury from the high-pressure stream. Choose gloves that are specifically designed for cleaning tasks for optimal safety.
Ensure appropriate footwear with slip-resistant soles, offering grip on wet surfaces. It prevents slipping while moving about, especially on driveways or patios.
Maintain a safe distance from surfaces being cleaned. Keeping at least 2 feet away minimises the risk of damaging materials or harming yourself. Adjust your position as necessary to maintain this distance.
Watch for electrical hazards, especially around outlets and power lines. Use equipment equipped with ground fault circuit interrupters (GFCIs) for added protection.
Inspect hoses and connections for wear or damage before operation. A cracked hose can burst under pressure, so it’s crucial to replace any damaged components.
Never point the nozzle at yourself or others. Even a narrow stream can lead to severe injuries. Always direct the water away from people, pets, and fragile objects.
Be cautious of the cleaning agents you use. Read labels to ensure compatibility with your equipment, and follow all instructions while handling chemicals. Mixing certain substances can create hazardous reactions.
Keep children and pets at a safe distance during the cleaning process to prevent accidents. This ensures that everyone remains safe while I focus on the task at hand.
Finally, disconnect the equipment when changing nozzles or making adjustments. It eliminates the risk of unintentional activation, which could result in injury or damage.
Techniques for Pressure Washing Different Surfaces
I recommend adjusting the angle of the nozzle to ensure effective cleaning of various surfaces. For concrete and brick, a narrow spray pattern around 15 degrees works best, allowing for deep penetration into the grime. Keep the nozzle about 12 inches away to prevent damage.
Wooden Decks and Fences
For wooden structures, switch to a wider nozzle (25-40 degrees) to avoid splintering. Maintain a distance of at least 18 inches and apply a sweeping motion, moving with the grain. This technique preserves the integrity of the wood while effectively removing dirt.
Vehicles and Delicate Surfaces
Prior to cleaning cars or sensitive surfaces, always opt for the widest nozzle (40 degrees). Maintain a distance of 2-3 feet and use a low-pressure setting. Start from the top and move downward, ensuring water doesn’t pool in crevices. This approach prevents potential damage while delivering a clean finish.
By applying the right techniques tailored to each surface type, you will achieve optimal results and prolong the lifespan of the materials being cleaned.
Proper Maintenance After Using the Pressure Washer
Flush the system with clean water immediately after every cleaning session. This action prevents any detergent or debris from clogging the nozzle or damaging internal components. Simply run clean water through the machine until it is free of any residual soap or dirt.
Inspect all hoses and connections for any signs of wear or leaks. Tighten connections as necessary to avoid future issues. Replace any damaged hoses before the next use to ensure optimal performance and safety.
Store the equipment in a dry, protected area. Ideally, keep it in a sheltered location to safeguard against environmental factors such as moisture and extreme temperatures, which can degrade materials over time.
Regularly check and clean the filter screen to maintain proper flow and pressure. A clogged filter can significantly reduce efficiency and performance. Clear any debris or buildup to ensure smooth operation.
Additionally, lubricate moving parts regularly. Apply appropriate lubricant to joints and pivot points to extend the lifespan of the components and ensure smooth functionality.
Finally, review the user manual for any specific maintenance recommendations tailored to your model. Following the guidelines provided by the manufacturer will help maintain optimal performance and reliability.
Common Mistakes to Avoid When Pressure Washing
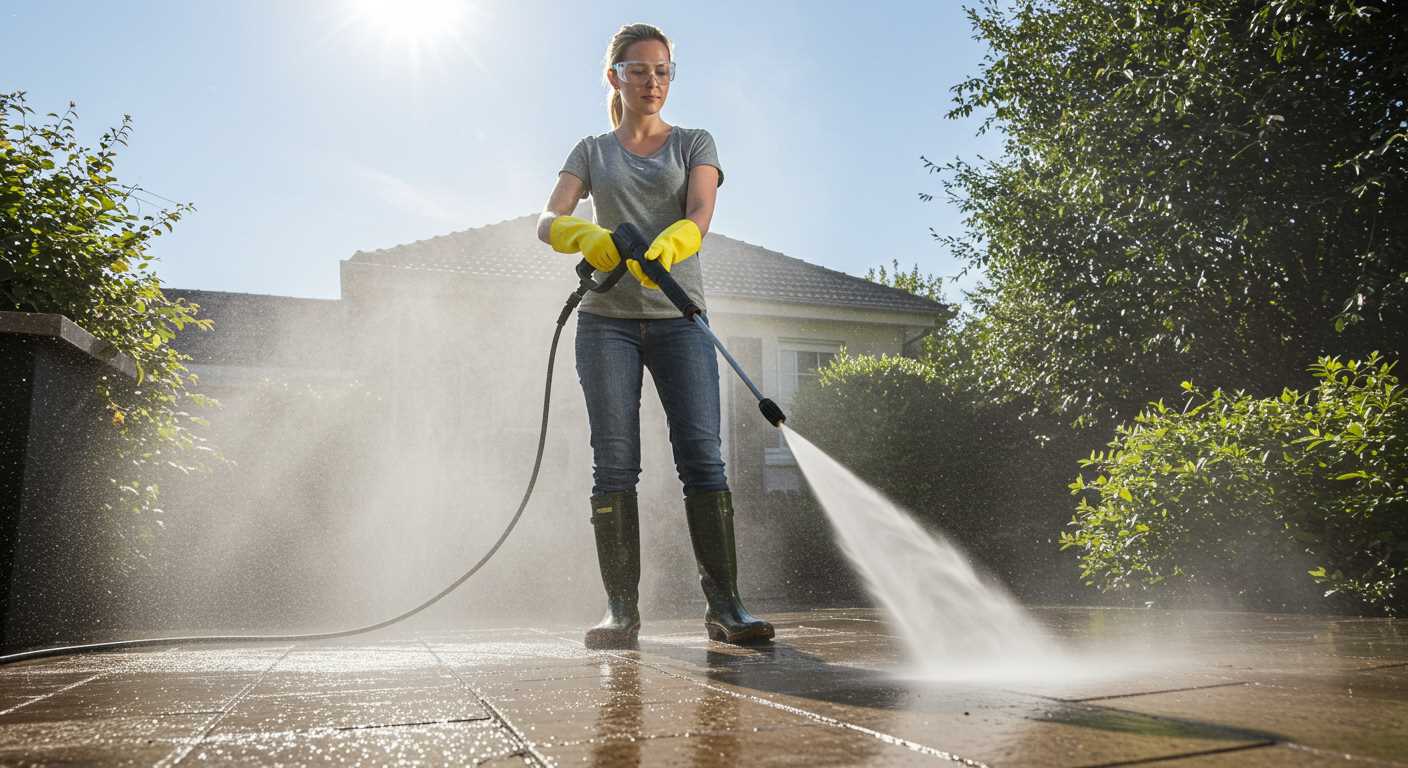
Avoid starting without checking your machine’s settings. Always ensure the right pressure and nozzle are chosen for the surface being cleaned. Using too high a pressure can damage materials, while too low may not remove dirt effectively.
Neglecting to pre-treat heavily soiled areas is another pitfall. Apply appropriate cleaning solutions beforehand to break down stubborn grime, ensuring a more efficient clean.
Overlapping strokes can lead to streaks and inconsistent results. Maintain a steady distance and use a uniform motion to achieve an even finish.
Using the wrong cleaning agent can compromise surfaces. Always select products specifically formulated for the type of surface being treated, whether for wood, concrete, or vehicles.
Failing to maintain a safe distance from delicate surfaces can easily cause damage. Keep the nozzle at least two feet away from fragile areas to prevent etching or gouging.
Another common oversight is neglecting to wear appropriate protective gear. Essential items include goggles, gloves, and ear protection. Safety must always be a priority.
Skipping the preparation of the area can lead to unwanted messes and accidents. Clear the area from obstacles and debris before commencing to ensure a smooth operation.
Forgetting to check for power sources and water supply can result in unnecessary interruptions. Ensure you have everything set up correctly before starting your work.
Finally, overlooking post-cleaning care can shorten the lifespan of your equipment. Properly store your tools and flush the system to maintain optimal performance for future uses.


