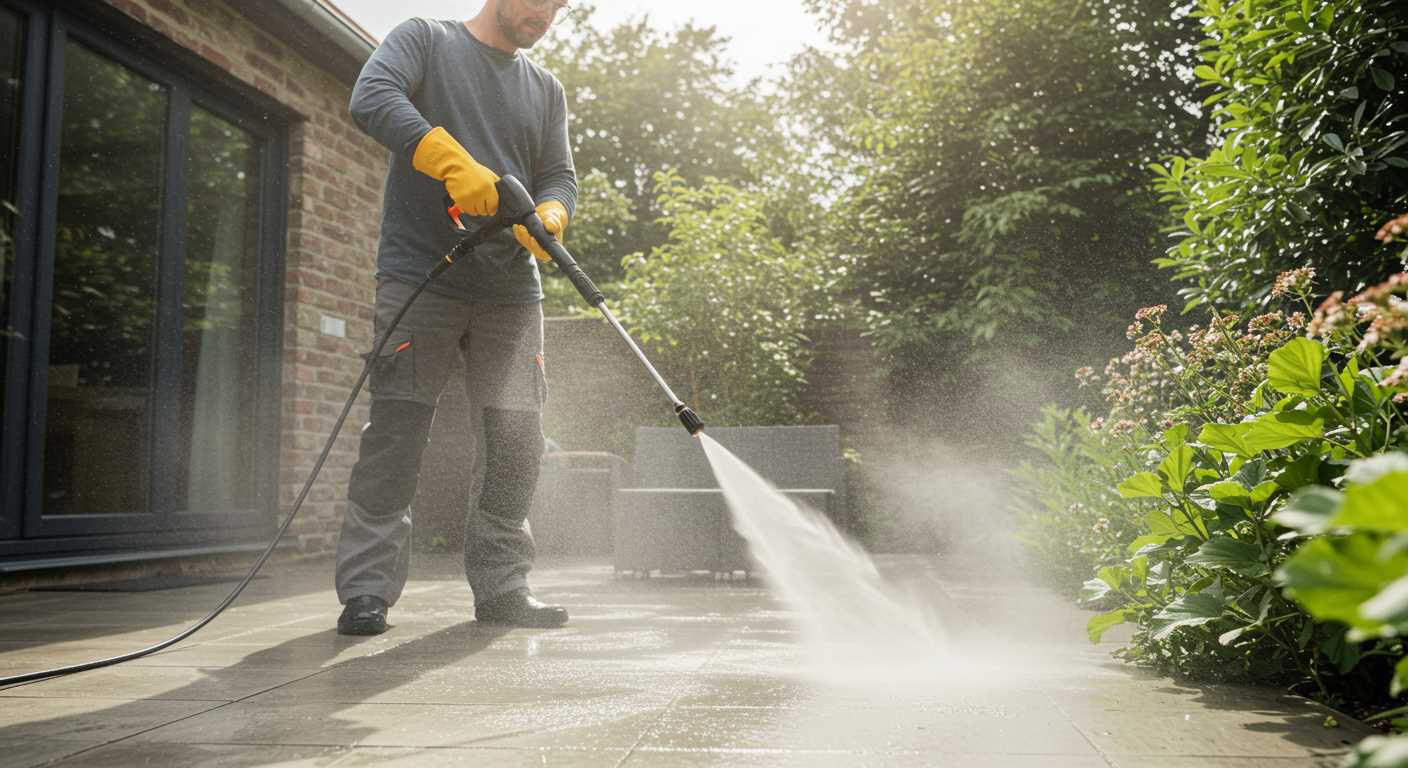


For optimal results in maintaining your home’s exterior cladding, a mix of hot water and a quality, biodegradable detergent is recommended. This combination ensures effective removal of dirt and grime, while being gentle on surfaces.
When utilising a high-pressure system, select a fan tip nozzle, typically between 25 to 40 degrees, to prevent potential damage. The distance should be roughly 12 to 18 inches from the surface, utilising a sweeping motion to avoid concentrated blasts that could lead to surface wear.
To enhance the process, consider applying the cleaning solution with a low-pressure setting first, allowing it to dwell for several minutes. This enables the formulation to penetrate any significant dirt build-up, ensuring a more thorough clean. Rinse thoroughly afterwards to remove any residue, ensuring your cladding retains its original appearance.
Choosing the Right Pressure Washer for Vinyl Siding
Select a unit with a pressure output ranging from 1300 to 2300 PSI. This level ensures adequate cleaning without damaging the surface. Opt for an electric model if convenience and lighter cleaning tasks are your priority; gas-powered machines offer greater power and mobility for larger areas.
Nozzle Selection
Incorporate a 25-degree or 40-degree nozzle for wider spray patterns. The adjustable option allows you to tackle stubborn stains while preserving the integrity of the material. Avoid narrow nozzles as they can cause etching.
Additional Features
Prioritise models featuring a detergent injection system. This allows the application of cleaning solutions effectively, enhancing results while reducing manual scrubbing. Look for units that are lightweight and easy to manoeuvre, particularly if you have a larger property.
Always choose a reputable brand with a solid warranty. My extensive experience indicates that reliable customer support significantly enhances user satisfaction and experience.
Selecting Suitable Cleaning Solutions for Vinyl Siding
Opt for a mixture of water and mild detergent, specifically formulated for non-porous surfaces. This blend effectively targets grime and mildew without compromising the integrity of the material.
For tough stains, consider sodium hypochlorite at a dilution of 1:3 with water. This is particularly useful against mould and algae, but always test on a small area first to avoid damage.
Eco-friendly alternatives, like vinegar or baking soda, also serve as excellent options. Combine equal parts water and white vinegar for a natural solution, or create a paste of baking soda and water for spot treatments.
Commercial varieties designed for plastic exteriors can provide heightened cleansing action. Look for products that contain no harsh chemicals. Always adhere to the manufacturer’s instructions for the best results.
Before applying any solution, pre-rinse the area to remove loose dirt. After using a cleaning agent, rinse thoroughly to prevent residue build-up.
- Use a low-pressure setting to apply the cleaning solution.
- Work from the bottom upwards to efficiently remove grime without streaking.
- Regular maintenance, every six months, keeps surfaces looking fresh.
By selecting appropriate agents and techniques, maintaining pristine walls becomes straightforward while preserving their longevity.
Preparing Your Vinyl Siding before Power Washing

Ensure that all windows and doors are tightly closed to prevent any water from entering your home. This simple step can save you a lot of trouble later on.
Remove any outdoor furniture, plants, and decorations within reach of your machine. Clearing the area not only protects your belongings but also provides a safe workspace. Take down any hanging items such as wind chimes or decorative lights that may interfere during the cleaning session.
Inspect the exterior for any loose panels or damaged sections. It’s essential to fix these prior to beginning to avoid further damage from water pressure. Tighten screws and make sure all parts are secure.
Cover electrical outlets and fixtures with plastic bags to shield them from moisture. This helps prevent electrical hazards and potential damage to your equipment. Additionally, tape down the edges to ensure a snug fit.
Consider investing in a nozzle attachment that allows for a wider spray angle. This will help you maintain a safe distance while still achieving thorough results. It’s advisable to test the machine on a less visible area first to gauge the effect before proceeding with the entire surface.
Plan for drainage. Ensure that surrounding areas are graded away from your foundation to avoid pooling water. A clear path for excess water is crucial for an effective task.
Finally, keep a close eye on the weather forecast. A sunny day is ideal, as it allows for quicker drying, but avoid cleaning in extreme temperatures to prevent damage.
Essential Safety Gear When Cleaning Vinyl Siding
Prioritising safety is vital during any outdoor maintenance task. Start by wearing safety goggles to protect your eyes from debris and overspray. I recommend investing in ANSI Z87.1-certified eyewear for adequate protection.
Ear protection is next on the list. The noise from machinery can exceed safe levels; therefore, using earplugs or earmuffs can safeguard your hearing while working.
Protective Clothing
Opt for long sleeves and trousers to prevent skin irritation from cleaning solutions and high-pressure water. Heavy-duty gloves also provide a barrier between your hands and chemicals. Look for gloves made from materials resistant to abrasion and chemicals to increase safety and comfort.
Footwear Considerations
Slip-resistant boots are a must. Working on ladders or slippery surfaces requires sturdy footwear to maintain grip and stability. Steel-toed options can further protect your feet from accidental drops.
Lastly, ensure you have a first aid kit nearby. It’s prudent to be prepared for any minor injuries or accidents that may occur. Keeping safety at the forefront ensures a more productive and worry-free experience while refreshing your home’s exterior.
Step-by-Step Guide to Cleaning Vinyl Siding
.jpg)
Prioritise thorough preparation. Clear the area of furniture, decorations, and plants to avoid unwanted damage. If necessary, cover delicate plants with tarps or plastic sheets.
Begin by rinsing the surface with water at low pressure. This removes loose dirt and debris, setting the stage for more effective treatment.
Apply a suitable cleaning solution, opting for either a store-bought concentrate or a DIY mixture of water and vinegar. Use a garden sprayer for even distribution; cover all sections generously.
Allow the solution to sit for about 10-15 minutes. This breaks down grime, mildew, and other stubborn stains. Avoid letting it dry completely, as this could reduce effectiveness.
While the solution is taking effect, assemble your cleaning equipment, ensuring you have the correct nozzle on your sprayer, ideally a 25-degree or wider one, to ensure gentle coverage.
Begin washing from the bottom upwards. This prevents streaking and ensures that dirt flows down and away from uncleaned areas. Overlap each pass to avoid any missed patches.
Follow up with a final rinse, using clean water at low pressure. This will wash away any remaining cleaning solution or residue. Check for remaining spots or stains and address them quickly.
Afterwards, double-check for any areas needing touch-ups. If further attention is required, repeat the previous steps for those spots until completely satisfied.
Finally, clean and store all equipment properly to maintain its longevity and performance for future use. A quick rinse of the nozzle and pressure unit can prevent blockages.
Maintaining Your Home Exterior Post Wash
After thoroughly washing your home’s exterior, it’s essential to maintain its state. First, ensure that any remaining moisture on surfaces evaporates completely. This helps prevent mildew growth, which is common in damp areas. Use fans or open windows to facilitate airflow if possible.
Regular Inspection

Conduct regular checks on the surface. Look out for any signs of wear or damage like scratches or fading. Address these issues promptly, as this can extend the life of your home’s facade significantly.
Touch-up Paint
If you notice any chips or scratches, consider using touch-up paint designed for your specific surface type. This not only improves appearance but also provides an additional layer of protection against the elements.
| Action | Frequency |
|---|---|
| Inspect for damage | Quarterly |
| Check for mildew | Monthly |
| Touch-up paint application | As needed |
| Wipe down with water | Bi-annual |
Incorporate exterior cleaning solutions meant for longer-lasting care into your routine. These products can inhibit dirt build-up and enhance the longevity of the outer surface. Following these steps will ensure your home remains visually appealing while protecting your investment for years to come.


