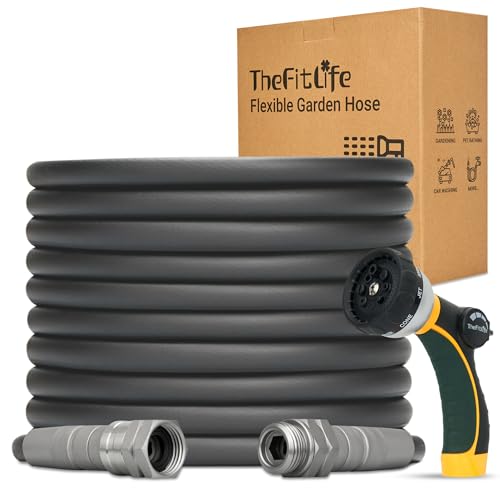


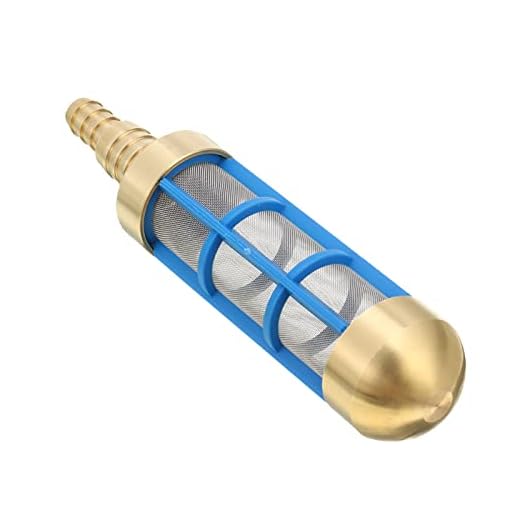
If you’re experiencing a drop in the output of your cleaning equipment, first examine the water supply. Ensure the inlet is free from blockages and that the hose isn’t kinked or damaged. A constant flow of clean water is critical for optimal operation.
Next, inspect the connection between the hose and the unit. Loose fittings can lead to significant loss of force. Tightening these connections could restore your device’s performance. Additionally, look out for leaks in the hose, as even small cracks can contribute to reduced efficiency.
Additionally, verify the nozzle or spray gun. Clogs can hinder functionality. A thorough cleaning or replacement of these components may be necessary. Regular maintenance routines, including checking filters for dirt accumulation, can prolong the lifespan of your device and maintain its efficacy.
Lastly, consider the operational settings. Lower settings may sometimes provide inadequate output for your task. Adjust accordingly to find a balance that meets your requirements without compromising the integrity of the machine. Maintaining consistency in pressure levels can ensure lasting performance and reliability.
Common Reasons for a Drop in Performance
Inspect the water supply; it’s crucial for optimum functionality. Ensure the hose has no kinks and the faucet is fully open. Lack of adequate water flow can lead to performance issues.
Component Checks
- Filter Blockage: Examine the inlet filter for debris. A clogged filter restricts water flow.
- Gun and Nozzle Inspection: Look for blockages in the nozzle and ensure the gun is sealing properly. Dirt can accumulate and hinder output.
- Hose Integrity: Check the hose for leaks or punctures. Any damage here can result in a significant loss of strength.
Internal Mechanisms
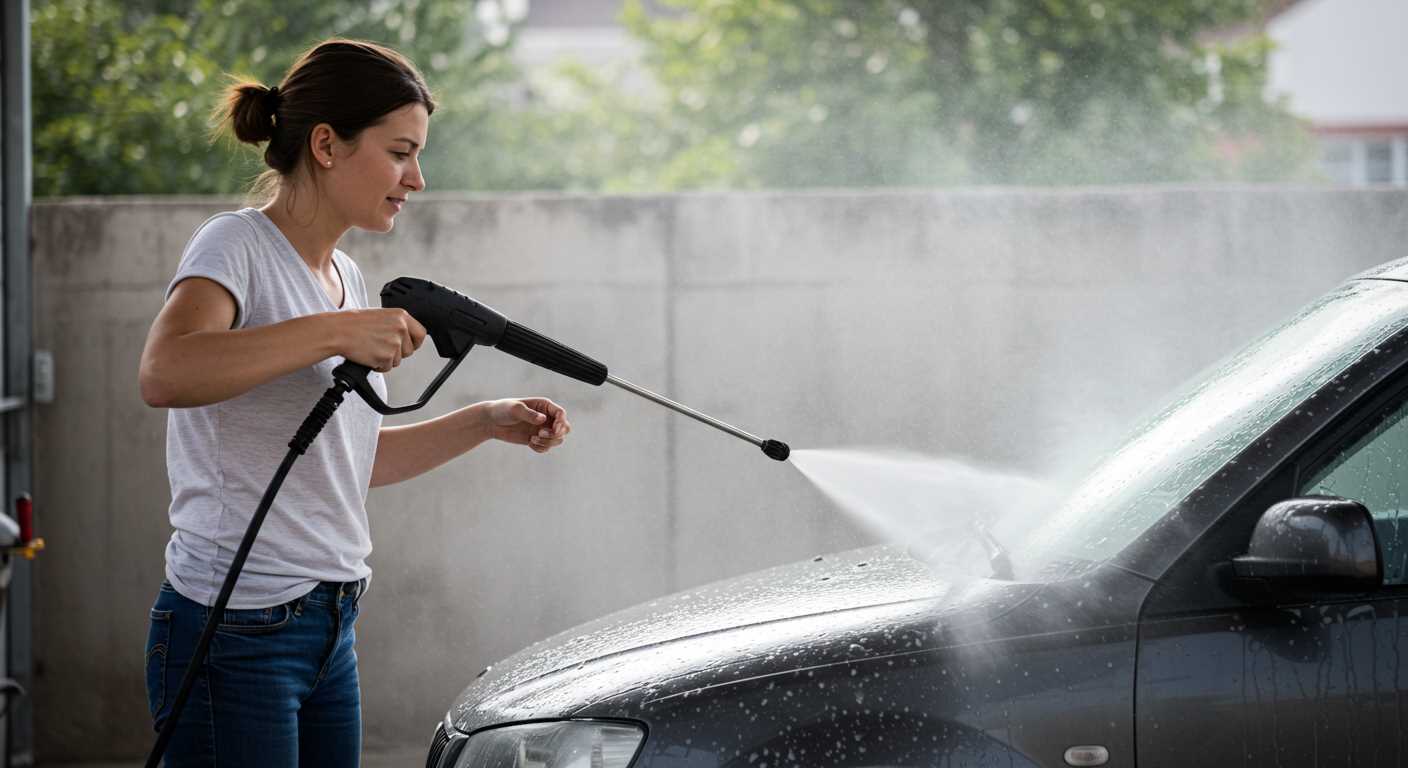
- Pump Functionality: If the unit makes unusual noises, the pump may be malfunctioning. A worn or damaged pump impeller can lead to reduced performance.
- Pressure Relief Valve: This mechanism may be releasing too much pressure. Inspect for proper functioning.
- Seals Condition: Examine O-rings and seals for wear. Damage here can cause air ingestion, resulting in a decrease in output.
Regular maintenance can prevent these issues. Clean and inspect these components frequently to ensure your equipment operates reliably. Consider consulting the user manual for specific troubleshooting steps related to your model.
Common Causes of Pressure Loss in Karcher Pressure Washers
One significant reason for diminished output is the presence of air in the system. If you notice a pulsing sound while operating, it’s likely air trapped in the lines. Bleed the air by running the machine with the lance trigger pulled until a steady stream emerges.
Blocked or Clogged Nozzle
A blocked nozzle can severely restrict water flow, leading to inadequate force. Regularly inspect and clean the nozzle by removing any debris or scaling buildup. Use a thin needle to clear small obstructions if necessary.
Worn or Damaged Seals
Inspect seals and O-rings around the machine, as wear can lead to leaks. Replace any worn components immediately; they are crucial for maintaining consistent flow integrity. Check for any visible signs of damage and ensure a proper fit during reassembly.
Ensure the inlet hose is free from kinks or blockages, which can also impede water intake. Maintain a clear path for optimal operation, allowing unchecked flow throughout its lifecycle.
How to Identify a Faulty Pressure Hose
Inspect the hose for visible signs of damage. Look for any cracks, cuts, or bulges. These imperfections can significantly affect the flow of liquid.
Check the fittings on both ends of the hose. Ensure they are securely attached and free from corrosion or debris that may hinder connections.
Test for leaks by running the unit while observing the hose closely. Any escaping liquid is a clear indicator of a compromised hose.
Evaluate flexibility. A hose that feels rigid or kinked may be obstructed internally, impacting optimal operation. Gently bend the hose to identify any pressure points.
Perform a pressure test by disconnecting the hose from the machine. Attach it to a water supply and observe the flow. If it’s inconsistent, replacing the hose may be necessary.
Ensure the diameter of the hose meets specifications for your equipment. An incorrect diameter can lead to reduced performance.
- Examine the length. A hose that is excessively long may lead to decreased water flow.
- Inspect the hose’s interior, if possible, using a flashlight. Blockages or buildup can occur, impacting overall efficiency.
If all these checks are clear but issues persist, consider testing with a new hose to rule out further complications. Implement these steps regularly to maintain optimal functionality.
Signs of a Defective Pump and How to Test It
Check for noticeable leaks or spray around the pump unit. If water is escaping from any joints or seals, it’s likely a sign of pump failure.
Listen for unusual sounds during operation. A grinding or rattling noise may indicate internal damage, requiring immediate inspection.
Testing the Pump
To assess pump functionality, first disconnect the machine from the power supply. Next, perform a visual inspection of the inlet and outlet connections; ensure they are free from obstructions. Reconnect the unit, and observe the water flow while operating the machine. Steady, powerful flow indicates proper pump performance, while fluctuating or weak flow suggests a malfunction.
Further Analysis
If issues persist, consider checking the pressure relief valve. A malfunctioning valve can cause erratic pressure reading and may need replacement. Additionally, measuring the output pressure with a gauge can provide concrete data on the pump’s efficiency. Any reading significantly lower than the manufacturer’s specifications indicates a potential pump issue.
Lastly, consider the age and maintenance history of the unit. Lack of regular servicing can lead to pump wear and reduced efficiency. Regular inspection and maintenance can extend the life of the pump.
Understanding the Role of Filter Clogs in Pressure Issues
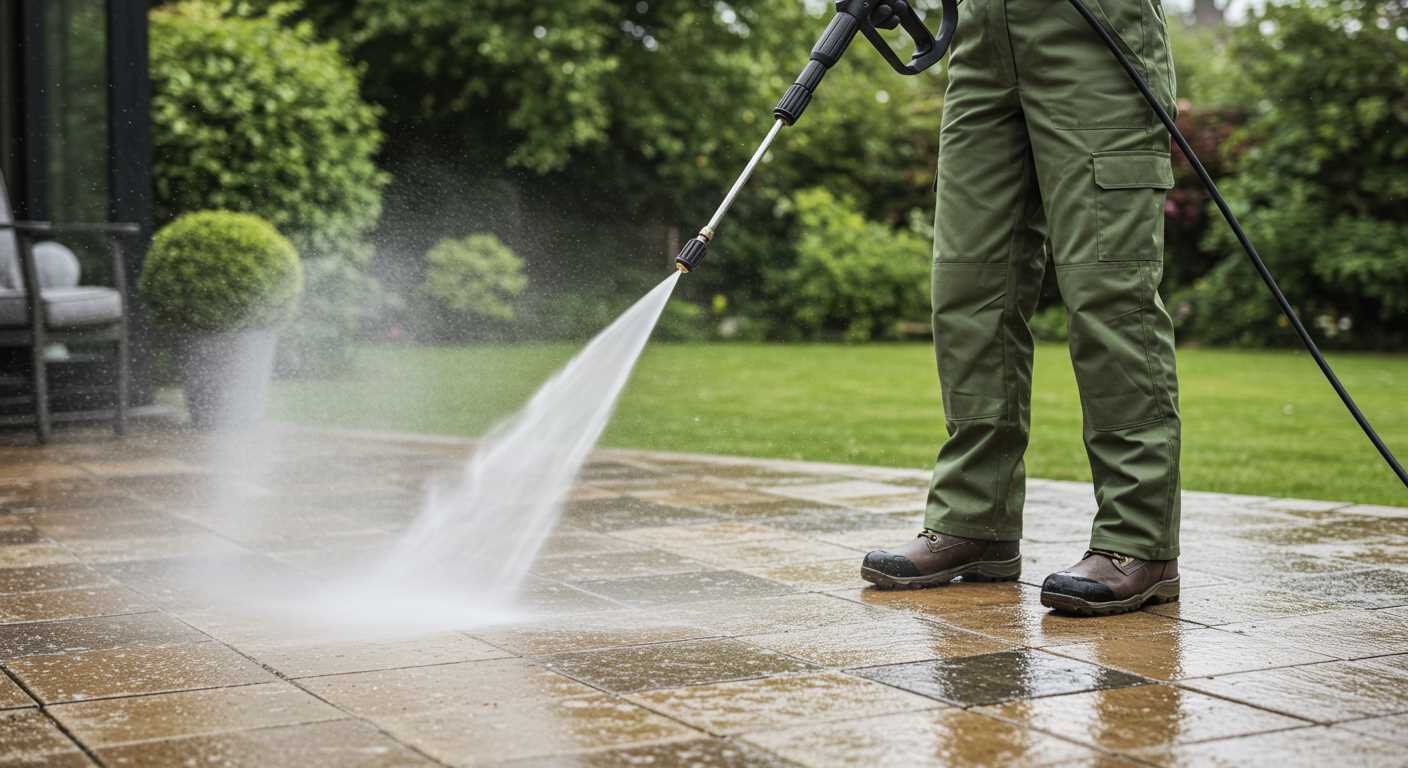
Clean filters are fundamental for optimal equipment performance. Clogs within the inlet filter can significantly impair water flow, leading to diminished output. Regular checks and maintenance of these filters are essential to ensure your machine operates efficiently.
First, locate your inlet filter, typically situated at the water intake. Remove it carefully and inspect for any blockages, whether they be dirt, debris, or mineral build-up. If you discover any obstructions, clean them with warm soapy water and a soft brush. Allow it to dry completely before reinstallation.
Set a reminder to check these filters periodically–at least once a month during regular use. Neglecting this may lead to more extensive damage or costly repairs down the line.
| Filter Types | Common Issues | Cleaning Methods |
|---|---|---|
| Inlet Filter | Dirt or debris clogging | Soak in warm, soapy water; scrub gently |
| Water Screen | Calcium build-up | Soak in vinegar; rinse thoroughly |
| Air Filter | Dust accumulation | Tap gently; replace if damaged |
Addressing filter issues promptly not only restores flow but also enhances the lifespan of the entire system. Remember, preventive care is always less challenging than tackling a malfunction down the line.
How to Check and Replace Worn Seals and O-Rings
Begin by turning off the equipment and disconnecting it from the power supply. This ensures safety while inspecting for component wear. Remove the cover of the unit to access internal parts, paying close attention to the seals and O-rings located at connection points.
Inspect each seal for signs of wear, such as cracks, brittleness, or hairline fractures. If any seal or O-ring appears damaged, it’s essential to replace it. Measure the diameter of the old O-ring with calipers for an accurate size definition, ensuring you purchase the correct replacement.
Replacing Seals and O-Rings
When ready to replace, remove the worn components carefully using a small flat-head screwdriver or similar tool, making sure not to scratch surrounding surfaces. Clean the seating area with a soft cloth to remove debris and old lubricant.
Install the new O-ring by sliding it into place, ensuring it sits evenly in its groove. If necessary, apply a light layer of silicone grease to facilitate the installation and enhance longevity. Reassemble the unit, ensuring all screws and fasteners are secured tightly to avoid future leaks.
Final Check
Once reassembled, reconnect the machine and conduct a brief test run. Monitor for leaks around the newly installed seals and confirm consistent performance. Regular inspection for wear on these components can prolong the unit’s lifespan and maintain optimal functionality.
Using the Correct Nozzle for Optimal Performance
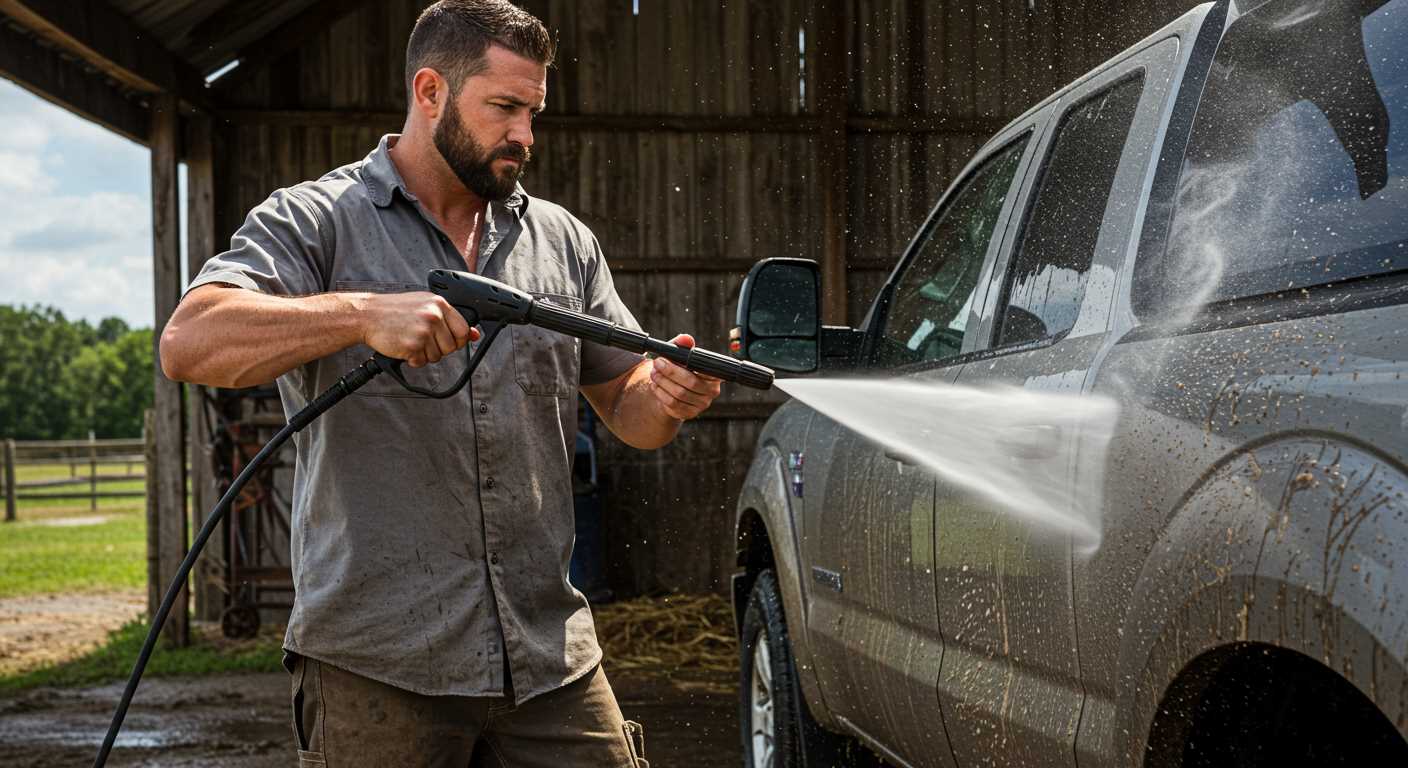
Choosing the right nozzle is crucial for maintaining optimal output in your equipment. Each nozzle type alters the spray pattern and flow rate, which directly impacts cleaning efficiency. I always recommend using nozzles specifically designed for your model to avoid any compatibility issues. For example, a 25-degree nozzle is typically suitable for general cleaning, while a 0-degree nozzle provides a concentrated jet for tough stains.
Adjusting for Surface Types
Different surfaces require different settings. For delicate surfaces like car paint, a wider spray angle lessens the risk of damage. In contrast, for driveways or heavily soiled surfaces, a narrower jet may be necessary for better penetration of dirt. Switching nozzles based on your cleaning task can significantly improve results.
Cleaning and Maintenance of Nozzles
Ensuring that the nozzles are free from blockages is vital. Regularly check for any buildup or debris that could restrict flow. If you notice reduced output, inspect the nozzle for clogs and clean it appropriately. I find that even minor obstructions can lead to considerable performance issues, affecting overall efficiency.


