

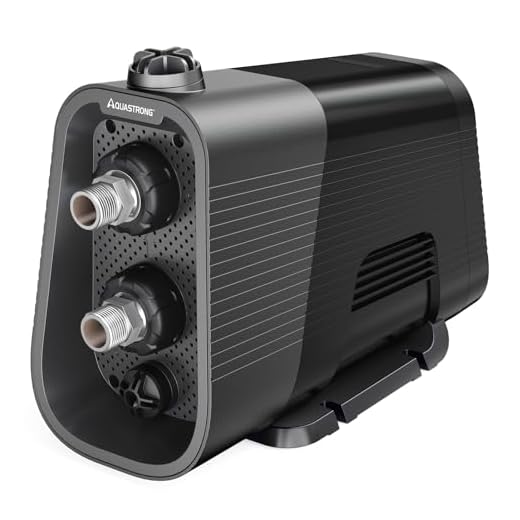

First, ensure that the water inlet filter is clean. A clogged filter can severely restrict flow, leading to reduced output. Detach the filter and rinse it thoroughly under running water.
Next, inspect the hose for kinks or blockages. Any obstruction along the hose can impede water flow, resulting in diminished performance. Straighten any bends and check for leaks that could be causing loss of force.
Evaluate the nozzle being used. A wrong or worn-out nozzle can restrict the jet, making it less powerful. Try a different nozzle to see if it improves the situation. Look for any signs of damage or blockage.
Check the pump’s oil levels, if applicable. Low oil can cause the pump to operate inefficiently. Consult your user manual for specific guidance on oil maintenance to ensure everything runs smoothly.
Finally, consider the water source. Ensure that you have a steady supply of water at an adequate flow rate. If the water supply is insufficient, your equipment will struggle to generate the expected performance. A good filter and quality hose will help maintain optimal water provision.
Insufficient Output Force Troubleshooting
Check the nozzle. A clogged or worn nozzle can significantly affect the jet’s strength. Inspect for debris and clean or replace it if necessary.
Inspect the inlet filter. A dirty filter obstructs water flow. Remove and rinse the filter regularly to maintain optimal performance.
Hose Conditions
- Examine the hose for kinks or tears. Even minor damage can restrict water flow and reduce efficiency.
- Ensure the connections between the hose and unit are tightened. Loose fittings lead to leaks, decreasing functionality.
Water Supply Issues
- Verify the source. Low water supply will impact the system. Ensure the tap is fully open and check for additional restrictions.
- Use a hose that meets the manufacturer’s specifications. An inadequate hose can impair performance.
Review the machine’s settings. Some models have adjustable pressure controls. Ensure it’s set correctly for optimal output.
Lastly, consider the pump’s condition. Signs of wear or damage can result in decreased performance. Regular maintenance and prompt repairs can enhance longevity and function.
Check for Blockages in the Hose
Inspect the hose for any signs of restriction. A blockage can stem from debris, kinks, or external elements obstructing the flow. To ensure optimal functionality, disconnect the unit and examine both ends of the hose closely.
Steps to Identify and Clear Blockages
1. Detach the Hose: Begin by removing the hose from both the machine and the spray gun. This allows for a thorough inspection.
2. Visual Inspection: Look for visible obstructions such as dirt, leaves, or other particles. Use a flashlight to better illuminate dark areas inside the hose.
3. Feel for Kinks: Run your hand along the length of the hose, checking for any twists or bends that might hinder water flow.
4. Water Flow Test: With the hose disconnected, run water through it to see if it flows freely. If it doesn’t, this indicates a blockage that needs addressing.
Common Causes of Blockages
| Cause | Description |
|---|---|
| Debris Accumulation | Leaves, dirt, or other materials can accumulate and restrict flow. |
| Kinks | Twists in the hose can create sharp bends that block water passage. |
| Internal Build-Up | Mineral deposits from hard water can accumulate inside, narrowing the hose. |
To clear a blockage, use a garden hose to flush out debris, or a flexible cleaning rod for stubborn clogs. Regular maintenance of the hose ensures smoother operation and helps prolong the equipment’s lifespan.
Inspect the Nozzle for Clogs
First, remove the nozzle from the end of the lance. Inspect it closely for any debris or build-up that could restrict flow. Even a small piece of dirt can significantly diminish output. Use a needle or a small brush to clear stubborn obstructions.
Types of Nozzles
Different nozzles provide varying spray patterns and pressures. Ensure you are using the correct type for your cleaning task. A wide-angle nozzle can lower output, while a narrow one increases force. Refer to the manufacturer’s guide for compatibility.
Maintenance Tips
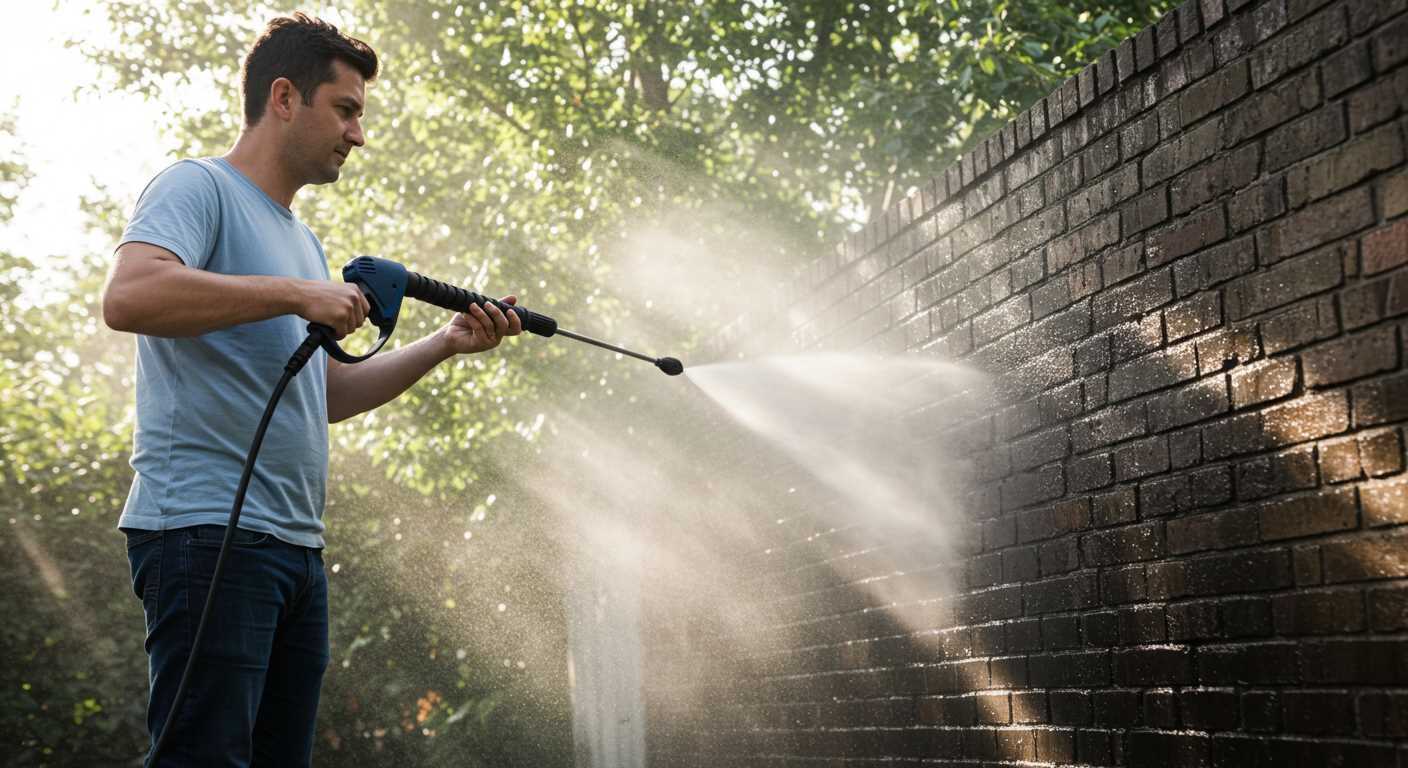
Regularly cleaning the nozzle helps maintain optimal function. After each use, rinse it thoroughly to prevent deposits from forming. Store the equipment in a clean, dry place to avoid moisture-related issues that can lead to clogs.
If problems persist, consider replacing the nozzle altogether. It’s a small investment for significant improvements in cleaning efficiency.
Evaluate the Water Supply Pressure
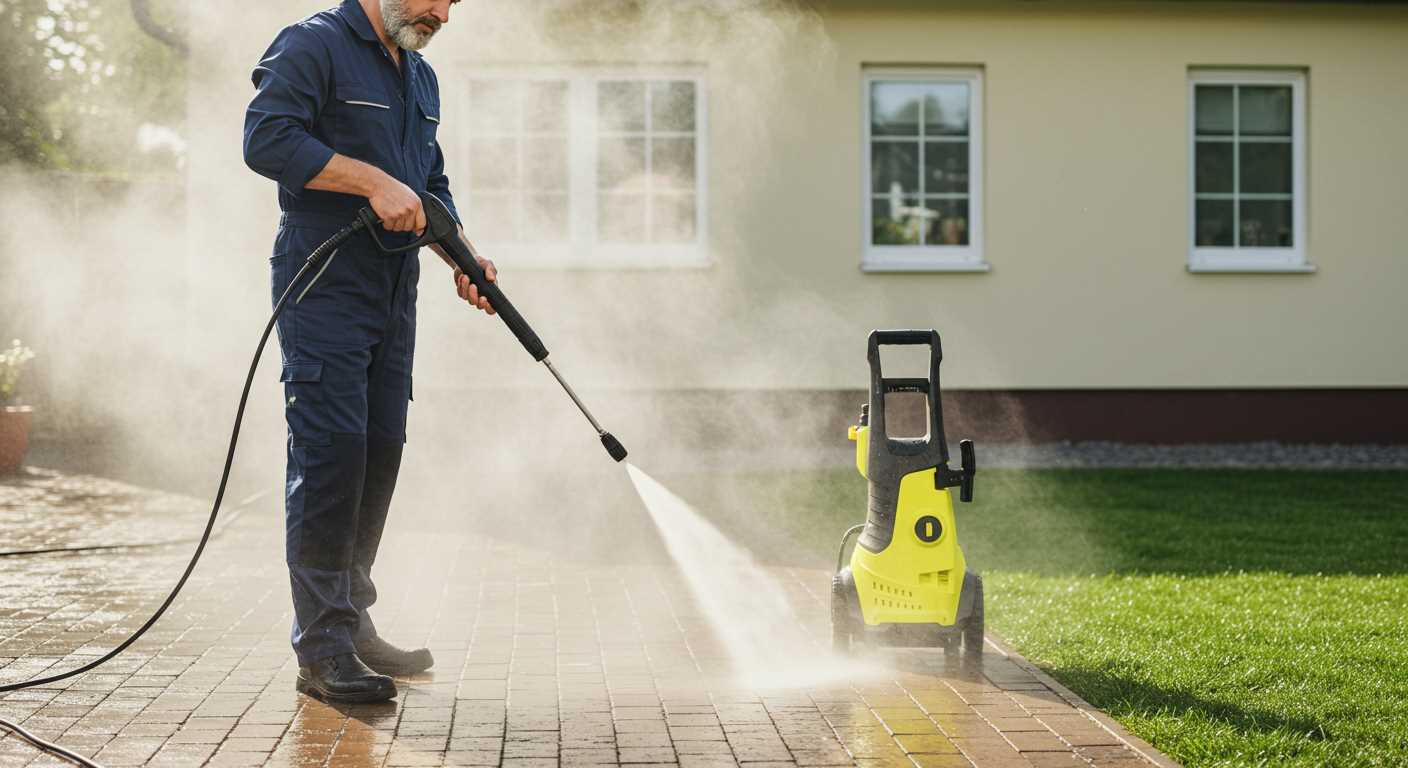
First, check the water source if your cleaning device seems inadequate. The force of water supplied directly influences its performance. Measure the incoming flow using a pressure gauge. A minimum reading of 20 psi is generally required for optimal functioning.
Slower trickle suggests issues that must be rectified. Confirm the hose connected to your source is free from kinks or obstructions. If the plumbing in your home is outdated or blocked, this can significantly reduce flow. To resolve this, run water from the tap and observe the output.
Assess System Components
Investigate the entire supply system, from valves to fittings. Any leaks or damaged connectors can decrease the volume reaching your unit. Clean all accessible sections, and ensure that the water supply valve is fully open. I recommend replacing old hardware if needed to restore the flow consistency.
Consider Local Water Availability
Local pressure can fluctuate based on demand; peak usage times may lead to reduced supply at your residence. If you often face low flow, consider relocating your equipment to times with less demand, or consult your local water provider for assistance. If uncertain, installing an additional booster pump can effectively enhance performance.
Assess the Pump Condition
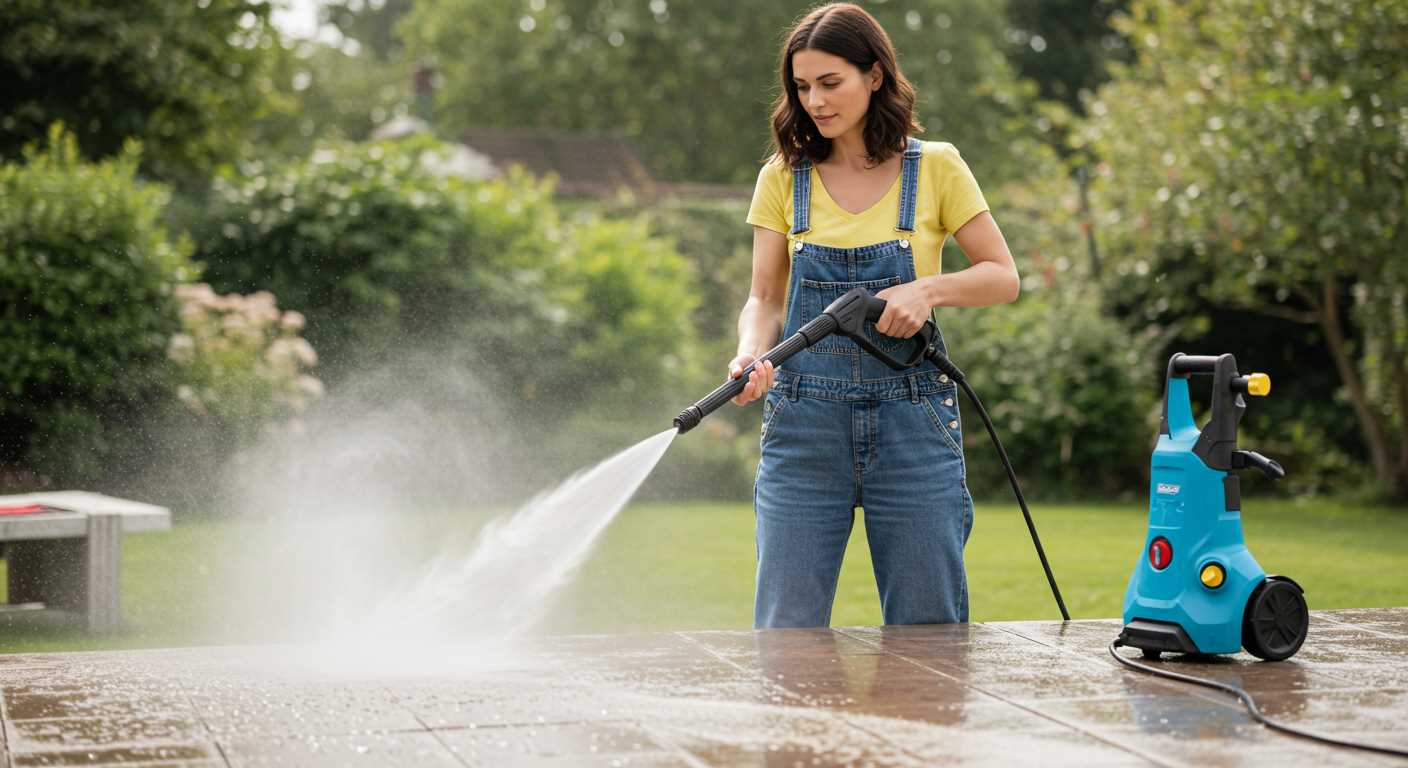
First, inspect the condition of the pump. Look for visible signs of damage, such as cracks or leaks. Any fluid escaping the pump indicates potential failure. Check the seals for wear; a degraded seal can cause a drop in performance.
Next, ensure that the pump is receiving the right oil levels. An under-lubricated pump can struggle to function effectively. If the oil appears dirty or contaminated, consider replacing it to optimise the pump’s operation.
Listen for unusual noises while operating the unit. Grinding or rattling sounds may suggest internal damage. If issues arise, I recommend consulting a professional for further assessments or repairs.
Finally, assess the overall maintenance history. A well-maintained pump typically performs better and lasts longer. Regularly service the pump according to the manufacturer’s recommendations to prevent issues before they arise.
Verify the Correct Nozzle Type

Choosing the right nozzle can significantly impact the output force of your cleaning machine. First, identify if you’re using the appropriate nozzle colour and size for your specific tasks. For instance, a 0-degree nozzle is ideal for tough stains but can damage surfaces if misused, while a 25-degree nozzle is more suitable for general cleaning.
Check the nozzle’s orifice size; too large will dilute the water flow, while too small can restrict it. It’s crucial to match the nozzle’s specifications with the pump’s rating. Using a manufacturer-recommended nozzle often ensures optimal performance.
Inspect for any damage or wear on the nozzle. Cracks or deformities can lead to an irregular stream, which may contribute to weaker output. Regular cleaning of the nozzle ensures clogs don’t hinder performance. A simple soak in warm, soapy water and a gentle scrub can do wonders.
Understand that some nozzles can produce varying spray patterns; adjust according to your cleaning requirements. This adjustment can dramatically alter the results, whether you are washing vehicles or tackling dirt on your patio. Ensuring the right nozzle is in place is a vital step in restoring your equipment’s effectiveness.
Look for Leaks in Hoses and Connections
Check all hoses and connections for leaks. Even tiny fissures can result in significant drops in performance. Inspect the entire length of each hose carefully, paying close attention to joints and fittings. You might need to apply water with soap in a spray bottle to identify any escaping air bubbles.
If you discover any leaks, replace the damaged section or tighten the fittings as necessary. Ensure hose clamps and connectors are secure. Small repairs can restore functionality and enhance the cleaning output significantly.
Examine the Inlet and Outlet Areas
Inspect the inlet and outlet ports for signs of wear or damage as well. If these areas are compromised, it may lead to reduced efficiency in the system. A proper seal is necessary to maintain the desired force.
Replacing gaskets or bushings that appear worn can dramatically improve the water flow and pressure generated. Make sure to use components that match your equipment specifications to guarantee compatibility.
Ensure Proper Assembly of Components
Double-check all components for correct assembly. Misalignment or loose fittings can severely reduce performance. Start by confirming that each part is securely attached according to the manufacturer’s instructions.
Focus particularly on connections between the pump and the hoses; these should be tight and should not allow for airflow. If parts are incorrectly fitted, water may escape rather than being forced out through the nozzle.
Inspect the connection points after reassembly to ensure that no damage occurred during assembly. Using the wrong tools can lead to stripped threads or damaged fittings, which will compromise the entire system’s functionality.
Consider that assembly errors may occur after routine maintenance or storage. It’s wise to revisit the assembly process after such activities to confirm everything is in its proper place.
Finally, don’t overlook the importance of following the manual. Each model can have unique requirements, and adhering strictly to these guidelines will often resolve low output issues quickly.
Consider the Power Source Issue
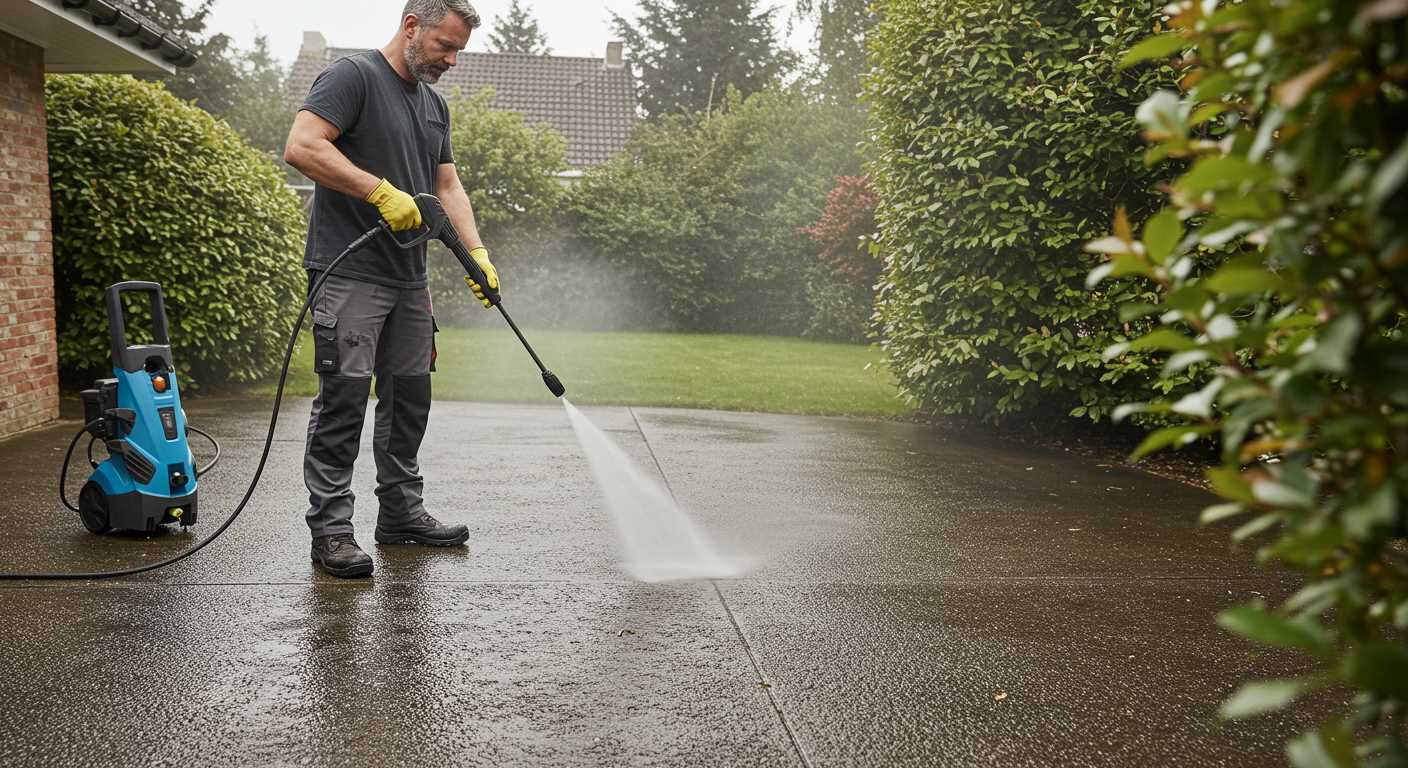
Examine the power source first. Insufficient electrical supply can lead to lower performance. Verify that the outlet you are using provides adequate voltage and is not overloaded with other devices.
Electrical Supply Check
- Use a multimeter to measure the voltage at the outlet. It should match the specifications mentioned in your unit’s manual.
- Check for any tripped circuit breakers or blown fuses that might affect power delivery.
For Gas-Powered Units
- Ensure the fuel tank is full and that you are using the correct type of fuel.
- Inspect the spark plug for wear or carbon buildup that can hinder engine performance.
Address these power source aspects to enhance your device’s effectiveness. Ensuring a stable and adequate supply can significantly improve functionality.


