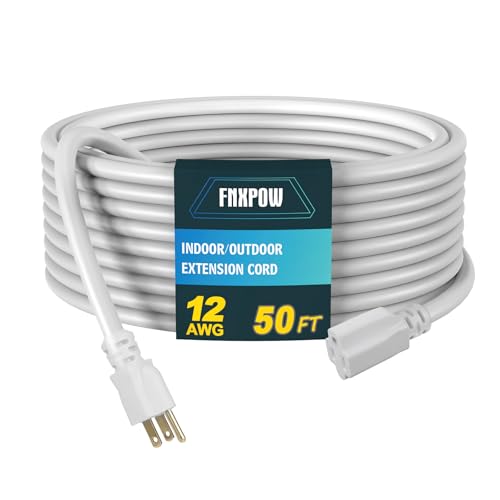


Begin by checking the power source. Ensure that the outlet you are using is functioning properly and that the circuit breaker has not been tripped. A quick test with another device can confirm whether the issue lies with the electricity supply.
If power is available, scrutinise the power cord for any visible damage or fraying. A defective cord can prevent your unit from receiving the necessary voltage. Replacing the cord or using an extension with a proper rating may resolve the matter.
Next, inspect the water supply. Verify that the hose is free from kinks and that the water tap is fully opened. Insufficient water supply can lead to the pump’s inability to operate effectively. Also, make certain that the water inlet filter is clear of debris, which could obstruct the flow.
Furthermore, take a moment to evaluate the trigger mechanism. Sometimes, a safety lock may engage, preventing operation. Ensure that the trigger is released fully and engage it correctly. If the pump still refuses to cooperate, check for any internal blockages within the unit that could hinder performance.
If these steps do not yield results, consider the possibility of a malfunctioning start switch or pressure sensor. Testing or replacing these components may be necessary to restore functionality. Always refer to the manufacturer’s manual for specific guidance tailored to your model.
Checking the Power Supply and Electrical Connections
First, ensure the power source is functioning correctly. Test the outlet with another device, such as a lamp or a phone charger. If that device doesn’t work, the issue may lie with the power supply.
Examine the extension cord if you’re using one; it should be rated for the equipment’s power requirements. Replace damaged cords or those longer than recommended, as these can cause voltage drops.
Inspecting Connections
.jpg)
Next, check all electrical connections. Unplug the unit and inspect the power cord for wear or damage. Look for frayed wires or loose connections at both the plug and the equipment end. Ensure that the connection points are secure and free of corrosion. Corroded connectors should be cleaned or replaced.
Resetting the Unit
If everything checks out, locate the reset button on the unit. Press it to reset the internal circuit breaker. After resetting, plug the device back in and try turning it on again. If issues persist, consult the user manual for specific troubleshooting advice related to your model.
Always refrain from attempting to repair internal components unless you have proper training, as this can pose safety risks.
Inspecting the Power Cord for Damage
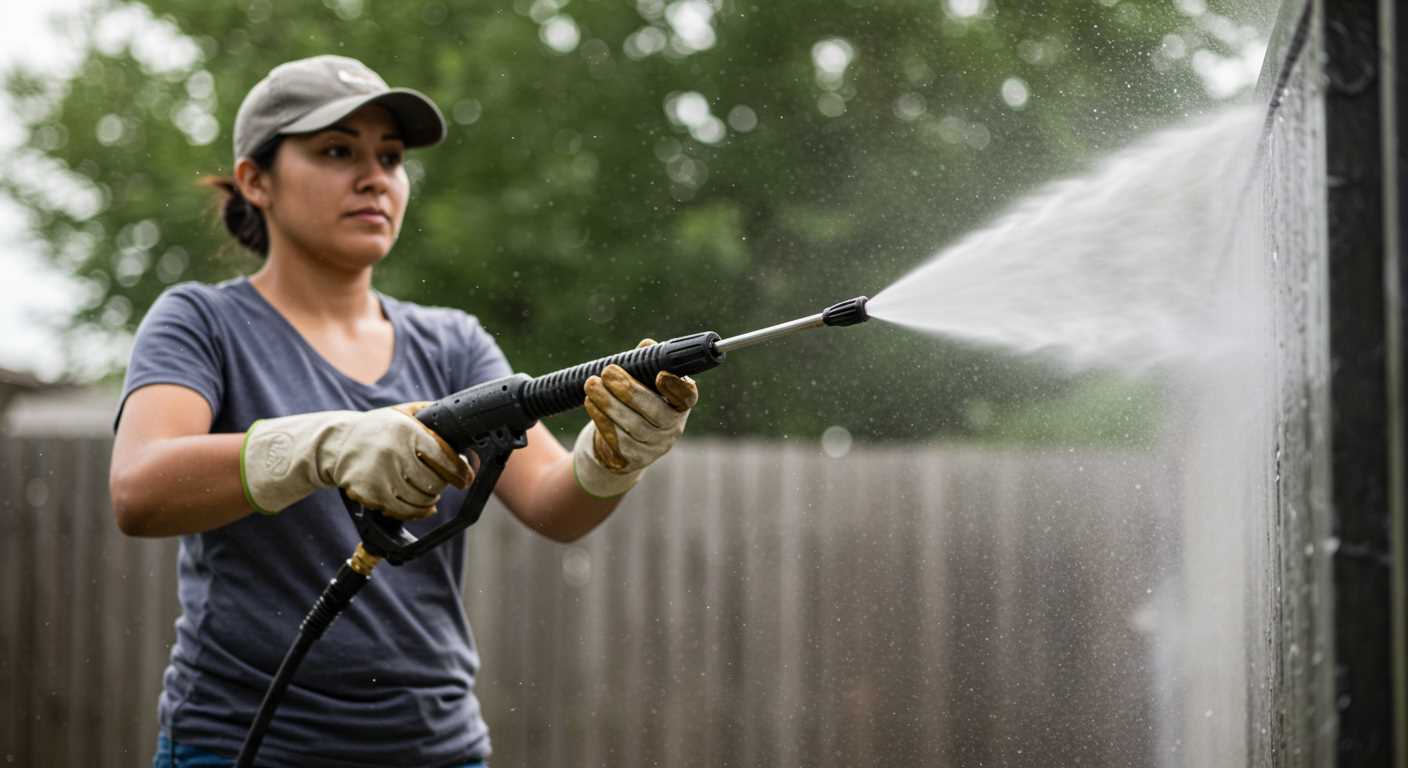
Examine the power cord closely for any signs of wear or injury. This component is crucial for the functioning of your cleaning machine, and any damage could prevent it from turning on.
Steps to Inspect the Power Cord
- Unplug the device before starting your inspection to ensure safety.
- Check for frays, cuts, or exposed wires along the entire length of the cord.
- Inspect the plug for any signs of burning or corrosion.
- Ensure that the cord is securely connected to both the outlet and the machine.
If you find any issues, the cord must be replaced immediately to avoid electrical hazards. Using a damaged cord poses significant danger and can cause further issues with the equipment.
Replacing the Power Cord

If a replacement is necessary, consider the following:
- Purchase a cord that matches the manufacturer’s specifications to ensure compatibility.
- Follow the manufacturer’s instructions for safe installation. If unsure, consult a professional for assistance.
Taking the time to scrutinise the power cord can save you from unnecessary complications and ensure your device operates safely and reliably.
Examining the Trigger Gun and Safety Lock Features

The first step is to examine the trigger gun thoroughly. Ensure the trigger is not stuck or blocked, as this can prevent the operation of the unit. Strikingly, I’ve encountered models where debris lodged in the trigger area causes significant issues. Clear any obstructions for smooth functionality.
Next, investigate the safety lock mechanism. This feature is designed to prevent accidental activation. If the safety lock is engaged, it will inhibit the trigger from functioning. Verify that the lock is in the correct position to allow usage. If the lock appears to be damaged or malfunctioning, replacing it is vital.
Additionally, inspect the trigger for signs of wear or damage. Cracks or leaks can greatly affect performance. If the trigger does not return to its original position after being pressed, it may require cleaning or replacement. Regular inspection of these components can save time and effort in troubleshooting.
Finally, ensure the gun is correctly connected to the main unit. A loose connection between the trigger gun and the high-pressure hose can lead to insufficient pressure when attempting to operate the device. Tighten all fittings to maintain an optimal seal and ensure full functionality.
Assessing the Water Supply and Hose Connections
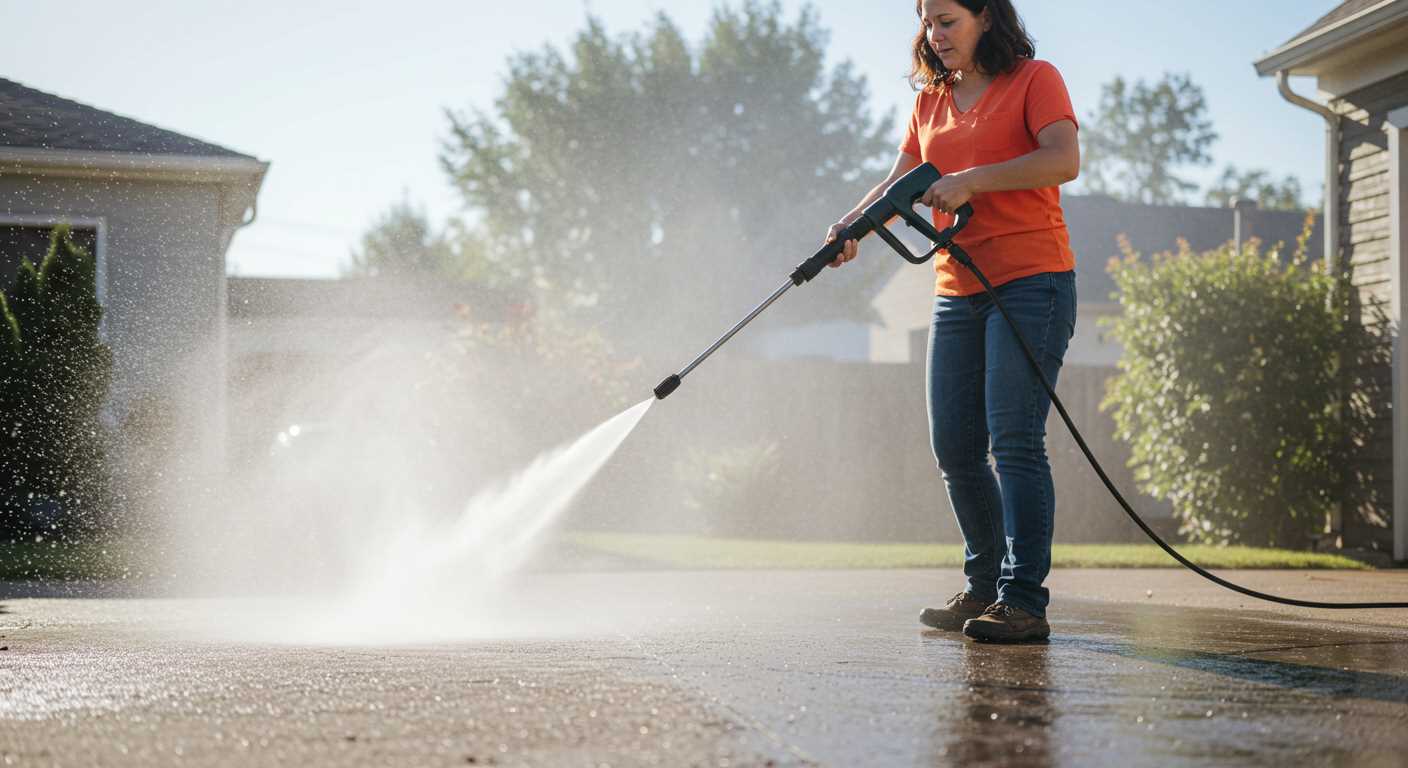
Check the water source for adequate flow and pressure. Connect a garden hose to a tap and ensure it runs freely without kinks or blockages. A restricted supply can lead to inadequate operation.
Examine the hose connections for tightness. Loose fittings or leaks can disrupt the water supply, preventing proper function of the machine.
Verify the hose itself for damage or wear. Cracks, pinholes, or bulges can impair the flow. A smooth, undamaged hose is essential for optimal performance.
Ensure you’re using the right diameter hose. A smaller diameter may restrict water flow, impacting the unit’s ability to function efficiently. Typically, a 1/2-inch diameter hose is recommended for these machines.
Look out for any filters or mesh screens at the hose connection point. Clean these components regularly to prevent debris from blocking water intake, which can hinder operation.
If the water supply is still inadequate after these checks, consider testing a different source or hose to rule out issues with the original connection.
Testing the Motor and Internal Components for Faults
Begin by unplugging the unit to ensure safety. Check the motor for any signs of burning or unusual odours, which may indicate internal damage.
Use a multimeter to test the motor windings. Set the device to the ohms setting and measure resistance across the motor terminals. A reading of infinite resistance suggests an open circuit, while very low resistance may indicate a short.
Inspect the carbon brushes if accessible; worn or cracked brushes can disrupt motor performance. Replace them if they show signs of wear, ensuring a snug fit in their holders.
Look for loose connections or corroded terminals inside the motor housing. This can limit the current flow needed for operation. Secure any loose wires and clean terminals with fine sandpaper or a suitable cleaner.
Examine the internal components such as capacitors. A bulging capacitor could signal failure; testing with a multimeter on the capacitance setting can confirm functionality.
Make sure the motor’s thermal overload switch is functioning correctly. If tripped, it may require a cooling period or replacement if it fails to reset.
- Check for physical damage or wear on internal parts.
- Test the continuity of wiring harnesses leading to the motor.
- Verify that all connections are secure and free from dirt and moisture.
After completing the tests, reassemble and plug the unit back in. Activate to see if the motor runs smoothly; any irregular noises may indicate further mechanical issues. Be thorough during your inspections to identify potential failures that could hinder operation.
Reviewing the owner’s manual for troubleshooting tips
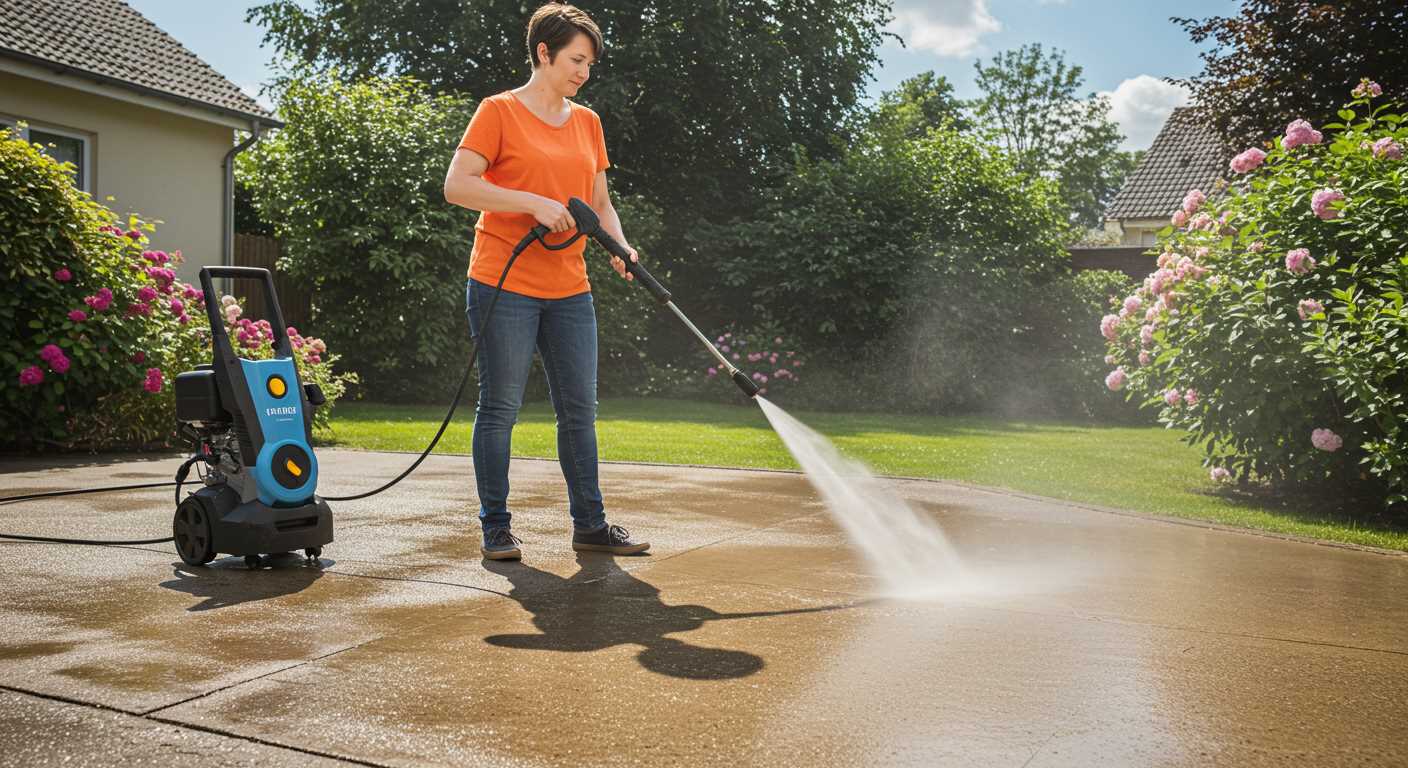
Consult your owner’s manual to find specific troubleshooting guidance tailored to your model. This resource provides invaluable information including error codes, suggested safety checks, and maintenance advice that can often lead to quick resolutions.
Focus on sections related to starting issues. Look for any flowcharts or diagrams that outline common problems and solutions. Many manuals include troubleshooting tables that categorise symptoms and provide actionable steps.
| Symptom | Recommended Action |
|---|---|
| No power | Check power source, circuit breaker, and cord connections. |
| Frequent shut-off | Inspect thermal relief valve and ensure proper cooling. |
| Weak spray | Examine nozzle for clogs or wear, check water supply. |
| Unusual noises | Verify internal components for damage; consult a technician. |
Pay attention to safety warnings and recommended maintenance schedules. Maintaining regular upkeep can prevent many issues before they arise. If you’re encountering persistent problems, it might be wise to contact customer service for additional assistance or repair options. Their insights can complement the guidance found in the manual and lead to a satisfactory resolution.

