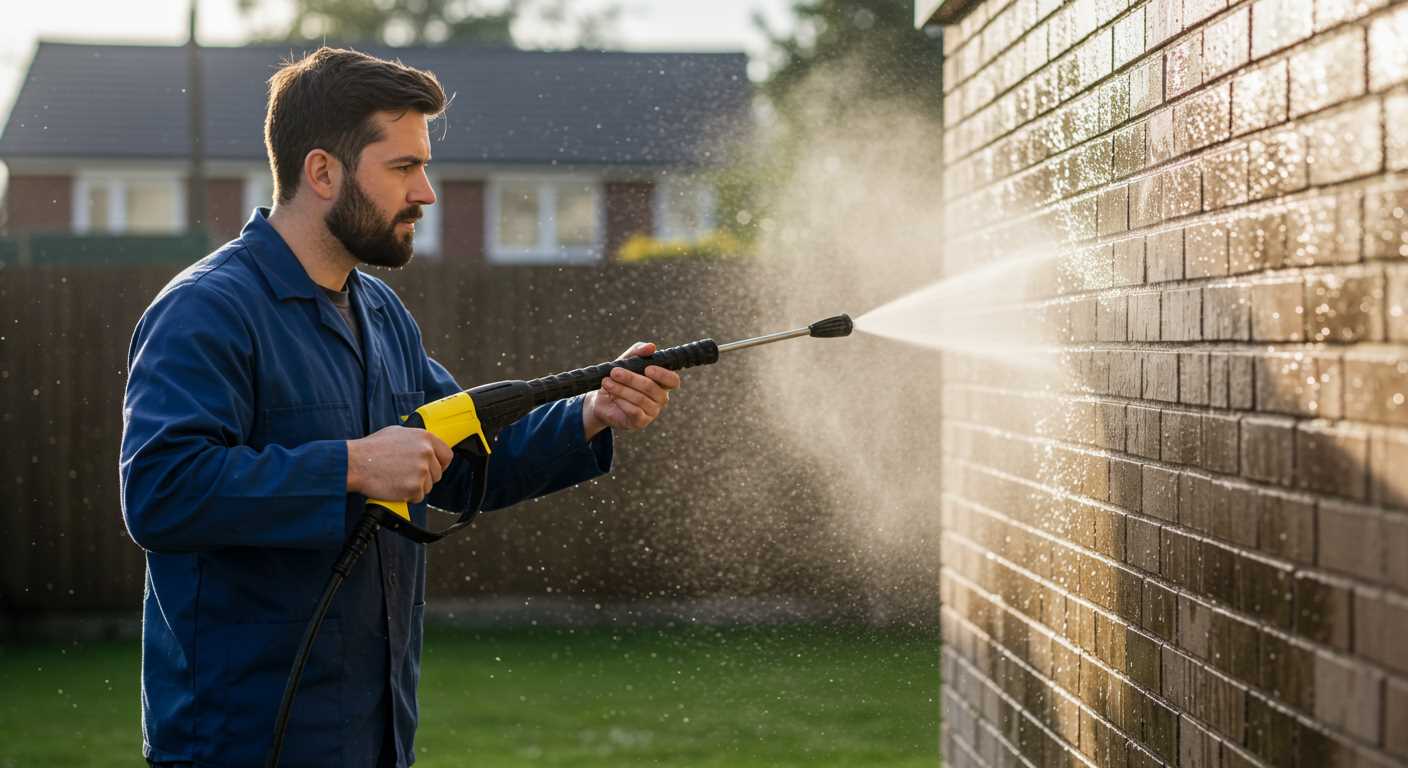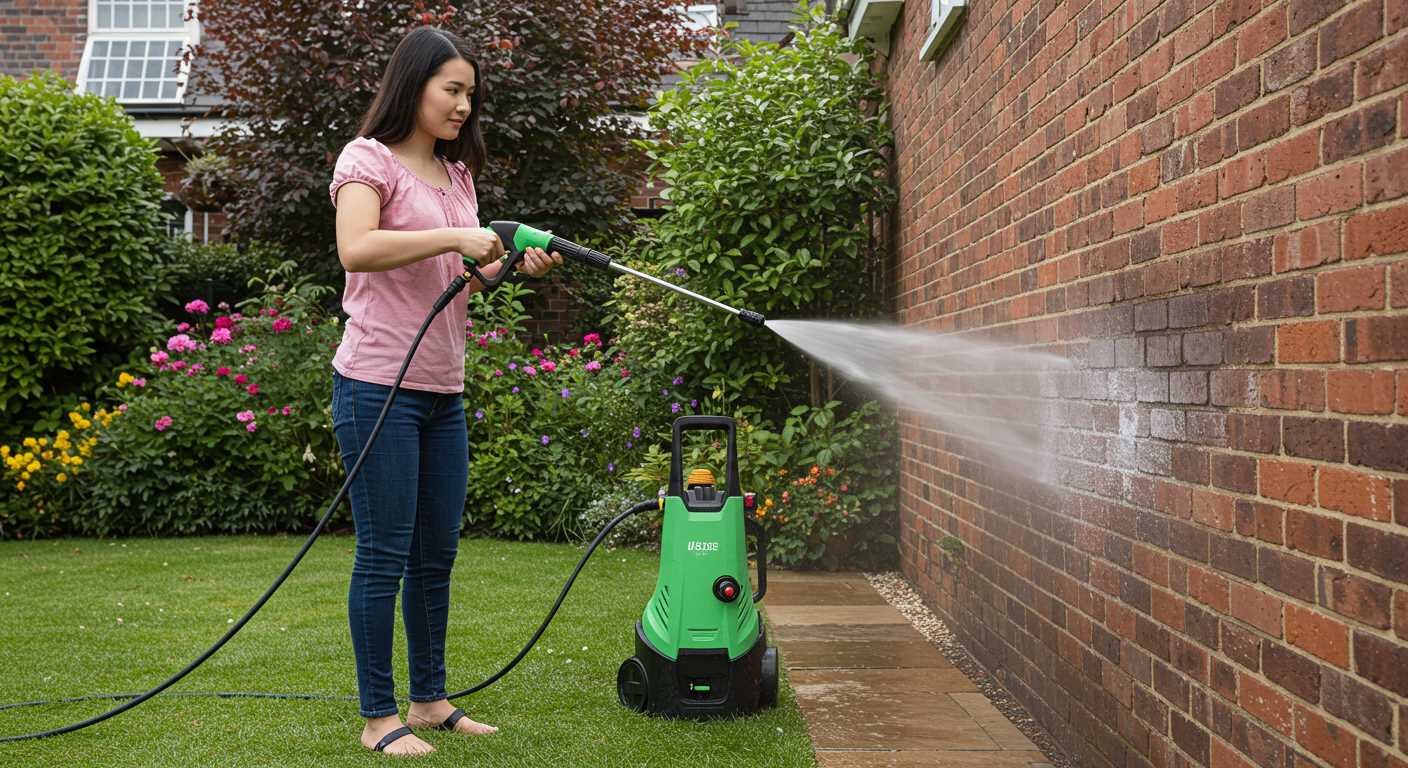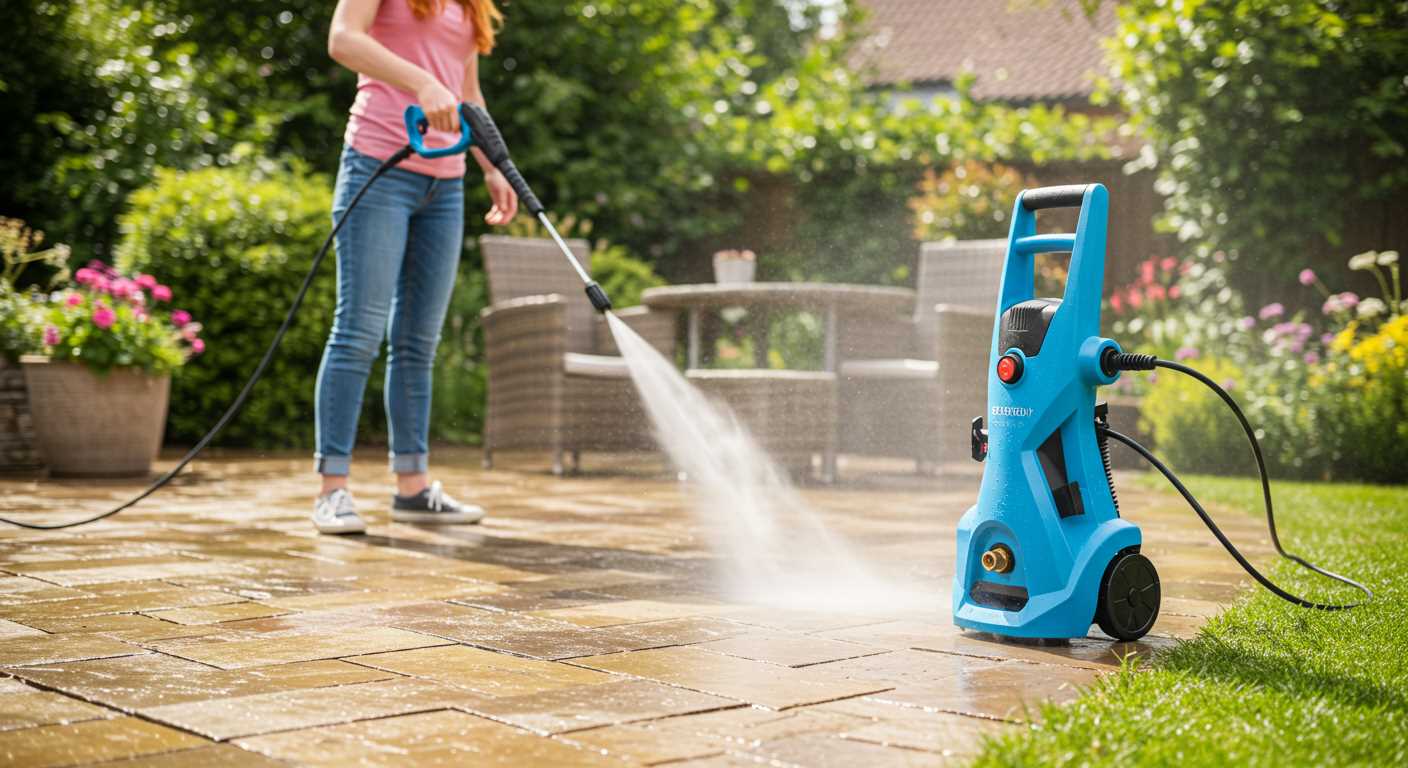


Before you proceed with any troubleshooting, ensure that the power source is functioning correctly. Check the electrical outlet by plugging in another device to confirm that it has power. Sometimes, a tripped circuit breaker can be the culprit.
If power is present, inspect the device’s power switch and cord for any visible damage. A damaged cord can prevent your equipment from receiving the necessary electrical supply. Do not attempt to repair any frayed wires; instead, replace the cord for safety.
Next, examine the water supply. Ensure that the water inlet is not clogged and that the hose is free of kinks. Without an adequate water source, your machine may refuse to initiate, as it requires a proper flow to operate correctly.
Additionally, it’s worthwhile to check the various safety locking mechanisms. If these are engaged, they can inhibit operation until properly disengaged. Consult the user manual for specific instructions related to your model.
Remember, regular maintenance routines can prevent many of these issues. Keeping filters and nozzles clean can enhance the longevity of your device and ensure reliable performance. If these steps do not resolve the problem, it may be time to consult a professional service for a thorough inspection.
Identifying Issues with Your Karcher Unit
Check the power source first. Ensure that the outlet is functional by testing it with another device. If using an extension lead, verify that it is rated for the device’s power requirements and check for any visible damage.
Examine the power cable for cuts or frays. A damaged cable can lead to inadequate connectivity. If found, replace it immediately.
Inspect the on/off switch. It may be stuck or malfunctioning. In many models, these can be replaced easily.
Review the water supply. A blockage in the inlet or a kink in the hose can prevent water flow, affecting the unit’s operation. Ensure the hose is straight and free of obstructions.
Inspect the filter and nozzles. Clogged filters or worn nozzles can impede performance. Clean or replace these components as necessary.
Check for any warning lights on the machine. Refer to the user manual for guidance on interpreting these signals.
Ensure the unit is primed. If air is trapped in the system, it may not function properly. To remedy this, allow water to flow through without pressure until air is expelled.
Review any noises upon activation. Unusual sounds may indicate an internal issue requiring professional attention.
For units with a thermal protection feature, be aware that overheating can trigger a shut-off mechanism. Allow the machine to cool down before attempting to restart.
Finally, consult the user manual for specific troubleshooting steps tailored to your model. If issues persist, it may be wise to seek help from a qualified technician.
Checking the Power Supply and Electrical Connections
The first step is to ensure the power source is functioning correctly. Verify that the outlet is operational by testing it with another device. If that device works, proceed to the next check.
Inspect the power cord for any signs of damage. Look for frays, nicks, or any wear that could cause a poor connection. If you detect any issues, replacing the cord is crucial.
If the washer is connected to an extension lead, make sure it is rated for the load. Low-quality or under-rated leads can lead to insufficient power reaching the equipment. Always use a heavy-duty extension if necessary.
Next, confirm that the unit is plugged in securely. A loose connection can interrupt the flow of electricity. Remove the plug and reinsert it firmly.
Check the circuit breaker or fuse related to that outlet. If the breaker has tripped or the fuse has blown, reset the breaker or replace the fuse as required. Sometimes, a simple reset can solve the issue.
If there’s still no response, consider inspecting the internal electrical components. This may require disassembling the unit, so ensure to follow the manufacturer’s guidelines or consult with a professional. Look for burnt connections or loose wires that could hinder performance.
Lastly, verify that any safety features, such as a thermal cut-off, haven’t been activated. If the unit has overheated, it may need cooling time before it will operate again.
Inspecting the Fuse and Circuit Breaker

Check the fuse and circuit breaker if the equipment fails to power up. Begin by locating the fuse box, typically found on or near the main electrical panel. Inspect for any blown fuses or tripped circuit breakers. Replace any blown fuses with the same amperage rating; ensure the replacement fits snugly into the holder.
If the circuit breaker has tripped, reset it by flipping the switch to the ‘off’ position and then back to ‘on.’ If it continues to trip after resetting, this indicates a potential fault in the equipment or circuit which may require professional assessment.
| Issue | Action |
|---|---|
| Blown Fuse | Replace with same amperage |
| Tripped Circuit Breaker | Reset and monitor for recurrence |
| Frequent Tripping | Seek professional assistance |
Regular inspections of the fuse and circuit breaker can prevent unexpected interruptions during use. For added safety, ensure all connections are tight and inspect for any signs of wear or damage in the wiring before proceeding to operate the unit again.
Examining the Water Supply and Inlet Filters

Check if the water source is providing a steady flow. Ensure that the hose is properly connected and that there are no kinks or blockages impeding water movement.
Inspecting the Inlet Filters
Examine the inlet filters for debris or clogs. These filters can easily accumulate dirt and sediment, restricting water flow. Follow these steps:
- Disconnect the hose from the unit and remove the inlet filter.
- Clean the filter thoroughly with water. A soft brush can help remove stubborn particles.
- Inspect the filter for any signs of damage. If it’s broken, replace it with a new one.
- Reattach the filter and hose, ensuring a snug fit to prevent leaks.
Assessing the Water Supply Setup
Verify that the water supply meets the required specifications. Pay attention to the following:
- Water pressure should be within the specified range, typically between 1-10 bar.
- The hose should be rated for high pressure and capable of sustaining water flow without collapsing.
- If using a rainwater collection system or tank, ensure it is full and free of sediment.
Performing these checks can often solve issues related to inadequate water supply that may hinder operation. If everything appears clear, the next step would be a deeper assessment of other components.
Assessing the Motor and Pump Condition
Begin with a visual inspection of the motor and pump components. Look for any visible signs of damage such as cracks, rust, or leaks. Ensure that all connections are secure and free of debris that could impede performance.
Testing the Motor
Use a multimeter to check the voltage at the motor terminals. This will help determine if there is adequate power supply reaching the motor. If readings are low, reconnect wiring as needed or check the power source. Listen for unusual noises when attempting to start the unit; a humming sound could indicate an obstruction or seized motor. In such cases, gently rotate the motor shaft by hand to see if it frees up.
Examining the Pump
Inspect the pump for any signs of wear, such as leaking seals or cracked casing. Ensure that the inlet and outlet connections are clear of blockages. Engage the trigger while checking for water flow; insufficient output could signify a faulty pump. Check the pressure settings as well, as incorrect adjustments can hinder operation. If the pump fails to build pressure, it may require servicing or replacement of internal components.
Verifying the Presence of the Correct Oil Levels
Begin by ensuring the oil reservoir is filled to the manufacturer’s specified level. Insufficient oil can lead to motor failure or insufficient lubrication, preventing effective operation. Use a dipstick, if available, to gauge the current oil level accurately.
Identifying Oil Quality

Check the oil’s condition. If it appears dark or contaminated, it’s time for a change. Old or dirty oil can impede the functioning of internal components, leading to performance issues. Replacing the oil with fresh, recommended lubricant is essential for smooth operation.
Checking for Leaks
Inspect for any signs of oil leakage around the motor and pump. Leaks can result in low oil levels, causing the internal components to run dry. Addressing leaks promptly by replacing faulty seals or gaskets is crucial in maintaining optimal functionality.
Looking into potential blockages in the hose or nozzle
Inspect the hose and nozzle for any obstructions. Kinks or bends in the hose can restrict water flow, leading to operational issues. Ensure the hose is straight and free from damage. If the hose appears intact, check the nozzle for clogs. Debris, dirt, or mineral build-up can impede water discharge.
To clean the nozzle, remove it from the gun and rinse under warm water. For stubborn blockages, use a thin object like a toothpick to gently dislodge debris. Avoid using sharp tools that may damage the nozzle.
Additionally, verify that all connections between the hose, nozzle, and the appliance are secure. Loose fittings can also hinder performance. Tightening or reseating connections may resolve the issue.
If everything appears in order, run a water test through the hose without attachments to ensure proper flow. This will help isolate whether the problem lies within the hose or the nozzle itself.
Reviewing User Manual for Troubleshooting Guidance

The user manual is a comprehensive resource, outlining specific recommendations tailored to identify and rectify issues. Familiarise yourself with the troubleshooting section, as it often includes flowcharts that guide through diagnostic steps. These visual aids simplify complex problems, allowing for efficient resolutions.
Check the ‘Troubleshooting’ chapter for common symptoms and potential fixes. For instance, if the device fails to operate, it may suggest verifying the power source and electrical connections. There will typically be detailed instructions on conducting these checks effectively.
Look for any listed FAQs or common problems related to your model. This section usually presents common errors users encounter, along with straightforward remedies. Documentation often covers fuse locations and circuit breakers, which can provide quick solutions to many starting problems.
Refer to details regarding water supply requirements and filter maintenance. Many manuals provide diagrams showing the positioning of inlet filters, which is crucial in ensuring adequate water flow to the pump.
Consult the section on motor and pump health. There may be specific indicators to watch for that signal issues requiring professional service. Maintenance advice is also invaluable; regular checks can prevent more significant challenges later on.
Take note of recommendations about oil levels and its checking frequency, as neglecting this can lead to performance deterioration over time.
Finally, check for guidance on hose and nozzle blockages. Proper techniques for clearing these are generally illustrated, ensuring you can maintain optimal function.


