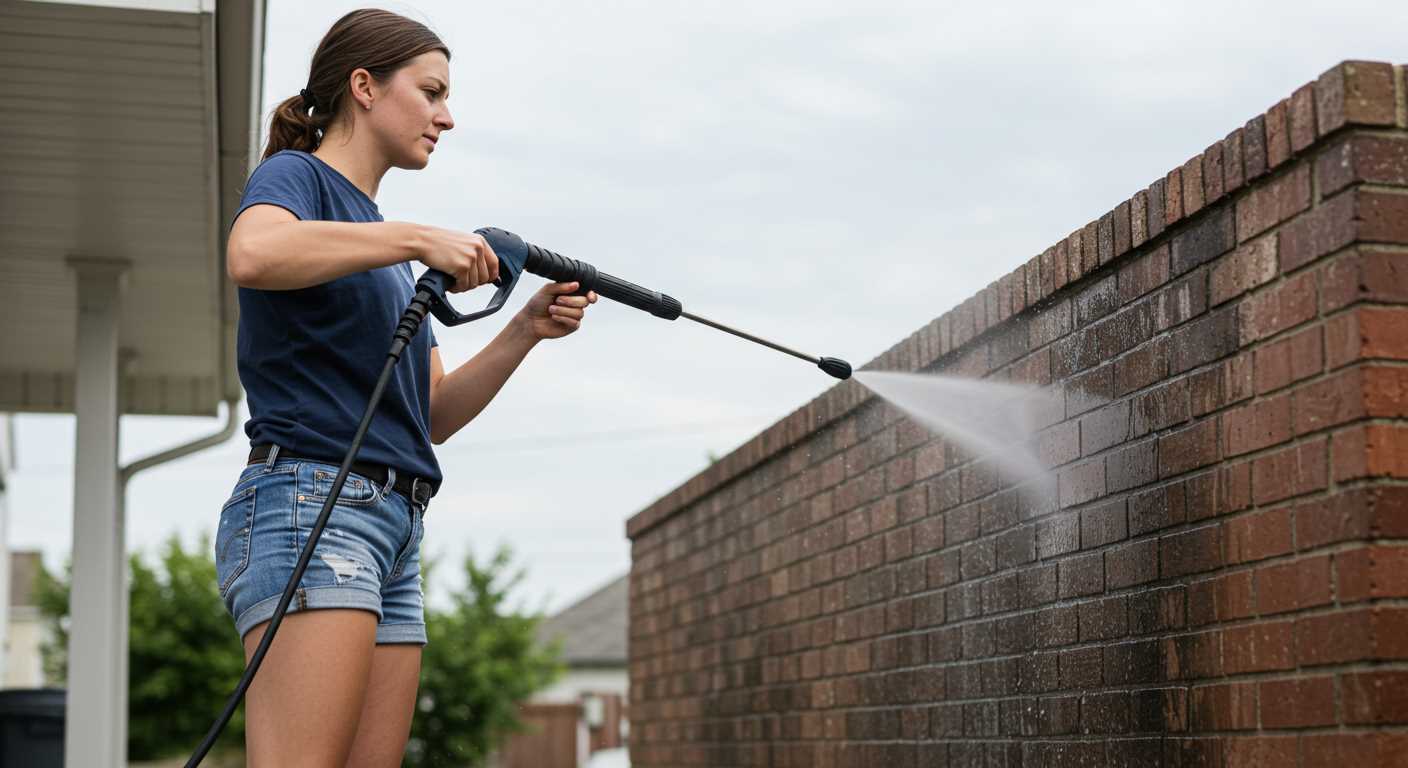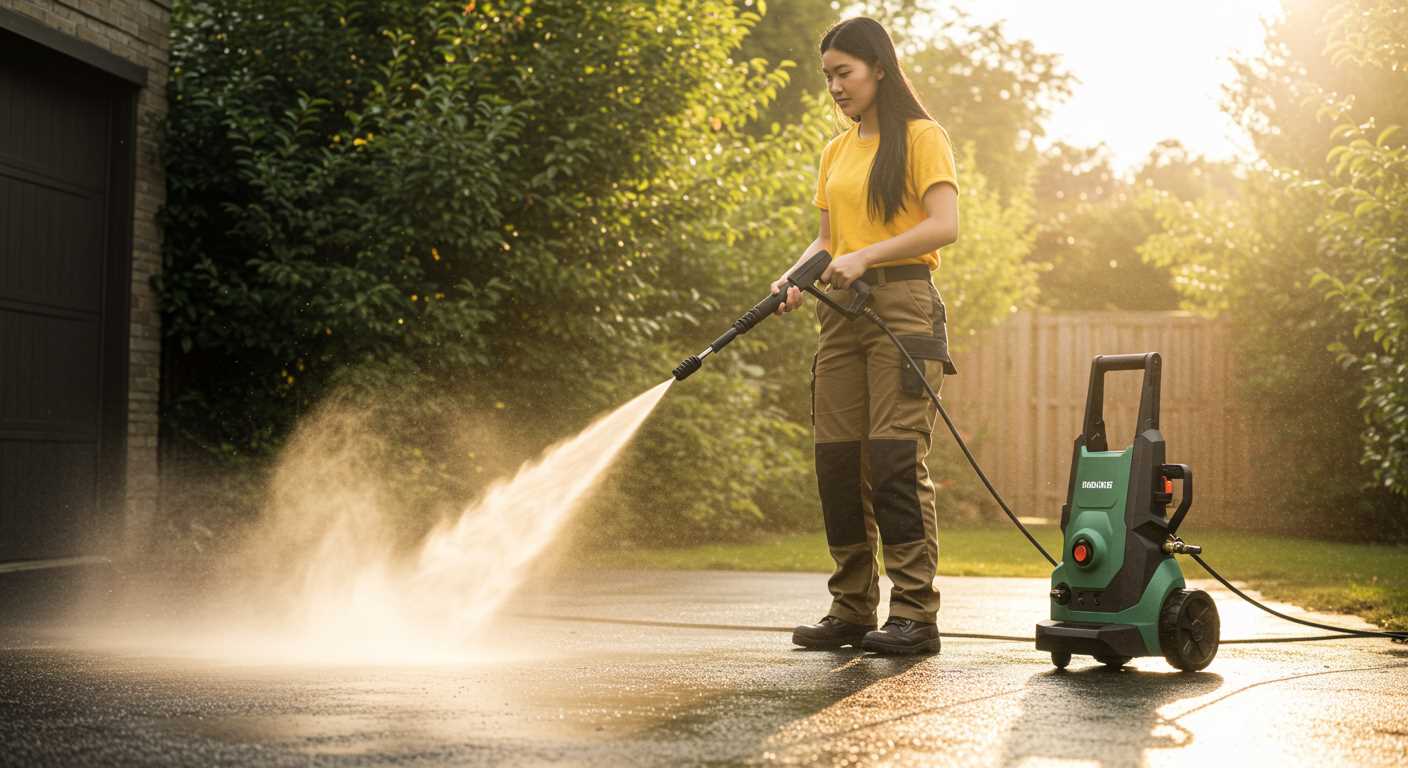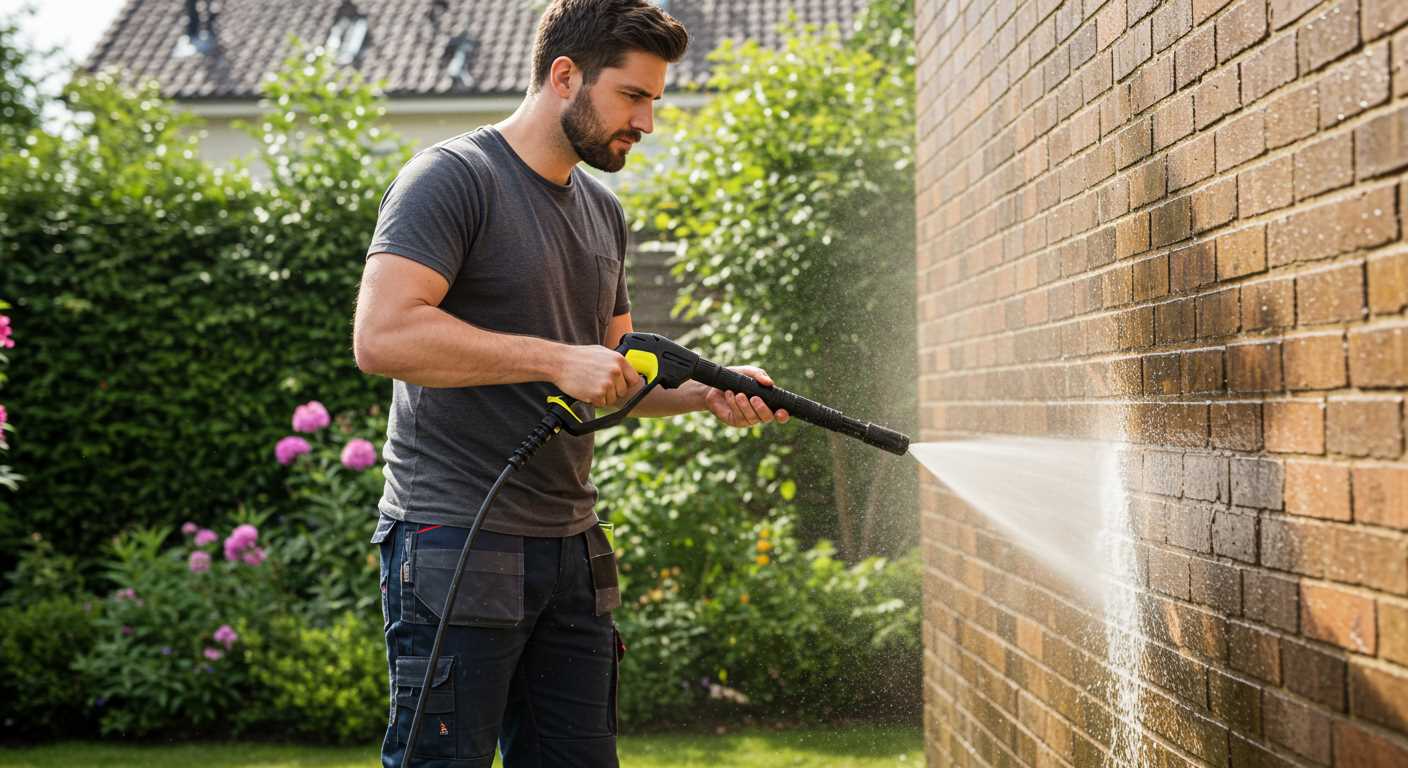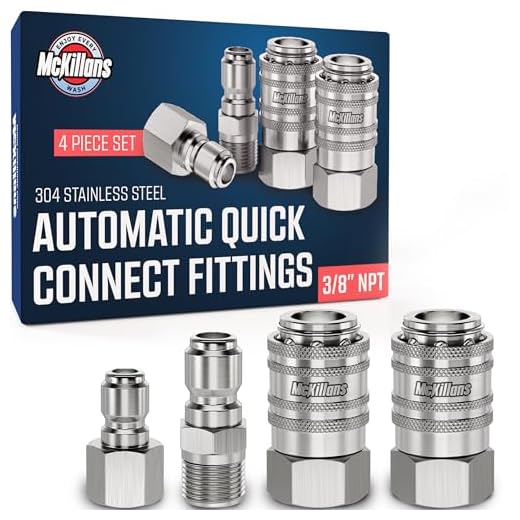


Inspect the connections between the spray wand and the high-pressure hose. A loose or worn connection is often the primary culprit behind unwanted fluid seepage. Ensure these components are securely tightened to prevent any unnecessary leaks.
Another common source of fluid loss is the O-ring. Over time, these seals can degrade, causing gaps that allow fluid to escape. If you notice any cracks or damage on the O-ring, replacing it is a straightforward fix that can save you from ongoing headaches.
It’s also wise to examine the nozzle for clogs or blockages. Accumulated debris can lead to inconsistent pressure, which might force fluid out of areas not designed for it. Regular cleaning and maintenance of the nozzle will enhance performance and minimise leaks.
If those steps don’t resolve the issue, consider inspecting the internals of the cleaning unit itself. Over time, wear and tear can lead to more serious issues such as cracks in the housing or pump system. Regular servicing can preempt these problems and extend the life of your equipment.
Lastly, ensure you’re using the right fluid and pressure settings. Using incorrect settings can place undue stress on components, leading to premature failures. Refer to your user manual for the correct specifications tailored to your model.
Identifying Common Leak Sources in Pressure Washer Guns
Begin by checking the connection where the nozzle attaches to the wand. A loose or damaged fitting can often lead to water escaping, compromising the flow. Tighten connections as needed and inspect for any visible wear.
Examine the nozzle itself for clogs or cracks. Sometimes debris can obstruct the flow and create pressure buildup, resulting in leaks at the weakest points. Clean thoroughly and replace if necessary.
Inspect the O-rings and seals within the gun. These components are prone to wear and degradation over time, allowing water to escape. A simple replacement can often resolve this issue effectively.
Focus on the trigger mechanism. If it feels sticky or doesn’t spring back properly, it may not be sealing correctly when closed. Cleaning the trigger and ensuring it functions smoothly can eliminate unwanted leakage.
Look for signs of damage on the exterior casing. Cracks or breaks can lead to significant water loss. If you identify any structural damage, it’s advisable to replace the assembly altogether to restore optimal performance.
Check the pressure settings on the machine itself. Incorrect settings can contribute to unwanted pressure fluctuations, increasing the likelihood of leaks. Adjust to the recommended level for your attachment to minimise issues.
Lastly, evaluate the hose for any punctures or kinks. A compromised hose can result in leaks before the water even reaches the cleaning attachment. Inspect thoroughly and replace if you notice any damage.
Checking O-rings and seals for wear and tear

Inspect O-rings and seals thoroughly for signs of deterioration. Look for cracks, brittleness, or warping, which can compromise their ability to provide a secure seal.
Steps for inspection
- Disassemble the handle and check the O-rings and seals located at the connection points.
- Examine each component closely under good lighting.
- Use a gentle touch to feel for any irregularities on the surfaces.
Replacement guidelines
- Replace any damaged O-rings or seals immediately to prevent fluid escape.
- Ensure replacements are of the correct size and material for optimal compatibility.
- Apply a small amount of lubricant on new O-rings before installation to enhance performance.
Regular checks and timely replacements of these components can significantly extend the longevity and efficiency of your equipment.
Examining Hose Connections for Tightness
Start by inspecting all hose connections thoroughly. Ensure that each connection is securely fastened. Loose fittings are a common cause of water escape. Grip the connection points and turn them clockwise to tighten, using your hands or a wrench where necessary, being cautious not to overtighten, which could damage the fitting.
Next, look for signs of wear or damage around the connection points. If you notice any cracks or splits, it may be necessary to replace the entire hose or the fittings. A snug fit is crucial for maintaining optimal performance.
Check the threads on both the hose and the nozzle. Damaged threads can prevent a proper seal. If the threads appear worn, using plumber’s tape can help create a better seal and prevent moisture from escaping.
If multiple connections are involved, work your way through them methodically. Sometimes, a minor issue at one site can lead to problems along the entire hose. Use this opportunity to inspect for kinks or sharp bends that could also contribute to leaks.
After tightening the connections, turn on the system and observe each area carefully for any signs of moisture. If you notice dampness, you may need to revisit the connection and adjust it more thoroughly. Once everything is secure, you can proceed to use your equipment without concern.
Assessing Trigger Mechanism for Damage
Examine the trigger mechanism closely for any visible signs of wear or damage. Look for cracks, chips, or other deformation that might prevent it from sealing properly.
Check for smooth operation. If the trigger feels stuck or requires excessive force to engage, this can indicate internal issues. Lubricate the mechanism lightly with a suitable grease to ensure it moves freely.
Inspect the internal components, including springs and pins. A broken spring can affect trigger responsiveness, leading to unwanted fluid escape. Replace any faulty parts promptly to restore optimal functionality.
If the trigger mechanism has an adjustment screw, ensure it’s set correctly. Misalignment can lead to pressure fluctuations, contributing to leaks. Refer to the manufacturer’s manual for proper adjustment guidelines.
Lastly, consider the overall assembly of the trigger mechanism. Loose screws or fittings can result in gaps that allow fluid to escape. Tighten any loose connections and confirm that everything is securely in place.
Cleansing Nozzle and Tip for Clogs
Regularly inspect and clean nozzles and tips to maintain optimal performance. Clogs often develop from debris, paint flakes, or mineral deposits that accumulate during usage. Remove the nozzle and soak it in a solution of warm water and vinegar to help dissolve any stubborn buildup. For persistent clogs, utilise a thin object, such as a straightened paperclip, to gently clear blockages from the tip’s opening.
After cleaning, always check the nozzle’s spray pattern before reattaching. A blocked or partially obstructed nozzle can create back pressure, leading to leaks in connections elsewhere in the system. Use a garden hose to flush the nozzle thoroughly after soaking, ensuring all residues are removed.
Replace any damaged tips without hesitation since compromised parts can affect performance and safety. Store nozzles in a dry, safe place to prevent environmental damage. Regular maintenance of these components significantly reduces the risk of operational issues, ensuring a smooth and effective cleaning experience.
Inspecting High-Pressure Hose for Punctures

Examine the high-pressure hose closely for punctures or abrasions. Start by inspecting the entire length; look for any signs of wear that could compromise performance. Pay special attention to areas that frequently bend or twist, as these are common spots for damage.
Using a damp cloth, wipe the surface to identify any hidden cracks or holes that may not be immediately visible. A quick inspection under strong light can also help to reveal tiny punctures. Any damaged section should be marked for further analysis.
Identifying and Repairing Damage
If you find a puncture, consider using a hose repair kit. These kits typically include rubber patches and adhesive that can seal small holes effectively. For larger damages or if the structural integrity feels compromised, replacement of the entire hose might be necessary to ensure safety and efficiency during use.
Preventative Maintenance Tips
To extend the lifespan of your high-pressure hose, avoid dragging it across rough surfaces and take care not to kink it during storage. Regular checks before each use will help catch potential issues early. Store it in a cool, shaded area to prevent abrasion and UV damage when not in use.
Understanding the Impact of Temperature on Leaks
Temperature fluctuations significantly affect the performance and integrity of components. High temperatures can cause seals and O-rings to expand, leading to cracks or warping, while cold conditions may result in brittleness, making materials more prone to failure. Maintaining operating temperatures within recommended ranges can help mitigate these issues.
Effects of High Temperatures
In warmer environments, I often find that rubber seals and gaskets lose their elasticity, which can create gaps and allow fluid to escape. It’s advisable to regularly inspect these components, especially during summer months or in regions that experience extreme heat. If you notice leaks during hot weather, it’s worth assessing the condition of these seals and replacing them if necessary.
Effects of Low Temperatures
Conversely, in lower temperatures, I’ve observed that materials can become stiff and fragile. This rigidity can lead to cracking during normal operation. When working in colder climates, it’s beneficial to use anti-freeze or to store the equipment in a warmer environment before use. Always conduct a thorough check of the fittings after exposure to low temperatures to ensure they are intact and functioning correctly.
| Temperature Condition | Common Issues | Recommended Action |
|---|---|---|
| High Temperatures | Seal expansion and cracking | Inspect seals; replace if damaged |
| Low Temperatures | Material brittleness and cracking | Warm up equipment; check fittings |
Adjusting maintenance practices based on seasonal temperature changes can extend the lifespan of components and improve overall functionality. Always pay attention to the environment while using and storing your cleaning devices.
When to Seek Professional Repair or Replacement
If you’ve undertaken troubleshooting and repairs without success, it may be time to consult a service technician or consider replacement. This is particularly crucial when you notice persistent issues following attempts at rectification.
Signs Indicating Professional Assistance is Necessary

- Unusual noises during operation that weren’t present before.
- Leaks that occur despite replacing O-rings and tightening connections.
- Trigger mechanism failures that prevent operation or cause unexpected release of water.
- Visible signs of damage to the high-pressure hose that could compromise safety.
Assessing Repair vs Replacement
- If the total repair cost exceeds half the price of a new model, consider replacing it.
- Older models may lack available parts; if replacement parts are hard to find, a new purchase is sensible.
- A frequent pattern of repairs within a short timeframe suggests that replacement is a more practical option.
Investing time in a thorough diagnosis before seeking help can lead to better-informed decisions, ensuring efficient resolution of the problem.


