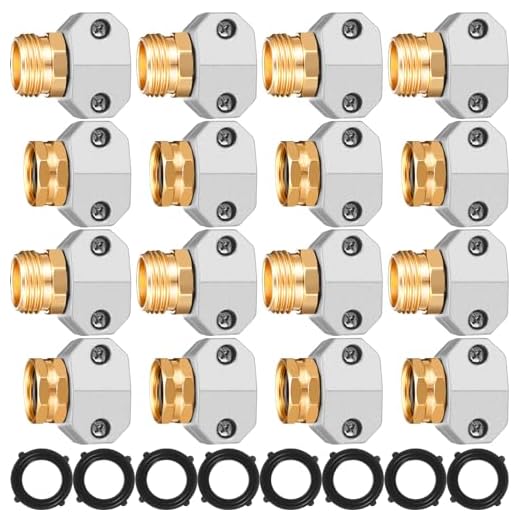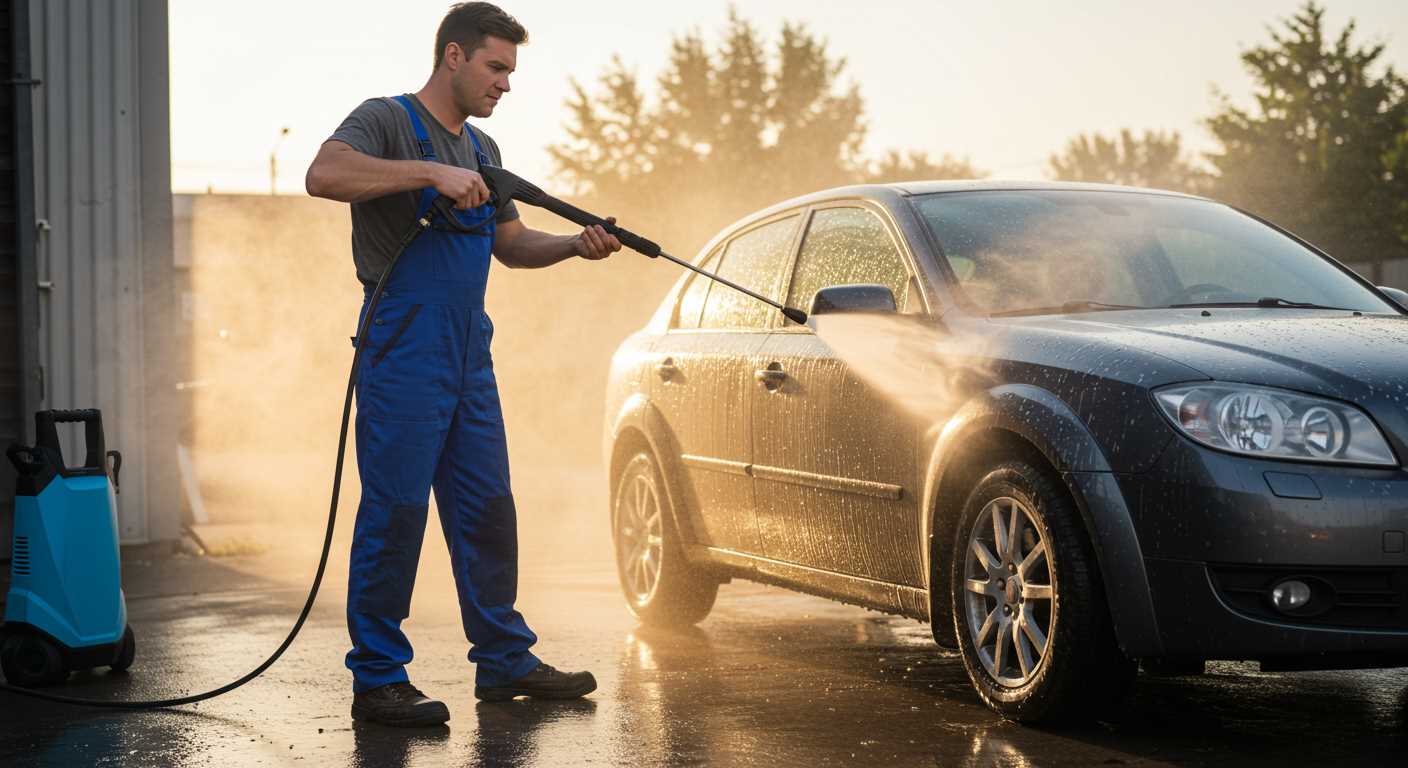


First and foremost, inspect the hose for kinks or blockages. Any obstruction in the hose can cause irregular water flow, leading to a disruptive operation. Ensure that the connections are secure and free from dirt or debris. A thorough cleaning of the inlet filter can also prevent issues related to water supply.
Next, check the nozzle for clogs. It’s common for dirt and grime to build up within the nozzle, leading to inconsistent pressure and erratic performance. Use a suitable tool or a pin to carefully clear any blockages. Be sure to also verify the correct nozzle size for your intended task, as using the wrong one can lead to operational difficulties.
Another crucial step is to examine the motor and pump integrity. Listen for unusual noises during operation; they can be a sign of wear or damage. Regular maintenance, including oil checks and appropriate lubrication, can help maintain performance and prevent judders. If issues persist despite these interventions, consider consulting a professional for an in-depth assessment or replacement of faulty components.
Understanding the Causes of Pressure Washer Juddering
.jpg)
I recommend checking the water inlet filter immediately if you notice an inconsistent flow during operation. A clogged filter can restrict water intake, causing fluctuations in performance. Clean or replace it to restore steady pressure.
Next, inspect the nozzle for blockages. Dirt or debris can obstruct the nozzle, altering the spray pattern and resulting in that jerky motion. A thorough cleaning can resolve this issue effectively.
Examine the hose for kinks, twists or leaks; any impairment can disrupt water flow. Make sure the hose is properly positioned and free of damage to maintain an uninterrupted stream.
Be mindful of the pump’s condition. Worn or damaged seals and pistons can create instability in operation. Regular maintenance, including lubrication and seal inspections, is key to ensuring reliable performance.
Look into the quality of your water source. Low pressure from the tap can significantly affect the unit’s operation. Consider installing a pressure gauge to monitor this effectively.
If using an extension cord, check its rating. An insufficiently rated cord can lead to voltage drops, impacting the motor performance. Opt for a heavy-duty extension cord that meets the equipment requirements.
Finally, avoid running the unit with a partially open tap. This can cause irregular pressure. Always ensure a full water supply to maintain a smooth operation.
Checking for Air Leaks in the Hose
.jpg)
Inspect the hose for any visible cracks or damages. Even small imperfections can introduce air leaks that disrupt the flow of water. Run your fingers along the entire length of the hose while looking closely; do not overlook the fittings at each end.
Submerge the hose in water to locate leaks effectively. Look for bubbles forming, as these are signs of air escaping. If you find any leaks, you can use silicone tape or hose repair kits to seal them temporarily.
Take the time to check the connectors as well. A loose or worn-out connector can cause air to enter the system, resulting in inconsistent pressure. Tighten any loose fittings, and consider replacing any damaged connectors.
Here’s a simple checklist to follow:
| Task | Details |
|---|---|
| Inspect for visible cracks | Run fingers along the hose; look for any obvious damage. |
| Submerge hose in water | Look for bubbling to identify air leaks. |
| Check connectors | Tighten or replace any loose or damaged fittings. |
Finally, if the problem persists, it might be worth considering replacing the hose altogether. An older hose may have accumulated wear that isn’t immediately visible but continues to compromise the system’s performance.
Inspecting the Water Supply for Blockages
Begin by checking your water source. Ensure that the hose is connected securely, and there are no kinks or sharp bends that could restrict flow.
Look for Obstructions
Next, investigate the inlet filter. Remove it from the unit and rinse under clean water. Accumulated dirt, sediment, or debris can significantly hinder water intake.
Evaluate Supply Pressure
Verify the water supply pressure. If the pressure is too low, it can lead to inefficient operation. I recommend using a pressure gauge to measure flow and ensuring it meets the minimum requirements specified in the user manual.
Inspect the entire hose for blockages. A blocked or damaged hose can impede water flow. Run water through the hose without the unit attached, listening for irregularities that signal an obstruction.
- Disconnect the hose from both the water source and equipment.
- Flush the hose with water to remove any build-up.
- Check for leaks or cracks, replacing the hose if necessary.
After these checks, reconnect everything and run the system to see if performance improves. Regular maintenance of your water supply will enhance efficiency and longevity.
Evaluating the Condition of the Pressure Washer Pump
Begin by checking for any visible leaks around the pump. If water is seeping from joints or seals, this can significantly affect performance. Replace damaged seals as needed.
Listen closely to the operation of the pump. Unusual noises like grinding or rattling can indicate internal wear or damage. If you notice these sounds, the pump may require servicing or replacement.
Inspect the inlet and outlet connections to ensure they are secure. Loose connections can allow fluctuations in water flow, causing inconsistent output. Tighten any loose fittings, and replace worn ones.
Eroded or corroded components can escalate issues. Examine metal parts for signs of rust or damage. If corrosion is present, consider replacing those parts to restore proper functionality.
Monitor the pressure gauge during operation. If the reading is inconsistent or too low, it may suggest pump malfunctions. Verify that the gauge itself is functioning properly and replace it if necessary.
Finally, check for any blockages in the pump. Accumulated debris can hinder performance and cause irregularities in output. Clean thoroughly and ensure all pathways are clear to maintain optimal performance.
Assessing the Spray Gun and Nozzle for Issues
The first step in troubleshooting is to examine the spray gun and nozzle closely for signs of damage or wear. Start by inspecting the nozzle for clogs or blockages which can disrupt the flow of water, leading to inconsistent performance. Remove the nozzle and rinse it with clean water; a compressed air blast can also help dislodge any stubborn debris.
Next, check the spray gun for leaks or cracks. Hold the gun firmly and engage the trigger while monitoring for water escaping from any joints or seals. If you see water leaking, replacing the spray gun or the O-rings may be necessary to restore functionality.
Testing Different Spray Patterns
Switching out nozzles can also yield insights into performance issues. Try various nozzle types to see if the behaviour improves. A narrow fan pattern may provide more power, while a wider spray can help to cover larger areas. If the juddering persists across different nozzles, the problem likely lies elsewhere.
Ensuring Proper Connections
Examine all connections between the spray gun and hoses. Loose fittings can compromise pressure, leading to irregular water flow. Tighten any connections and replace any worn hoses that may be causing air to enter the system. A secure, leak-free connection is essential for optimal output.
Examining the Power Supply and Extension Cords
Verify that the power source provides the correct voltage needed for operation. Use a multimeter to check the voltage level at the outlet. If the voltage is lower than specified in the manual, this can cause inconsistent performance.
Extension Cords
- Use only heavy-duty extension cords rated for the amperage required by the machine. A lightweight cord can lead to voltage drop and affect performance.
- Keep the length of the extension cord as short as practical. Longer lengths increase resistance, which may result in inadequate power supply.
- Inspect the extension cord for damage. Frayed wires or damaged plugs can interrupt power delivery and result in poor operation.
Consider connecting the unit directly to a wall socket if you suspect that the extension cord may be contributing to the issue.
Electrical Connections

- Check that all electrical connections are secure. Loose or corroded connections can prevent proper power flow.
- Examine power cords and plugs for signs of wear, which can introduce resistance in the circuit.
Addressing these aspects will help ensure that the equipment receives an adequate and stable power supply, positively impacting its overall functionality. If issues persist, further investigation may be necessary in other areas of the system.
Troubleshooting Techniques to Resolve Juddering
Begin by examining the water supply, ensuring it’s flowing freely without obstructions. Check hoses and connections for kinks or damage that could restrict flow.
Inspect the filtration system for debris or blockages. Cleaning filters and ensuring that water entry points are clear can significantly improve performance.
If you’re still facing issues, take a close look at the pump. Look for any signs of wear or damage, as these can lead to inconsistent flow. Replace seals or gaskets if necessary to restore full functionality.
The spray mechanism is also key. Remove the nozzle and check for clogs. Cleaning or replacing the nozzle may resolve inconsistencies in spray pressure.
In case of persistent problems, evaluate the electrical components. Make sure that extension leads are rated for your model. Inspect connections for damage or corrosion, which can hinder performance.
Finally, if all else fails, consider the unthinkable: reaching out to a professional. Their expertise can pinpoint issues that may not be immediately visible and save you time and frustration.


