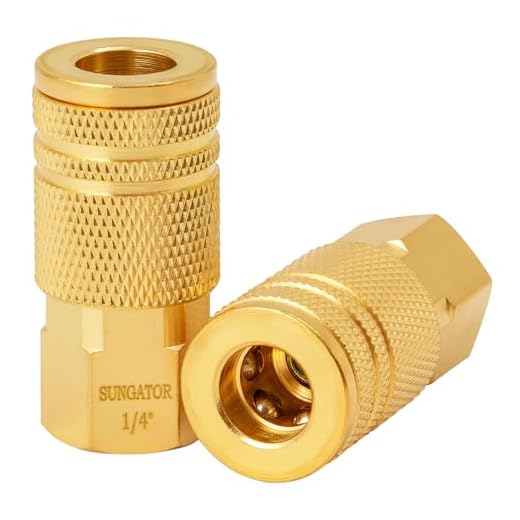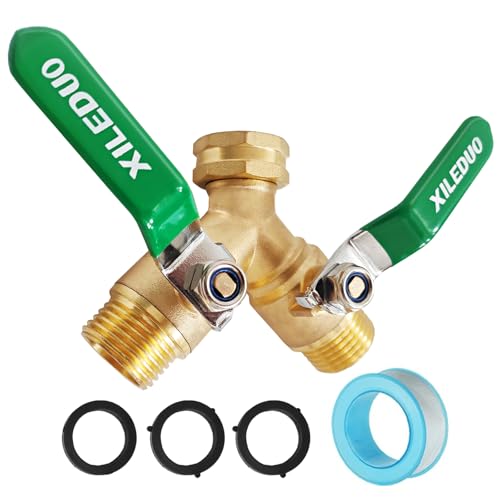

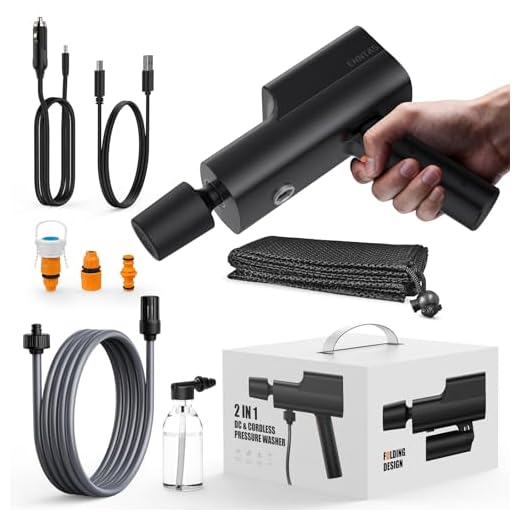

First, check the O-rings and seals for leaks. Over time, these components can wear out due to exposure to detergents and high temperatures. If they’re cracked or damaged, they won’t maintain a proper barrier, causing a loss in output. Replacing these parts is typically straightforward and can resolve pressure issues quickly.
Next, inspect the connection points, including hoses and fittings. Any loose or degraded connections can lead to a significant drop in force. I recommend tightening all fittings and testing them for leaks with soapy water. Bubbles indicate problematic areas that need immediate attention.
Another critical aspect is the water supply. Make sure the source is adequate and free of kinks. If the supply pressure is too low, the system will struggle to achieve optimal performance. Ensure that the inlet filter is clean as well, as blockages there can restrict flow and impact functionality.
Lastly, consider the nozzle. A clogged or faulty nozzle can disrupt water flow and reduce output drastically. Periodically cleaning or replacing the nozzle can help maintain consistent performance. Regular maintenance checks can save you from unexpected downtimes and ensure your cleaning equipment operates at its best.
Checking for Leaks in the Hose and Connections
Begin by inspecting the hose for visible signs of wear or damage. Look for frays, cracks, or punctures that may allow liquid to escape. Gently bend the hose along its length; any audible hissing or splattering indicates a breach. If you spot any imperfections, consider replacing the hose entirely to restore functionality.
Next, examine all connection points, including where the hose meets the unit and the nozzle. Ensure that these areas are secured tightly and free from debris. If a connection feels loose, tighten it with your hands or use an appropriate tool, being cautious not to over-tighten.
For a more thorough check, apply soapy water to connections and watch for bubbles forming, which signifies an escape route. This method effectively reveals hidden leaks that could otherwise go unnoticed. If bubbles appear, ensure to clean the area and try reseating the fitting. If the problem persists, consider using thread tape to enhance the seal.
Regular inspections will help maintain optimal performance. Investing time in these checks can avert larger issues down the line and prolong the lifespan of your equipment.
Examining the pump for damage or wear
Inspect the pump assembly for visible cracks or corrosion. Look closely at the housing to identify any signs of deterioration that could compromise its function. A damaged pump may lead to a significant loss of force.
Check the seals and gaskets carefully. If they appear worn or compressed, they may no longer create an effective barrier, resulting in fluid bypassing the system.
Listen for unusual noises during operation. A loud or rattling sound can indicate issues within the pump, such as misalignment or internal wear.
Here’s a step-by-step process to assess the pump:
- Disconnect the unit from the power source.
- Remove any access panels to expose the pump.
- Examine the intake and outlet ports for blockages or leaks.
- Inspect the connecting pipes for cracks or signs of wear.
If the pump exhibits severe damage, consider replacing it. For minor issues, replacement of seals or gaskets may suffice, restoring proper function without the need for an entire pump overhaul.
Regular maintenance is vital. I suggest establishing a preventive routine, which includes inspecting the pump at least once every few months. This proactive approach will keep your equipment performing optimally.
Inspecting the Unloader Valve Functionality
Check the unloader valve as it plays a critical role in managing water flow and pressure within the system. If this component malfunctions, it can lead to significant performance issues.
Steps to Inspect the Unloader Valve
- Power off the device and disconnect it from its power source.
- Locate the unloader valve, typically positioned near the outlet of the pump.
- Remove any covers or shields that obstruct access to the valve.
Once you have access, perform the following evaluations:
- Visual Inspection: Look for any visible damages, cracks, or corrosion on the valve and its housing. Signs of wear may indicate a need for replacement.
- Operational Check: Manually operate the valve to ensure it moves freely. A stuck or jammed valve can prevent the unit from functioning properly.
- Testing Pressure Release: With the device activated and under pressure, observe if water is appropriately diverted back to the inlet. If water flows out continuously, the valve may be malfunctioning.
Maintenance Tips
To maintain optimal performance of the unloader valve:
- Regularly check and clean the valve to prevent dirt and debris buildup.
- Ensure all connections are secure and free from leaks to avoid stress on the valve.
- Consider replacing the valve every few years, depending on usage, to prevent failure.
Addressing valve functionality promptly can prevent larger issues down the line, ensuring the machine operates effectively. If problems persist even after inspection, professional assistance may be necessary for further diagnostics.
Assessing the Presence of a Clogged Intake Filter
Check the intake filter first. A blocked filter prevents water from flowing properly, leading to inconsistent output. Locate the filter; it’s often found near the water inlet. Remove it and examine for debris or contaminants.
Steps to Inspect the Intake Filter
1. Remove the Filter: Unscrew or detach the filter from its housing.
2. Clean or Replace: Rinse under running water or replace it if it’s heavily clogged. Use a soft brush to dislodge particles stuck within the mesh.
3. Reassemble: Ensure the filter is firmly reattached to avoid leaks.
Filter Maintenance Suggestions
Regular maintenance of the intake filter contributes to optimal functioning. Replace it every few months or after heavy usage. Ensure that the water source is clean before connecting your equipment to avoid future blockages.
| Action | Frequency |
|---|---|
| Inspect Filter | Every Use |
| Clean Filter | Weekly |
| Replace Filter | Every 3-6 Months |
Implement these practices to maintain a steady flow and enhance efficiency over time.
Evaluating the Water Supply and Pressure Settings
Ensure your water source provides adequate flow and pressure, as insufficient supply can lead to performance issues. Connect the unit to a hose that is at least 1/2 inch in diameter and check for consistent water flow. A garden hose with kinks or blockages will hinder efficiency.
Testing Water Flow
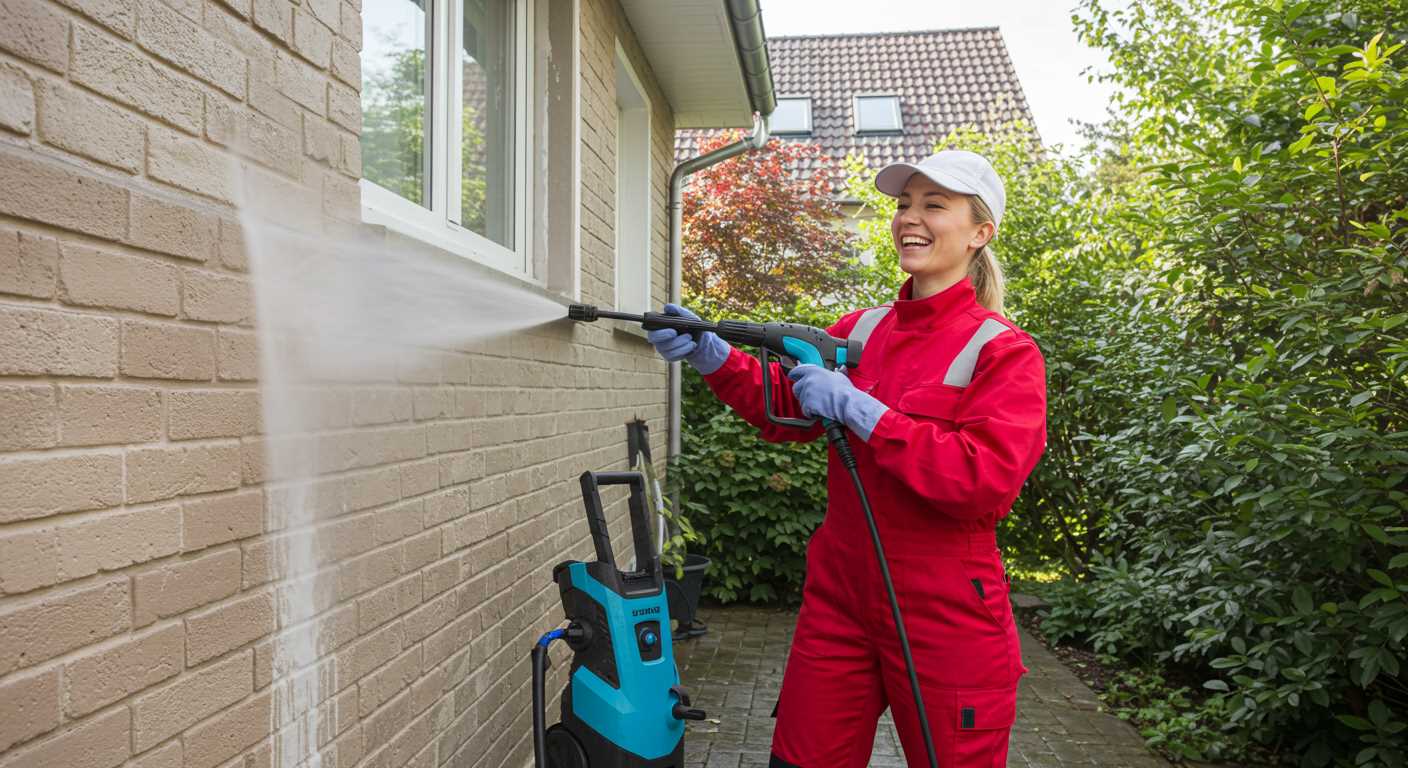
Begin by checking the flow rate. Disconnect the hose from the inlet and turn on the water supply. It should produce a strong, steady stream. If the flow is weak, the issue might stem from the water source or clogging in the hose.
Adjusting Pressure Settings
If your device includes an adjustable pressure setting, verify it is correctly configured. Often, settings can be misaligned during operation. Setting it too low can affect performance, while excessive pressure may strain components. Refer to the manufacturer’s manual to find the optimal settings.
Finally, always ensure that the water supply is clean and free from debris, as contaminants can lead to unexpected issues with the equipment over time.
Looking into the nozzle condition and compatibility
Inspecting the nozzle is critical for optimal performance. Begin by checking for any signs of wear or damage. A worn-out nozzle can lead to improper water flow, resulting in diminished efficacy. Clean the nozzle regularly to remove any debris that may obstruct water passage.
Compatibility is equally important. Using the correct nozzle type for your specific machine ensures that the water flow is adequate for the task at hand. Mismatched nozzles can cause inefficiencies; for instance, a high-pressure nozzle used with too weak a motor can lead to poor results.
For effective use, verify the nozzle’s spray pattern. For cleaning different surfaces, a zero-degree nozzle provides a concentrated stream, while a 40-degree nozzle offers a wider spray suited for gentle cleaning. Adjust according to your cleaning needs to maintain effectiveness.
If after these checks you still encounter issues, consider testing with a new nozzle to rule out any faults with the current one. Often, replacing the nozzle is a simple but effective solution that can restore functionality.


