

To effectively handle water escaping from your cleaning device attachment, start by inspecting the O-rings. These rubber seals can wear out over time, leading to unwanted flow. Replacing damaged O-rings is often a simple and cost-effective fix, ensuring a tight seal between components.
If the leakage persists after checking the seals, examine the connection points. Loose fittings can cause water to seep through. Tighten any loose screws or connectors and ensure all components are securely attached for optimal performance.
Another critical area to inspect is the nozzle itself. Clogs or damage can obstruct water flow and create pressure build-up, resulting in leaks. Cleaning or replacing the nozzle can restore functionality and eliminate moisture issues.
Lastly, ensure you’re using the correct settings for your specific tasks. Excessive pressure can exacerbate leaks in worn equipment. Use the recommended settings to extend the lifespan of your tools and minimise the chances of unwanted water escape.
Identifying common leak sources in pressure cleaner attachments
Check the connections between the nozzle and the handle. Loose fittings can lead to escapes in high-pressure scenarios. Ensure they are tight and secure.
Examine the O-rings in the attachment points. These rubber components can wear out or get damaged over time, resulting in a poor seal. Replace them if they show signs of deterioration.
Inspect for cracks or fissures on the barrel of the tool, as even minor damage can create pathways for water. A thorough inspection in good light can help spot these imperfections.
Pay attention to the trigger assembly; internal seals can degrade and may need replacing. If water dribbles from the trigger area during use, this might indicate failure here.
Check the hose connections, ensuring they’re seated properly. Sometimes residual pressure can dislodge them slightly, leading to leakage during operation.
Lastly, consider the possibility of debris lodged in the connections. Small particles can impair seals, so regular cleaning and maintenance are necessary to keep everything functioning well.
How worn O-rings contribute to leak issues
Worn O-rings are often the culprits behind troublesome leaks. I’ll guide you through identifying this problem and its solutions. An O-ring’s primary function is to create a seal between two components, preventing fluid from escaping. Over time, exposure to high pressure, chemicals, and heat can deteriorate these rings, leading to gaps in the seal.
When O-rings become worn, cracked, or hardened, they lose their elasticity and ability to form an effective barrier. This results in pressure loss and unwanted fluid escaping, particularly at connection points. Regular inspections are necessary. If you spot any signs of wear, such as abrasions or deformation, it’s advisable to replace the O-rings promptly.
To replace an O-ring, ensure you have the correct size for your model. Remove the damaged ring carefully using a small tool to avoid damaging the seat. Install the new O-ring, making sure it sits evenly without twists. After reassembly, perform a test to confirm that the leaks are resolved.
Utilising high-quality O-rings made from durable materials can significantly enhance longevity and reduce future issues. Regular maintenance checks can save you time and expenses in the long run. Don’t underestimate the importance of small components like O-rings; they play a critical role in the overall functionality of your equipment.
Inspecting Hose Connections for Tightness and Damage
Ensure all hose connections are secure by hand-tightening them prior to use. Loose connections often lead to issues, so make a habit of checking them regularly.
Steps for Effective Inspection
- Turn off the machine and disconnect it from the power source.
- Examine each connection point for visible signs of wear, including cracks or fraying.
- Check for any rust or corrosion, particularly on metal fittings.
- Test the tightness of each connection by gripping and twisting them gently. If they move, tighten them more.
- Make use of adjustable wrenches if necessary, but avoid over-tightening to prevent damage.
Recognising Damage
Identify damaged areas by looking for:
- Frayed or split hoses that can lead to unexpected losses.
- Crumpled hoses that prevent proper water flow.
- Fittings that do not align smoothly, indicating potential misalignment or damage.
Address any issues immediately to maintain optimal performance. Regular inspections not only prevent future complications but also extend the lifespan of your equipment.
Understanding the Role of the Nozzle in Leaks
The nozzle of your cleaning tool directly affects the flow and pressure of the water being expelled. A faulty or damaged nozzle can lead to inefficiencies and water escape, manifesting as noticeable drips or sprays. If you’re experiencing water escape issues, begin with a detailed examination of the nozzle. Ensure it is securely attached and free from obstructions.
Signs of Nozzle Damage
A cracked or chipped nozzle can compromise the seal, allowing water to escape. Inspect the nozzle for visible damage or wear. If any imperfections are apparent, replacement is usually straightforward and can quickly resolve water escape concerns. Also, check the nozzle’s orifice, as blockages can create excessive pressure build-up, leading to leaks.
Cleaning and Maintenance Tips
Regular maintenance of the nozzle is crucial. Clean it after each use to remove debris or residue that can cause blockages or damage over time. If the nozzle has adjustable settings, ensure they function correctly, as malfunctioning parts can lead to inconsistent water flow and leaks. Lubricating any moving parts with water-resistant grease may also help prolong the life of the nozzle.
By addressing potential nozzle issues early, you can ensure optimal functionality and prevent leaks from occurring, ultimately enhancing the overall performance of your cleaning device.
Steps to troubleshoot internal wand components
Begin troubleshooting by disassembling the attachment to inspect its interior. Carefully unscrew and detach any parts to access seals and internal components.
Next, examine all seals for noticeable wear or cracks. These parts can degrade over time, leading to performance issues if not replaced. Pay close attention to the integrity of internal gaskets as well.
Check for any debris or obstructions within the channeling of the assembly. Clear any foreign materials to ensure water flows smoothly without pressure build-up.
Assess the functionality of the locking mechanisms. If they’re not engaging correctly, realign or replace them as necessary. A secure connection is vital for optimal performance.
| Component | Common Issues | Solutions |
|---|---|---|
| Seals | Worn or cracked | Replace with new parts |
| Gaskets | Deformed or damaged | Install replacements |
| Internal channels | Blocked by debris | Clean thoroughly |
| Locking Mechanisms | Misalignment | Realign or replace |
Finally, after reassembly, test the equipment in a controlled environment. Look for any signs of residual moisture during operation to confirm that leaks have been addressed effectively.
Effects of Water Pressure on Leak Development
Monitoring the water intensity in equipment is crucial for leak prevention. Excessive levels can lead to undue stress on components, resulting in failures where seals and joints fail. Maintaining an appropriate water level not only enhances operational performance but also mitigates potential leak sources.
Impact of High Water Intensity
When the force of the liquid exceeds recommended specifications, it can cause several issues:
- Wear and Tear: Increased friction leads to faster degradation of seals and fitting.
- Joint Separation: Powerful jets can dislodge connections, making them prone to gaps.
- Seal Damage: O-rings and gaskets may not withstand excessive pressure, leading to leaks.
Optimal Operating Conditions
To maximise durability and performance, follow these guidelines:
- Consult the manufacturer’s specifications for pressure limits.
- Avoid sudden increases in flow, which can shock components.
- Regularly inspect hoses for signs of bulging or cracking under normal operating conditions.
By understanding the relationship between liquid intensity and equipment longevity, one can make informed adjustments that reduce the risk of unwanted fluid escape in the future.
Maintenance Tips to Prevent Future Wand Leaks
Regular maintenance is the key to avoiding issues with your cleaning equipment. Start by inspecting and replacing O-rings annually to ensure a tight seal. This simple action can prevent many future malfunctions.
Cleaning and Lubricating Connections
After each use, clean the connections thoroughly. Remove any debris or residue that might cause wear. Apply a small amount of silicone grease to O-rings and threaded connections to minimise friction and enhance longevity.
Storing Equipment Properly
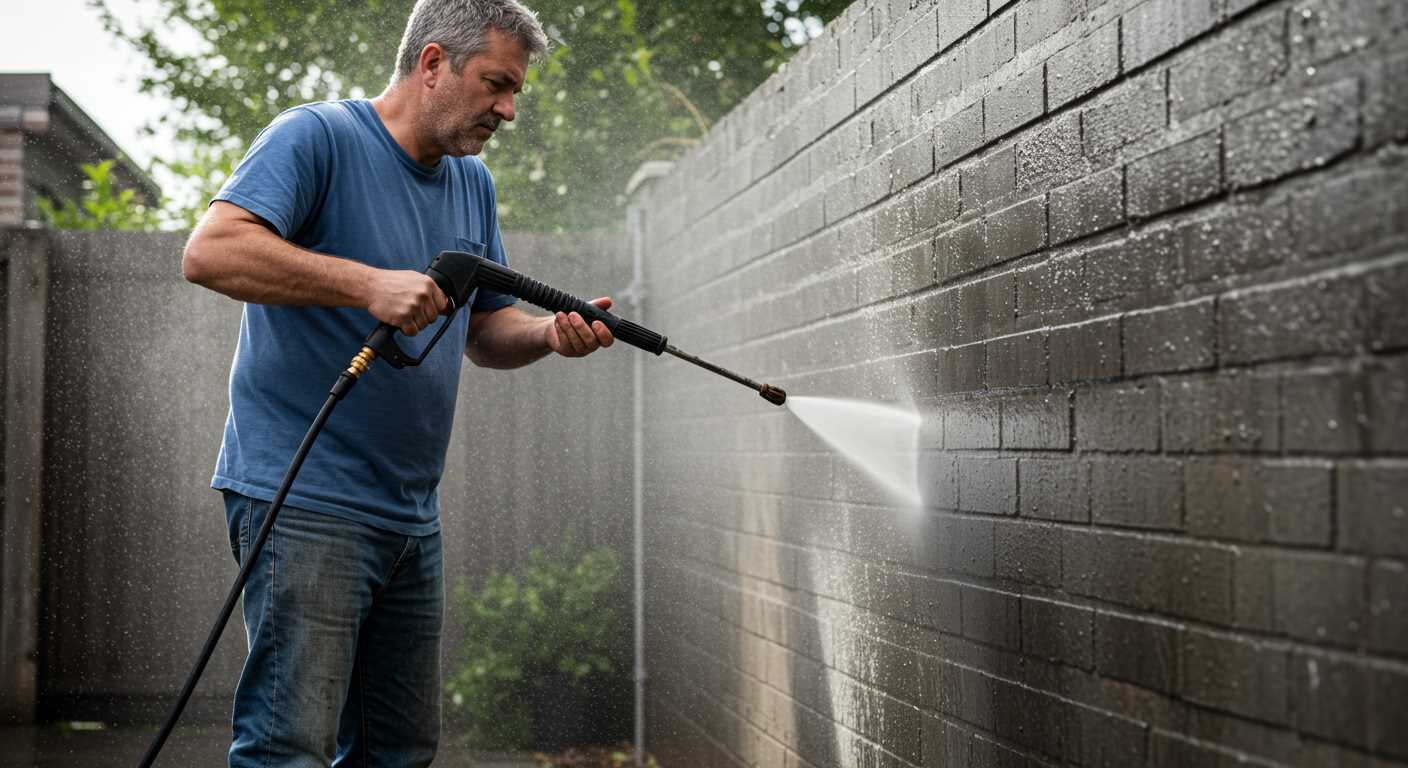
When storing your gear, ensure it is in a dry, temperature-controlled environment. Avoid coiling hoses too tightly to prevent kinks that could lead to ruptures. If the nozzle is removable, store it separately to prevent damage.
Additionally, consider investing in a hose reel or holder for organised storage. This practice reduces strain on connections and extends the lifespan of hoses and fittings.
Routine Inspections
Conduct routine visual inspections before and after use. Check for signs of wear, leaks, or damage. Early detection of damaged parts can save time and money on repairs.
Record Usage and Maintenance
Keep a log of cleaning sessions and maintenance activities. This record will help you track when components were last replaced or serviced, aiding in timely maintenance.
Following these guidelines will extend the life of your equipment and improve performance, allowing for optimal cleaning results every time.


