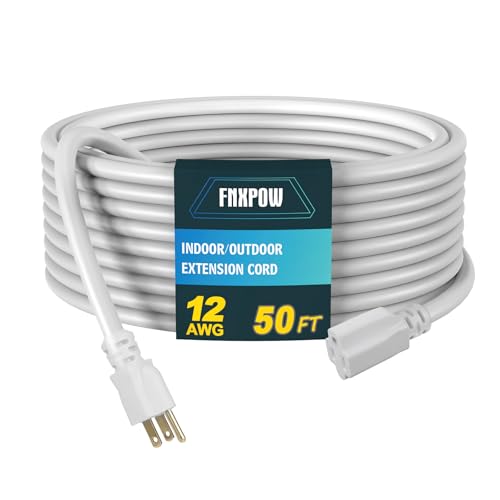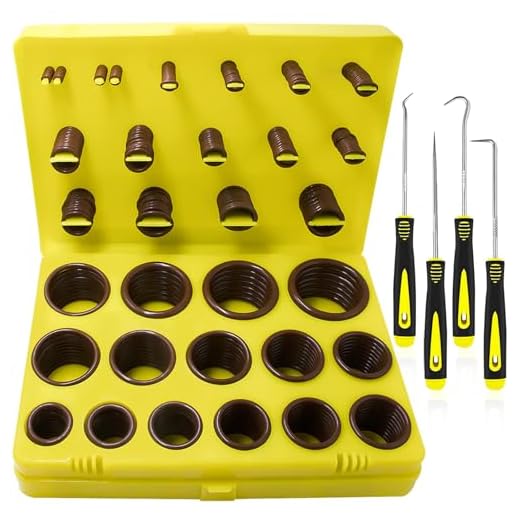

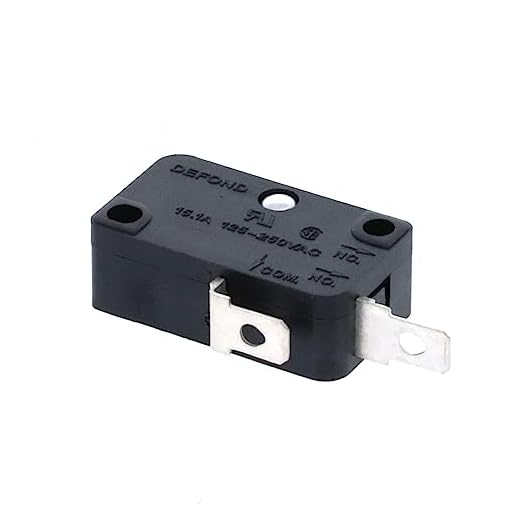

If the equipment doesn’t switch on, the first thing to check is the power source. Ensure that the electrical outlet is functioning properly by testing it with another device. If the outlet is operational, inspect the power cord for any visible damage or wear that may disrupt the electrical flow.
Another issue could be with the trigger handle. If the safety latch is engaged or if the trigger is stuck, the motor won’t activate. Make sure the trigger can move freely and that the safety features are properly disengaged.
Clogged or damaged nozzles can also lead to performance issues. It’s advisable to inspect the nozzle for any debris or blockages. Cleaning or replacing the nozzle can often restore functionality and improve efficiency.
Sometimes, air in the system can cause problems. If you notice irregular spray patterns or reduced pressure, try to purge the air by running the unit with the trigger pulled until a steady stream flows out of the nozzle. This operation can clear trapped air and improve performance.
Finally, check for any leaks in hoses or fittings. A compromised seal can result in pressure loss, preventing the machine from functioning as expected. Tightening connections or replacing damaged hoses may resolve the issue.
Identifying Issues with Your Equipment
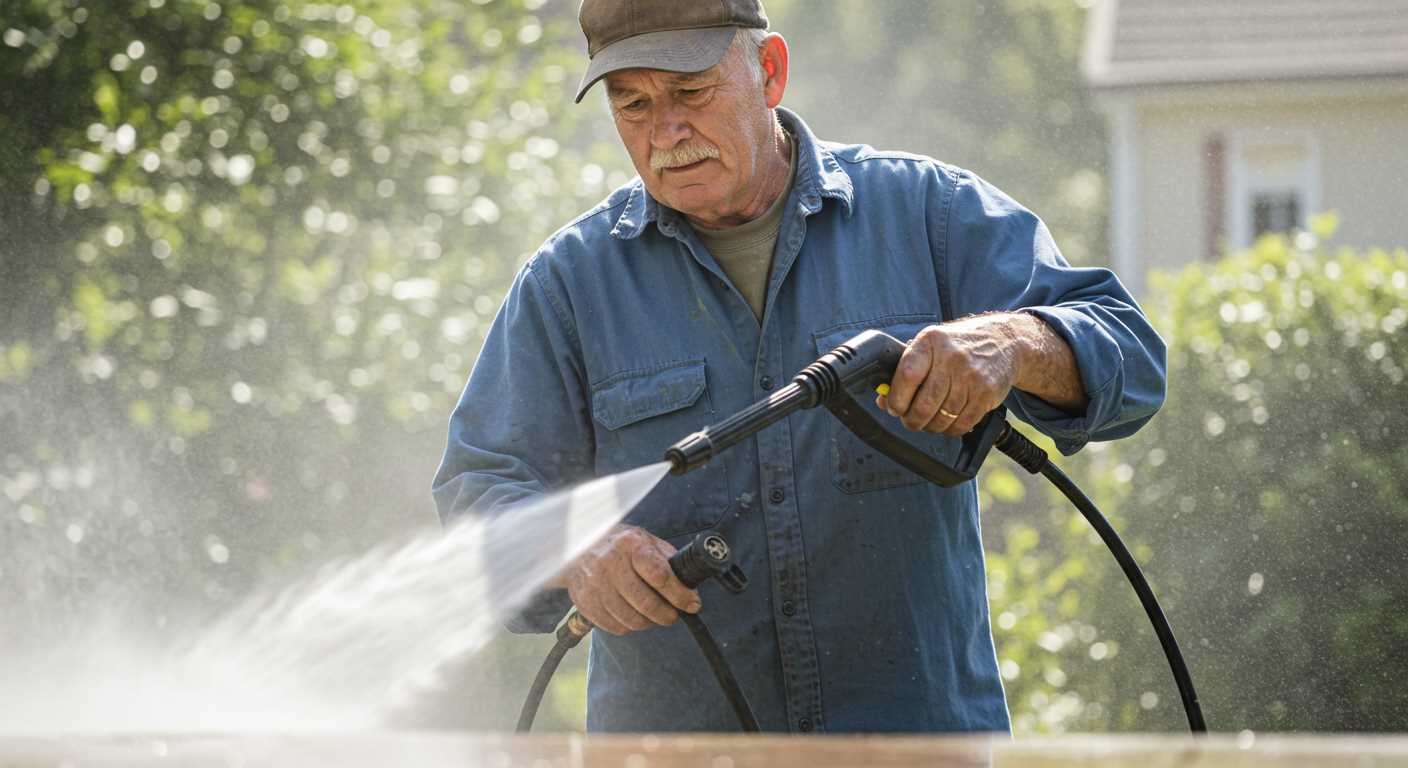
Begin by ensuring that the unit is connected to a reliable power source. Check for tripped circuit breakers or blown fuses. It’s vital to inspect the extension cord length and thickness; a poor connection can lead to insufficient energy supply.
- Inspect the power cord for damage, ensuring it is intact and securely connected.
- Look for any signs of overheating or wear on the plug.
If the motor doesn’t start, consider examining the switch. A faulty switch may prevent operation entirely. Utilise a multimeter to test if current is flowing through the switch.
Next, assess the water supply. Ensure the intake is clear and that the hoses are not kinked or obstructed. Check for blockages in the filter or any inlet screens to prevent water flow issues.
- Clear dirt or debris from the water inlet screen.
- Make sure that the hose is connected securely and is leak-free.
Pay attention to the nozzle and spray wand. If they are clogged, clean them thoroughly with a pin or needle. A clogged nozzle alters the flow and can cause pressure issues, so regular maintenance is important.
Inspect the pump for leaks, as any signs of fluid loss can indicate a serious problem. A worn-out pump may require replacement. Listen for unusual sounds during operation; grinding or rattling noises can denote internal damage.
If you notice that the unit starts but doesn’t build pressure, examine the unloader valve. An improperly set or malfunctioning unloader can lead to reduced performance and erratic pressure levels.
Last but not least, check your detergent tank. If it’s empty or improperly filled, it might hinder function. Ensure you’re using the appropriate cleaning solution compatible with the device.
Checking Power Supply and Cord Connections
First, ensure that the outlet you’re using is functional. Plug another device into the same socket to verify that it provides power. If the second device doesn’t work, there may be an issue with your electrical supply.
Examine the power cord for any signs of wear or damage. Look for frayed ends or exposed wires that may prevent the unit from receiving electricity. If the cord appears compromised, consider replacing it.
Inspect all connections. Confirm that the cord is securely plugged into both the outlet and the equipment itself. Loose connections can hinder performance and prevent operation.
If your unit includes a GFCI plug, test the reset button. A tripped GFCI can disrupt power flow, so ensure it’s reset and functioning properly.
For models with extension cords, make sure they are rated for the necessary wattage and aren’t too long, as this can affect voltage supply. Shorter, heavy-duty cords are preferable to maintain optimal power.
Examining the On/Off Switch and Circuit Breaker
First, ensure the on/off switch is in the correct position. This straightforward check can save time and effort. If the switch appears damaged or unresponsive, it may need replacement.
Next, locate the circuit breaker. If tripped, reset it by pressing the reset button. If it frequently trips, consult the user manual for guidance or consider seeking assistance from a qualified technician. This repeated tripping can indicate electrical issues that require attention.
Troubleshooting Steps
| Step | Action |
|---|---|
| 1 | Verify the switch is in the “On” position. |
| 2 | Inspect for physical damage to the switch. |
| 3 | Locate the circuit breaker and check its status. |
| 4 | If tripped, reset the breaker and test again. |
| 5 | If issues persist, consult the manual or a technician. |
A thorough examination of these components can be pivotal in resolving operational problems efficiently. Any signs of wear and tear should be addressed promptly to prevent further complications. Keep your tools in top condition for the best results.
Inspecting the Water Supply and Hoses
Check the water source first. Ensure that the tap supplying water is fully open and that there are no restrictions. If you notice a weak flow or no water at all, this will impact performance significantly.
Examine the hoses for leaks or blockages. Any cracks or holes can lead to a loss of pressure, rendering the machine ineffective. Run your hand along the length of the hose to feel for any irregularities, and inspect the connections at both ends for tightness.
Remove the inlet filter screen, if applicable, to eliminate potential clogging. Rinse it thoroughly to ensure a clear passage for water. Additionally, check the hose for kinks; any bend can restrict water flow and reduce output pressure.
If everything appears intact but the issues persist, try using a different hose or water supply to rule out problems with your current setup. Connecting to a known operational water source can help you identify whether the issue is with the washer itself or the water supply.
Cleaning or Replacing the Filters
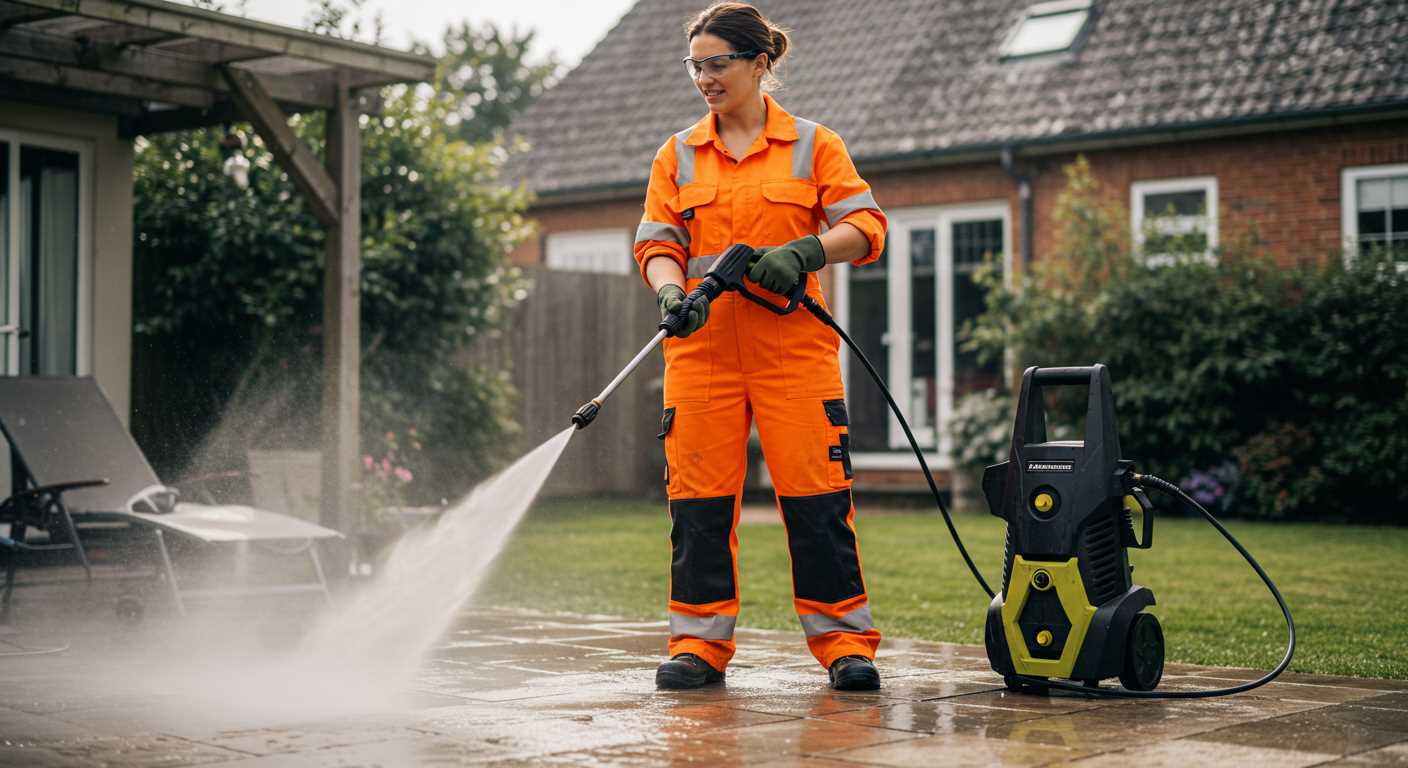
To enhance performance, regularly clean or replace the filters. This step is crucial, as clogged filters can restrict water flow and reduce effectiveness.
Cleaning the Filters
1. Locate the filters, usually found in the water inlet and pump.
2. Remove the filters carefully. Inspect for dirt, debris, or mineral buildup.
3. Rinse the filters under running water to remove contaminants. For stubborn residues, use a soft brush.
4. Allow the filters to dry completely before reinserting them back into the machine.
Replacing the Filters
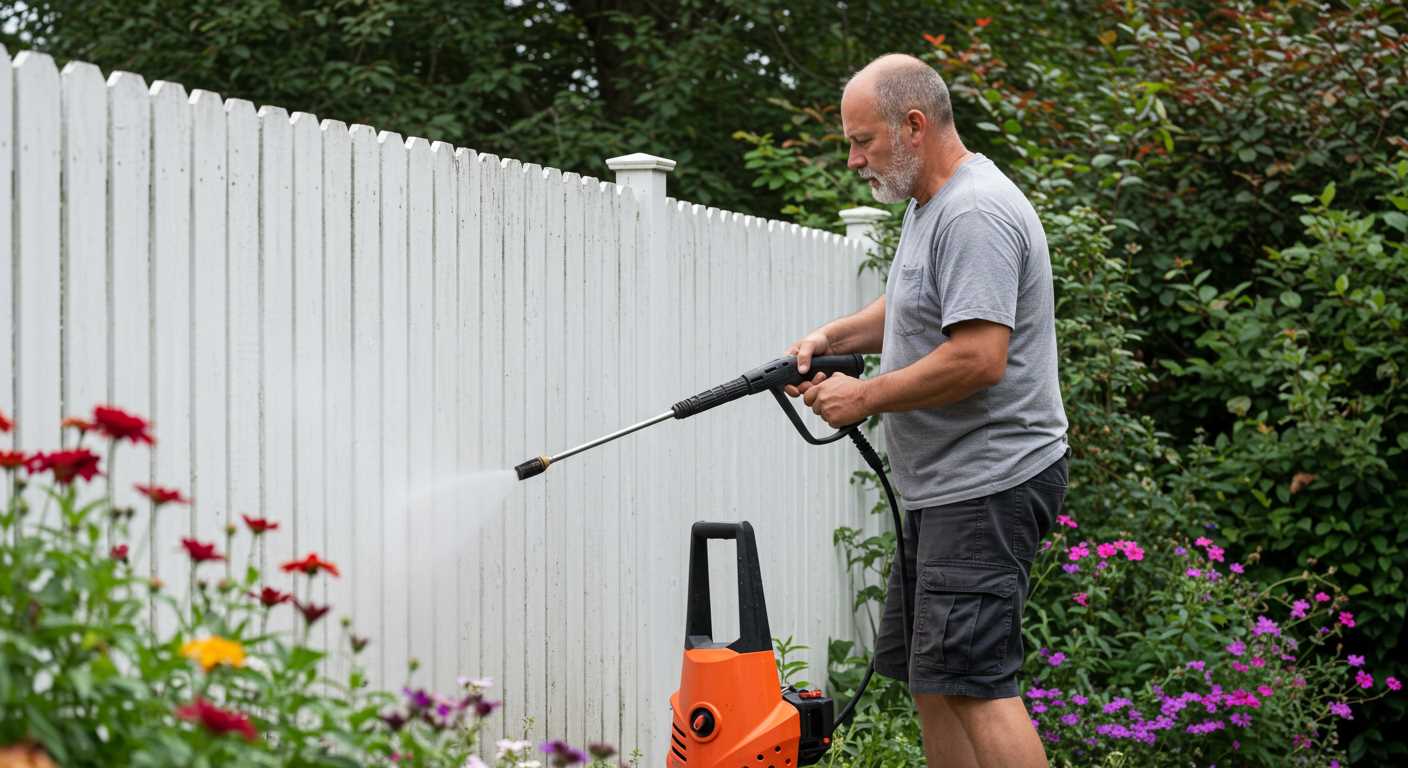
If cleaning does not yield satisfactory results, consider replacing the filters:
- Check the user manual for replacement part numbers.
- Purchase filters from a reliable source to ensure compatibility.
- Follow the manual for proper installation to avoid damage.
By maintaining clean filters, you can greatly improve the longevity and performance of your equipment.
Assessing Nozzle Blockages and Compatibility
Start by inspecting the nozzle for any blockages. Remove the nozzle from the lance and verify that there are no visible obstructions. A pinched or blocked nozzle can significantly impact performance. Use a thin wire or a nozzle cleaning tool to clear any debris if needed.
Next, ensure that the nozzle type is compatible with your unit. Different models require specific nozzles, and using the wrong one can lead to malfunction. Consult your user manual for details about suitable nozzle specifications.
Spring-cleaning tip: Immerse the nozzle in soapy water for a few minutes, followed by a thorough rinse to remove stubborn dirt or mineral deposits.
If you’re experiencing inconsistent water flow, try switching to a different nozzle to see if the issue resolves itself. Low-pressure nozzles may be more forgiving when it comes to minor obstructions.
Regular maintenance, including an inspection of the nozzle and lance assembly, helps prolong the life of your equipment and ensures optimal performance during each use. Cleaning the nozzle after every use can prevent common issues from arising in the future.
Troubleshooting the Motor and Pump Functionality
Check for any unusual noises from the motor or pump. If there are grinding or rattling sounds, the components might be loose or damaged. Tighten any visible screws or bolts and inspect for signs of wear. If necessary, consult the technical manual for specific torque settings.
Verify the motor’s operation by engaging it without water flowing. If it starts but stalls immediately, this could indicate a blockage or an issue with the impeller inside the pump. Investigate further by disassembling the pump to examine for debris or faults in the impeller assembly.
Ensure the oil levels in the pump are adequate, as low levels can lead to friction and overheating. If the oil appears contaminated or degraded, replace it according to the manufacturer’s specifications.
If the machine powers on without any significant noise but fails to produce the expected pressure, inspect for issues with the pump’s internal seals. Leaks can lead to an inadequate pressure build-up. If seals are found to be damaged, they should be replaced immediately.
Look for any signs of corrosion or wear on the motor connections and wiring. Damaged wires can create poor electrical contact, impacting performance. Replace frayed or corroded wires to restore proper function.
Test the unit by connecting it to a known good power source to rule out electrical supply issues. A multimeter can confirm that voltage is reaching the motor and that the motor is drawing the right amount of current during operation.

