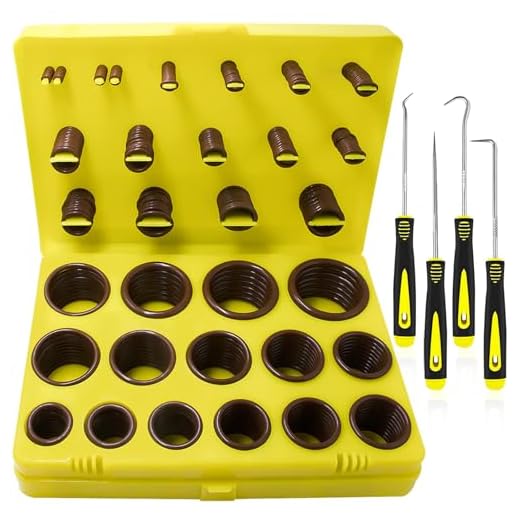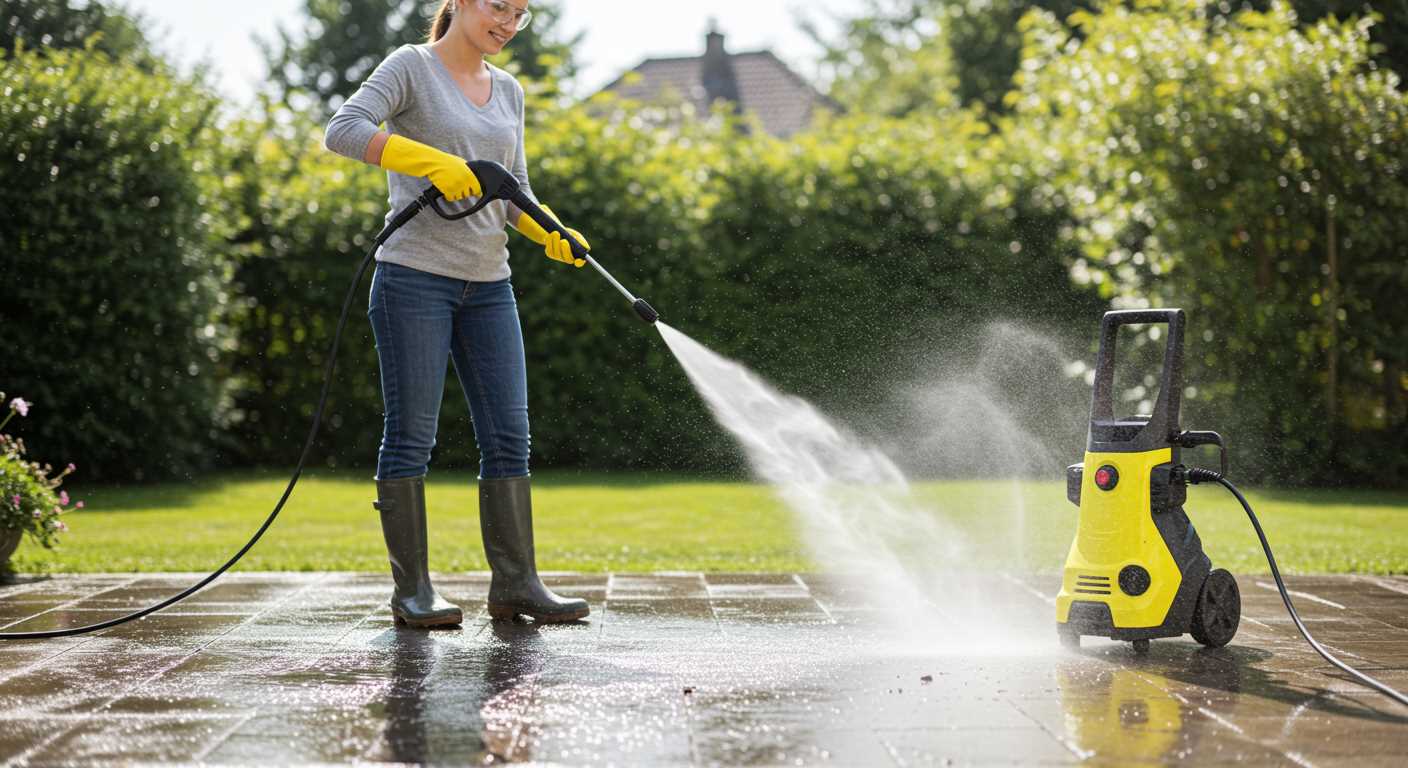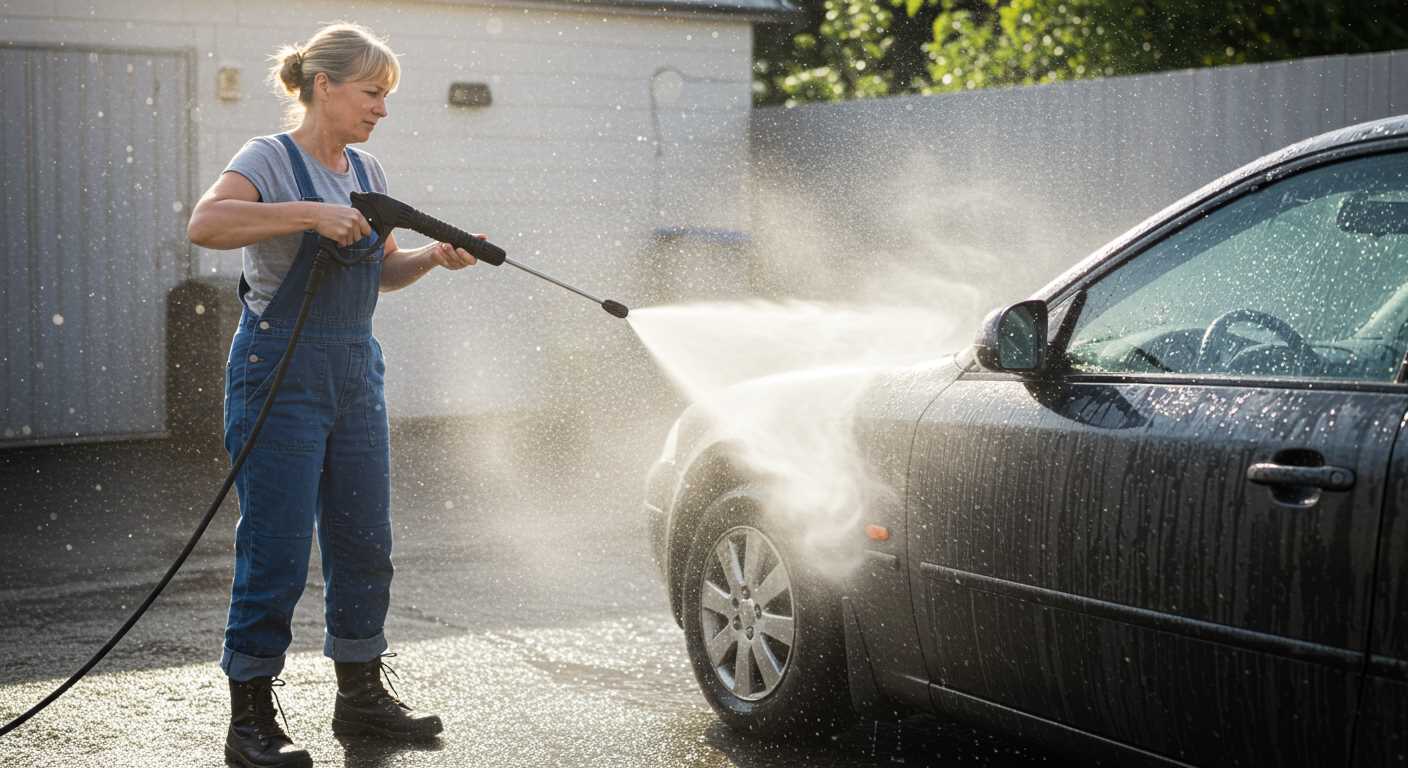


First, ensure that water supply is connected correctly. A lack of water can prevent the machine from functioning. Verify that the hose is free of kinks or blockages, and check if the inlet filter is clean to allow proper flow.
Next, examine the power source. If your unit relies on electricity, confirm that the outlet is operational. A tripped circuit breaker or a faulty extension cord can cause power interruptions. For gasoline models, ensure that the fuel is fresh and the tank is filled adequately.
Inspect the nozzle for clogs. If the spray pattern is inconsistent or non-existent, the nozzle might be obstructed. Cleaning or replacing the nozzle can restore proper operation. Also, check for any leaks in hoses or connections, as they can lead to a drop in pressure.
Lastly, take a look at any internal components, such as the pump. If the motor runs but no water is being expelled, there may be an issue within the pump itself. Consult the manual for specific troubleshooting steps, or consider contacting a technician for further assistance.
Common Issues with High-Pressure Cleaners
Check water supply first. A restricted flow can cause insufficient cleaning performance. Ensure the hose is free of kinks and the inlet filter is clear of debris. Inspect the water source for adequate pressure; low levels can prevent optimal operation.
Next, examine the power source. If electric, ensure the connection is secure. Use a multimeter to confirm voltage meets specifications. For gas models, check fuel levels and ensure the ignition system functions properly.
Nozzle blockage is another frequent concern. Examine the cleaning tip for clogs; clean it with a small needle or brush if needed. A worn nozzle can also impact effectiveness; replace it if you notice reduced spray intensity.
Inspect the pump for leaks. Signs of fluid around the unit indicate potential seal or gasket failure. If leaks are present, it may require seal replacement or even a pump overhaul. Keep in mind that regularly changing the oil in a gas model contributes to its longevity.
Finally, assess the foam applicator if one is in use. Ensure it’s compatible and functioning well with your model. A poor connection can impede soap delivery, affecting cleaning results.
Common Electrical Issues in Pressure Washers
First, inspect the power source. Verify that the outlet is functioning correctly. Use a multimeter to test the voltage, ensuring it matches the specifications stated in the user manual. Any discrepancies may indicate an electrical issue.
Check power cables for visible damage or wear. Frayed wires can result in short circuits or complete failure. If you find any damage, replace the cable before reconnecting to a power source.
Faulty Switches and Connectors
Defective switches may prevent the unit from starting. Test the switch with a multimeter to ensure continuity. If there is no continuity, replace the switch. Additionally, examine connectors for corrosion or debris, as poor connections may disrupt electricity flow.
Motor Problems

Listen for unusual sounds when attempting to power up the unit. A malfunctioning motor may hum or make clicking noises without starting. If this occurs, it might be necessary to inspect motor brushes for wear or damage. Replacing worn brushes can restore functionality.
Fuel Problems That Prevent Operation
Ensure fuel quality before using any cleaning device. Stale or contaminated fuel leads to performance issues. Always use fresh fuel and check for water or debris in the tank.
Fuel Type Mismatch
- Verify that the correct fuel is used. A mix of oil and gasoline is often necessary for two-stroke engines. Make sure to follow the manufacturer’s specifications.
- Using diesel instead of petrol can cause significant malfunction. Always refer to the owner’s manual for guidance on fuel requirements.
Clogged Fuel Lines
- Examine fuel lines for kinks, blockages or leaks. A restricted line can prevent fuel from reaching the engine.
- Regularly inspect and clean any filters; these components can get gummed up with debris, impacting fuel flow.
Correct fuel issues promptly to restore functionality. Regular maintenance, including fuel checks and system clean-ups, enhances reliability and performance longevity.
Blockages in Hoses and Nozzles: Troubleshooting Tips
Inspect your hoses and nozzles regularly. Start by disconnecting all components. Check for kinks, sharp bends, or signs of wear. Even minor obstructions can cause issues.
Clearing Hoses
Use a garden hose to flush out debris. Run water through each section, ensuring all blockages are removed. If a hose is particularly obstructed, consider using a flexible cleaning rod or a plumber’s snake to dislodge stubborn dirt.
Cleaning Nozzles
Remove the nozzle from the spray wand. Inspect for clogs, often visible to the naked eye. Soak the nozzle in a mixture of vinegar and water to dissolve mineral deposits, then use a fine wire or toothpick to remove remaining debris. Rinse thoroughly before reassembly.
After addressing any found issues, reassemble everything securely and test the system to confirm proper operation. If problems persist, further inspection of the system or consulting a professional may be necessary.
Inspecting the Pump for Malfunctions
Begin with checking for leaks around the pump’s seals. If there is any moisture present, it indicates a seal failure that requires replacement.
Listen for unusual sounds during operation, such as grinding or whining, which may suggest internal damage. Open the casing to assess the condition of components like the crankshaft and connecting rods.
Ensure that the pump receives adequate water supply. A blocked inlet filter can restrict flow, leading to overheating and damage. Regularly clean or replace this filter.
Next, observe the pressure readings. Inconsistent or low pressure may hint at worn-out pistons or cylinder linings. If this is the case, disassemble the pump for a thorough examination and replace any damaged parts.
Inspect the unloader valve to confirm that it’s functioning properly. If it’s stuck or malfunctioning, it may cause excessive pressure or fluctuating water output. Manual operation can often clear blockages.
Verify that the pump is primed correctly. A lack of prime can lead to air locks, preventing optimal functionality–ensure all hoses are free from kinks or obstructions.
Lastly, check the oil levels if your model requires lubrication. Low oil can result in insufficient lubrication, causing wear and possible pump failure. Top up or change the oil as needed.
Understanding Settings and Adjustments
Ensure nozzle selection matches cleaning task; various nozzles deliver different spray patterns and pressure levels. For tough grime, utilise a narrow-angle nozzle, whereas wider angles are ideal for gentle surfaces.
Adjusting Pressure Levels

Most machines come with adjustable pressure settings. Lower settings are useful for delicate items, while higher settings tackle hard-to-remove stains. Always refer to user manuals for specific guidelines on optimal settings for various surfaces.
Water Flow Rate and Temperature

Water temperature can significantly impact performance. Cold water works well for general cleaning, but hot water aids in dissolving oily substances. Ensure that your unit accommodates hot water, as not all models support this feature. Regularly inspect the flow rate; low flow due to clogs can cause insufficient pressure. Clean filters and check hose connections to maintain the right flow.
Maintenance Practices to Avoid Future Failures
Regular inspections of components are paramount. I recommend a thorough visual check every few months. Look for cracks in hoses or loose fittings; these can lead to significant performance issues.
Annual Servicing
Schedule an annual service with a professional technician. This helps in identifying potential problems before they escalate. In my experience, a yearly check can extend the lifespan considerably.
Proper Storage Techniques

Storing your unit correctly impacts longevity. Ensure the unit is kept in a dry environment, away from extreme temperatures. This prevents internal components from corroding or freezing.
| Maintenance Task | Frequency | Notes |
|---|---|---|
| Inspect hoses and connectors | Every month | Replace damaged items |
| Clean filters and nozzles | Every use | Ensures optimal performance |
| Change oil (if applicable) | Annually | Use manufacturers recommended oil |
| Check pump pressure | Every 6 months | Adjust as per manual guidelines |
Utilising these practices allows for smoother operation and enhances reliability. By keeping all parts in excellent condition, you can ensure your equipment remains efficient over time.
FAQ:
What are the common reasons a pressure washer might stop working?
A pressure washer may stop functioning for several reasons. One common issue is a blockage in the hoses or spray gun, which can restrict water flow. Another potential problem is a faulty electric connection or a blown fuse, especially in electric models. For gas-powered pressure washers, it could be due to fuel issues, like stale fuel or incorrect fuel mixture. Additionally, a worn or damaged pump can fail to create pressure. Regular maintenance can help prevent these issues.
How can I troubleshoot my pressure washer if it won’t start?
If your pressure washer won’t start, begin by checking the power source for electric models, ensuring it is plugged in and the socket is functional. For gas models, check if there’s enough fuel and that the fuel is fresh. Inspect the spark plug for any signs of wear or damage as it may need cleaning or replacement. Make sure the pressure washer is in the correct position, as some models require the unit to be upright to start. If these steps don’t resolve the issue, consider consulting the owner’s manual for specific troubleshooting tips.
What maintenance should I perform to prevent my pressure washer from not working?
To keep your pressure washer running efficiently, regular maintenance is crucial. Start by cleaning or replacing the water filter to prevent blockages. Check and change the oil if required, particularly in gas models, following the manufacturer’s recommendations. Inspect the hoses and spray gun for cracks and leaks; replace any damaged parts. Additionally, run a pump protector or antifreeze through the system after each use, especially in colder months, to prevent internal damage. Regular checks on the spark plug and electrical connections can also help catch potential issues early.
Why is the water pressure from my pressure washer lower than expected?
Low water pressure can result from various factors. Check for hose kinks, blockages, or leaks that may be restricting water flow. Ensure that the nozzle is not clogged, as this can significantly affect pressure. It’s also important to verify that the water source is providing adequate flow; some pressure washers require a minimum flow rate to operate effectively. Additionally, if the pump is failing or if the inlet filter is dirty, these can lead to decreased pressure. Inspecting and maintaining these components can help restore optimal performance.


