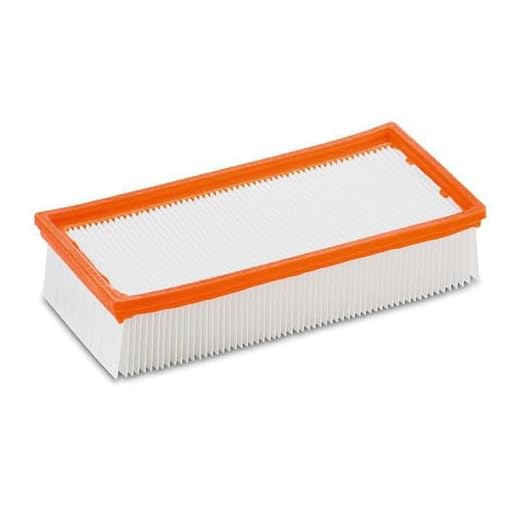


If the flow from your cleaning unit is lacking intensity, the first step is to inspect the water supply. Ensure that the hose is not kinked or blocked. A clear supply will prevent issues with low output.
Next, take a closer look at the filter. Clogged filters can obstruct the passage of water, leading to diminished performance. Regular cleaning or replacing the filter as needed is essential for maintaining optimal functionality.
The nozzle design may also influence performance. Verify that the nozzle isn’t damaged or obstructed. Switching to a different nozzle can sometimes restore the expected power. Additionally, check for leaks in the connections; any loose or worn-out fittings can result in a drop in force.
If the motor is not running smoothly, consider potential electrical issues. A faulty power supply could hinder the motor’s performance, resulting in insufficient effort. Testing the unit with a different power source may clarify if this is the issue.
Lastly, ensure that your equipment isn’t running longer than recommended. Extended use without breaks can overheat the motor, leading to a temporary loss of capability. Regular maintenance checks are advisable to keep your machine functioning at peak performance.
No Flow of Water in My Karcher Pressure Washer
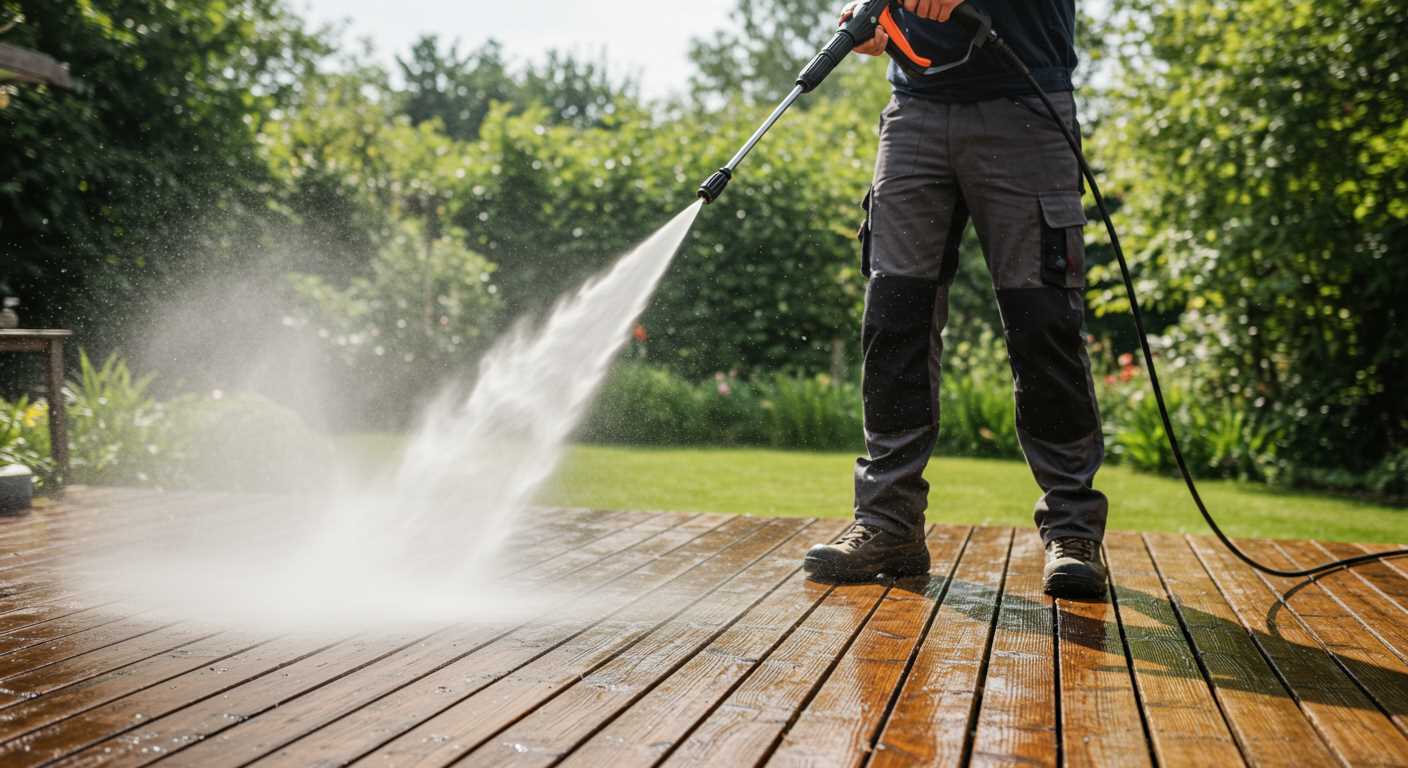
Check the inlet filter first. Clear any debris or blockages that may obstruct the water flow. A clean filter allows for proper water intake.
Inspect Hoses and Connections
Examine all hoses for cracks or kinks. Damage prevents water from flowing efficiently. Ensure connections are tight and free from leaks that might hinder performance.
Assess the Pump Functionality
Listen for irregular sounds from the pump. It should operate smoothly without excessive noise. If abnormal, it might indicate internal issues needing professional attention or replacement.
Verify that the water source is adequate. Low water levels can result in insufficient flow. Make sure the supply tap is fully open to facilitate proper functioning.
Finally, consider the nozzle. A blocked or inappropriate type can impede water output. Make sure to clean the nozzle or switch to the correct one for the job at hand.
Checking the Power Supply and Connection
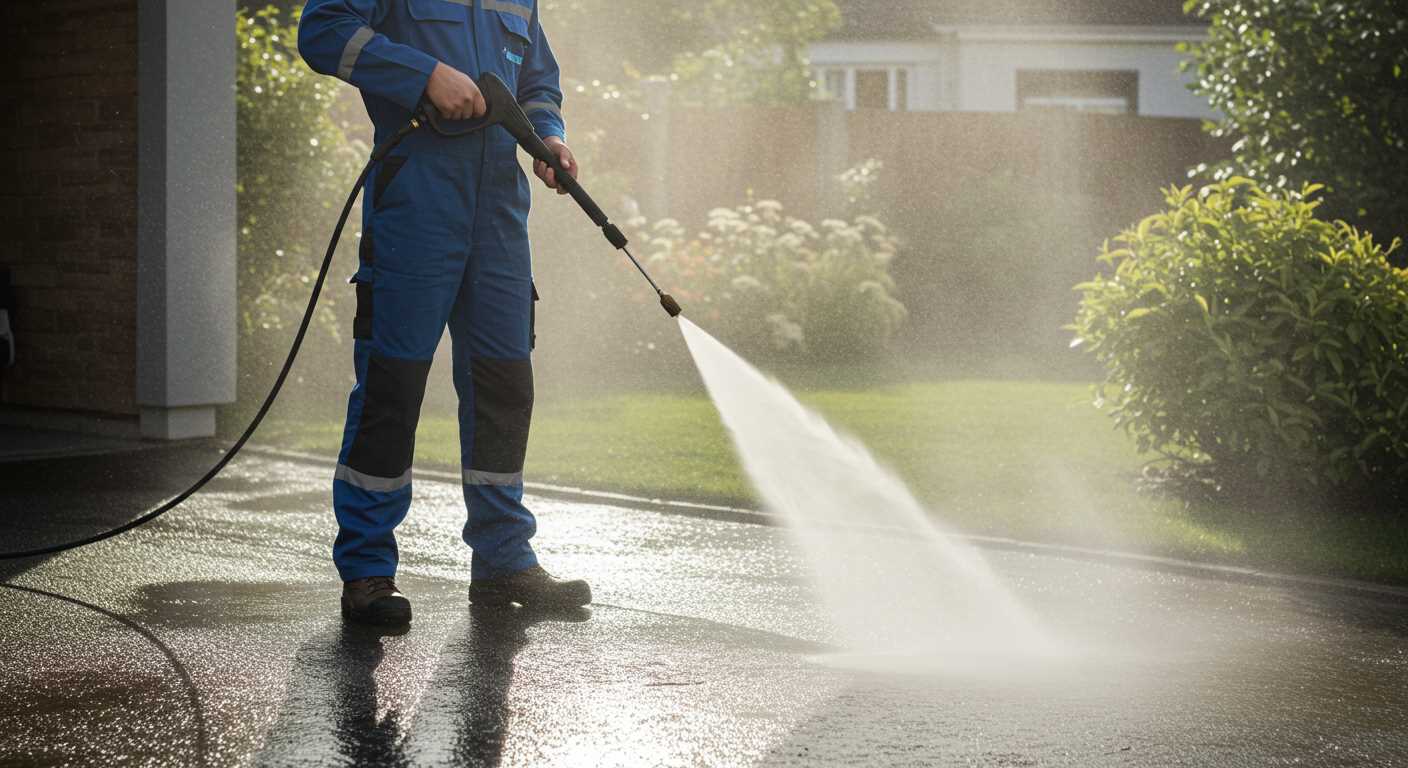
Start by ensuring the electrical outlet functions correctly. Plug in a different device to verify the socket’s power. If it doesn’t work, consider resetting the circuit breaker or checking for blown fuses.
Examine the power cord for any visible signs of damage or wear. A frayed or broken cable can lead to insufficient electrical flow. If any issues are detected, replace the cord immediately to maintain safe operation.
Check that the connection between the power supply and the equipment is secure. A loose or faulty connection can interrupt the flow of electricity. Ensure the plug fits firmly into the outlet and that any adapters are correctly fitted.
Inspect any extension cords in use; they can reduce voltage and affect performance. Use a cord rated for outdoor use and with adequate thickness to handle the device’s amperage requirements. If possible, connect directly to the outlet without an extension cord.
| Issue | Solution |
|---|---|
| Electrical outlet not functioning | Test with another device, reset the circuit breaker |
| Damaged power cord | Inspect for wear; replace if necessary |
| Loose connections | Ensure all plugs are properly connected |
| Extension cord problems | Check thickness; avoid using if possible |
With these steps, you can identify potential electrical issues affecting your equipment’s performance. Ensuring a stable supply is fundamental for optimal operation.
Inspecting the Water Supply Line
Check the water supply line for any visible kinks or blockages. It’s crucial that water flows freely to ensure optimal operation.
- Ensure the hose is properly connected to both the source and the unit.
- Inspect for cracks, leaks, or any signs of wear that might impede flow.
- Remove any attachments like filters that could cause restrictions.
Verify the water source is switched on and providing sufficient flow. I recommend testing this by disconnecting the hose and turning on the tap to check for strong water output.
Consider the quality of the water being used. Particles and sediment can accumulate, clogging the inlet screen or hose. Flushing the system with clean water may resolve issues.
- If you suspect blockages, detach the water line and flush it out with a hose.
- Inspect the inlet screen for debris and clean it if necessary.
- Reattach the line and ensure all connections are tight to avoid air entry.
If issues persist, the problem may lie within the main supply line, which might require professional assessment to ensure proper water delivery to the device.
Examining the Hose for Blockages
Inspect the hose thoroughly for any clogs. Begin by disconnecting it from both the machine and the water supply. This will allow for a clear view of the entire length.
Visual Inspection
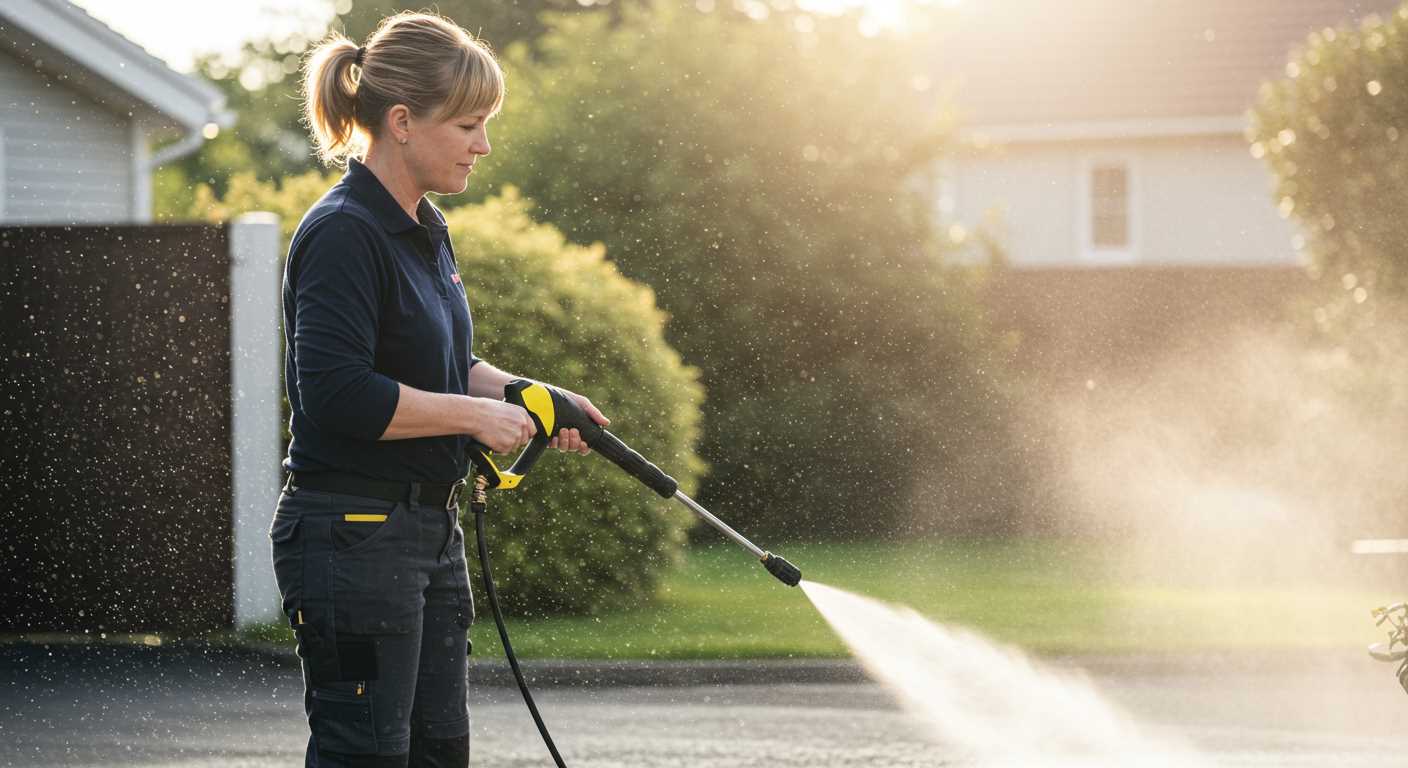
- Check for visible kinks or twists that might hinder fluid flow.
- Look for any signs of wear, such as cracks or splits that could allow air ingress.
- Ensure there are no foreign objects or debris stuck inside.
Testing for Obstructions
With the hose detached, test its flow by running water through it. If the water doesn’t flow freely, an obstruction is present. I recommend the following steps:
- Use a garden hose nozzle to gently flush any potential blockages.
- If the issue persists, consider using a flexible cleaning rod to dislodge stubborn debris.
- For thorough cleaning, you may soak the hose in a solution designed to dissolve mineral deposits.
By ensuring the hose remains unobstructed, optimal performance can be achieved. Regular maintenance of this component is advisable to prevent recurring issues.
Assessing the Nozzle Condition and Compatibility
Check the nozzle for any visible damage, such as cracks or blockages. A clogged or worn-out nozzle can impede water flow, resulting in diminished output. Clean any debris using a soft brush or needle to ensure the orifice remains unobstructed.
Verify the nozzle type matches your unit’s specifications. Using an incompatible nozzle may cause performance issues or even damage the equipment. Consult the manufacturer’s guidelines for the correct nozzle size and type to maximise effectiveness.
If you have multiple nozzles, test each one to identify if a specific type is causing the problem. Some nozzles are designed for different tasks, which can affect the water flow and efficiency during use.
Also, inspect the connector fittings between the nozzle and the lance. Ensure they are secure and free from debris that might prevent a tight seal. A poor connection can lead to significant loss of water force.
Looking into the Pump Functionality
First, ensure the motor is operating. If it’s silent or making abnormal sounds, the issue originates here.
Next, check for any air trapped in the system. Run the unit briefly with the trigger pulled to eliminate any air pockets. If the water flow is inconsistent, the air might be the culprit.
Inspect the pump assembly for signs of damage. Cracks or wear can lead to diminished performance. Pay attention to the seals and O-rings; if they show signs of deterioration, replace them immediately.
Evaluating the Inlet Filter
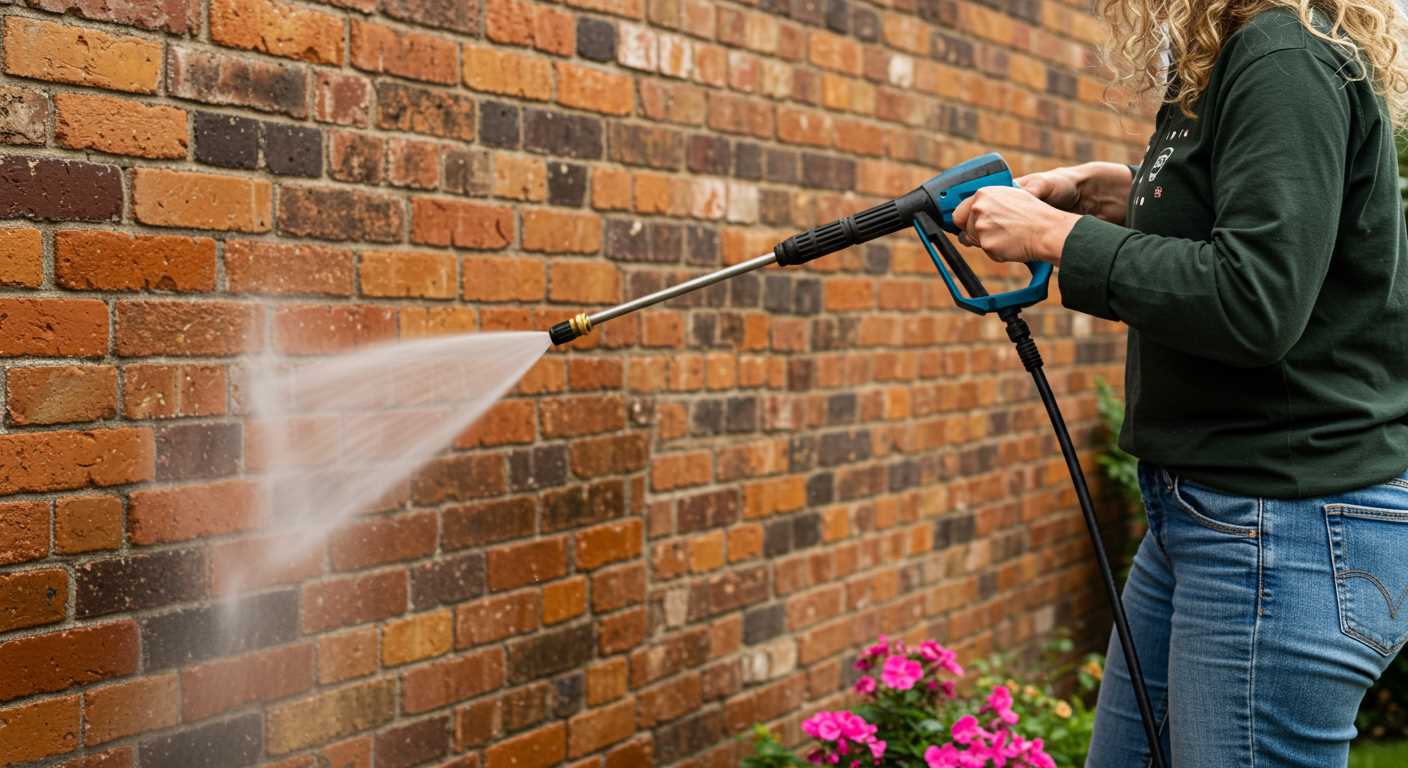
The inlet filter plays a crucial role in maintaining proper flow. Remove and clean it regularly to avoid blockages. A clogged filter can severely restrict water entry into the pump, leading to insufficient output.
Checking the Unloader Valve
This component helps regulate the output from the pump. If malfunctioning, it may not direct the flow correctly, leading to low discharge. Ensure it’s functioning and free from debris. An adjustment might be necessary if it’s stuck in an undesirable position.
Understanding the Role of the Pressure Regulator
The pressure regulator is a critical component of any cleaning equipment. If it’s malfunctioning, it can lead to inadequate output force. My first step in troubleshooting is to examine the regulator’s condition for visible signs of wear or damage. Any cracks or corrosion may affect its functionality, leading to inconsistent flow.
Next, I check the connection points. Ensure that all fittings are tight and there are no leaks. A loose connection can result in a loss of flow, making it feel like the device is not operating correctly. Tightening these connections often resolves minor issues.
Testing the Regulator Functionality
A simple test involves temporarily bypassing the regulator, if accessible. If the output increases dramatically, the regulator is likely the issue. Clean any debris promptly, as blockages in the regulator can restrict output. Regular maintenance includes inspecting the regulator, allowing you to identify issues early and prolong the lifespan of the equipment.
Replacement Considerations
If repairs aren’t feasible and replacement becomes necessary, choosing the right part is crucial. Always consult the manufacturer’s specifications for compatibility. Installing an incompatible regulator can lead to further operational challenges. By understanding these mechanisms, you can ensure that your cleaning equipment functions optimally.
Reviewing the User Manual for Calibration
Consult the user manual to locate specific calibration instructions for your device. Each model may have unique specifications regarding optimal settings and adjustments. Familiarise yourself with the section dedicated to pressure calibration; it often contains critical information on how to properly set the pressure for various tasks.
Pay attention to any diagrams provided in the manual. These visual aids can assist in correctly identifying components, ensuring adjustments are made accurately. Follow any troubleshooting steps outlined to address functionality issues related to low power output.
Ensure that all calibration settings align with the manufacturer’s guidelines stated in the manual. Misalignment can lead to insufficient performance. If available, run through any calibration tests outlined, as these can help you determine if further adjustments are necessary.
Document any deviations you notice during your initial calibration attempt. If issues persist, summarise these observations for future reference or for use when contacting customer support. Such preparation can expedite the resolution process.
Lastly, refer back to the manual periodically, especially after any maintenance tasks or changes to usage patterns. Keeping your device properly calibrated is key to achieving optimal performance.
Identifying Common Maintenance Issues
Regular upkeep plays a key role in ensuring optimal functionality of your equipment. If low output is experienced, start by checking the filter. Blockages can accumulate over time, especially if the water source is not filtered. Cleaning or replacing the filter should be a priority.
Inspecting the Seal and Gaskets
Another common concern is wear on seals and gaskets. Inspect these components for cracks or deterioration. Replacing worn seals can prevent water leaks and help maintain a consistent flow. Always use manufacturer-approved replacements to ensure compatibility and performance.
Reviewing the O-Rings
O-rings can also be culprits in diminished performance. Examine the O-rings on the hose connections and fittings. A damaged O-ring can lead to leaks, significantly affecting the unit’s output. Regularly replacing these with the correct size will mitigate this issue.


