
If you’re facing an issue with water failing to flow from your high-pressure cleaner, the first step is to check the water supply connection. Ensure that the hose is securely attached, and examine for any kinks or blockages that could impede water movement. Inspect the source – is the tap turned on fully? Sometimes, the simplest answer can resolve significant problems.
Have a look at your filter system as well. Many high-pressure cleaners come equipped with filters to prevent debris from entering the system. A clogged filter can result in reduced water flow. Cleaning or replacing this filter could restore functionality quickly and efficiently.
Additionally, inspect the hoses for any signs of damage, such as cracks or leaks. Even small imperfections can dramatically affect the performance of your machine. If you find any issues, replacing the affected hoses can remedy the situation immediately. Lastly, consider checking the pump itself, as internal failures can also lead to water flow problems. Regular maintenance is key to prolonging the life of your equipment and ensuring effective operation.
Checking Water Supply and Hose Connections
Ensure the inlet supply valve is fully open. A partially closed valve restricts flow and reduces pressure. Inspect the hose leading to the unit for kinks, bends, or blockages; these can significantly affect performance. If the hose appears damaged, consider replacing it.
Inspecting Connections
.jpg)
Check all connections for tightness. Loose fittings can lead to leaks, which prevent efficient operation. Disconnect and inspect each connector for debris or mineral build-up. Use a soft cloth to clean the threads and ensure a proper seal when reassembling.
Testing the Water Source
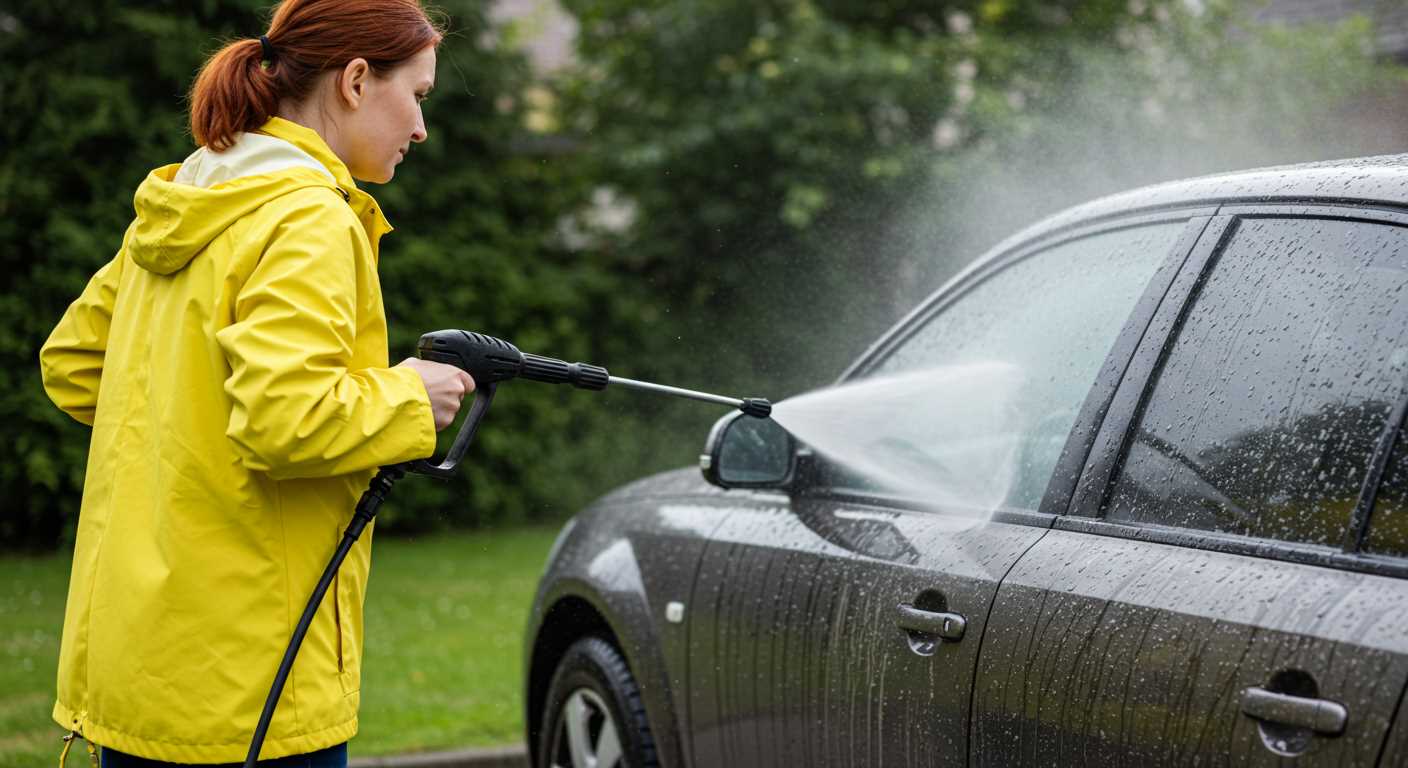
Verify the source is functioning correctly. Turn on a tap at the same outlet as the washing system to confirm there’s sufficient flow. If it appears slow or there are fluctuations, consider resolving any plumbing issues before troubleshooting further. You might need to clean out any filters attached to the tap or reconnect a loose supply line.
Inspecting the Pressure Washer Filter
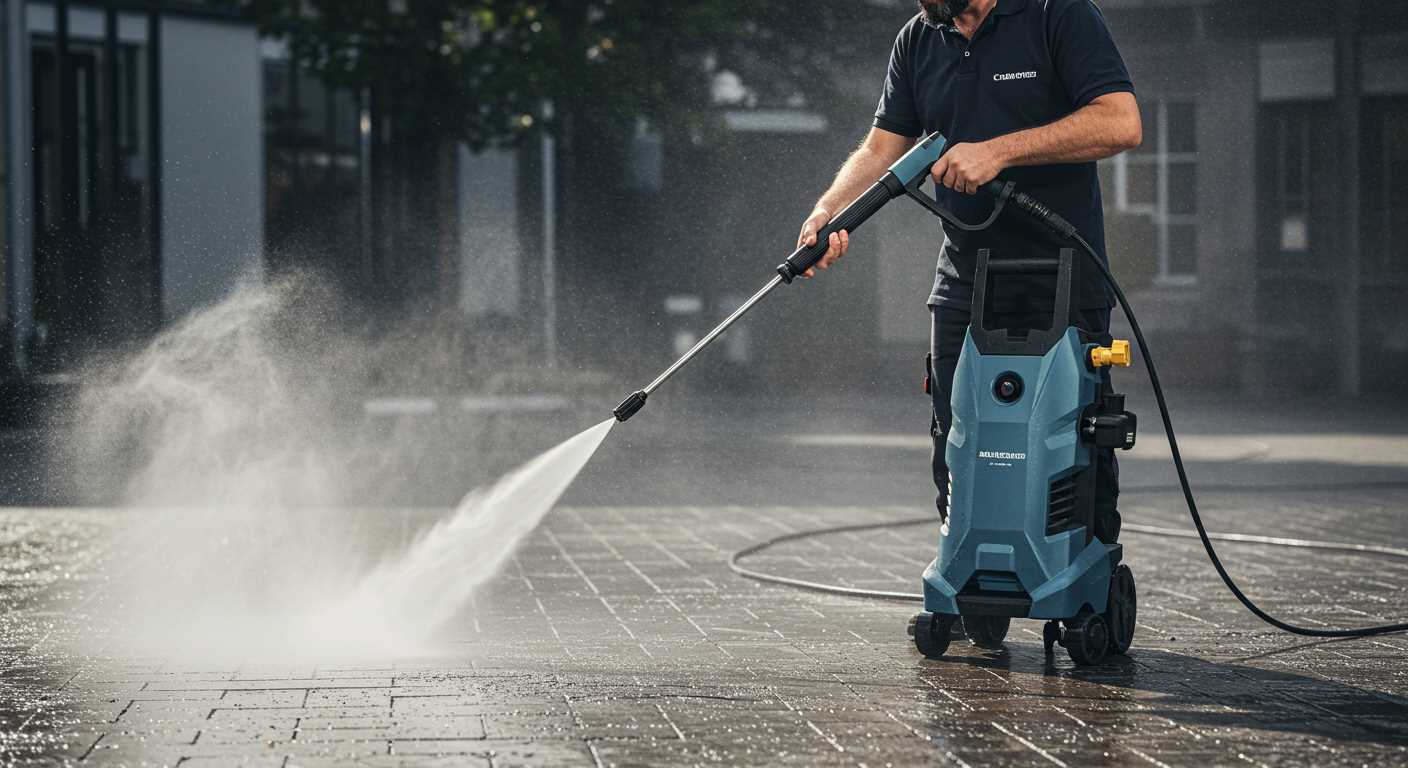
Check the filter element as it can become clogged with debris, leading to restricted flow. Begin by locating the filter; it is typically positioned at the inlet where the water supply connects. Turn off the equipment and disconnect it from the water source before proceeding.
Steps to Inspect the Filter
- Remove the filter from its housing by carefully unscrewing or pulling it out, depending on the model.
- Examine the filter for signs of blockages or impurities. A build-up of dirt, leaves, or sediment can hinder performance.
- Clean the filter using fresh water. If needed, consider using a soft brush to dislodge stubborn particles.
- If the filter is damaged or excessively worn, it should be replaced with a new one to ensure optimal operation.
Reattach the filter once it has been cleaned or replaced. Make sure it is securely fitted to prevent leaks.
Maintaining the Filter
To avoid future issues, regularly inspect and clean the filter after every few uses, especially if operating in dusty or dirty environments. Keeping the filter clean enhances longevity and ensures consistent output.
Examining the Pump for Blockages
Check the inlet and outlet areas of the pump to identify any debris or obstruction. Remove any visible dirt or foreign objects that may restrict flow. A toothpick or small brush can assist in clearing finer blockages without damaging the components.
Inspecting the Valves
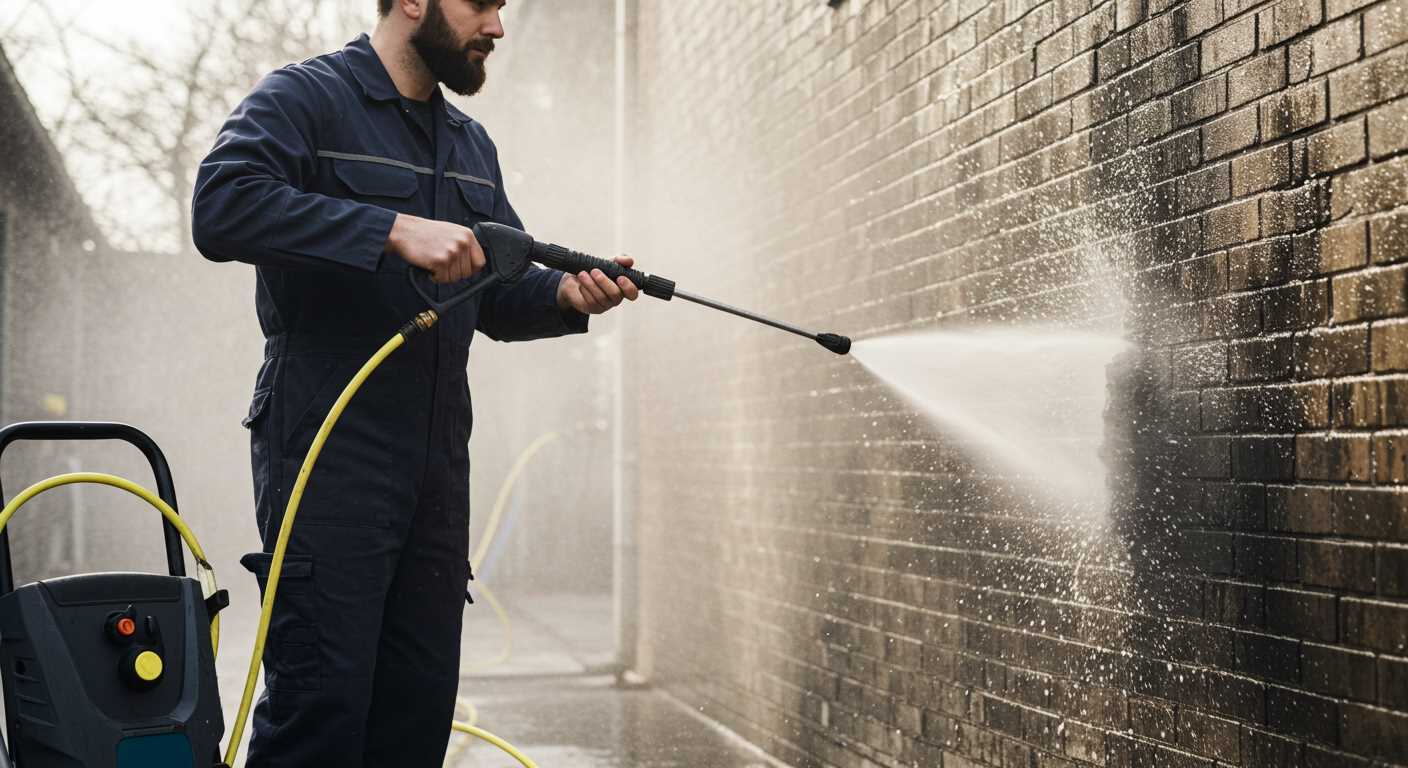
Next, examine the inlet and outlet valves. If these components are jammed or caked with residue, fluid cannot circulate effectively. Use appropriate tools to disassemble them if necessary, ensuring to clean all surfaces before reinstallation.
Testing Pressure Relief Valve
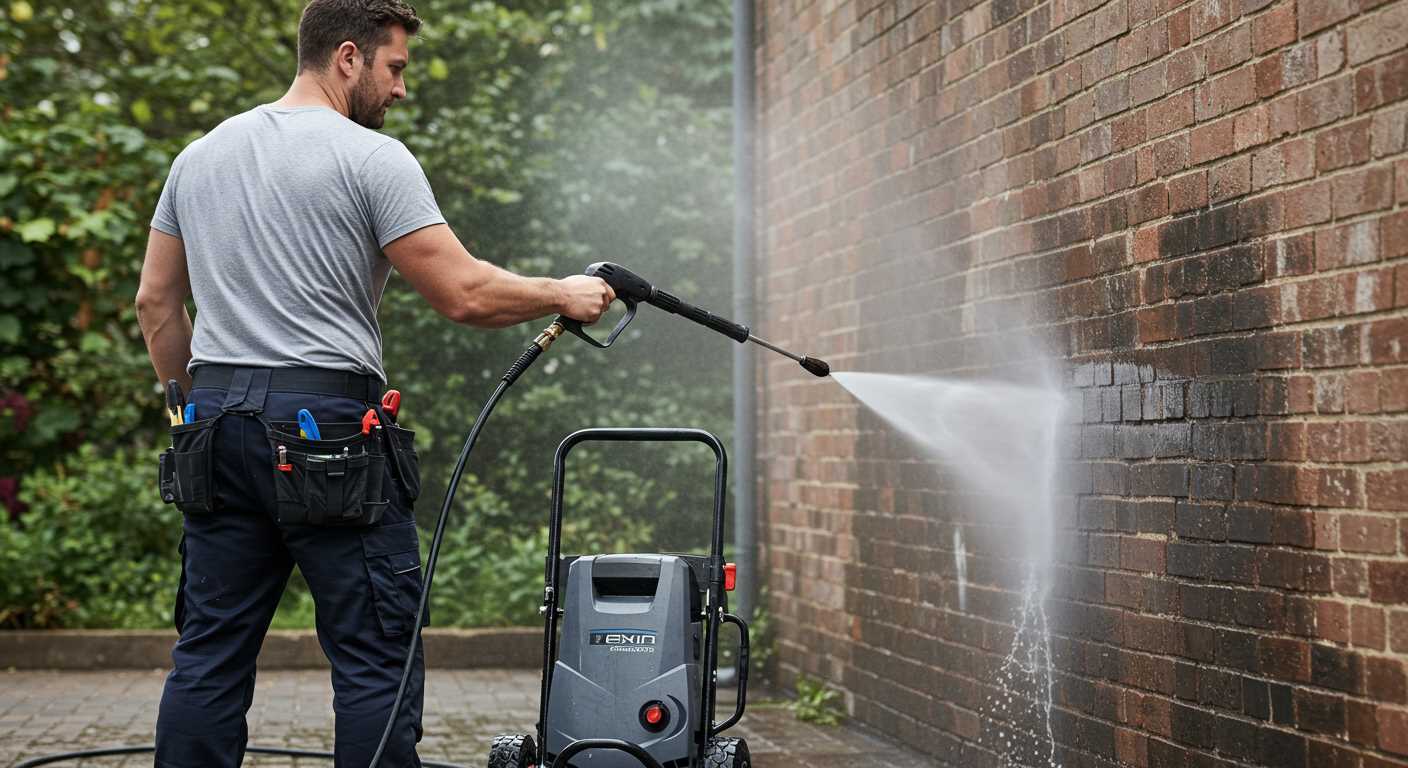
Ensure the pressure relief valve isn’t stuck in the closed position. A malfunctioning valve can hinder flow, leading to inadequate output. Activate the system briefly with the valve manually moved to check if normal operation resumes.
Testing the Spray Wand and Nozzle
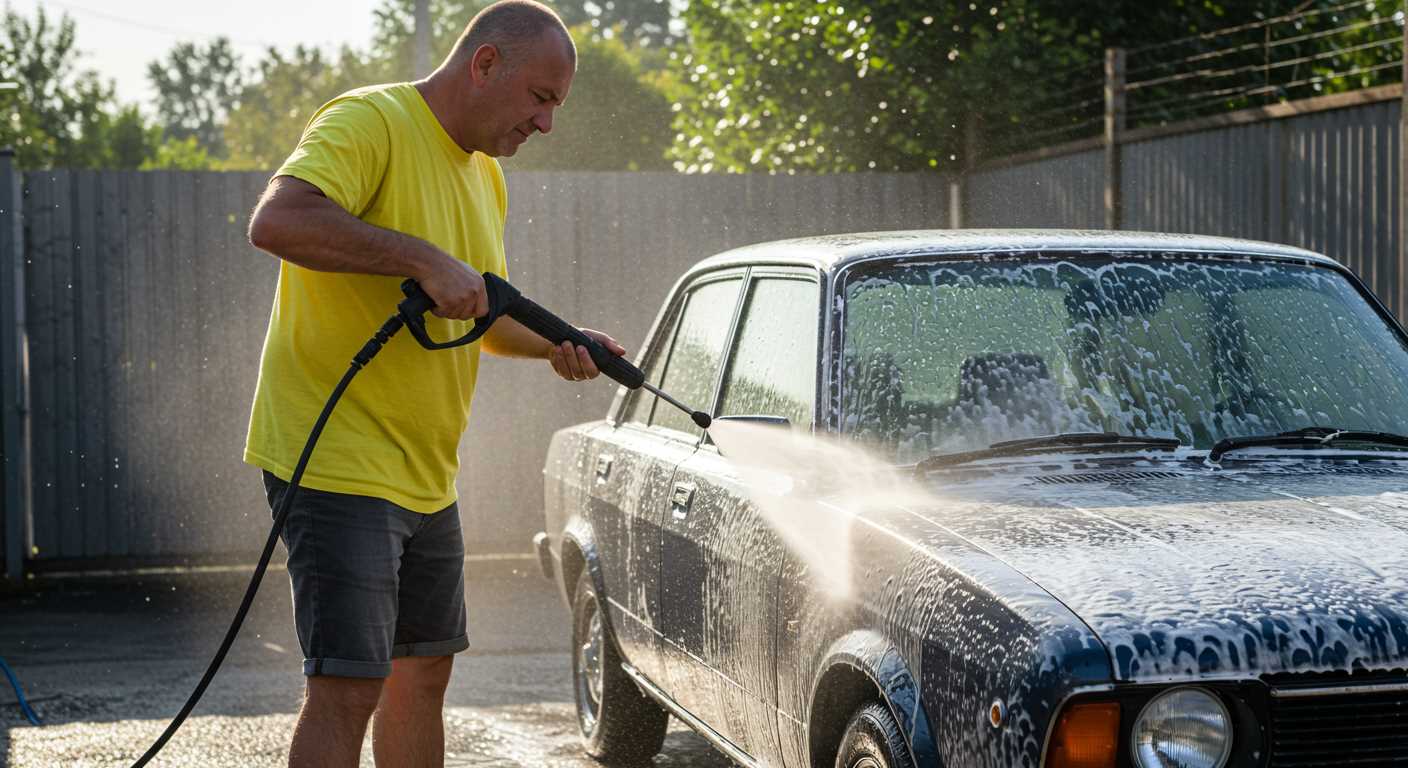
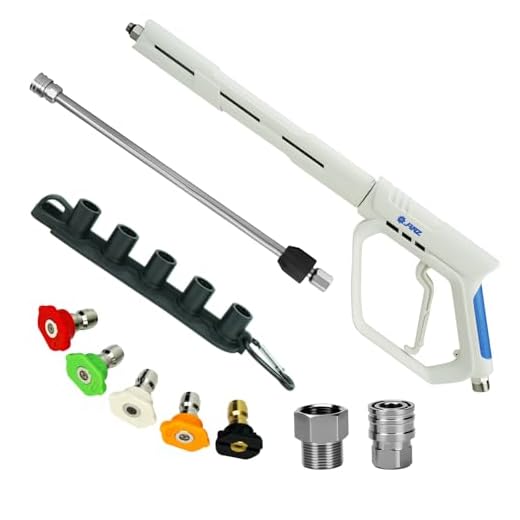
Inspect the spray wand for any visible cracks or obstructions. A damaged wand can lead to inadequate output. Remove the nozzle and check for debris; even small particles can cause significant flow issues.
Checking Nozzle Size
Verify that the nozzle size is appropriate for your equipment. Incorrect nozzle can limit the force and volume delivered. If the nozzle is worn, replace it to ensure an optimal spray pattern.
Ensuring Proper Attachment
Confirm that the nozzle is securely attached to the wand. A loose connection can create air leaks, reducing the effectiveness. Tighten any fittings and test the unit again.
If adjustment does not resolve the issue, switch to a different nozzle to rule out equipment failure. Testing with another nozzle can quickly determine if the problem lies with the original attachment.
Reviewing the Pressure Settings and Controls
Adjust the settings on the unit to ensure optimal performance. Check the pressure dial to confirm it’s set according to the manufacturer’s recommendations for the specific task at hand. Different surfaces require varying levels of force; for instance, delicate surfaces such as wood may need lower settings, while concrete can handle more intensity.
Inspect the spray pattern selection. If the mode is configured incorrectly, you might not achieve the desired output. A fan spray is suitable for wider areas, while a pinpoint setting focuses pressure on tough stains.
If your model has adjustable controls, ensure the switch is functioning properly. A malfunctioning control can prevent fluid from flowing adequately. Turn the dial back and forth to see if it resolves discrepancies.
After adjustments, test the mechanism while observing any difference in the operation. If the adjustments do not yield an improved output, deeper inspection may be required to evaluate if there’s an underlying problem with the internal components or limits of the device.
Identifying Electrical or Motor Issues
First, inspect the power supply and ensure the unit is properly plugged in. A faulty outlet or tripped circuit breaker can halt functionality. Use a multimeter to check for voltage reaching the device.
If power is confirmed, examine the power cord for any signs of damage such as cuts or frayed sections, which may impede electrical flow. A replacement cord might be necessary if damage is evident.
Next, assess the motor. Listen for unusual sounds like grinding or humming when attempting to start. This could indicate stuck components within the motor or a failing capacitor. If the motor is hot to the touch after a short operation, it suggests overheating, possibly due to an internal fault.
Common Electrical Problems
| Issue | Possible Cause | Solution |
|---|---|---|
| Loud humming noise | Stalled motor | Clear any obstructions; replace motor if necessary. |
| No sound or motion | Power supply issue | Check outlet, cord, or circuit breaker. Replace any faulty components. |
| Motor too hot | Overloaded operation | Allow it to cool; check for blockages in components. |
If all checks are satisfactory and the appliance still fails to operate, consider professional repair or replacement options. A qualified technician can provide insights into deeper mechanical or electrical issues.
FAQ:
What are the common reasons for water not coming out of my pressure washer?
There are several reasons why your pressure washer may not be producing water. Firstly, check for a clogged filter or nozzle; debris can often prevent water flow. Secondly, inspect the inlet hose for kinks or leaks, as this can restrict water supply. Additionally, ensure the water source is turned on and provides adequate pressure. Lastly, there may be an issue with the pump, which could require professional attention.
How can I fix the issue of no water output in my pressure washer?
To fix the water output problem, start by turning off the pressure washer and disconnecting it from the power source. Check and clean the filter and nozzle for any blockages. Inspect the hoses for damage or leaks and replace them if necessary. Ensure the water supply is adequate and that the inlet hose is appropriately connected. If these steps do not resolve the issue, the pump may need servicing or replacement.
Could air getting into the system cause my pressure washer to stop working?
Yes, air entering the pressure washer system can indeed cause it to malfunction. If there is air trapped in the pump, it can interfere with the water flow. To remedy this, you can try bleeding the system. This typically involves running the washer without a nozzle, allowing water to flow through until the air is purged. Following this, reattach the nozzle and test for output.
Is it possible that my pressure washer is frozen and that’s causing the water issue?
If you live in a cold climate, it’s plausible that your pressure washer has frozen components, especially if it was stored outside during winter. Frozen water can block the pump and hoses. If you suspect this is the case, move your pressure washer to a warmer environment to allow it to thaw. Afterward, check for any damage due to freezing before attempting to operate it again.
What should I do if my pressure washer still won’t work after troubleshooting?
If your pressure washer remains non-functional after performing basic troubleshooting, it may be time to consult the manufacturer’s manual for guidance. You might also consider reaching out to a professional repair service, especially if the pump is suspected to be at fault. Assessing warranty options may also be beneficial in case parts require replacement.


