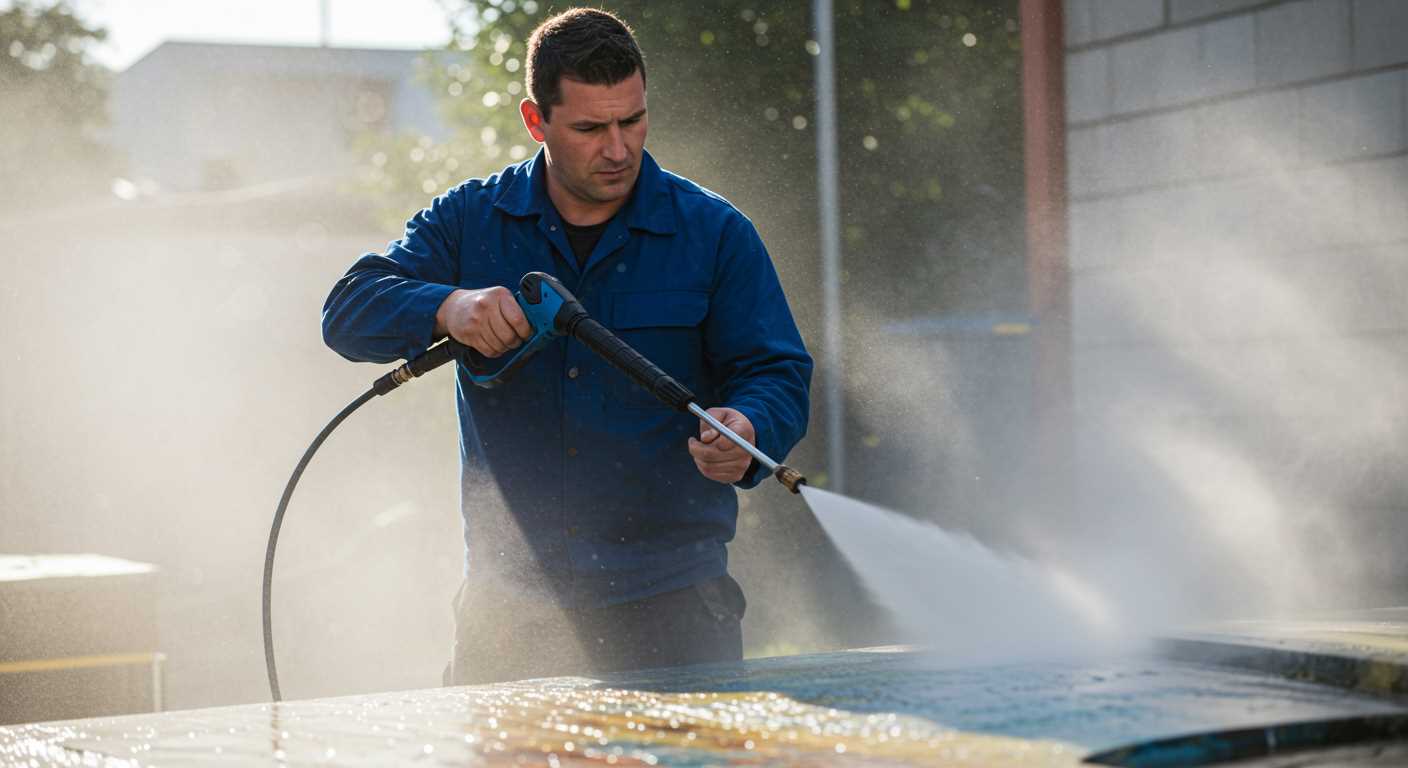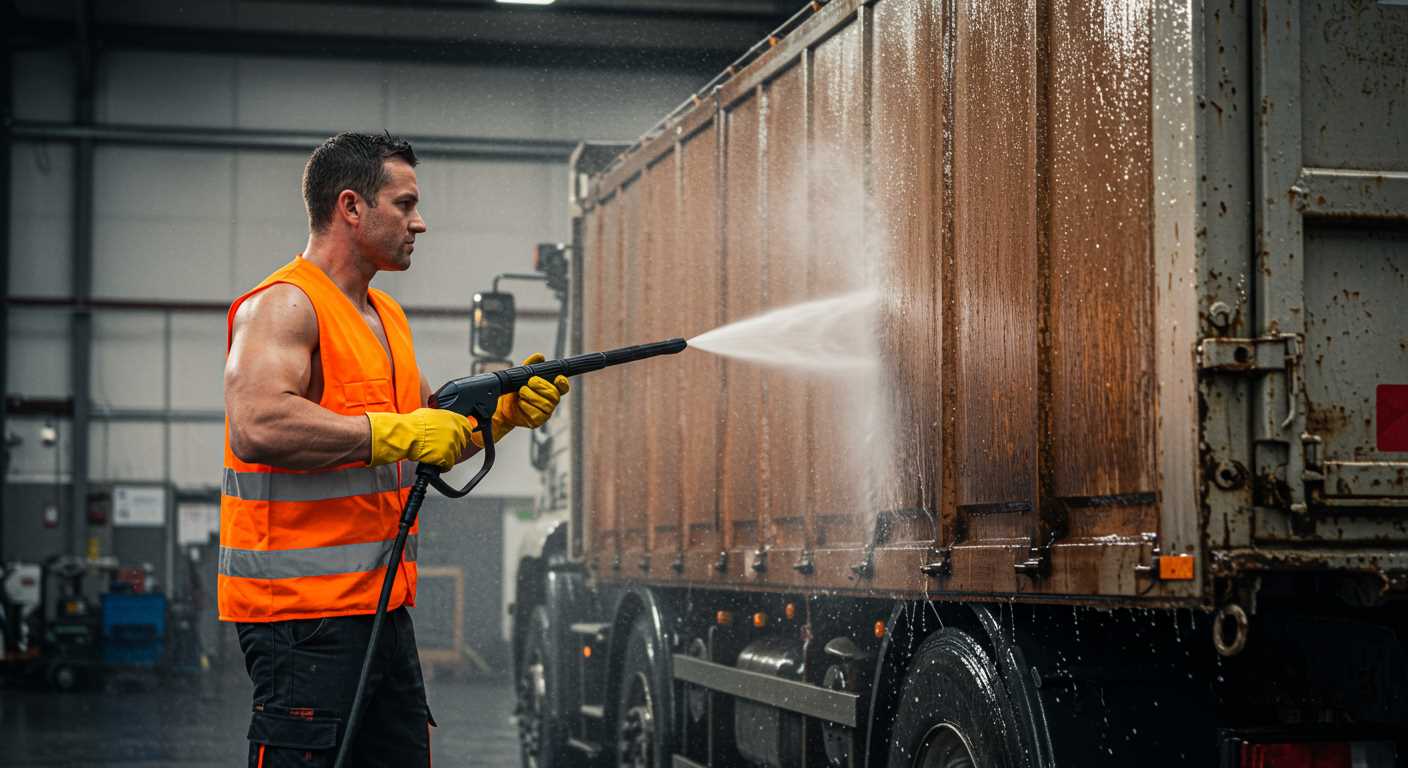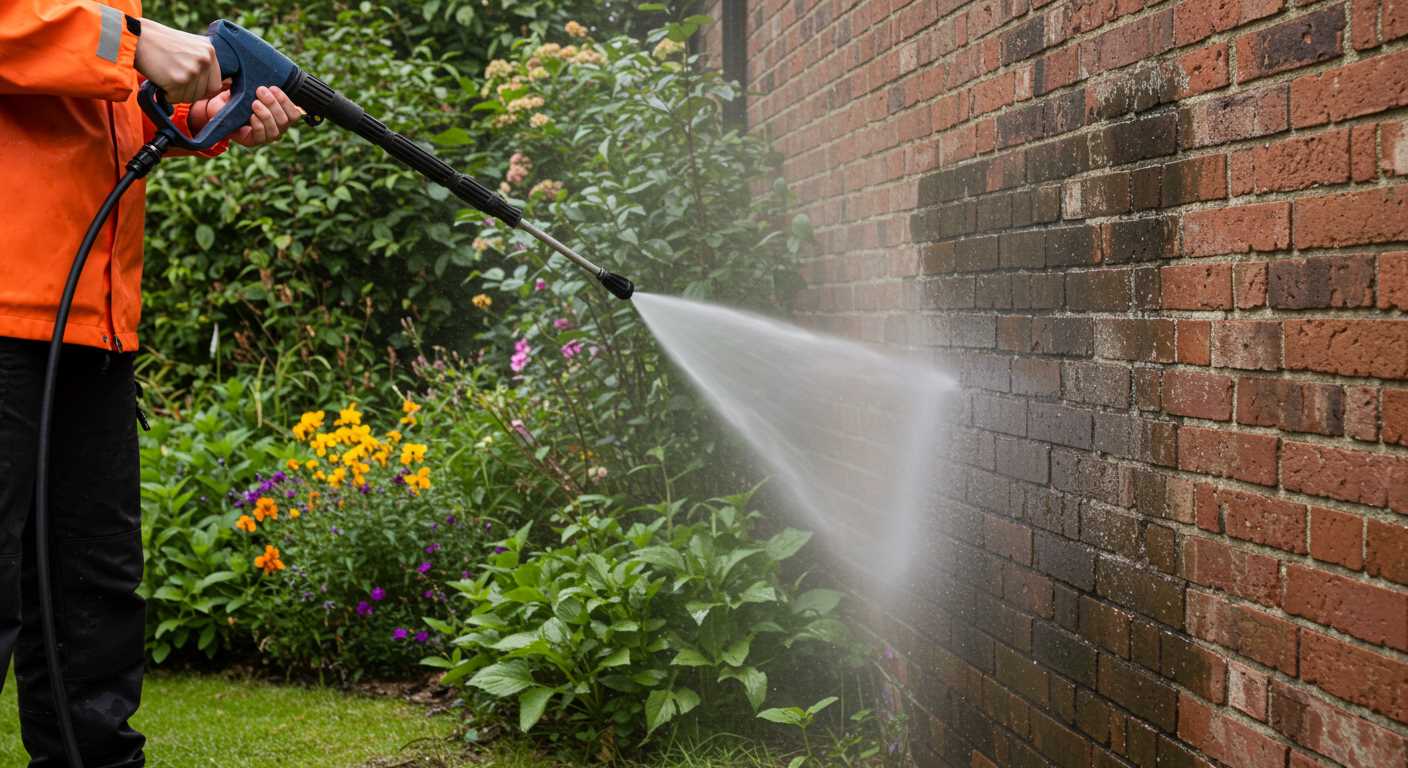


If your equipment is failing to generate the expected force, the first step is to check the water supply. Ensure your hose is free from kinks and that water is flowing consistently. A weak supply can significantly impact performance.
Next, inspect the nozzle. A clogged or damaged nozzle can restrict water flow, resulting in inadequate output. Clean or replace it as necessary, ensuring that it’s the right type for your specific model.
Another common issue arises from air leaks in the inlet or hoses. Tighten all connections and examine hoses for cracks. Any air entering the system can prevent optimal operation.
Don’t overlook the pump. If it’s malfunctioning or damaged, it won’t build the necessary force. Consult the manufacturer’s guidelines for diagnosing pump issues, and consider replacement if necessary.
Finally, consider the condition of the detergent system. Using the wrong type or overly viscous cleaning solution can impede flow. Sticking to manufacturer recommendations will help maintain efficiency.
Addressing Insufficient Output from Your Cleaning Device
Ensure the water inlet filter is clear. Debris accumulation can obstruct water flow and hinder performance. Clean or replace the filter regularly for optimal operation.
Examine hose connections for any signs of leaks or cracks. A compromised hose can lead to a significant decrease in output. Tighten any loose connections and inspect for wear.
Check the nozzle type in use. Incorrect or clogged nozzles can restrict water flow. Use the appropriate nozzle size for the task, and clean it thoroughly to maintain maximum efficiency.
Review Pump Functionality
Inspect the pump for any signs of wear or damage. If the pump is malfunctioning, it may struggle to generate the necessary force. Listen for unusual sounds during operation–a sign that it may need servicing or replacement.
Power Source Verification

Confirm that the power source is adequately supplying voltage. An underpowered unit may not function correctly. Use a multimeter to test electrical connections if you’re using an electric version.
- Ensure the power cord is in good condition and free from cuts.
- For gas models, check the fuel level and quality; stale fuel can impede starting performance.
Routine maintenance is critical. Regularly check fluid levels, clean filters, and inspect hoses to ensure everything operates smoothly. Staying ahead of these checks can help avoid future complications and ensure effective operation.
Inspecting the Water Supply for Blockages
Check the source of water first. Ensure the inlet hose is connected to a clean water supply. If there’s no flow, the unit cannot perform effectively.
Inspect the Hose
Examine the hose for any kinks or twists that could restrict water flow. Replace hoses that show signs of wear or damage. A clear and smooth hose contributes to optimal operation.
Check for Debris
Remove the filter screen at the inlet of your device. Clean it from any dirt or particles that may have accumulated. Blockages can occur even in small amounts of debris, preventing adequate water intake.
| Potential Issue | Solution |
|---|---|
| No water supply | Verify that the tap is on and the hose is submerged properly. |
| Kinked hose | Straighten the hose or replace if necessary. |
| Clogged inlet filter | Remove, clean, and reinsert the filter to ensure free flow. |
A thorough inspection of your water source and associated components can lead to a significant improvement in performance. Regular maintenance and checks prevent future issues and enhance longevity.
Checking the Pressure Washer Hose for Leaks
Inspect the hose thoroughly for any signs of damage. Look for cuts, abrasions, or bulges that could indicate weakened areas. A compromised hose can lead to significant loss of water flow, resulting in inadequate output strength.
Conduct a Visual Inspection

Carefully examine the entire length of the hose. Pay special attention to the connectors and joints where the hose meets the machine and nozzle. These are common sites for leaks. Ensure that all fittings are secure and not cross-threaded.
Perform a Pressure Test
Connect the hose and turn on the unit without the nozzle attached. Observe whether water sprays from any area of the hose. If you see leakage, it indicates a fault. For a more precise check, consider using a soapy water solution to detect escaping air. Apply it to suspected points and watch for bubbling, which confirms a breach.
If you identify any leaks, replace the affected section or the entire hose to restore optimal functionality. Regular maintenance of the hose can prevent issues and enhance performance, ensuring your cleaning tasks are effective and efficient.
Examining the Nozzle for Clogs

Start by detaching the nozzle from the lance. Inspect the opening carefully for any visible debris or blockages. If you notice any build-up, use a soft brush or a toothpick to remove the obstruction.
Next, soak the nozzle in a mixture of warm water and a bit of vinegar for about 30 minutes. This solution can help dissolve any stubborn deposits. After soaking, rinse it thoroughly under running water. Ensure that all passages are clear.
For different spray patterns, if there’s an adjustable nozzle, rotate it to confirm that it moves freely. Sometimes, mineral deposits can harden and restrict movement.
Utilise a nozzle cleaning kit if available; it often includes a set of small needles designed to clean the nozzle orifices effectively. Insert these needles gently to avoid any damage. Follow the manufacturer’s guidelines for the best approach.
Lastly, reattach the nozzle and perform a test run. Watch for a consistent jet of water; this should indicate that the opening is clear and functioning properly.
Understanding the Role of the Pressure Regulator
.jpg)
The pressure regulator serves a vital function in maintaining optimal performance during operation. If you notice diminished output from your device, this component might be at fault. I recommend starting by inspecting the regulator for debris or damage. Ensuring that it’s clean can often resolve output issues.
If the regulator appears intact, check the adjustment settings. A miscalibration can hinder the unit’s ability to achieve adequate force. Adjust it according to the manufacturer’s specifications, as different models may have distinct requirements.
Another aspect to consider is the inlet pressure. If the water supply feeding the machine isn’t within the recommended range, the regulator cannot work effectively. Verify the supply pressure to ensure it aligns with the guidelines stated in the user manual.
I often find that a worn-out regulator needs replacement. Over time, seals and internal components can break down, leading to inefficiency. If cleaning and adjusting don’t yield results, it may be wise to consult with a technician or consider a new regulator.
Lastly, keep the entire system in mind. Sometimes, issues arise not solely from the regulator but from connected components. A thorough inspection of the entire assembly ensures comprehensive diagnostics and maintenance.
Evaluating the Pump Condition and Functionality
To ensure optimal operation, inspect the pump for signs of wear or damage. Start by checking for any visible cracks or leaks in the pump casing. These imperfections can significantly hinder performance.
Next, assess the fittings and connections. Tighten any loose components to eliminate unwanted air ingress, which may disrupt the flow. Examine the inlet filter as well; a blocked filter can restrict water intake, affecting the overall functionality of the unit.
Listen for unusual noises when the machine is running. Grinding or whining sounds may indicate internal damage or a failing bearing. If the pump is making strange sounds, it might be time to consider servicing or replacing it.
Testing the pump’s functionality is crucial. Disconnect it from the power supply, then manually engage the motor to see if it operates smoothly without any jerking motions. A jerky operation often points to internal malfunction.
Additionally, assess the output of the pump. If it doesn’t match the manufacturer’s specifications, it may require repair. Be sure to consult the manual for ideal flow rates and pressure levels.
Lastly, examine the oil levels if your model uses oil lubrication. Insufficient oil can lead to overheating and quick wear, resulting in a pump failure. Proper maintenance of the pump is essential for sustained performance, so act promptly if any issues are detected.
Assessing the Power Source and Its Impact
Ensure that your power supply is operational and meets the required specifications for your model. For electric units, check that the socket is functional. Use a multimeter to verify voltage; it should align with the manufacturer’s guidelines. If you’re using a generator, confirm that its output voltage and current capacity are adequate for the task.
For gas-powered variants, examine the fuel level and quality. Stale fuel can impede engine performance. Fresh fuel, along with proper oil levels, will ensure the engine operates smoothly. Additionally, inspect the spark plug for dirt or wear, as its condition directly affects ignition and power output.
Understanding Electrical Connections
Inspect all electrical connections, including any cords or plugs. Look for fraying, cuts, or corrosion that might impede energy flow. A damaged extension cord can also lead to inadequate performance, so use quality cords rated for the unit’s requirements.
Recommendations for Power Management

Consider using an inline voltage stabiliser to regulate the electricity, especially in fluctuating power conditions. This device helps maintain a steady supply, reducing the risk of performance issues. Regular checks on the power source will prevent unforeseen interruptions during operation.
Identifying Issues with the Trigger Gun
First, ensure the trigger gun is fully engaged. If it doesn’t click into place, pressure cannot build effectively. Check for blockages inside the trigger gun where water flows through; debris can restrict or completely stop the flow.
Next, inspect the trigger itself for signs of malfunction. If it feels loose or doesn’t return to its original position after being pulled, it may need lubrication or replacement. A malfunctioning trigger can keep the flow open, preventing any buildup of force in the system.
| Issue | Symptoms | Solution |
|---|---|---|
| Blockage | Low or no flow | Disassemble and clean the trigger gun |
| Worn trigger mechanism | Trigger feels loose or sticky | Lubricate or replace the trigger |
| Faulty safety lock | Inability to engage trigger properly | Inspect and replace if needed |
Additionally, ensure there are no leaks at the connections between the trigger gun and the hose. Even a small leak can lead to significant loss of force, making the system ineffective. Inspect O-rings and seals for wear and replace them if necessary.
Lastly, conduct a pressure test by disconnecting the nozzle and operating the trigger gun alone. If it provides sufficient output, the issue might reside further down the line within the hose or nozzle. If not, deeper investigation may be required to determine the underlying cause.
Maintenance Tips to Prevent Issues

Regular cleaning of all components is key. Accumulated grime can hinder performance significantly. Use warm soapy water to clean the nozzle, hose connectors, and water inlet screen periodically.
Routine Inspection
- Check for wear and tear on hoses and fittings. Signs of damage can affect water flow.
- Inspect seals for any cracks or degradation that could lead to leaks.
- Confirm that all connections are tight to avoid air entering the system.
Fluid Management
- Use clean, freshwater to prevent sediment build-up in the system.
- Change the oil in the pump according to the manufacturer’s recommendations, if applicable.
- Inspect the detergent filter regularly to ensure it’s not clogged.
Store equipment in a dry place to avoid corrosion and damage from freezing temperatures. Always use manufacturer-recommended products and follow instructions for maintenance.


