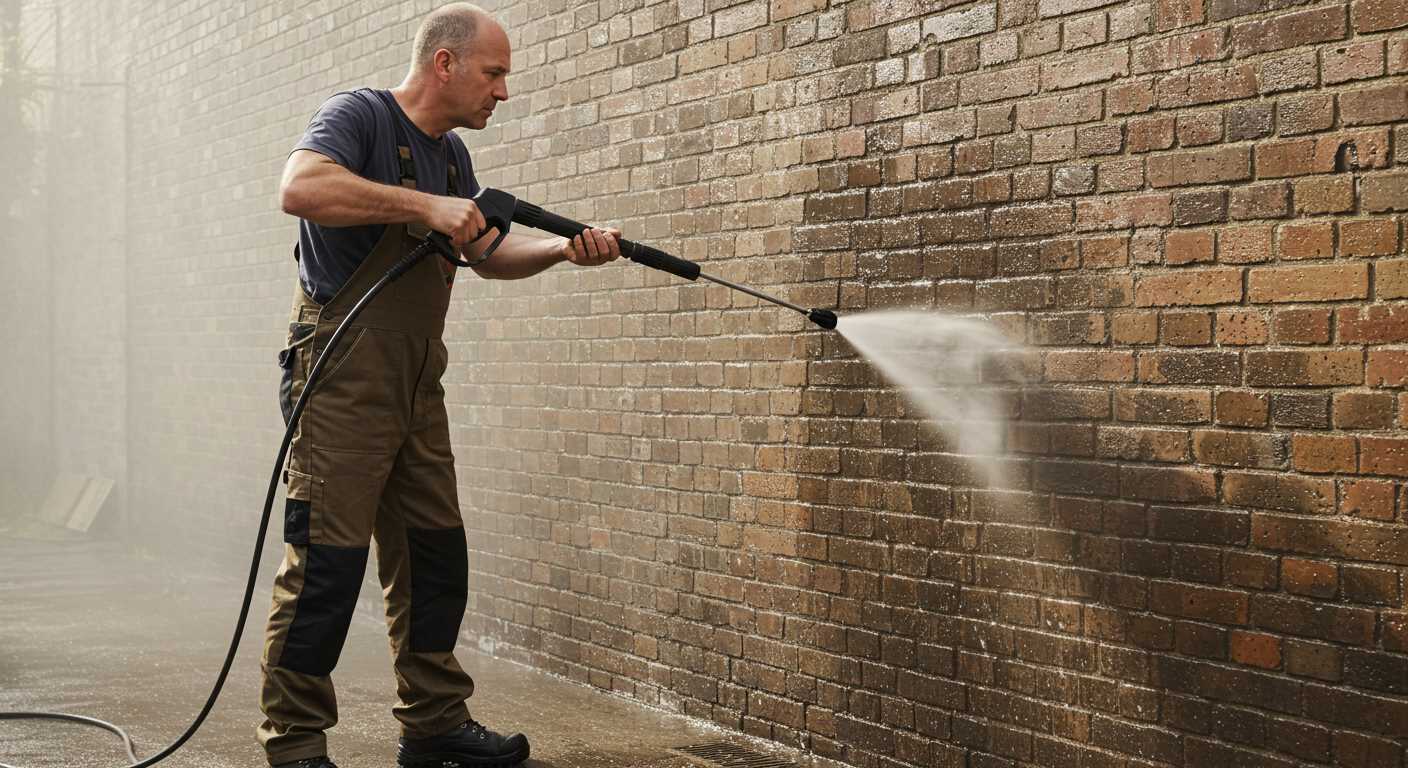

Check the power source first. Ensure the outlet is functioning by testing it with another device. A blown fuse or tripped circuit breaker may also be the culprit, so inspect your fuse box as well.
Next, examine the power cord. Look for any visible damage, such as fraying or cuts. If the cord is compromised, replacing it is necessary for safe operation. Additionally, ensure that the connections to the unit are secure and free from corrosion.
If your unit includes a safety switch or trigger lock, verify that it is disengaged. Many cleaners incorporate these features to prevent accidental activation, so make sure they are properly set before attempting to operate the machine.
Also, consider the water supply. For optimal functioning, sufficient water pressure is crucial. Make certain that hoses are not kinked or blocked, and check the water source for adequate flow. A clogged inlet filter can also disrupt water entry, so inspect and clean that component as needed.
Finally, if powered models are your focus, the motor may need attention. Listen for any unusual sounds when the machine is plugged in, and if there is a problem, consult the manufacturer’s manual for troubleshooting guidance or contact a professional for further assistance.
Starter Issues and Solutions

Check the power source. Make sure the outlet is functioning correctly and that the extension cord, if used, is rated for the device. A faulty connection can leave the motor without power.
Examine the fuel level if your model is gas-powered. An empty tank may seem obvious, yet it’s a frequent oversight. Ensure that the fuel is fresh, as stale gasoline can lead to starting difficulties.
Inspect the ignition system. For gas models, a flickering spark plug can prevent ignition. Remove the spark plug, check its condition, and replace it if necessary. Clean any built-up debris that may be obstructing the spark.
Verify the choke setting. An improper choke position can hinder the air-fuel mixture needed for combustion. Adjust it according to the weather conditions; cold weather may require a fully closed choke to help the engine start.
Inspect the water supply. Ensure the inlet is free of blockages and that the hose is securely connected to prevent any disruptions. A lack of water pressure can trigger a safety mode that stops the unit from firing up.
Look at the pressure switch. A malfunctioning switch can prevent the unit from activating, even if everything else appears normal. Test the switch for continuity; if it’s faulty, replacing it might resolve the issue.
Consider the thermal relief valve. If the unit has overheated, this component can activate and stop the engine. Allow the machine to cool down before attempting to restart.
Lastly, conduct a visual inspection of any wiring for signs of damage or wear. Frayed wires can disrupt electrical flow. Replace any damaged wiring to restore proper function.
Check if the Power Supply is Working

Ensure the power source is operational. Use a multimeter to measure the voltage at the outlet. It should read between 110-120 volts for standard models commonly found in households. If the reading is significantly lower or non-existent, the issue lies with the power supply.
If the outlet is functional, inspect the extension cord, if used. Look for any visible damage such as frays or cuts. This could interrupt the flow of electricity. Always test the cord with another appliance to confirm it’s working.
Check for blown fuses or tripped circuit breakers that might affect the electrical flow. Resetting a tripped breaker or replacing a fuse could resolve the issue. After rectifying any problems, reconnect the device and attempt to activate it again.
For models with battery packs, verify the charge level. A depleted battery will prevent operation. If necessary, charge the unit fully before attempting to power it on.
Lastly, ensure the power switch on the device is in the “on” position. It may seem simple, but this is a common oversight that can prevent activation. Carefully verify all components involved in the power supply chain before proceeding with further diagnostics.
Inspect the Fuel Level and Quality
Check the fuel level in the tank first. If it’s low, top it up with fresh fuel. Using old gasoline can lead to problems with ignition and engine performance.
Fuel Quality Considerations
The quality of the fuel is critical. Fuels that have been stored for long periods can degrade, causing starting difficulties. Always use fuel that is less than 30 days old. Look for signs of separation or sediment in the tank. Cloudy or discoloured fuel should be replaced immediately.
Fuel System Maintenance
After inspecting the fuel, check the fuel filter for clogs. A dirty filter can restrict fuel flow and cause the engine to fail to ignite properly. Perform maintenance on the fuel lines too; if they are cracked or damaged, replace them to ensure proper fuel delivery.
| Aspect | Action |
|---|---|
| Fuel Level | Ensure it is adequate |
| Fuel Age | Use fresh gasoline (less than 30 days old) |
| Fuel Quality | Replace if cloudy or discoloured |
| Fuel Filter | Check for clogs and replace if necessary |
| Fuel Lines | Inspect for cracks and replace if damaged |
Examine the Spark Plug Condition
First, inspect the spark plug for signs of wear or damage. A faulty spark plug can prevent the engine from firing. Remove the plug using a spark plug socket and examine it for the following conditions:
| Condition | Symptoms | Action |
|---|---|---|
| Soiling or Carbon Buildup | Dark residue on the insulator | Clean or replace the spark plug |
| Cracks or Chips | Visible damage on the porcelain | Replace the spark plug |
| Incorrect Gap | Engine misfires or rough idling | Set the gap to manufacturer’s specification |
| Corrosion | Rusty or corroded terminals | Replace the spark plug |
Spark plug replacement is usually straightforward. Ensure to use a plug that matches your equipment’s specifications. After installation, reconnect the ignition wire securely and attempt to crank the engine. If issues persist, further electrical checks might be necessary. Regular maintenance of the spark plug can enhance the overall performance and longevity of your machine.
Ensure the Water Supply is Adequate

Check the water source for sufficient flow. A garden tap or hose must deliver a steady stream without interruptions. Inspect the hose for any kinks or blockages that could impede the water flow.
- Verify that the water supply hose is appropriately connected to the unit.
- Look for any leaks in the hose or connection points that might cause pressure loss.
- Ensure the tap is fully open and delivering an uninterrupted supply.
- If using a hose reel, make sure it isn’t tangled or obstructed.
Test the water pressure at the outlet. If water flows only weakly, consider upgrading to a higher-flow tap or location. Remember that a minimum pressure level is necessary to operate effectively–usually in the range of 1.5 to 2 bar for optimal performance.
Furthermore, examine water quality. Debris and sediment can clog internal components over time. Use a filter at the water inlet to prevent this issue. Maintaining clean water ensures efficient functioning of the equipment.
Finally, if using well water, check for any fluctuations that might indicate pump issues. A consistent supply is key to reliable operation.
Look for Clogs in the Hose or Pump
Inspect the hose and pump for any obstructions. Begin by disconnecting the hose from both the inlet and outlet sides. Check for kinks or bends in the hose, which can restrict the flow of water. Ensure that the fittings are tight but not overly damaged.
Next, examine the inlet screen or filter. Debris can accumulate here, preventing water from reaching the pump. Clean or replace the filter if it appears dirty or damaged. If your model has a soap dispenser, inspect it as well for any blockages.
Once the hose is clear, turn your attention to the pump. Open the pump’s access points to look for any debris lodged inside. If accessible, manually turn the pump to feel for resistance; any unusual stiffness could indicate internal blockages. If you find any, carefully remove the obstruction without damaging the pump components.
After ensuring that all pathways are free, reassemble everything securely and test the system. A smooth flow of water is crucial for optimal operation. If issues persist, consult the user manual for further troubleshooting specific to your model.
Test the Safety Features and Switches
Begin with a thorough inspection of all safety mechanisms and switches. These components prevent accidental activation, ensuring the unit functions only under safe conditions. Check the trigger lock, as an engaged lock will prevent operation. If you’ve recently used the equipment, ensure the trigger isn’t unintentionally stuck or jammed.
Examine the Ground Fault Circuit Interrupter (GFCI)
Many units incorporate a GFCI for enhanced safety. Test the GFCI by pressing the reset button, followed by the test button; a failed reset could indicate a malfunction. To confirm that the outlet functions, plug in another device, ensuring power is supplied correctly. If the GFCI continues to trip, the fault may lie within your equipment, requiring a detailed inspection by a qualified technician.
Assess Other Safety Switches
Inspect additional switches, such as those for thermal overload protection. If your unit overheats, these switches cut off the power. Allow the machine to cool if this occurs. Look for any signs of wear on the switches themselves, as damaged components may fail to function correctly, contributing to startup difficulties. Address any potential issues promptly to resume effective operation.
Review the Owner’s Manual for Troubleshooting
Consulting the owner’s manual is crucial for effective diagnostics. This document contains specific information tailored to your machine model, offering insights that generic advice may overlook.
Key Areas to Focus On
- Starting Instructions: Verify the guidelines for initiating the unit. Many models require particular methods or sequences.
- Error Codes: Check for any error messages or codes that may appear on your device. The manual often provides troubleshooting steps based on these indicators.
- Maintenance Recommendations: Review suggested maintenance schedules. Neglected upkeep can lead to operational issues.
- Component Locations: Familiarise yourself with the placement of key components–knowing where to check or replace parts saves time.
- Warranty Information: Understand warranty coverage; some issues might be repairable under the manufacturer’s guarantee, sparing additional costs.
Utilising the Manual Effectively

To maximise the potential of the manual:
- Bookmark relevant sections for quick access.
- Take notes on common issues and how they were resolved in past experiences.
- Document any errors encountered and compare them to the suggested solutions listed.
- Consider keeping the manual in an easily accessible location for future reference.
Thoroughly using the owner’s manual can resolve many complications before moving on to more complex trouble-shooting. It equips the user with a stronger understanding of their machine, facilitating a more efficient resolution to any issues.


