



If your cleaning device remains silent despite attempts to power it up, firstly check the fuel tank. A lack of adequate fuel is often the primary culprit. Ensure you’re using the correct fuel type and that the tank is filled to the recommended level.
Next, inspect the ignition system. A faulty spark plug can prevent operation; consider replacing it if it’s damaged or excessively worn. Also, examine the electrical connections and wiring for any visible damage. Loose wires can hinder the starting process, so ensure everything is firmly connected.
Additionally, assess the pump and its components. Debris blockage in the water intake or pump mechanisms can create resistance. Clear any obstructions and check the water supply to ensure there’s sufficient flow. Regular maintenance can also play a significant role in preventing issues, so keep the device clean and serviced according to the manufacturer’s guidelines.
Finally, if all else fails, consult the user manual for troubleshooting advice specific to your model. This document can provide insights into unique quirks or solutions that may be relevant to your situation.
Troubleshooting a Non-Responsive Cleaning Machine
Check the fuel level first. Ensure it’s filled with fresh gasoline. Old fuel can cause starting issues; replace it if it has been sitting for several months.
Next, examine the ignition switch and kill switch settings. Ensure both are in the correct position. A simple oversight can prevent activating the engine.
Inspect the oil level and quality. Low or dirty oil can trigger an automatic shut-off mechanism. If the oil appears dark or contaminated, change it before attempting a restart.
Take a look at the spark plug. Remove it to check for wear or carbon buildup. Clean or replace the spark plug as needed. A faulty spark plug is a common reason for ignition failures.
Verify the air filter is clean. A clogged filter restricts airflow, impacting performance. Clean or replace the air filter if necessary.
Evaluate the choke position. Adjust it according to the manufacturer’s specifications. An improper choke setting can hinder the starting process.
If none of the above resolves the issue, check the fuel lines for blockages or leaks. Damaged lines can disrupt fuel delivery, preventing the engine from firing.
Lastly, if the engine still does not respond, consider contacting a technician for a thorough inspection. Internal issues like a faulty ignition coil or compression problems may be at fault.
- Fuel: Fresh and adequate?
- Ignition switches: Positioned correctly?
- Oil: Clean and sufficient?
- Spark plug: Damaged or dirty?
- Air filter: Clean?
- Choke: Set properly?
- Fuel lines: Clear and intact?
Check the Fuel Status of Your Cleaning Equipment

Inspect the fuel level in the tank. Ensure there is sufficient gasoline, as inadequate fuel is a common reason for failure. If the tank is empty, refill it with fresh fuel. Avoid using old fuel, as it can lead to performance issues due to degradation over time.
Examine the fuel quality. If the gasoline has been sitting for more than a month, it might have absorbed moisture, leading to starting difficulties. Always use fuel stabiliser if you plan to store fuel for extended periods.
Inspect for Leaks
Check for leaks in the fuel system. Look around the fuel lines and connections for any signs of wear or damage. If fuel is leaking, repair or replace the damaged components. Leaks not only hamper functionality but can also pose safety risks.
Fuel Filter Condition
Evaluate the fuel filter. A clogged filter can restrict fuel flow, causing the engine to struggle or refuse to ignite. If it’s dirty or hasn’t been changed in recent usage, replace it with a new one for optimal performance.
Inspect the Spark Plug for Wear or Damage
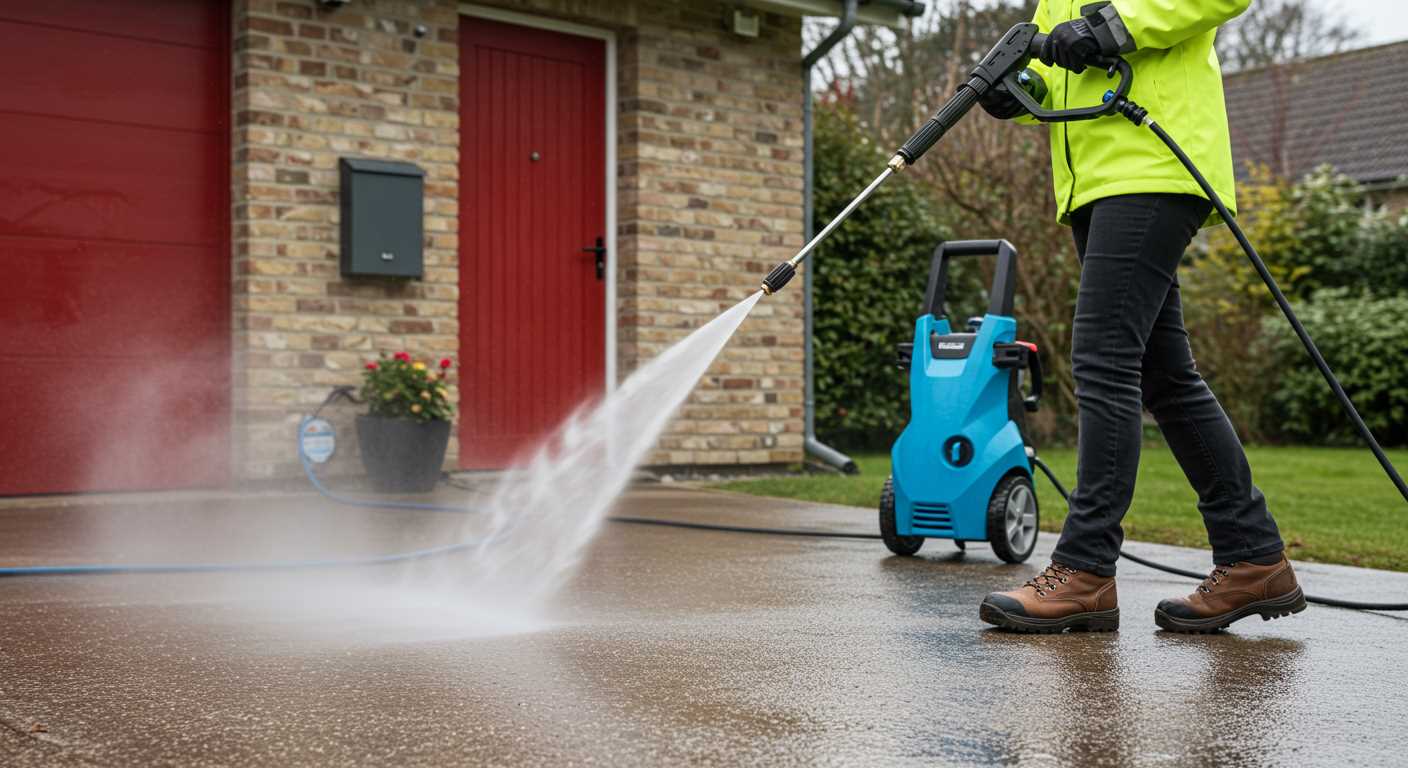
Begin by removing the spark plug to assess its condition. A worn or damaged spark plug can severely hinder ignition. Check for signs of fouling, excessive wear, or corrosion on the electrode and ceramic insulator.
Signs of a Faulty Spark Plug
- Black soot or carbon deposits indicate a rich fuel mixture or incomplete combustion.
- White deposits suggest overheating or incorrect heat range.
- Damaged or eroded electrodes will impact spark quality.
Steps to Replace the Spark Plug
- Ensure the engine is cool and disconnected from the power source.
- Use a spark plug wrench to remove the old plug carefully.
- Inspect the new plug for proper gap settings, usually specified in the user manual.
- Install the new plug by hand to avoid cross-threading, then tighten it with a wrench.
Regular inspections and timely replacements of spark plugs can make a significant difference in ignition reliability and overall machine performance.
Examine the Oil Level and Quality
Check the oil level by locating the dipstick on the engine. Remove it, wipe it clean, and reinsert it without screwing it in to get an accurate reading. Ensure the oil is at the recommended level between the minimum and maximum markers. If it’s low, top it up with the correct type of oil as specified in the user manual.
Assess the quality of the oil as well. Fresh oil should be a clear amber colour. If it appears dark, gritty, or has an unusual smell, it’s time for an oil change. Contaminated oil can hinder engine performance and prevent smooth ignition. Regularly check and maintain the oil to ensure optimal functionality.
Recommended Oil Change Interval
Change the oil at least once a season or after every 50 hours of usage, whichever comes first. Frequent use in harsh conditions may require more regular changes. Always refer to the manufacturer’s guidelines for the specific model to determine the best maintenance schedule.
Using the Correct Oil
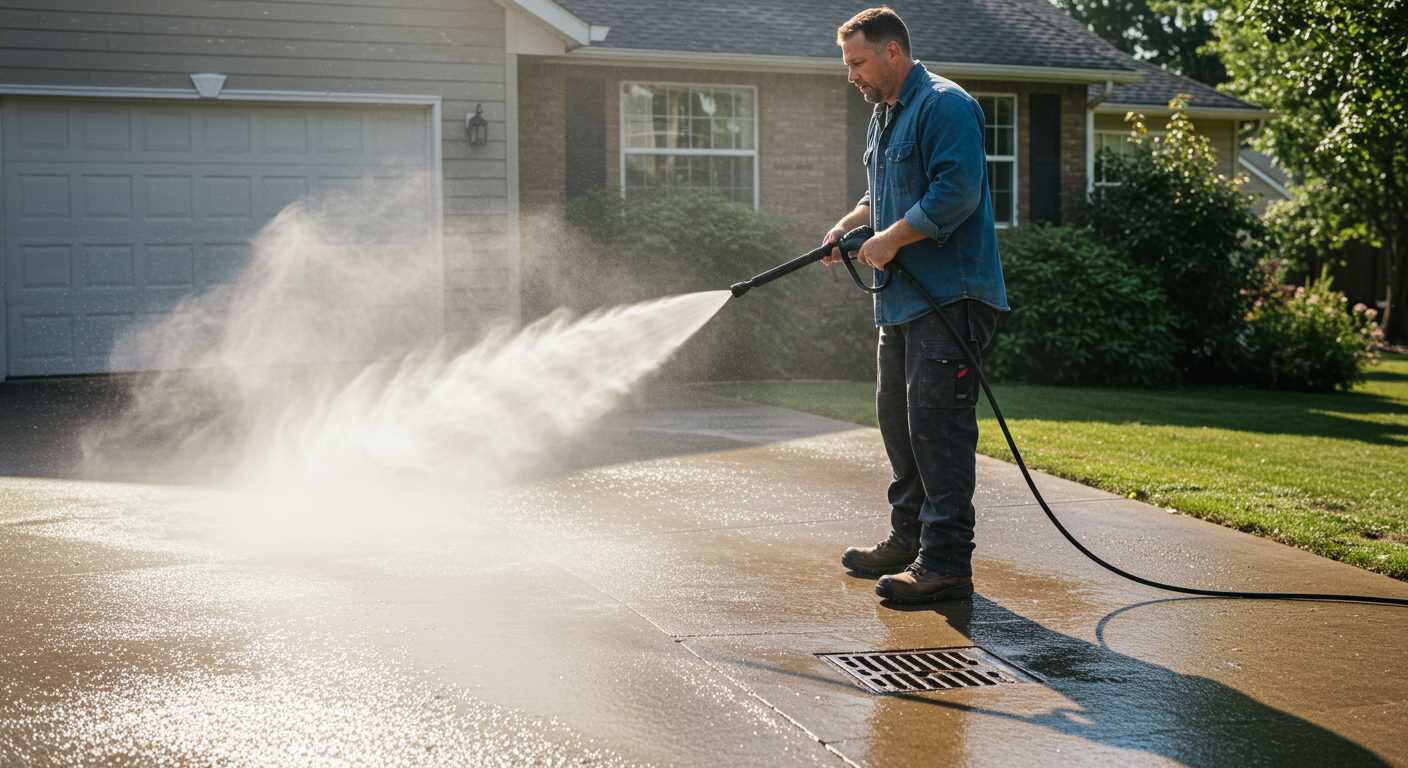
Select oil that meets the specifications outlined in the product manual. Generally, a detergent oil rated for air-cooled engines works best. Avoid mixing different types of oil, as this can affect performance and reliability. Consistent maintenance of oil levels and quality can significantly impact your equipment’s longevity and ease of use.
Review the Electric Power Supply Connection
Ensure that the power source is functional and properly connected. Check the outlet for voltage using a multimeter; it should supply the correct amount of electricity. Faulty outlets can cause malfunctioning equipment.
Inspect the Power Cord
Examine the power cord for any signs of damage or fraying. If you notice any issues, replace the cord immediately to prevent further electrical problems.
Check Extension Cords

If you are using an extension cord, ensure it’s rated for the power requirements of the equipment. Using an under-rated cord may lead to voltage drops and inadequate performance.
| Problem | Solution |
|---|---|
| Outlet not working | Test outlet with a multimeter. |
| Damaged power cord | Replace the cord. |
| Inadequate extension cord | Use a cord rated for your equipment. |
After thorough inspection and necessary adjustments, try energising the unit again. This step can often resolve issues related to improper power supply. If problems persist, further investigation may be required.
Assess the Air Filter Condition
Check the air filter for blockages or excessive dirt. A clogged air filter restricts airflow, which can lead to poor combustion and difficulty in ignition.
First, remove the air filter cover and visually inspect the filter element. If it’s discoloured or coated in dust and debris, it’s time for cleaning or replacement. For foam filters, wash gently with soapy water, rinse thoroughly, and allow it to dry completely before reinstalling. Paper filters should be replaced if they appear dirty.
Ensure the filter fits snugly in its housing after cleaning or replacing. An improper seal can also lead to performance issues. Regular air filter inspection is key to maintaining optimal engine operation, contributing to reliable starts and smooth operation.
Troubleshoot the Fuel System Components
Check for fuel lines for cracks, leaks, or blockages. Any damage can prevent fuel from reaching the engine. If lines seem worn, replace them to ensure a proper flow.
Inspect the Fuel Filter
A clogged filter can restrict fuel intake. Remove the filter and clean it or replace it if necessary. Regular maintenance of this component can prevent operational issues.
Review the Carburettor Functionality
Examine the carburettor for blockages or sticking components. Clean jets and passages thoroughly. If the carburettor is contaminated, rebuild or replace it to restore proper mixing of air and fuel.
If you’ve been using old fuel, it may have degraded. Drain any stale fuel from the tank and carburettor, then refill with fresh petrol to improve performance.
Lastly, ensure that the fuel is of the right octane rating recommended by the equipment manufacturer. Using incorrect fuel can lead to starting issues.
FAQ:
What are some common reasons my Honda pressure washer won’t start?
There are a few typical reasons your Honda pressure washer may not start. First, check the fuel level; if it’s empty or stale, it can hinder the ignition process. Ensure the gasoline is fresh, as old fuel can lead to starting issues. Secondly, examine the oil level and quality; a lack of oil or dirty oil can cause problems with starting. Additionally, inspect the air filter; if it’s clogged, it may restrict airflow, further preventing proper engine ignition. Lastly, check the spark plug for wear and tear or carbon build-up, as this can impact the spark needed to start the engine. If all these parts are in good condition, the problem may lie within the starter motor or electrical components.
How can I troubleshoot my Honda pressure washer if it cranks but doesn’t start?
If your Honda pressure washer cranks but doesn’t start, there are steps you can take to troubleshoot the issue. First, ensure that the choke is set correctly; if it’s not fully open when starting, it may not get enough air. Next, check the fuel line for any blockages or leaks; a clear fuel line is essential for starting. If the fuel is making its way to the engine but it still won’t ignite, examine the spark plug for signs of damage or fouling. You can clean or replace it if necessary. Additionally, ensure the ignition switch and safety features are functioning properly; a malfunctioning switch can prevent the engine from starting. If these checks don’t reveal the issue, the next step may involve looking into the carburettor for dirt or clogs, as it plays a vital role in fuel-air mixing for ignition.


