


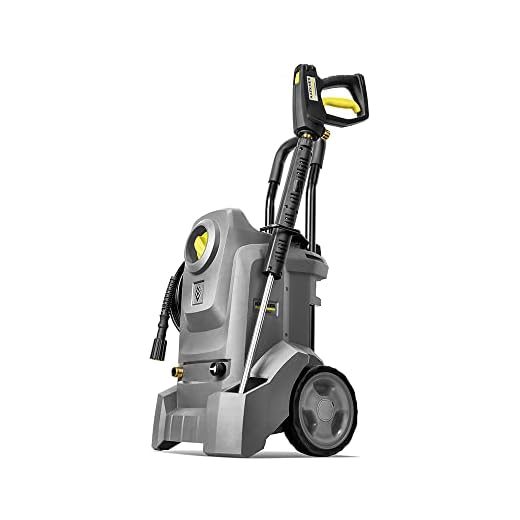
Check the power supply first. Ensure the outlet is functional and the cable is securely connected. It might seem obvious, but a loose plug can prevent operation.
Next, inspect the water supply. A blocked hose or low water level can lead to inadequate performance. Ensure that the inlet filter is clean and that the water source is flowing freely.
Examine the nozzle and spray lance. Clogs in these parts can cause a complete halt. Clear any debris and check for wear that may affect function.
Monitor the pressure settings. Adjust them according to the surface you’re cleaning. Sometimes, settings may inadvertently switch to a lower output, limiting effectiveness.
Lastly, consider the temperature of the water. Devices vary in temperature tolerance; using water that is too hot or too cold can impede functionality. Stick to the recommended range for optimal results.
Possible Causes for a Karcher Cleaning Machine to Fail
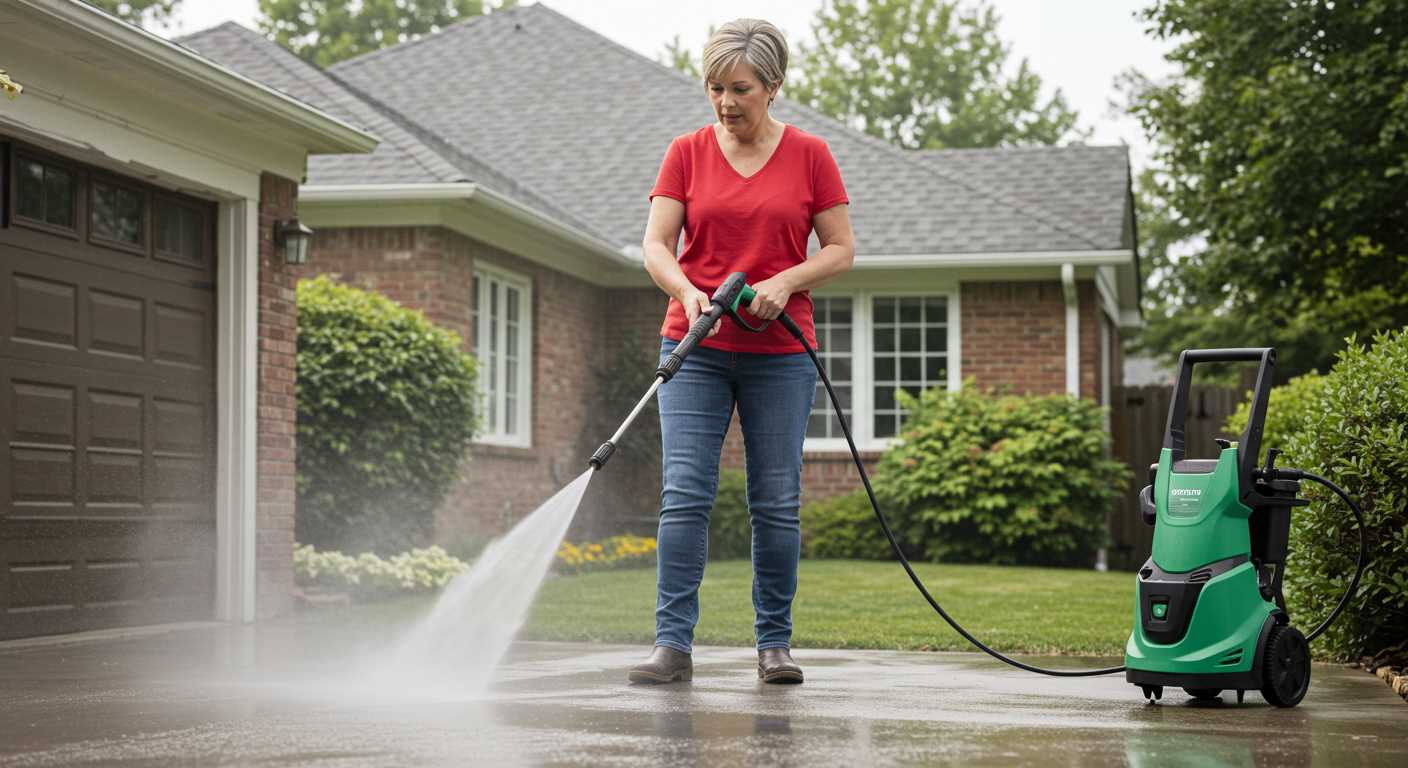
If you find that your cleaning device is not functioning, the first step is to inspect the power source. Ensure the extension cord is rated for the required voltage and that it is securely connected to both the machine and the electrical outlet. A faulty socket or tripped circuit breaker may also be the issue.
Next, check the water supply. The inlet filter may be clogged with debris, restricting water flow. Remove and clean it thoroughly to restore proper operation. Additionally, confirm the water pressure meets the requirements specified in the user manual.
Common Troubleshooting Steps
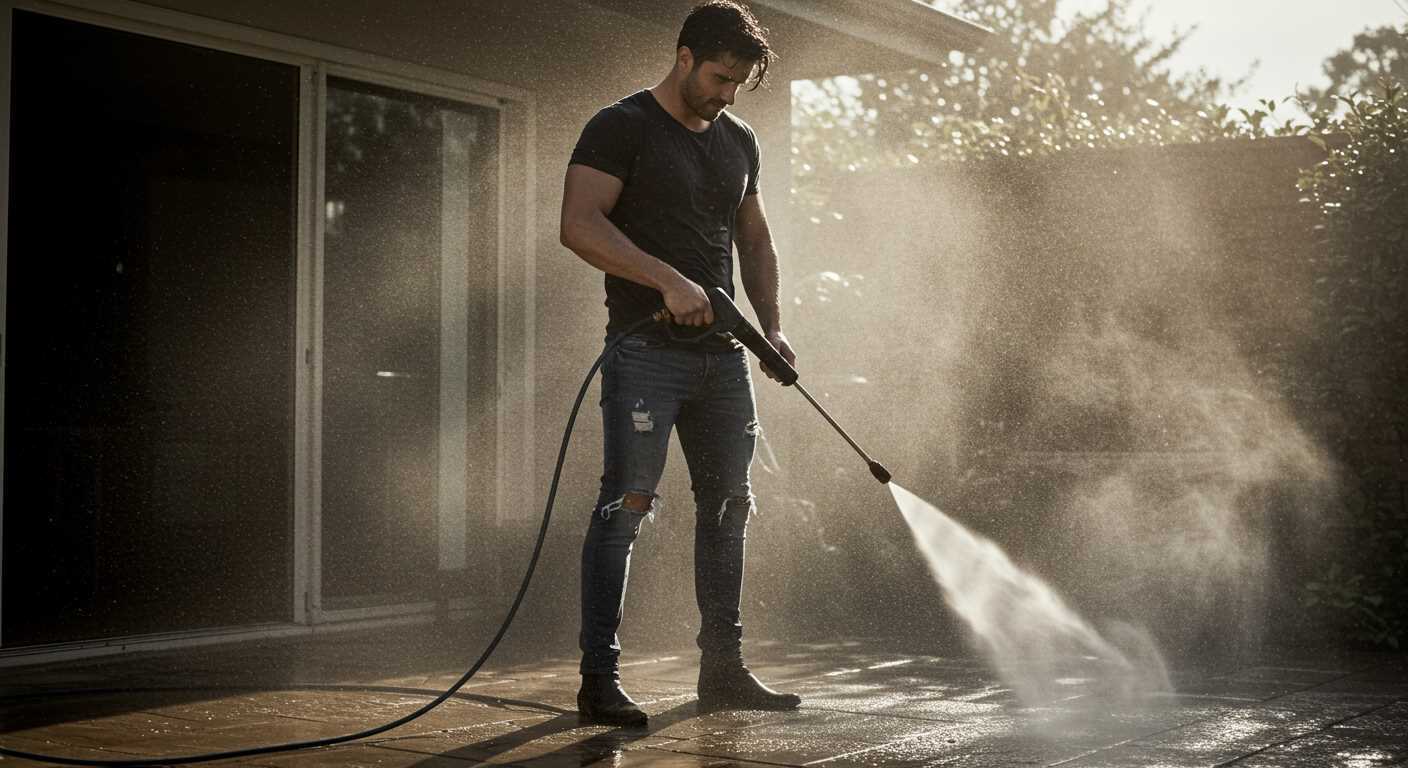
| Issue | Solution |
|---|---|
| No power | Inspect the power cord and socket for faults. |
| Low water flow | Clean the inlet filter and check the hose for kinks. |
| Pressure fluctuations | Ensure no air is trapped in the system and inspect for leaks. |
| Machine shuts off during use | Check for overheating; allow the unit to cool before restarting. |
Inspect the nozzle and any attachments. Blocked nozzles can hinder performance. Detach and clean any blocked parts, then reassemble them securely. If the problem persists, consider examining the pump for damage or wear and replace it if necessary.
Lastly, review the user manual for specific maintenance tips related to your model to ensure optimal functioning. Regular maintenance can help prevent these issues from arising in the future.
Insufficient Water Supply Issues
First, check the mains water supply. Ensure there is sufficient pressure; it typically needs to be at least 20 PSI for optimal performance. If there’s a drop in pressure due to restrictions or blockages, the machine may not function properly.
Inspect Hoses and Connections
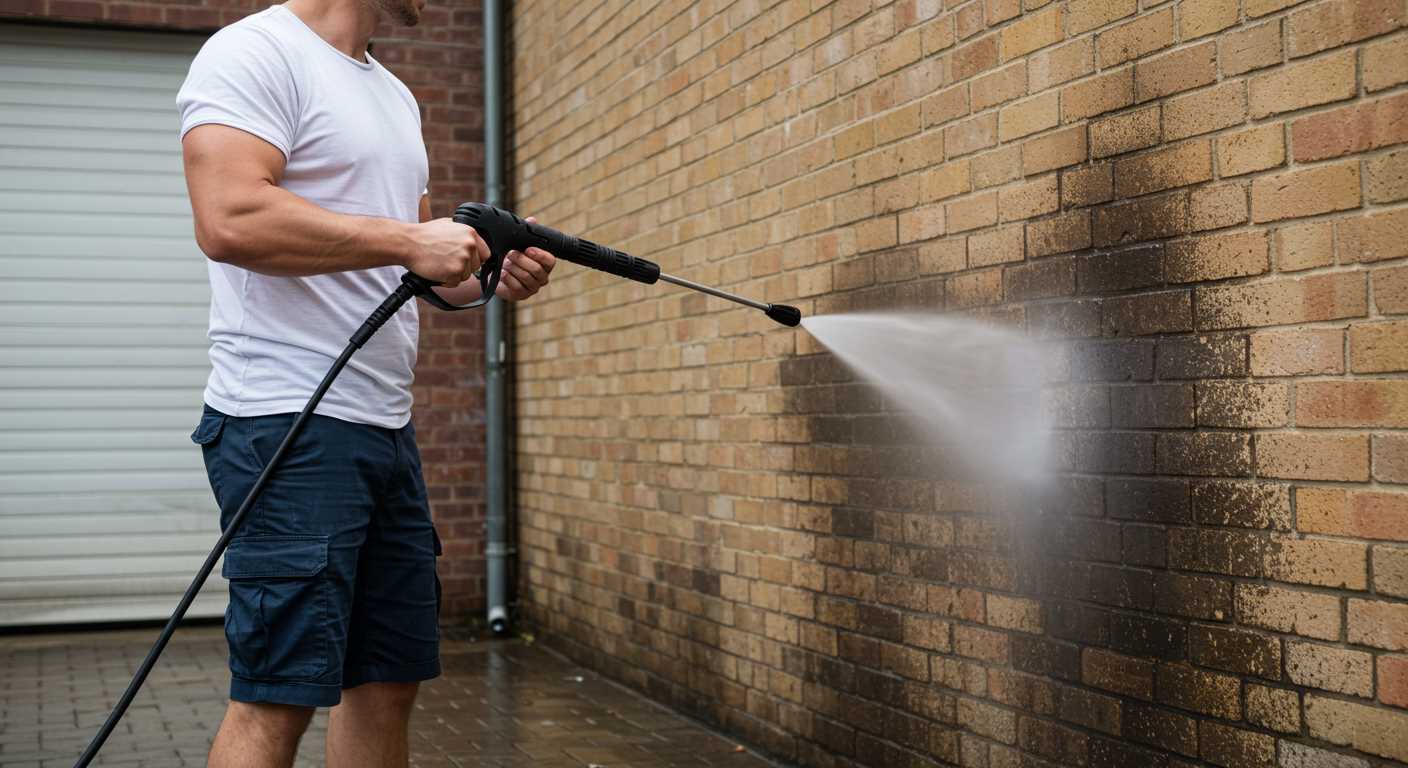
Next, examine the intake hose for kinks, blockages, or leaks. A damaged hose can significantly impede water flow. Ensure all connections are tight and secure to prevent air from entering the system, which can cause cavitation and render the unit ineffective.
Water Filter Maintenance
Don’t overlook the water filter. If it’s clogged with debris or sediment, clean it regularly to maintain an uninterrupted supply. This small step can prevent a multitude of operational issues, ensuring a steady flow is available for the unit.
Checking Electrical Connections and Power Supply
Ensure that the device is connected to a power source that meets its requirements. Inspect the socket for potential damage or wear, and confirm that it is functioning properly by testing it with another appliance.
Examine the Power Cable
Inspect the power cord for any visible fraying, cuts, or damage that might hinder electrical flow. If the cord shows signs of wear, it must be replaced to avoid risks of short circuits. Use a multimeter to test continuity, ensuring no breaks exist in the wiring.
Check Circuit Breakers and Fuses
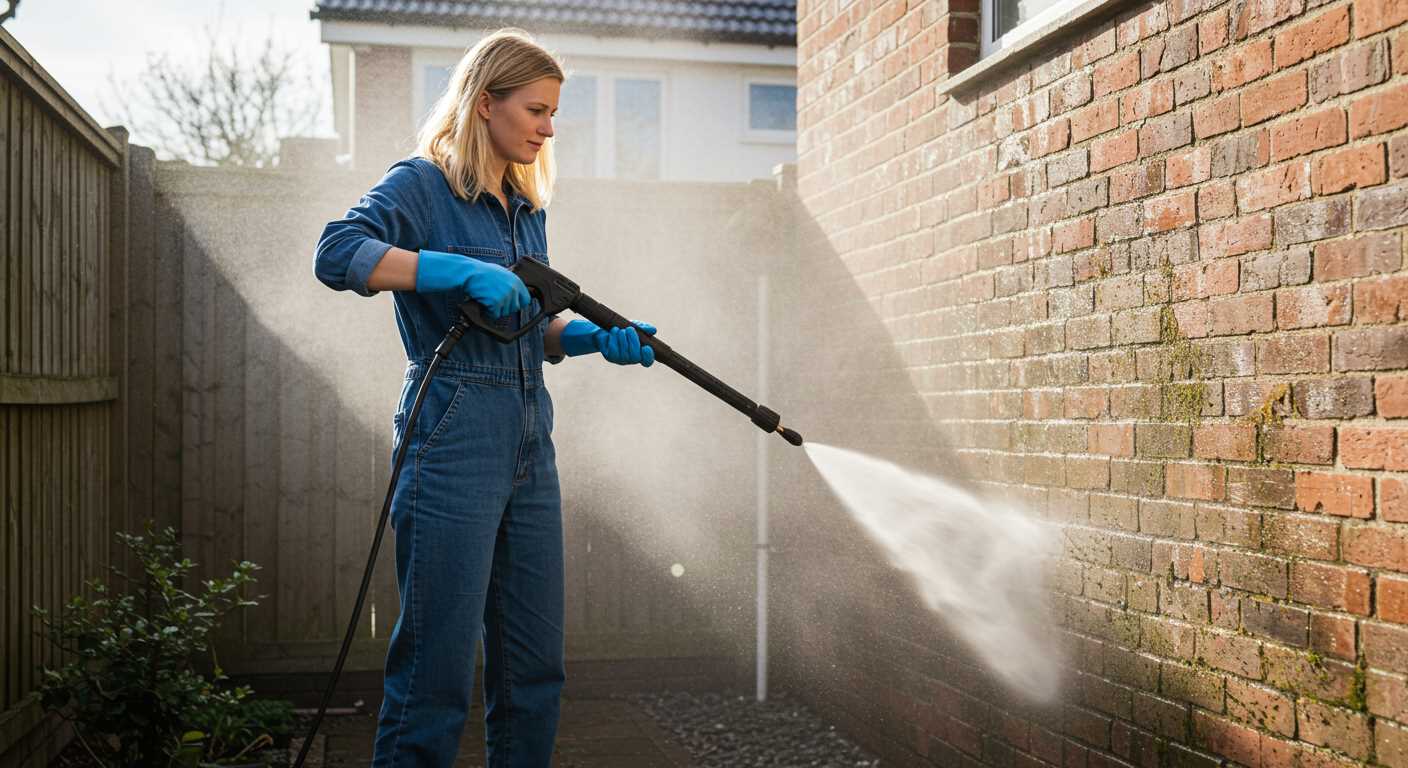
Locate your household circuit breaker panel and verify that the relevant breaker has not tripped. If it has, reset it and observe if the issue persists. If the device continues to experience problems, inspect the fuses in your electrical panel for any that may have blown, replacing them as necessary.
Identifying Blockages in Hoses and Filters
Inspect the hoses and filters for any signs of obstruction. Ensure that all connections are secure and free from damage. Start with the inlet filter, often located where the hose connects to the unit. Remove it and check for debris or sediment buildup.
Follow these steps to clear any blockages:
- Detach the water supply hose from the machine.
- Check the inlet filter for dirt or clogs. Clean it with water or replace it if necessary.
- Examine the high-pressure hose for kinks, twists, or tears. A compromised hose can restrict the flow dramatically.
- Inspect the wand and nozzle for blockages. Remove any debris by flushing them with clean water.
- Run water through the entire system without the motor running to spot any difficult areas.
After completing these checks, reassemble everything and conduct a test run. Watch for abnormal sounds or flow issues, which may indicate remaining blockages. Regular maintenance can prevent these issues, so make it a habit to inspect all components frequently.
Understanding Pump Failures and Symptoms
If the unit is struggling or completely non-operational, the pump may be at fault. The following indications can help diagnose pump-related issues:
- Loud Noises: Any unusual sounds such as grinding or screeching typically signal internal damage or wear.
- Low Pressure: If the output pressure is significantly reduced, this suggests a possible leak or internal failure within the pump.
- Continuous Cycling: Frequent starting and stopping of the motor can indicate air trapped in the system, leading to potential pump issues.
- Leaks: Visible water leaking around the pump casing or hoses points to seal deterioration or separation at joints.
- Vibrations: Excessive shaking or instability during operation may indicate misalignment or a failing component.
To address these issues:
- Inspect all components for wear, cracks, or leaks.
- Check for proper lubrication according to the manufacturer’s specifications.
- Consider replacing worn seals or gaskets to prevent leaks and pressure loss.
- Listen for and address unusual sounds immediately to prevent further damage.
- Consult the user manual for troubleshooting specific to pump failure symptoms.
Regular maintenance can mitigate many of these problems. Ensure that the machine is cleaned and serviced according to the guidelines to help prolong its lifespan and maintain optimal performance.
Troubleshooting Pressure Regulator Problems
Begin by inspecting the pressure regulator if low or inconsistent pressure is experienced. This component is critical for maintaining proper flow and pressure levels, so any malfunction can disrupt operation.
Signs of a Malfunctioning Regulator
Common symptoms include:
| Symptom | Possible Cause |
|---|---|
| Inconsistent pressure | Blocked regulator or damaged diaphragm |
| Low pressure | Faulty adjustment screw or leaks |
| High pressure | Regulator malfunction or incorrect settings |
Steps for Troubleshooting
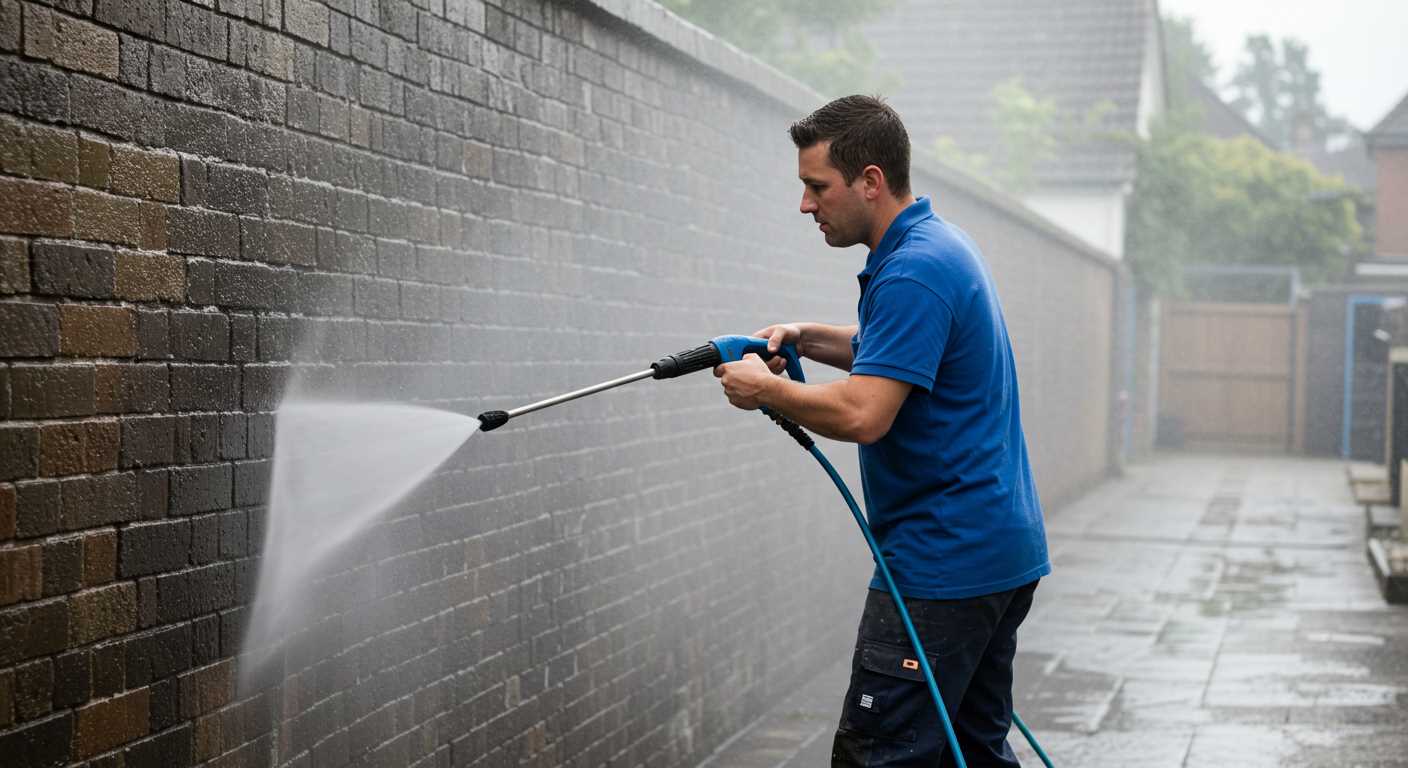
Follow these steps to diagnose and address issues:
1. Inspect connections: Check for loose or damaged fittings around the regulator. Ensure all connections are tight.
2. Test the adjustment screw: Turn the screw to see if pressure changes. If it is stuck or stripped, replacement may be necessary.
3. Examine the diaphragm: Remove the regulator and inspect the diaphragm for cracks or wear. A damaged diaphragm needs replacement.
4. Check for obstructions: Clean any debris around the regulator’s inlet and outlet ports that could hinder proper flow.
5. Consider professional service: If these steps do not resolve the issues, consulting with a professional technician may be required for complex repairs.
Examining Spray Gun and Nozzle Malfunctions
Inspect the spray gun for leaks or cracks. A compromised gun can lead to loss of pressure and inefficient cleaning. Replace any damaged components immediately to restore functionality.
Next, focus on the nozzle design. Ensure that you are using the correct nozzle for your task. An incorrect nozzle can result in inadequate pressure or a wide spray pattern, diminishing the overall cleaning effect. Test different nozzles to find the most suitable one for your requirements.
Cleaning the nozzle is essential. Over time, debris can accumulate, causing blockages. Remove the nozzle and rinse it thoroughly. For stubborn clogs, soak it in a vinegar solution to break down any mineral deposits.
Check for functional attachments. If a foam cannon or other accessory is attached, ensure it’s properly fitted and not impacting water flow. Sometimes, removing accessories can help identify if they are causing performance issues.
Lastly, if the gun has a trigger locking mechanism, ensure it’s functioning correctly. A malfunction in this area may prevent proper operation and require adjustment or replacement for effective usage.
Assessing Maintenance Needs and Frequency
Regular upkeep is the cornerstone of optimal functioning for any cleaning device. Establish a routine inspection schedule every six months to guarantee that components are in peak condition. This includes checking hoses for wear, inspecting seals for leaks, and ensuring that filters are clean and unobstructed.
After every few uses, I recommend cleaning the filters–especially if you’ve been using the machine in dusty or debris-heavy environments. Clear filters prevent blockages that can lead to overheating and subsequent failures.
Seasonal tasks should include checking the pump’s oil levels and condition. Replace oil annually to ensure smooth operation and to prevent damage from old oil that may have lost its lubricating properties.
Always consult the manufacturer’s specific guidelines for movement and storage, as improper handling can lead to long-term damage. For winter storage, consider using anti-freeze solutions to protect components from freezing temperatures.
Likewise, replace hoses that show signs of significant wear or cracking immediately. The integrity of the delivery system is crucial to maintaining output pressure and efficiency.
Taking control of routine maintenance not only extends the lifespan of your tools but also ensures they remain reliable during demanding cleaning tasks. Prioritising these checks aligns with best practices developed over years of hands-on experience in the field.
Finding Assistance from Customer Support or Service Centres
Engaging with customer support can provide targeted solutions for those ongoing issues with your cleaning equipment. Start by visiting the manufacturer’s official website and navigate to the ‘Support’ section. You’ll find various resources including troubleshooting guides, FAQs, and contact details.
If direct assistance is more suitable, prepare a list of symptoms and previous attempts at resolution before calling or writing to customer service. This can expedite the troubleshooting process and enable technicians to provide a more accurate diagnosis.
Service Centre Visits
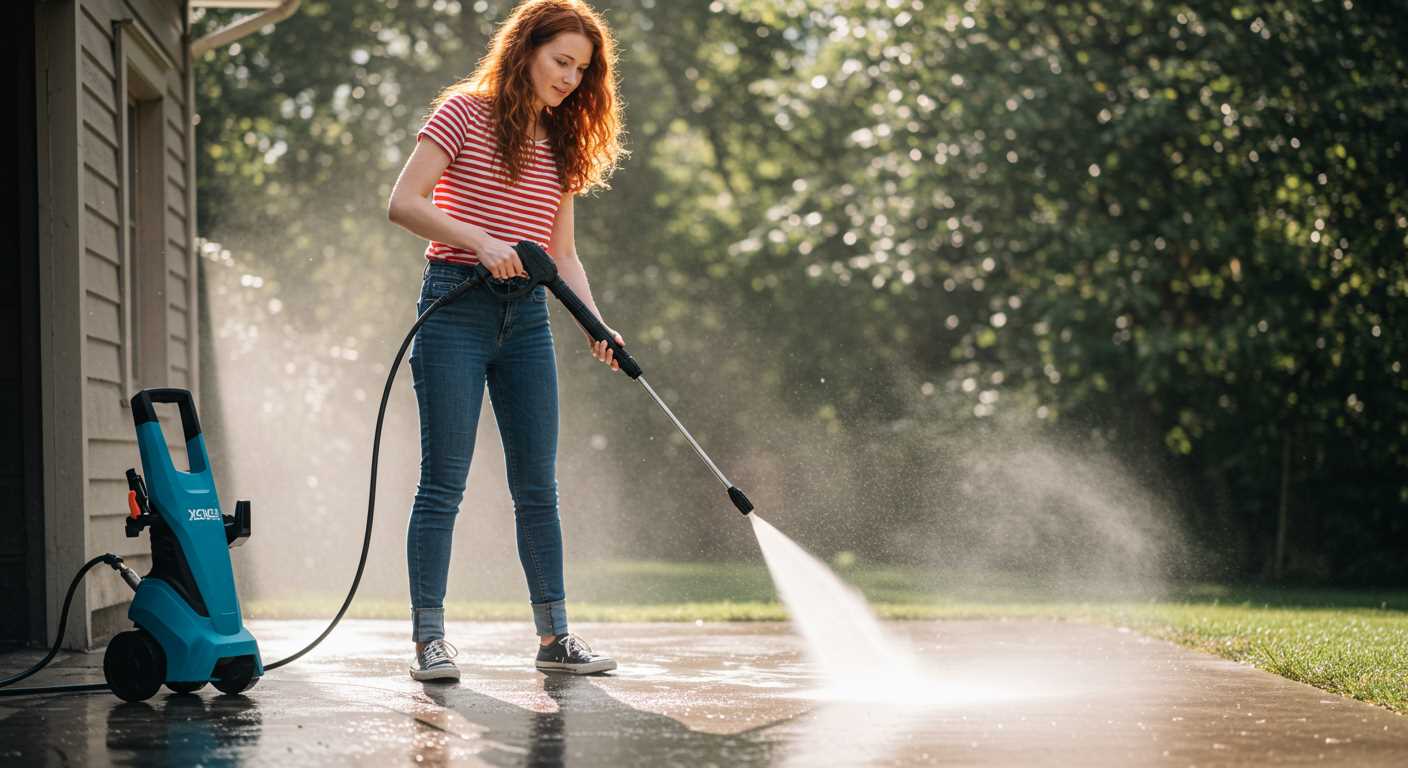
For complex problems, a visit to an authorised service centre might be necessary. When making an appointment, inform them of specific symptoms and any tests conducted previously. This can aid technicians in diagnosing the malfunction more effectively, reducing downtime while your equipment is being serviced.
Warranty Considerations
Always check if your model is under warranty. If eligible, repairs or replacements might be covered, saving you from unexpected costs. Ensure to have all relevant purchase documents handy for warranty validation.


