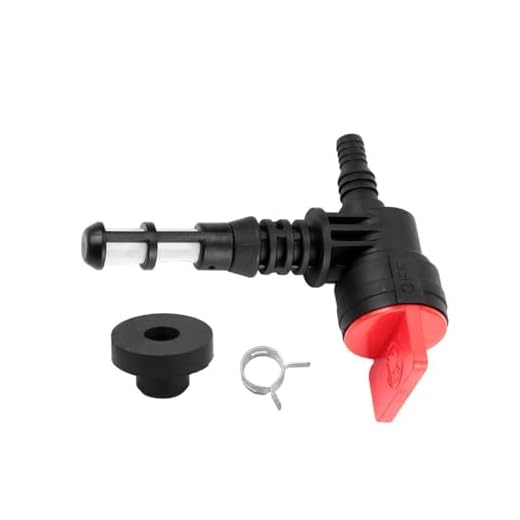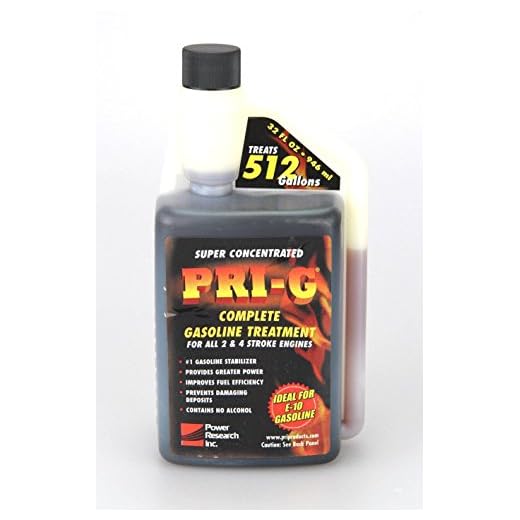


If you encounter difficulties igniting your gasoline cleaning equipment, checking the fuel system is paramount. Begin by ensuring that the fuel tank is filled with fresh, uncontaminated petrol. Stale or contaminated fuel can significantly hinder engine performance. If the petrol is old, draining it and replacing it with new fuel is advisable.
Next, inspect the fuel filter for blockages. A clogged filter can restrict fuel flow, causing starting problems. Cleaning or replacing the filter should restore proper function. Additionally, verify that the fuel lines are intact and free of leaks or cracks, as damaged lines can lead to air entry, disrupting the fuel delivery system.
Ignition components also play a crucial role in the starting process. Examine the spark plug for wear or fouling. A faulty spark plug may fail to create the necessary spark; replacing it can often resolve ignition issues. Furthermore, check the ignition coil for proper functioning. If these components are in good condition, ensure the choke is set correctly to facilitate starting.
If troubleshooting these areas does not yield results, consider examining the carburettor for blockages or malfunction. A clean, well-adjusted carburettor allows for optimal air-fuel mixture, essential for a smooth start. Following these steps should help identify and rectify the issues preventing your engine from igniting effectively.
Troubleshooting Your Engine-Driven Cleaning Device
Check the fuel level. Insufficient fuel can prevent operation, so ensure the tank is adequately filled with the proper grade.
Inspect the ignition system. A faulty spark plug can disrupt starting. Look for signs of wear or damage and replace it if necessary.
Examine the air filter. A clogged filter can restrict airflow, causing starting challenges. Clean or replace it to allow optimal airflow.
Verify the choke setting. If the choke is in the incorrect position, it may lead to starting issues. Ensure it is adjusted according to the manufacturer’s instructions for optimal performance.
Look for leaks. Fuel leaks can lead to a lack of pressure in the system. Check hoses and connections for any cracks or damage.
Additional Checks

- Examine the oil level. Low or dirty oil can impact engine performance.
- Inspect the battery if applicable. Ensure it is charged and in good condition.
- Listen for unusual sounds. Strange noises may indicate internal engine problems that require professional assessment.
Final Considerations
If problems persist, consulting the manufacturer’s manual is advisable for specific troubleshooting steps tailored to your model. If there’s uncertainty, seeking assistance from a qualified technician can save time and effort.
Checking the Fuel Supply for Your Cleaning Equipment
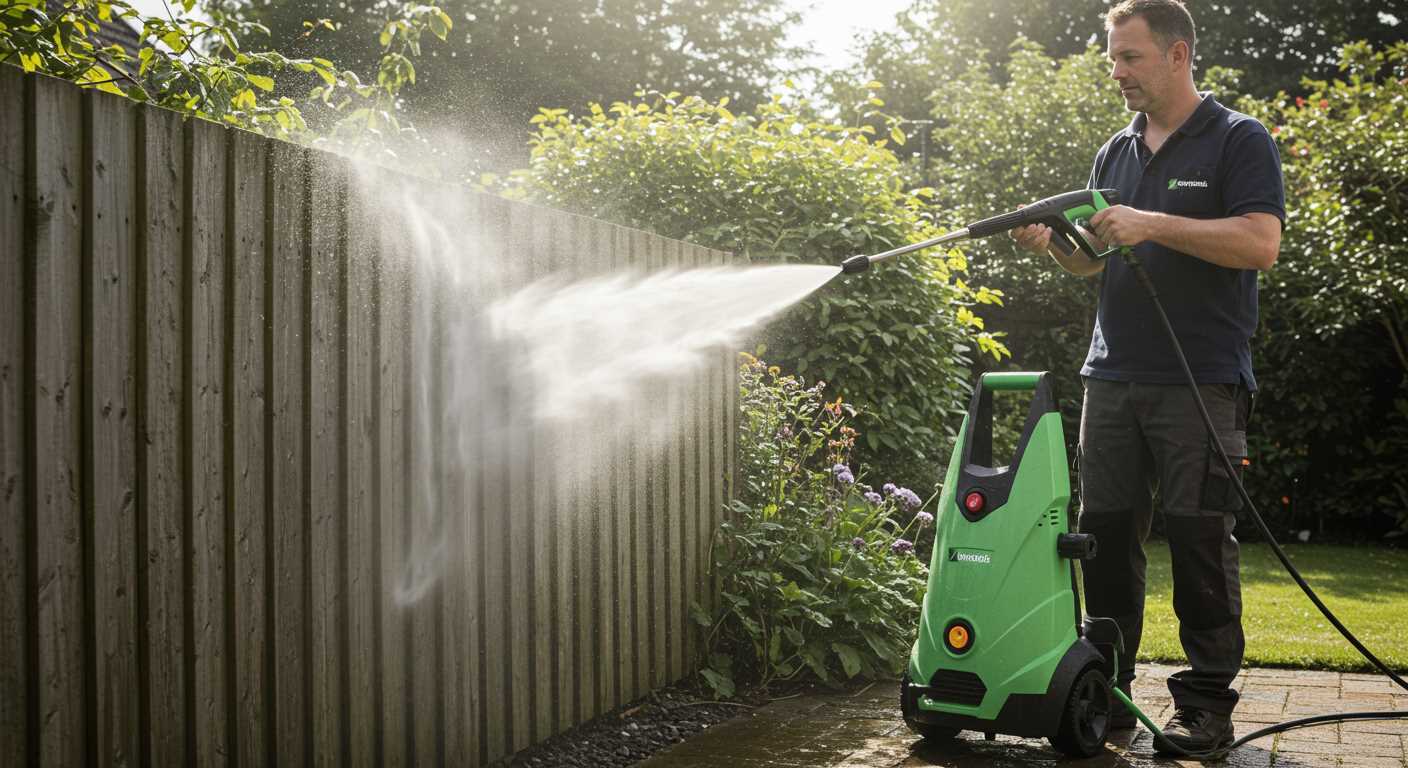
Examine the fuel level in the tank first. Ensure it’s adequate for operation; running out can prevent ignition entirely.
Inspect the fuel lines for cracks or blockages. Any interruptions can hinder the flow of gasoline to the engine, leading to starting issues. Replacing damaged lines is essential.
Verify that the fuel is fresh. Stale petrol can cause starting problems and should be changed if it’s over three months old. Adding a fuel stabiliser may help if you plan to store the machine for a while.
Check the fuel filter as well. A clogged filter can restrict fuel flow. Clean or replace it to restore proper function.
Look at the fuel pump operation. Make sure it engages correctly when you pull the recoil starter. A malfunctioning pump may need servicing or replacement.
Inspecting the Choke

The choke should be in the correct position before trying to ignite the engine. If the choke is closed, fuel-air mixture becomes richer, aiding a successful start. Ensure that the mechanism functions smoothly without obstructing movement.
Additional Tips
Always use the appropriate fuel type recommended by the manufacturer. Using the wrong blend can lead to starting challenges and potential damage to the engine over time.
After resolving any fuel-related issues, if ignition still fails, consider other components, including the spark plug and ignition system, as they might equally contribute to the starting difficulty.
Inspecting the Spark Plug Condition
Check the spark plug for wear or damage. Remove it using a spark plug socket and inspect the insulator for cracks or chips. If the electrode shows excessive wear or deposits, replacement is necessary.
Steps to Examine the Spark Plug
1. Disconnect the ignition lead to prevent accidental starting.
2. Remove the spark plug using a proper socket wrench.
3. Inspect the spark plug itself–look for carbon build-up, oil deposits, or corrosion.
4. Measure the gap between the electrodes using a feeler gauge; the specification is usually found in the manual. Adjust the gap if needed.
5. If the spark plug fails to meet the condition recommended by the manufacturer, install a new one with the correct heat range.
Common Spark Plug Issues
| Issue | Possible Cause | Solution |
|---|---|---|
| Carbon Fouling | Rich fuel mixture | Adjust carburetor or replace the spark plug |
| Oil Fouling | Worn engine components | Check for wear; possible engine rebuild |
| Burnt Electrodes | Overheating or wrong spark plug type | Replace with correct type; check engine cooling |
Ensuring the spark plug is in good condition will enhance ignition, leading to improved performance. Reinstall the spark plug along with the ignition lead, securing everything in place for the next use.
Examining the Starter Mechanism and Pull Cord
Inspect the pull cord for any fraying or damage. A compromised cord can hinder engagement with the starter mechanism. Check that it retracts smoothly and isn’t tangled. If the cord is stuck, it may indicate an issue within the starter assembly.
Testing the Starter Assembly
Follow these steps to evaluate the starter assembly:
- Remove the starter cover by unscrewing the screws holding it in place.
- Inspect the flywheel for wear or obstructions. Any debris here can prevent the mechanism from functioning properly.
- Check the recoil spring for tension. A weak or broken spring will fail to rewind the pull cord effectively.
- Manually pull the starter cord to see if the engine turns over. If it doesn’t, the issue resides within the mechanism itself.
Fixing Common Issues
For common problems, consider the following solutions:
- If the cord is frayed, replace it with a compatible option. Ensure it’s the correct length to avoid complications when reassembling.
- Clean out any debris from the flywheel area regularly to maintain smooth operation.
- If the spring is damaged, replacing it should restore proper function. Consult the user manual for the specific part number.
- Reassemble the starter cover securely after repairs, ensuring no loose components are left behind.
Tackling starter mechanism issues can lead to a quicker fix and restore functionality efficiently. Use these steps to enhance your troubleshooting process.
Identifying Issues with the Carburettor
Check the carburettor for dirt or blockages. A clogged jet can restrict fuel flow, preventing ignition. Remove the float bowl and inspect for debris; clean it if necessary. Ensure the main jet and pilot jet are clear, using compressed air if available.
Adjusting the Mixture
Verify that the air-fuel mixture is properly adjusted. An overly rich mixture can cause flooding, hindering engine operation. Adjust the mixture screw based on the manufacturer’s specifications. It’s advisable to start with a factory setting and make small adjustments while testing the engine.
Inspecting the Float Mechanism
Examine the float and needle valve. The float should move freely without any obstruction, and the needle must seal properly to maintain fuel levels. If the float is stuck or damaged, it may need repair or replacement. A malfunctioning float can lead to overflow or insufficient fuel delivery.
Assessing the Oil Level and Quality
Immediately check the oil level in the engine. If it’s low, add the appropriate type of oil as specified in the user manual. Operating an engine with insufficient oil can cause serious damage and prevent functionality.
Next, inspect the oil quality. If it appears dark, gritty, or has a burnt smell, it’s time for an oil change. Old, contaminated oil can hinder engine performance. Replace it with fresh oil, ensuring it meets the manufacturer’s specifications.
Ensure the oil filler cap is secure after checking or changing the oil. An improperly sealed cap can lead to leaks and insufficient lubrication.
Make it a habit to check the oil regularly, especially before long uses. This simple step can save extensive repair costs and prolong the life of your equipment.
Verifying the Safety Features and Switches
Check the safety features before attempting to operate the machine. Ensure that the trigger lock is disengaged, as this prevents accidental activation. If the lock is malfunctioning, it could hinder performance even if the other components are functioning properly.
Inspecting the Safety Switch
Examine the safety switch, which is designed to halt operation in dangerous conditions. If the switch is stuck or damaged, it may not allow the engine to engage. Use a multimeter to test the switch for continuity. Replace it if readings show an open circuit when activated.
Testing the Pressure Release Valve
The pressure release valve is vital for safety and operational efficiency. If the valve is clogged or not functioning, pressure may not build correctly, leading to startup issues. Test the valve by inspecting for blockages and ensuring it operates smoothly. Clean or replace as necessary to maintain proper functionality.
Exploring Potential Blockages in Fuel Lines
Inspect the fuel lines for any obstructions. Start by disconnecting the fuel line from the tank and look for signs of dirt, debris, or kinks that could impede flow. A clear path must be ensured for the smooth delivery of fuel.
Cleaning the Fuel Lines
If blockages are identified, use a thin wire or a pipe cleaner to carefully remove the buildup. Flushing the lines with an appropriate cleaner or compressed air can also help restore optimal performance. Make sure to keep the fuel line connections tight to avoid leaks.
Replacing Damaged Components
Should the fuel lines be cracked or excessively worn, replacement is necessary. Obtain the correct length and type as specified by the manufacturer to ensure compatibility. Always check for proper installation, as leaks can severely affect performance.
Troubleshooting Electrical Components and Battery
Check the battery voltage first. A low or dead battery can prevent your machine from operating. If your model uses a rechargeable battery, ensure it’s fully charged and connections are clean and secure. If it’s a removable battery, try replacing it temporarily to see if that’s the issue.
Inspecting the Electrical Connections

Look at all the electrical connections for corrosion or looseness. Damaged wires can create a poor electrical circuit, inhibiting performance. Use a multimeter to test the continuity of wires and connections. Repair or replace any components that are faulty.
Examining the Ignition System
Focus on the ignition coil and any associated circuitry. If the ignition coil is faulty, it can fail to generate the voltage needed to ignite the fuel-air mixture. You can test the ignition coil’s resistance with a multimeter and replace it if it does not meet specifications. Clean the components in this area to enhance electrical flow.
You might also want to verify the safety switches. A malfunctioning safety switch can stop the unit from operating, so check if they are engaging properly. Test each switch individually to ensure they’re working, as issues here can be easily overlooked.


