

If your equipment is failing to achieve the desired output, the first area to check is the water supply. Ensure the inlet hose is unblocked and securely attached. Using a proper filter can prevent contaminants from entering the system, which often hampers performance and can lead to further complications.
Next, inspect all connections and the high-pressure hose for any leaks or damage. A compromised hose can lead to significant loss of flow. It’s crucial to regularly examine these components for wear and tear, which are common culprits in reduced functionality.
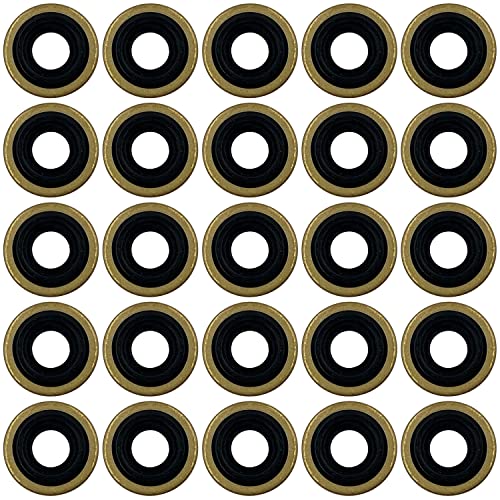
The pump itself plays a vital role in performance. If there’s an issue with the pump seals, it may result in poor operation. Regular maintenance and timely replacement of worn parts can extend the life of the unit significantly. Don’t hesitate to refer to the manufacturer’s guidelines for specifics on maintenance and troubleshooting.
Additionally, the nozzle must be checked. Clogs can impede the flow and affect overall efficiency. Cleaning or replacing the nozzle can remedy many issues linked to diminished output. Keep these aspects in mind, and you’ll likely restore optimal performance.
Solutions for Insufficient Output from Your Cleaning Device
Check the nozzle first. Using a clogged or incorrect nozzle can greatly affect the water flow. I recommend inspecting it and cleaning any debris or residue. If the nozzle is damaged, replace it with the specific type for your model.
Next, examine the inlet filter. Dirt can accumulate and cause a blockage. Disconnect the unit, locate the filter, and ensure it is clean and free from obstructions.
Inspect the water source. Make sure your garden hose is delivering adequate water. Look for kinks or leaks in the hose that might hinder flow. Additionally, check if the tap is fully open.
Evaluate the connections; loose fittings can lead to air intake. Ensure that all hoses and couplings are secure. If there are any visible cracks, consider replacing those parts.
If the motor is running but performance remains low, your unit’s unloader valve might be stuck. This component needs to be checked for any signs of wear or blockage. Adjust or replace as necessary.
I also recommend looking into the pump assembly. If you notice leaking fluid, it can indicate wear that needs prompt attention. Depending on the severity, either repair or replace the pump.
Finally, review the manual for maintenance tips specific to your model. Regular upkeep is key to optimal function, including flushing out the system after use to prevent build-up.
Checking the Water Supply Connection
Ensure the water source is fully operational and the valve is opened completely. A partially closed valve restricts flow, leading to inadequate performance. Verify that the water hose is not kinked or damaged; any obstruction can impede water supply. You should inspect both ends of the hose for any blockages or leaks.
Water Intake Filter
Check the filter located at the water intake on the unit. Debris accumulation in this filter can significantly hinder water flow. Clean it thoroughly to remove any obstructions that may affect functionality.
Required Water Flow Rate
| Model | Minimum Water Flow Rate |
|---|---|
| Model A | 1.5 GPM |
| Model B | 2.0 GPM |
| Model C | 2.5 GPM |
Consult the manual or specifications for your model’s required water flow rate. Inadequate flow can lead to operational issues. Ensure your water supply meets these requirements for optimal performance.
If everything appears in order, conduct a simple test by running the unit without any attachments. This will help determine if the issue lies with the water supply or other components. A steady and strong flow should emerge for normal operation.
Inspecting the Cleaning Equipment Hose for Kinks
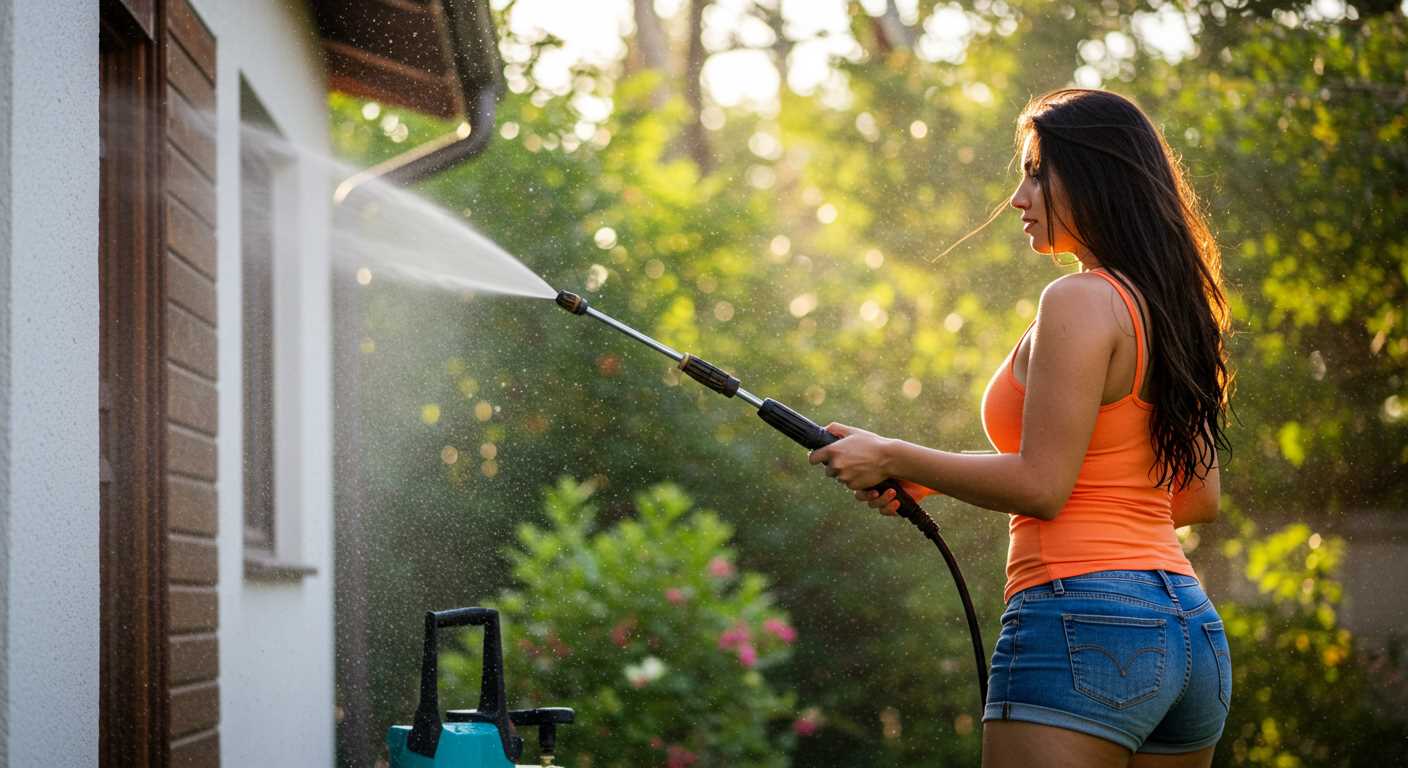
Check the hose for any visible twists or sharp bends. Kinks can obstruct the flow of water, leading to insufficient output. I recommend carefully uncoiling the hose and laying it out straight to identify any problematic areas.
Inspect the entire length of the hose. Look for any signs of wear or punctures that could also affect performance. If you find any cracks, replace the hose, as this can lead to pressure loss.
Testing the Hose Connection
Ensure the hose connections are secure and tight. Loose connections can cause leaks, further reducing water flow and pressure. Use pliers to tighten any connections as needed, but be cautious not to over-tighten, which could damage the fittings.
Cleaning the Hose
If the hose is obstructed by debris, this can impede water flow. Run water through it to flush out any debris. If this does not resolve the issue, consider using a specialised cleaning tool designed for hoses.
Examining the Pressure Regulator Functionality
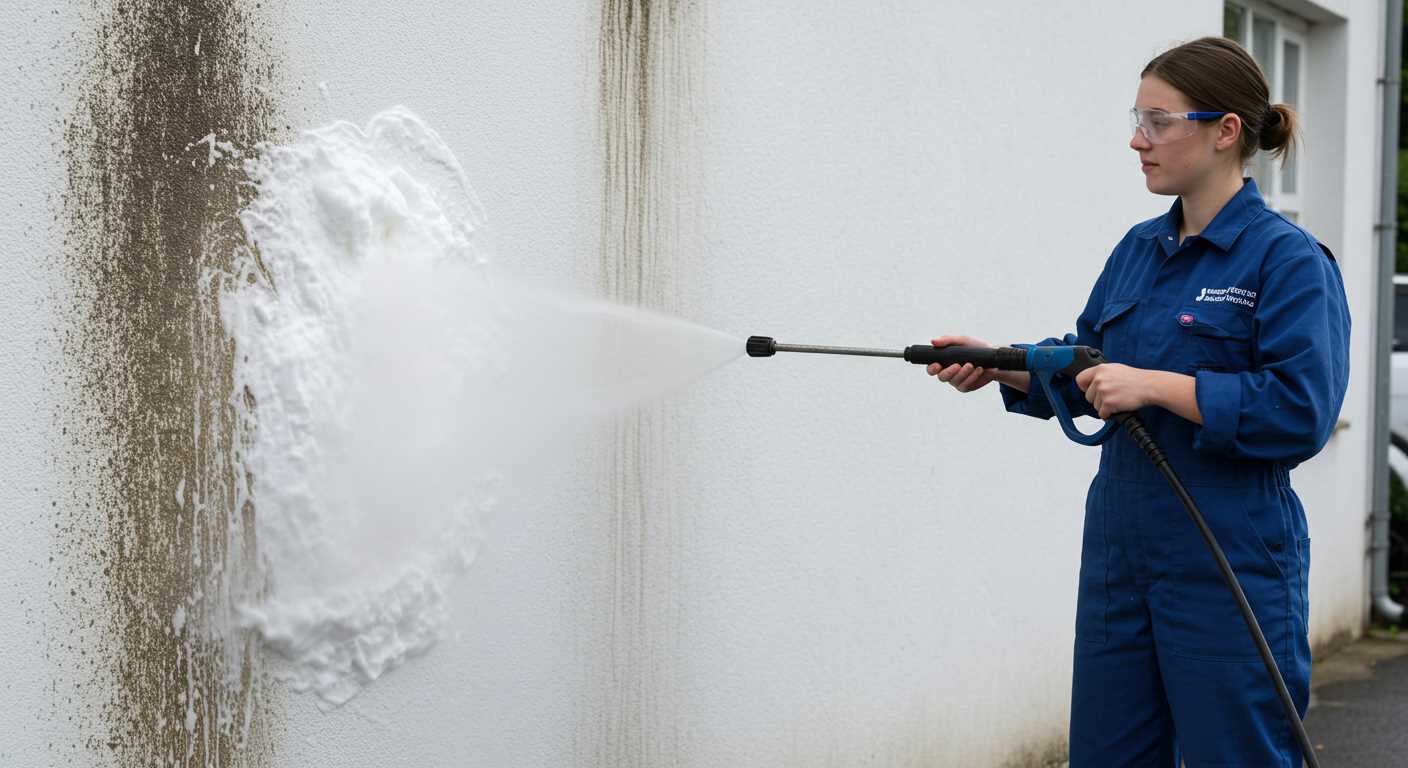
Inspect the pressure regulator as your first step if insufficient force is evident. This component controls the intensity and flow of water, and any malfunction here could prevent optimal performance. Begin by visually checking for any visible damages or leaks that could disrupt its operation.
Checking for Blockages

Ensure there are no obstructions within the regulator by removing it from the unit. Debris or mineral build-up can significantly impede functionality. Clean the regulator using warm soapy water and a soft brush to remove any residue. Be meticulous, as even small clogs can lead to substantial drops in output.
Assessing the Seals and Springs
Examine the seals and springs within the regulator. Worn or damaged seals can cause loss of water pressure. Replace any worn seals to restore full functionality. Test the spring action; if it feels loose or stiff, it may need adjustment or replacement. When these components are in optimal condition, the pressure should stabilise, giving you the desired force for effective cleaning.
Cleaning or Replacing the Dirty Filter
Start by locating the water inlet filter, which protects the pump from debris. Remove the filter from the water supply connection; often, it’s a simple twist-off mechanism. Inspect the filter closely for dirt and buildup.
If the filter appears clogged, clean it using fresh water and a soft brush. Ensure all debris is removed, as even small particles can hinder water flow.
- Rinse the filter thoroughly under running water.
- For stubborn grime, soak the filter in a solution of warm soapy water for approximately 20 minutes before rinsing again.
Should cleaning not restore proper function, consider replacing the filter entirely. Purchase a compatible replacement from a reliable source to ensure compatibility with your equipment.
Reattach the filter securely, ensuring there are no gaps. A well-maintained filter will improve water flow and enhance performance during operation.
Regular Maintenance
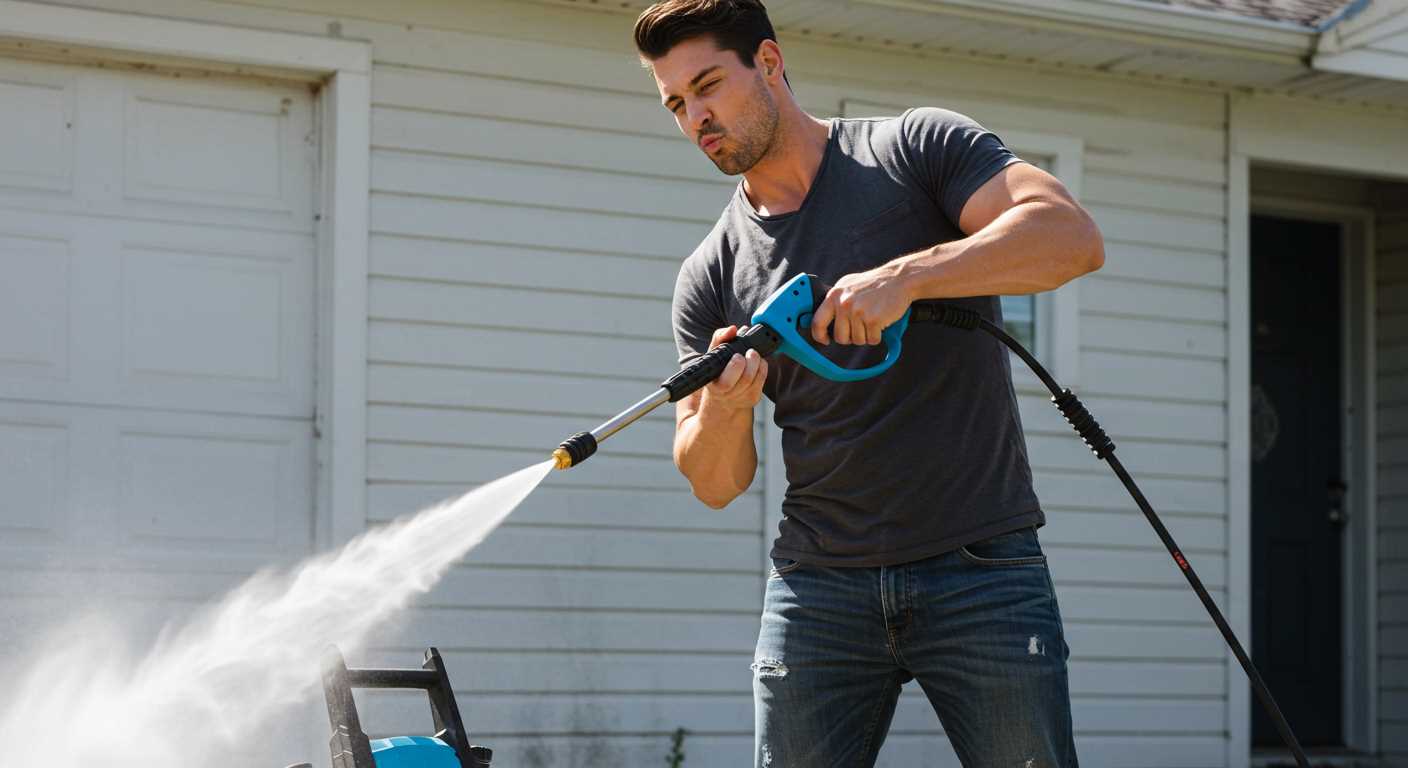
Incorporate filter inspection into your routine maintenance schedule for optimal operation. Checking the filter every few uses, especially in dusty environments, will prolong the lifespan of your equipment.
Ignoring a dirty filter can lead to decreased performance or potential damage, so give it the attention it requires.
Troubleshooting Tips
If issues persist even after addressing the filter, inspect adjacent components such as hoses and connections. Regular upkeep ensures longevity and efficiency.
Troubleshooting the Pump for Malfunctions
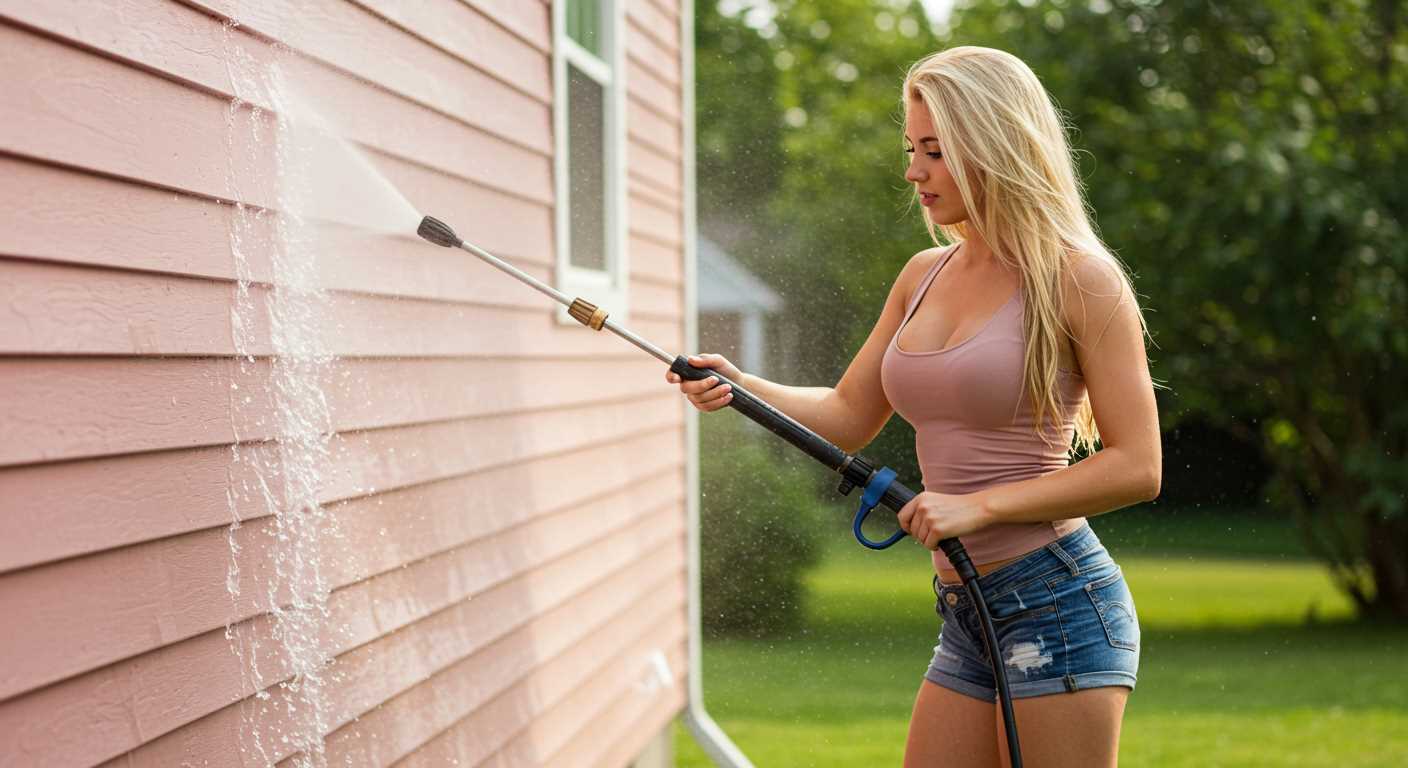
Start by inspecting the pump for any visible signs of wear or damage. Look for cracks, leaks, or corrosion that might indicate a malfunction.
Check the oil level if your model operates with a lubricated pump. Insufficient oil can lead to overheating and inadequate performance. If the oil appears dirty or contaminated, drain and replace it with the recommended type.
Verify that the unloader valve is functioning correctly. A stuck or malfunctioning valve can prevent proper pressure generation. Gently tap the valve to see if it frees up; otherwise, consider replacing it.
Ensure the inlet and outlet connections are tight. Loose connections can lead to air entering the system, affecting overall performance. Use a wrench to secure any loose fittings.
Take a close look at the pistons within the pump. Lack of lubrication or debris accumulation can hinder movement. Clean or replace parts if needed.
Check the spring in the unloader assembly; if it’s broken, it needs replacement, as this can directly impact functionality.
Lastly, ensure that nothing is obstructing the inlet port. Any blockage can prevent water from adequately reaching the pump, resulting in insufficient flow and low output pressure.
Understanding the Role of the Unloader Valve
The unloader valve is integral to the operation of high-pressure cleaning devices. Its primary function is to manage the flow of water through the pump, directing it back into the inlet when the trigger is not pressed. If this valve is stuck or malfunctioning, it can prevent the system from reaching desired levels of force.
Inspect the unloader valve for any signs of debris or damage. A thorough cleaning might resolve any blockages. If the valve appears to be leaking or not sealing properly, replacing it may be the only solution. Adjust the pressure setting on the valve according to the manufacturer’s recommendations; improper settings can lead to inefficiencies.
Keep in mind that regular maintenance of the unloader valve can enhance its longevity and performance. Periodically check for wear and replace the valve if operational issues occur. This proactive approach will keep your cleaning device functioning optimally.
Assessing the Nozzle for Clogs or Damage
Begin by examining the nozzle for any blockages or wear. A restricted or damaged nozzle is a common cause of insufficient output. Remove the nozzle from the end of the lance. Look for debris, dirt, or mineral build-up that could obstruct water flow.
If the nozzle displays signs of wear or a cracked exterior, consider replacing it. Accurately shaped nozzles are crucial for proper spray patterns and performance. An improper stream can lead to reduced cleaning effectiveness.
To flush out small clogs, employ a fine wire or a needle, being careful not to enlarge the opening. Rinse the nozzle under warm water to dislodge any remaining particles.
After cleaning or replacing, reattach the nozzle securely and test the device. Monitor the output to confirm whether flow issues persist. Regular maintenance of the nozzle ensures optimal functioning and extends the lifespan of your equipment.
Verifying the Correct Pressure Settings
To ensure optimal operation, examine the pressure settings on your unit. Adjust the dial according to the manufacturer’s recommendations for various tasks.
Follow these steps:
| Task | Recommended Setting (PSI) |
|---|---|
| Washing cars | 1200 – 1500 |
| Cleaning patios | 2000 – 2500 |
| Stripping paint | 3000+ |
If settings appear correct but the unit still struggles, inspect surrounding components such as hoses and connectors. Additionally, verify any modifications or attachments; incorrect fittings can affect performance.
Finally, consult the owner’s manual to confirm that adjustments align with the specifications for your model. Accurate configuration is key to achieving the desired water force while avoiding damage to surfaces or the unit itself.


