

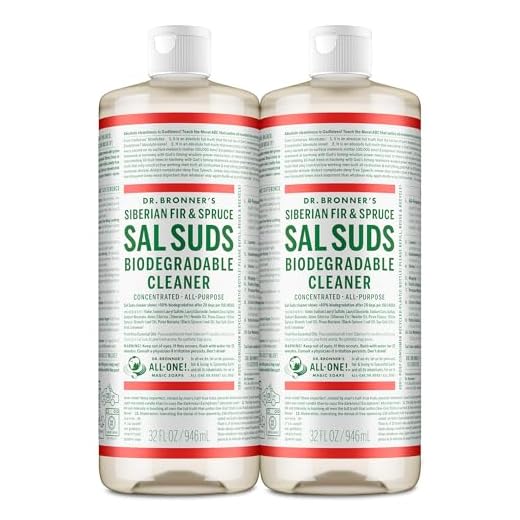

If you’re encountering issues with your cleaning tool not dispensing detergent, start with the detergent injector. Ensure it’s properly connected and free from blockages. A clogged injector can prevent any liquid from passing through, rendering your machine ineffective with cleaning solutions.
Next, examine the soap mixture. Use a solution that’s designed for use with your specific model, as incompatible products may lead to poor performance. Dilution ratios matter too; too thick a mixture can impede flow and create issues with your device.
Pay attention to the pressure settings as well. For optimal soap delivery, adjust to the low-pressure setting; high pressure can disrupt proper mixing and prevent your cleaning solution from being drawn in. Additionally, verify that the nozzle is suitable for soap application, as not all nozzles facilitate this function.
Lastly, inspect the hoses for any cracks or leaks. Damaged hoses can introduce air into the system, inhibiting the suction needed to draw detergent effectively. Regular maintenance checks can be beneficial, ensuring that every component is working in harmony.
Understanding the Soap Injector Mechanism
The soap injector works on a venturi principle, where a reduction in pressure creates a vacuum that draws cleaning solution from a reservoir. Ensure the injector is assembled correctly and firmly attached to the end of the spray wand. Loose connections can disrupt the suction necessary for drawing in the detergent.
Check for clogs in the injector. Regular cleaning of the injector’s filter screen is essential; debris can restrict the flow of liquid. Remove the screen and rinse it thoroughly or replace it if it’s damaged. This simple maintenance task can significantly improve performance.
Verify that the cleaning solution is diluted properly according to the manufacturer’s guidelines. Too thick a mixture can hinder flow. Use a dedicated soap designed for pressure equipment, as many household cleaners may not be suited for this application.
Inspect the supply line for kinks or blockages. A free and unobstructed pathway is crucial for the injector to operate effectively. If the line seems compromised, consider replacing it to restore optimal functionality.
The nozzle type plays a critical role; a low-pressure nozzle is necessary for soap application. Ensure you switch to the specified nozzle, as high-pressure nozzles prevent detergent from being drawn through the injector.
Temperature also affects performance. Cold cleaning fluids are less effective and harder to draw. If applicable, consider using warmer water, ensuring it adheres to product specifications to avoid damage to the equipment.
Finally, review your equipment’s compatibility with the cleaning solution. Some units may have restrictions on what can be used in conjunction with the injector. Always consult the instruction manual for recommendations specific to your model.
Common issues with soap solution compatibility
Ensure you are using a detergent specifically formulated for high-pressure cleaning equipment. Not all cleaning agents work well with these machines, as many household cleaners lack the necessary viscosity and chemical composition.
Concentration Levels

Check the concentration of the cleaning solution. If it is too diluted, the injector may struggle to draw it in. I recommend mixing the solution according to the manufacturer’s guidelines, aiming for the optimal balance for maximum effectiveness.
Compatibility with Materials
Be aware of the materials within the injector. Certain soaps can cause wear or clogging due to their pH levels or additives. Always refer to your equipment’s manual for a list of approved cleaning agents to avoid potential damage.
Regular maintenance helps prevent issues related to detergent use. Clean the soap injector regularly to ensure no residue builds up, which can hinder the flow of the solution. Periodic inspection of hose connections and filters is also advisable for optimal functioning.
Checking for clogs in the soap line
Begin by inspecting the soap hose for any visible obstructions. Disconnect it from both the injector and the container, and look for twists or kinks that could block the flow.
Inspecting the Soap Injector
Remove the soap injector from the system. Clean it thoroughly using warm water and a soft brush to dislodge any particulate that may have settled inside. Pay attention to the filter; if it’s clogged, replace it to restore optimal function.
Fluid Pathway Examination
Next, check the entire pathway from the soap container to the injector. Use a flexible wire or pipe cleaner to clear out any debris stuck in the line. Ensure there are no sharp bends that could restrict flow.
- Examine the connector fittings for tightness; loose connections can cause leaks.
- Confirm that the soap container is not empty or filled with a thickened solution.
Perform a water test by running the unit without soap. If it flows freely, the line is clear; reintroduce the soap mixture gradually to identify if a particular formulation causes issues.
Understanding the Importance of Pressure Settings

Adjusting the water jet force is fundamental for optimal performance. Low settings might not produce sufficient power to draw the cleaning agent from the tank, while excessively high pressure can lead to unwanted splatter and waste of detergent. I always recommend starting with a mid-range setting, typically around 1200 to 1500 psi, which is suitable for average cleaning tasks.
Verify the specifications for your specific model, as each machine has distinct pressure guidelines. Refer to the manufacturer’s manual for tailored advice, making adjustments based on the task at hand, whether it’s washing cars, siding, or patios. If the goal is to apply a cleaner effectively, maintaining the pressure around the optimal range can facilitate better mixing and distribution of the agent.
Another aspect to consider is the angle of the nozzle. A wider spray pattern dilutes the solution delivery, so opting for a narrower jet can enhance the interaction with surfaces, ensuring that the mix reaches its target effectively. Adjusting both pressure and nozzle type can dramatically improve the application process.
Regular maintenance of your machine can also influence pressure settings. Check for any wear or damage, as a malfunctioning pump can compromise pressure output, affecting the overall cleaning operation. I suggest routinely inspecting seals and hoses to ensure a consistent flow.
Inspecting the Soap Nozzle for Blockages
Check the soap nozzle regularly for obstructions to ensure proper flow of cleaning solution. Detach the nozzle from the lance and visually inspect it for any debris. A simple rinse may dislodge particles that cause blockage.
Steps to Inspect the Nozzle
1. Disconnect the lance from the machine for safety.
2. Remove the soap nozzle. Most nozzles can be twisted off by hand.
3. Rinse the nozzle under running water. Use a pin or a thin needle if you identify tiny clogs. Avoid using excessive force to prevent damage.
4. Reattach the nozzle and test the system with soap mix. If it’s still not flowing correctly, further investigation may be required.
Common Types of Blockages
| Type of Blockage | Solution |
|---|---|
| Debris build-up | Rinse and clean the nozzle thoroughly. |
| Corrosion or residue | Use a mild cleaner to dissolve any stubborn residue. |
| Misalignment | Ensure the nozzle is properly seated to prevent leakage and maintain pressure. |
Ensure the nozzle is fitted correctly after inspection. Regular checks will prevent future issues and maintain cleaning efficiency.
Using the correct type of cleaner for high-pressure cleaning
Select a product specifically designed for high-pressure devices. Many standard household cleaners can cause foaming issues or damage components. Look for a cleaner labelled as safe for use with such equipment. These formulations typically incorporate surfactants that allow effective cleaning without creating excessive foam.
Read the product instructions carefully before application. Some formulations are concentrated and need to be diluted, while others may come ready-to-use. Following the manufacturer’s guidelines ensures that the consistency is correct for optimal results.
When choosing a detergent, consider the surface you are treating:
- Exterior surfaces: Choose a cleaner that targets mildew or dirt buildup. A product designed for outdoor surfaces will yield better results.
- Vehicles: Opt for automotive-specific cleaners to prevent damage to paint surfaces.
- Decking: Wood-specific cleaners are essential to avoid stripping the wood of natural oils.
Additionally, verify that the cleaner is compatible with your specific machine model. Some systems require specialised products to maintain performance and uphold warranties. If in doubt, consult the user manual or contact the manufacturer.
Switching brands or types of cleaners can sometimes lead to consistency issues. If you notice a decrease in performance after making a change, revert to the previous product to assess results. Identifying the right cleaner might take a few trials, but the improved efficacy is worth the effort.
Troubleshooting the detergent tank connection
First, ensure that the connection between the detergent tank and the injector is secure. Inspect for any signs of looseness or damage. If the connection appears faulty, try to tighten it or replace any broken components.
Next, examine the tank itself for any issues. Make sure it is filled with an appropriate cleaning solution and that the cap is properly sealed. A poorly fitted cap can lead to air leaks, preventing the flow of the cleaning agent.
Inspecting the inlet valve
Check the inlet valve located between the tank and the injector. This valve should open and close without obstruction. If it’s stuck or damaged, replace it to restore proper function. I’ve often seen this issue cause significant frustration, as it can mislead users into thinking there is a major malfunction elsewhere.
Confirm compatibility with equipment
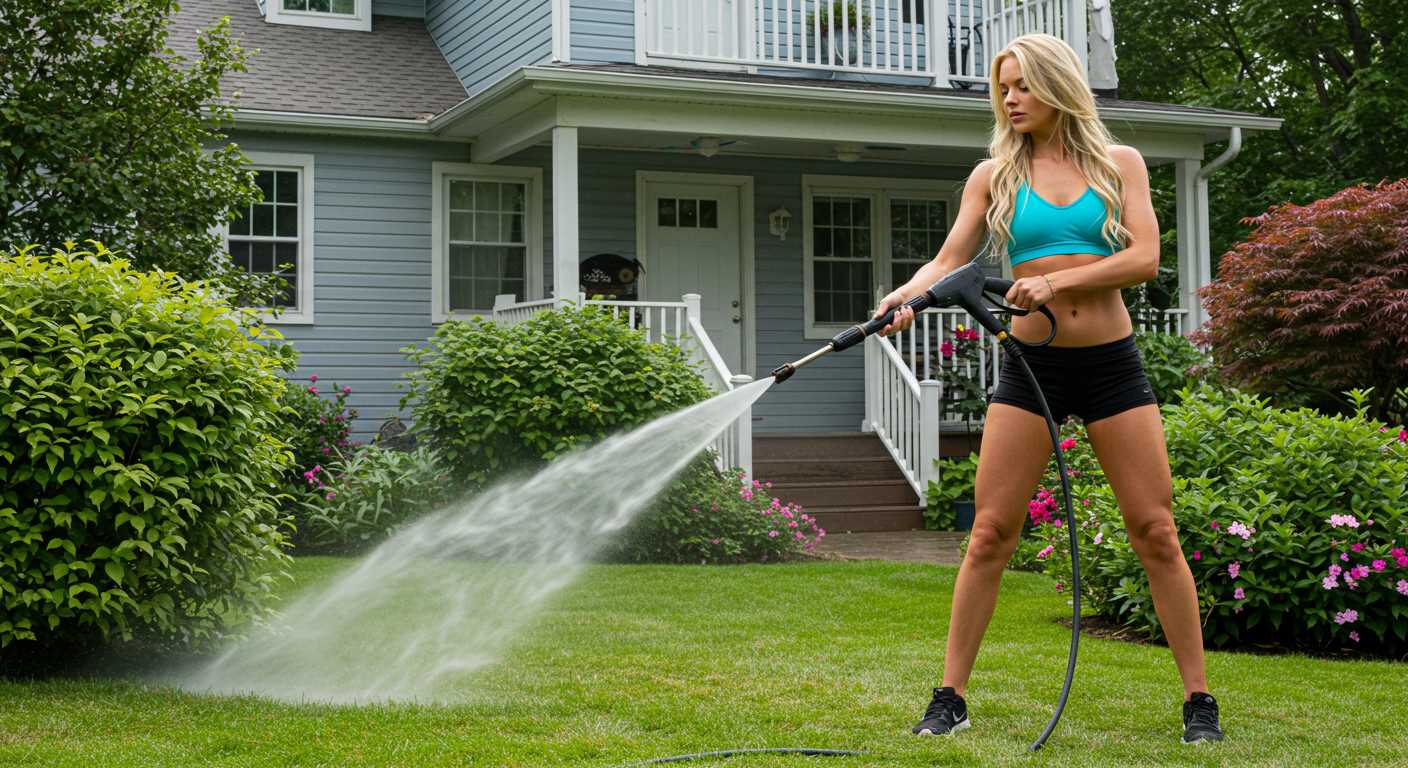
Verify that your cleaning solution is compatible with your model. Some units require specific detergents designed for use with their systems. Using the wrong type may lead to blockages or inadequate suction, so consulting the user manual for guidelines can save a lot of time and effort.


