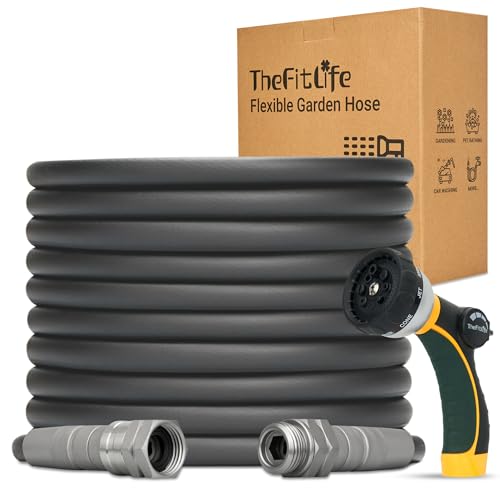


Check the water supply first. Make sure the hose is connected securely and the tap is fully open. A restricted flow can lead to insufficient output from the unit, leading to diminished cleaning capabilities.
Inspect for blockages in the inlet filter. Over time, debris can accumulate, blocking water flow. Cleaning or replacing this filter is often overlooked but can drastically improve functionality.
Examine the nozzle. A clogged or improperly sized nozzle can disrupt the flow of water and reduce the effectiveness of the device. Regular maintenance of this component is essential for optimal operation.
Evaluate the pump. If the unit has been used extensively without proper care, wear and tear on internal components can result in decreased performance. Regular servicing is recommended to prolong its lifespan and maintain high output.
Check the seals and hoses for leaks. Even minor leaks can cause significant drops in performance. Replacing worn or damaged parts can restore a unit to its original specifications.
Finally, ensure that the motor is functioning correctly. Any unusual noises or erratic behaviour could indicate a problem that affects cleaning efficiency. Technical support from the manufacturer can provide solutions and service options if required.
Potential Reasons for Lack of Pressure in a Cleaning Device
Check the water supply first. Ensure the source is on and that there are no kinks in the hose. Insufficient water flow can severely impact performance.
Common Issues to Investigate
Here’s a list of common factors that might lead to inadequate output:
| Issue | Description | Solution |
|---|---|---|
| Clogged Nozzle | Debris or mineral build-up in the nozzle restricts water flow. | Clean or replace the nozzle regularly. |
| Air in the System | Trapped air can cause inconsistent water flow. | Run the machine without the nozzle attached until steady flow is achieved. |
| Faulty Pressure Relief Valve | This component maintains system pressure; if damaged, it may leak. | Inspect and replace if necessary. |
| Pump Problems | A worn-out or damaged pump can lead to poor performance. | Check for leaks and listen for unusual noises; repair or replace the pump as needed. |
| Incorrect Filter Installation | A wrongly installed filter can restrict flow. | Ensure filters are correctly installed and in good condition. |
Maintenance Tips
Regular servicing is crucial. Clean filters monthly and check hoses for wear. Ensure the cleaning apparatus is stored properly to avoid damage from the elements. Conduct periodic inspections to catch potential issues early.
Inspecting the Power Source and Connections
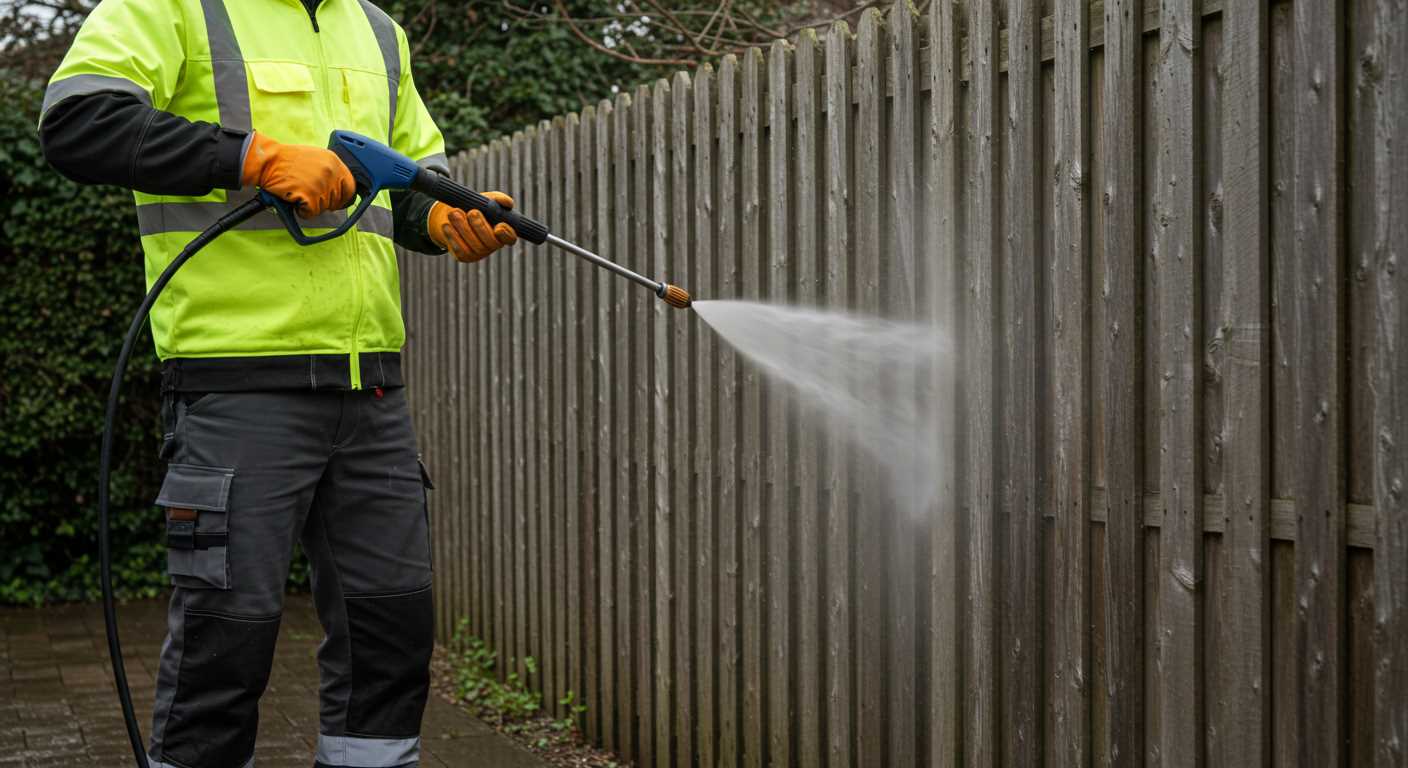
Begin with the power supply; ensure the outlet is functioning correctly by testing it with another device. Verify that the cord is intact, without signs of damage or fraying. If the voltage is inadequate, your appliance may struggle to operate at optimal levels.
Next, examine any connectors, including those between the power cord and the unit. Loose or corroded connections can hinder electrical flow. Clean contacts gently with a suitable cleaning agent if needed. A multimeter can assist in checking continuity through the connections.
If using a battery-operated model, confirm that the battery is adequately charged and properly seated. Replace any worn batteries to restore functionality. Adhering to manufacturer guidelines for charging and maintenance will prolong the lifespan of the battery.
For gas-powered machines, ensure the fuel tank contains the recommended fuel type and quantity. Old or contaminated fuel can obstruct performance, so a refresh may be necessary. Check the fuel lines for any cracks or blockages which might impede flow to the engine.
Lastly, inspect any fuses or circuit breakers related to your equipment. A blown fuse can disrupt power delivery, impacting operation. Replacing blown fuses or resetting circuit breakers can restore function swiftly. Be cautious and consult the user manual for specifications before proceeding with any replacements.
Checking for Clogged or Damaged Hoses
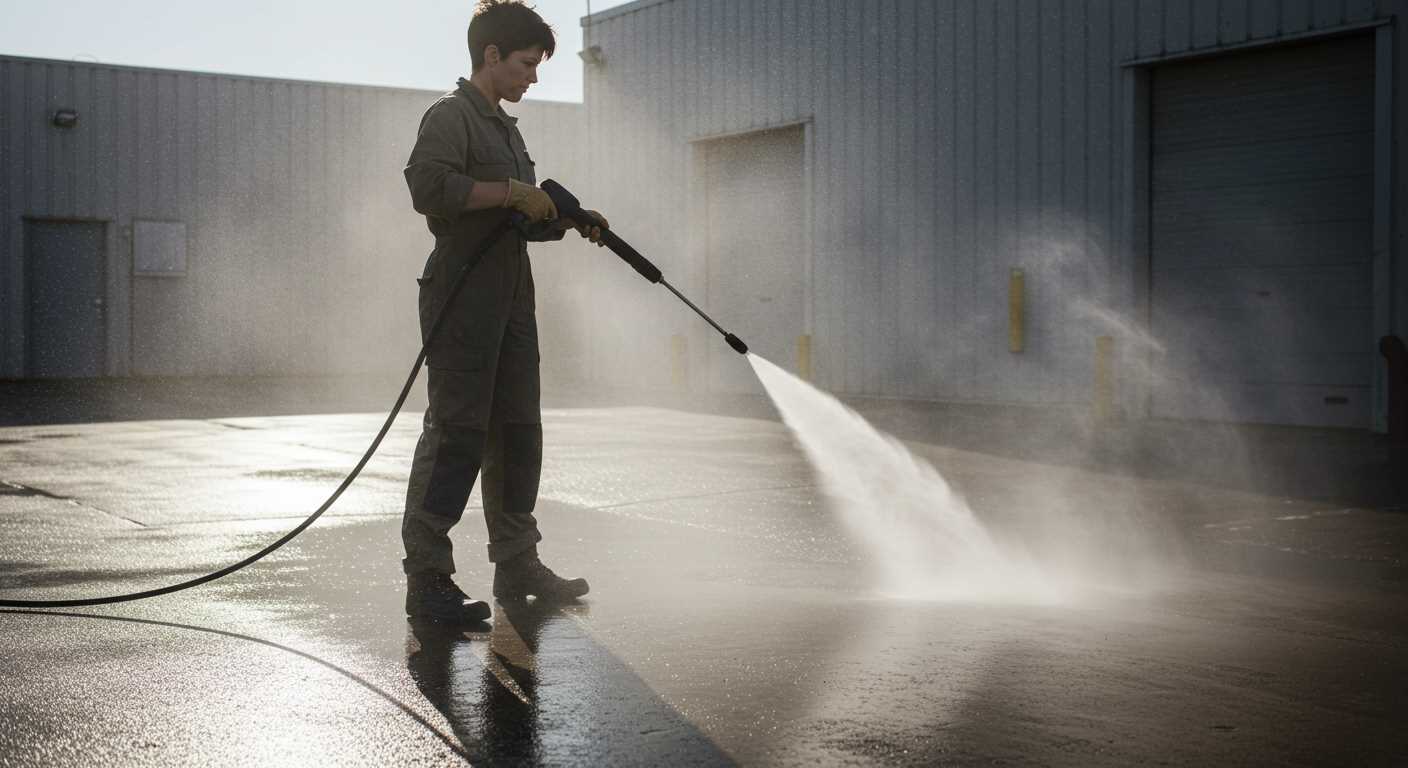
Start by examining the hoses for any visible obstructions or kinks. A quick inspection can reveal bends that might restrict water flow. Ensure that the hoses are laid out straight without twists.
Next, detach the hoses from the unit and inspect the inside for blockages. You can use a flexible cleaning brush or a thin rod to carefully clear out debris. If the blockage is stubborn, soaking the hose in warm, soapy water may help dislodge it.
Assessing for Damage
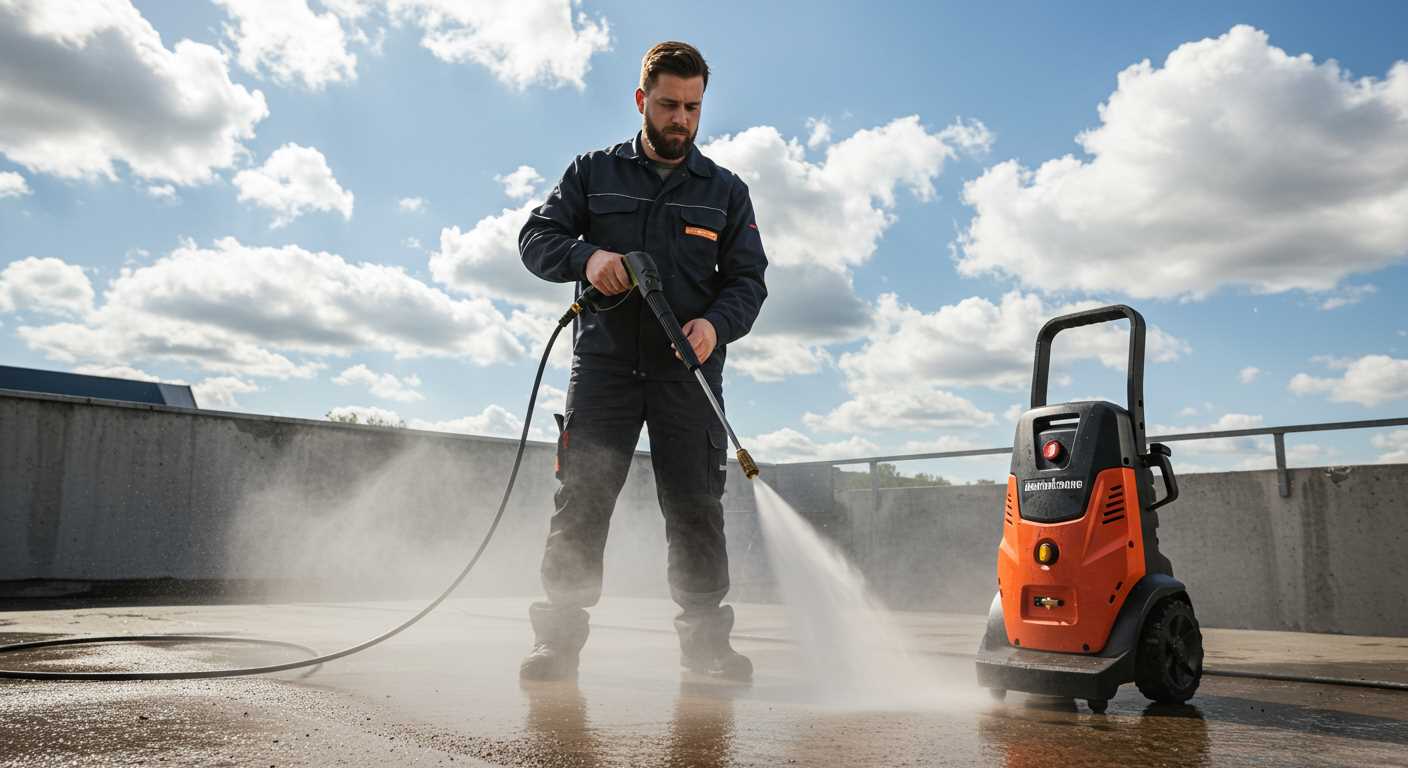
While inspecting, look for cracks, holes, or signs of wear. Any damage to the hose can lead to a significant loss of water flow. If a hose is compromised, replacing it is often the best solution. Consider using hoses compatible with the specifications of your equipment to ensure optimal performance.
Connections and Fittings
Check all connections, including the fittings that attach the hoses to the equipment. Loose or damaged fittings can create leaks that further hinder performance. Tightening these connections or replacing them if they are worn can restore functionality.
Assessing the Pump for Wear and Tear
Examine the pump for signs of damage or degradation. A worn-out pump can significantly affect performance and output.
- Check for leaks around the pump seals. Any fluid escape indicates a failure in the seal integrity.
- Listen for unusual noises during operation. Grinding or whining sounds often suggest internal issues.
- Inspect the pump casing for cracks or corrosion. Such damage could lead to a breakdown of the unit.
- Evaluate the input and output ports. Blockages or build-ups may prevent proper function, so ensure they are clear.
If the pump is removable, consider taking it out for a thorough inspection. Look at the pits or uneven surfaces on the components, as this can affect efficiency.
Maintenance is crucial; regular oil changes, where applicable, help reduce wear. Use the manufacturer’s recommended oil for compatibility.
Replacing worn components can restore performance. Harmony between the pump and other elements is vital for optimal operation. Look for parts that are made specifically for your model, as aftermarket options may not provide the same fit and reliability.
A properly functioning pump is key to achieving desired results. Addressing issues proactively can save time and money in the long run.
Identifying Air Leaks in the System
To check for air leaks, begin by inspecting all connections and fittings throughout the assembly. A simple visual examination often reveals cracks or signs of wear. Tightening loose connections can eliminate potential issues; utilise a wrench to ensure a snug fit without over-tightening. Using soapy water on the fittings can highlight leaks; bubbles will indicate the source of the air ingress when applied to suspect areas.
Examine the hose thoroughly for any punctures or abrasions. Even minute damages can contribute to significant air loss, affecting the overall function. If any sections appear compromised, replace them immediately with quality hoses that match the specifications of your model.
Check the inlet filter and any screens present in the system. Blockages can cause disruptions, leading to unwanted air intake areas. Clean or replace these components to maintain optimal operation.
If the water supply is connected, ensure that the water source is secure and free of blockages. A compromised connection can inadvertently introduce air into the system. Make sure all valves are fully operational and not allowing air to escape.
Lastly, consider reviewing the pump’s integrity. If the seals are worn or damaged, they may permit air infiltration. Regular maintenance and timely seal replacements will contribute to a more reliable performance.
Examining the Nozzle and Spray Lances
Inspect the nozzle and spray lances for blockages or damage immediately. These components greatly influence the water flow, and any obstruction can lead to significant performance issues.
Steps for Inspection:
- Remove the nozzle and visually examine it for debris, mineral buildup, or cracks.
- Use a thin wire to clear any obstructions in the nozzle openings. Ensure the stream patterns are clear and consistent.
- Check the spray lance for kinks or leaks, which can cause a loss in water force. Replace it if you find any damage.
If you’re using interchangeable nozzles, ensure you’re using the appropriate type for your cleaning task. Each nozzle delivers a different spray pattern and pressure; using the wrong type may not achieve the desired results.
Regular Maintenance Tips:
- After each use, flush the nozzle with clean water to prevent clogs.
- Store the spray lance in a dry place to avoid corrosion.
- Periodically perform a detailed inspection of all nozzle attachments for wear and tear; replace them as necessary to maintain optimal performance.
By consistently maintaining and checking these parts, you can avoid issues that might lead to inadequate output. A simple inspection could save time and enhance the efficiency of your cleaning tasks.
Investigating the Trigger Gun Mechanism
.jpg)
First, ensure the trigger gun is fully operational. Check for any signs of damage or wear that could hinder functionality. A defective trigger gun can limit or completely block water flow, leading to diminished output.
Next, confirm that the safety lock is disengaged. Many models come equipped with a lock feature that prevents accidental activation and can inadvertently cause a lack of flow.
Examine the trigger for jams or blockages. Debris can collect within the mechanism, preventing proper operation. Disassemble the trigger carefully to access internal components and clean them thoroughly.
Inspect the connection between the trigger gun and the nozzle. A faulty seal or a loose connection can create air gaps, disrupting the intended flow of water. Tighten any loose fittings and ensure that seals are intact.
If available, try a different trigger gun to determine if the issue lies within the original component. This step can quickly rule out defects in the existing gun.
Lastly, test the entire unit after these checks to confirm whether the issue persists. Addressing each of these elements systematically can help restore functionality swiftly.
Understanding Water Supply Issues
Confirm water flow to the cleaning device before troubleshooting other components. A consistent and adequate water supply is crucial for optimal functionality. Begin by inspecting the source; ensure the tap is fully open and that water is running without interruptions.
Evaluate the hose connected to the inlet. Any kinks, bends, or blockages can severely restrict water flow. Clear any obstructions, and consider using a straight, non-collapsible hose for the best results.
Check for sediment buildup in the filter screen located in the inlet. This often-overlooked component can collect debris over time, restricting flow. Remove and clean the filter regularly to ensure it remains clear.
Inspect for leaks in the supply line. Even small leaks can result in significant drops in flow pressure. If leaks are found, repairs or replacements should be carried out immediately.
Test the connection where the hose meets the water supply. A loose connection may not seal properly, leading to inadequate flow. Tighten any loose fittings to secure a proper water entry point.
Finally, consider the water supply system itself. Low water pressure issues from municipal sources or well systems can affect performance. If possible, run tests on the water supply to confirm it’s providing adequate pressure for operation.


