
Using high-powered cleaning tools offers a reliable solution for stripping coatings from timber surfaces. This method effectively eliminates layers of varnish or other finishes, transforming aged wood back to its natural appearance. However, the process requires careful technique to avoid damaging the underlying material.
Before initiating the removal, it’s crucial to assess the type of coating applied to the timber. Some surfaces may respond better to specific cleaning approaches; for instance, old paint often requires increased pressure, while newer finishes might be removed with lower settings. The ideal pressure range typically lies between 1500 to 3000 PSI, ensuring sufficient removal without compromising the integrity of the wood.
Ample distance from the surface is equally important. Maintaining a distance of about 12 inches allows for an effective spray without causing gouges or splintering. Using a fan spray nozzle can enhance the efficiency of the process while minimising potential damage. Additionally, it’s advisable to work in small sections, applying even strokes, and checking the results frequently to avoid overworking any area.
Finish by rinsing the timber with clean water to remove any residual debris or remnants of the coating. Post-cleaning, consider treating the surface with a suitable protective finish to prolong its lifespan and enhance its visual appeal. With the right approach, restoring timber to its original state is completely feasible.
Removing Coatings from Timber with High-Pressure Equipment
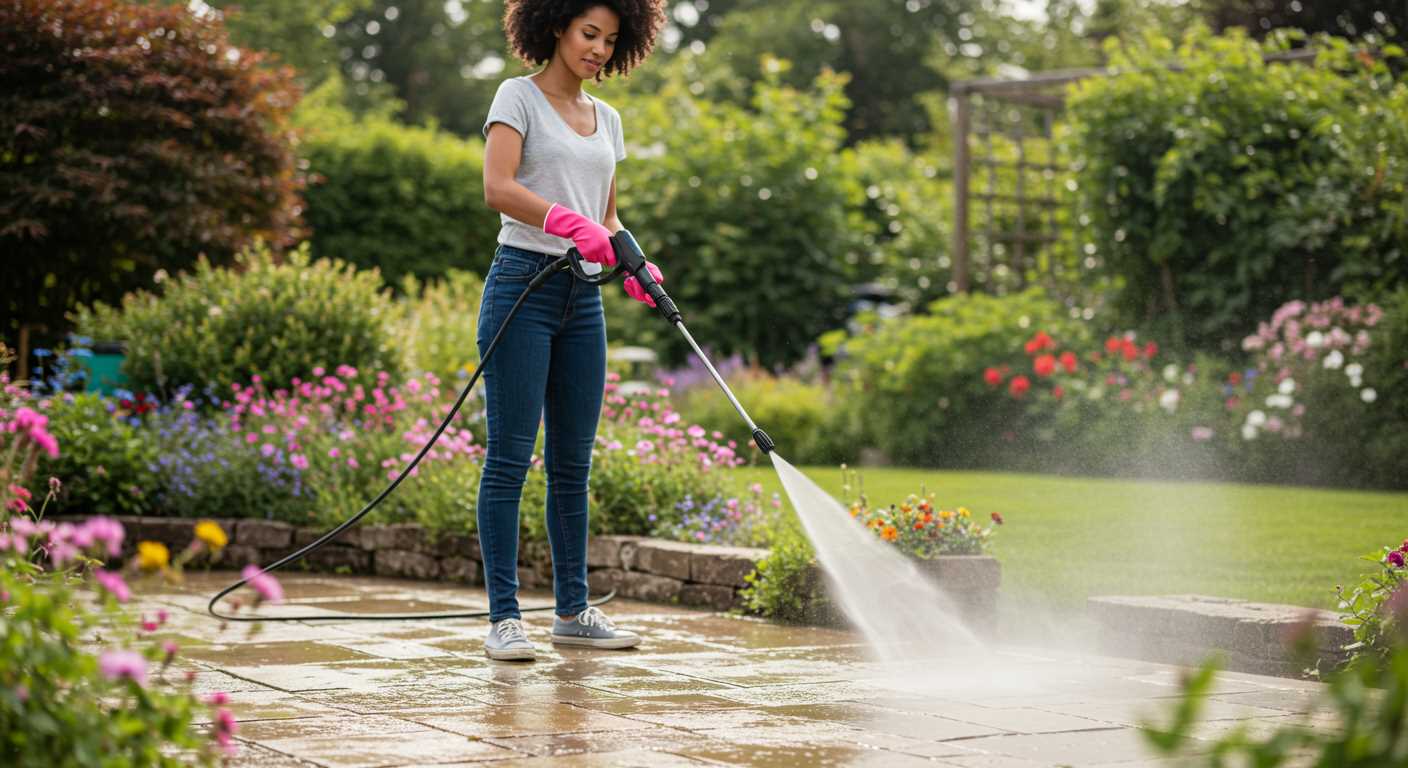
Yes, high-pressure equipment can remove coatings adhered to timber surfaces. However, the results depend on various factors including the type of coating, the equipment used, and the operator’s technique.
Application Techniques
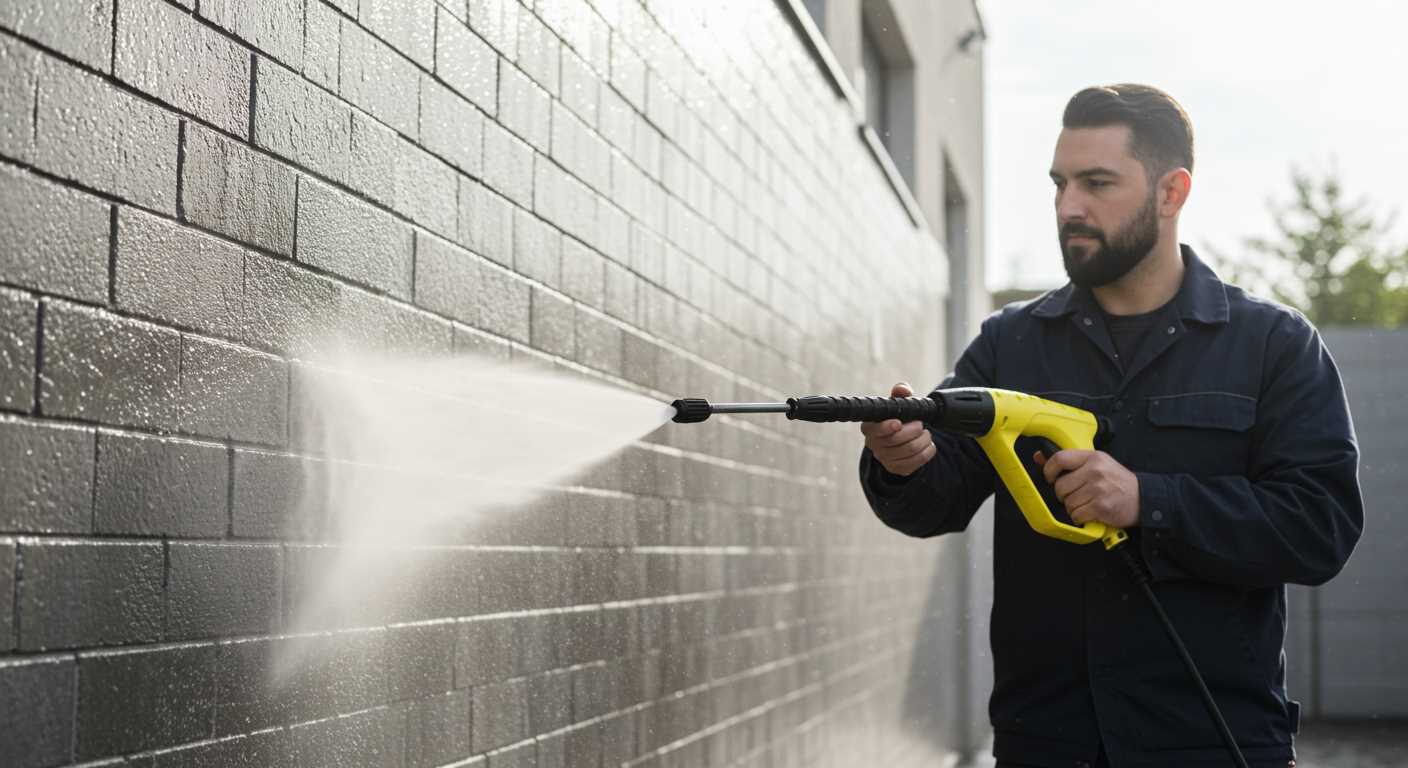
To achieve optimal results, follow these guidelines:
- Choose the Right Nozzle: A nozzle with a narrower spray pattern increases the force on the surface, making it easier to strip away layers. Avoid using overly narrow nozzles that might damage the timber.
- Optimal Distance: Maintain a distance of approximately 12 to 24 inches from the surface. This distance helps to remove the coating without gouging the wood.
- Adjust Pressure Settings: If your tool has adjustable pressure settings, use a lower pressure initially to gauge how the material reacts. Increase as necessary.
- Work in Sections: Dividing the surface into manageable sections helps to monitor progress and ensures thorough treatment.
Considerations Post-Removal
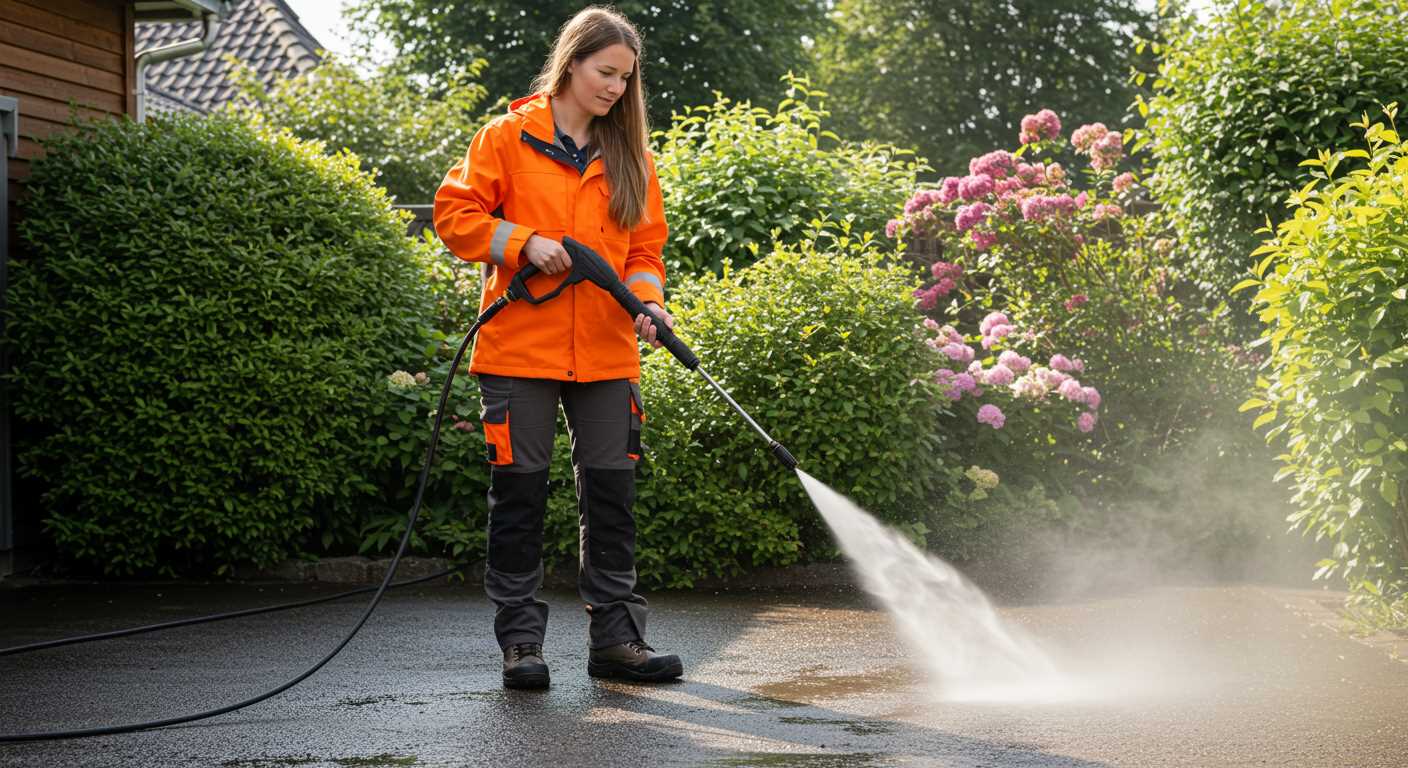
After removing the coating, assess the timber condition:
- Inspect for Damage: Look for splintering or gouging that might require sanding.
- Clean Thoroughly: Rinse the area to eliminate debris and loose particles before proceeding with any refinishing.
- Plan for Finishing: Prepare to treat the surface with a suitable sealant or stain to protect against moisture and UV damage.
Understanding the Basics of Pressure Washing Wood
I recommend selecting the correct nozzle and pressure setting when aiming to refresh the surface of timber. A narrow spray pattern, typically a 0° to 15° angle, is ideal for targeted areas, allowing for precision cleaning without causing harm to the substrate.
Before commencing, always test on a hidden section to evaluate the effect. Different types of timber have varied responses; softer woods like pine require gentler treatment while denser species like oak can withstand higher pressures. Adjust the distance from the surface to manage intensity–keeping a distance of 30-36 inches generally yields optimal results.
Use a suitable cleaning solution designed for wooden surfaces. This will help lift grime and any residual stains prior to the mechanical action of the stream. Allow the cleaning agent to activate for a brief period before rinsing–typically around 5 to 10 minutes suffices.
Be mindful of the angle at which you hold the equipment. Keeping it at a slight angle, around 30 degrees, encourages debris to move away from the surface, reducing the risk of scratches or damage. Maintain a sweeping motion to ensure an even finish while preventing concentrated pressure in one area.
Finally, consider environmental conditions. Ideally, work in cooler temperatures to avoid rapid drying of the surface, which can lead to unsightly marks. A shaded area provides the best environment for effective cleaning.
| Wood Type | Recommended Nozzle Angle | Optimal Distance from Surface |
|---|---|---|
| Pine | 15° | 30-36 inches |
| Oak | 0° | 24-30 inches |
| Cedar | 25° | 36 inches |
| Teak | 15° | 30 inches |
Types of Coatings That Can Be Removed with a High-Pressure System
A high-pressure cleaning device can effectively eliminate numerous types of coatings from surfaces. Key types include latex, oil-based, and solid stains. Each requires different care and settings for optimal results.
Latex Coatings
Latex options are water-based and respond well to high-pressure applications. When using high force, set the nozzle to a fan pattern, maintaining a distance of around 12 inches from the surface to prevent damage. Multiple passes may be needed for complete removal.
Oil-Based Coatings
Oil formulations are more stubborn and demand higher force. A narrow spray pattern is preferred, targeting small sections at a time. Ensure that the cleaning fluid used is compatible with materials to avoid chemical reactions that could harm the surface.
Solid stains present another challenge. Though they adhere strongly, with the right settings and technique, they can be effectively lifted, allowing the underlying material to be refreshed and prepared for a new finish.
Choosing the Right Pressure Setting for Wood
Select a low setting between 1,200 to 1,500 PSI for softer materials, while harder surfaces might handle up to 2,500 PSI. This optimised pressure helps avoid damage while ensuring effective removal of finishes.
Follow this guideline based on the wood type:
- Softwoods: Pine, cedar, and fir benefit from lower settings. Start at 1,200 PSI and adjust as necessary.
- Hardwoods: Oak and maple can withstand higher pressures. Begin testing at around 1,500 PSI.
Use a fan spray nozzle, ideally a 25-degree or 40-degree, to disperse the force over a larger area, reducing the risk of gouging.
Always maintain a distance of about 12 to 18 inches from the surface to prevent damage. Gradually decrease the distance if greater removal is required, but ensure the nozzle stays at the same angle to maintain an even approach.
Finally, conduct a small test patch before proceeding with larger areas. This way, you can assess the effectiveness and make necessary adjustments to pressure and technique.
Preparing the Wood Surface Before Pressure Washing
Thoroughly inspecting the surface before starting the cleaning process is paramount. Look for any loose or peeling components; these should be removed as they can interfere with the effectiveness of the cleaning method employed. Use a stiff-bristled brush or scraper for this task.
Cleaning and Assessing the Surface Integrity
Once loose materials are cleared, it’s advisable to clean the surface with soapy water or a mild detergent. This step helps eliminate dirt and grime that may hinder the washing process. After scrubbing, rinse the area with plain water to prepare for deeper cleaning.
Examining for Damages
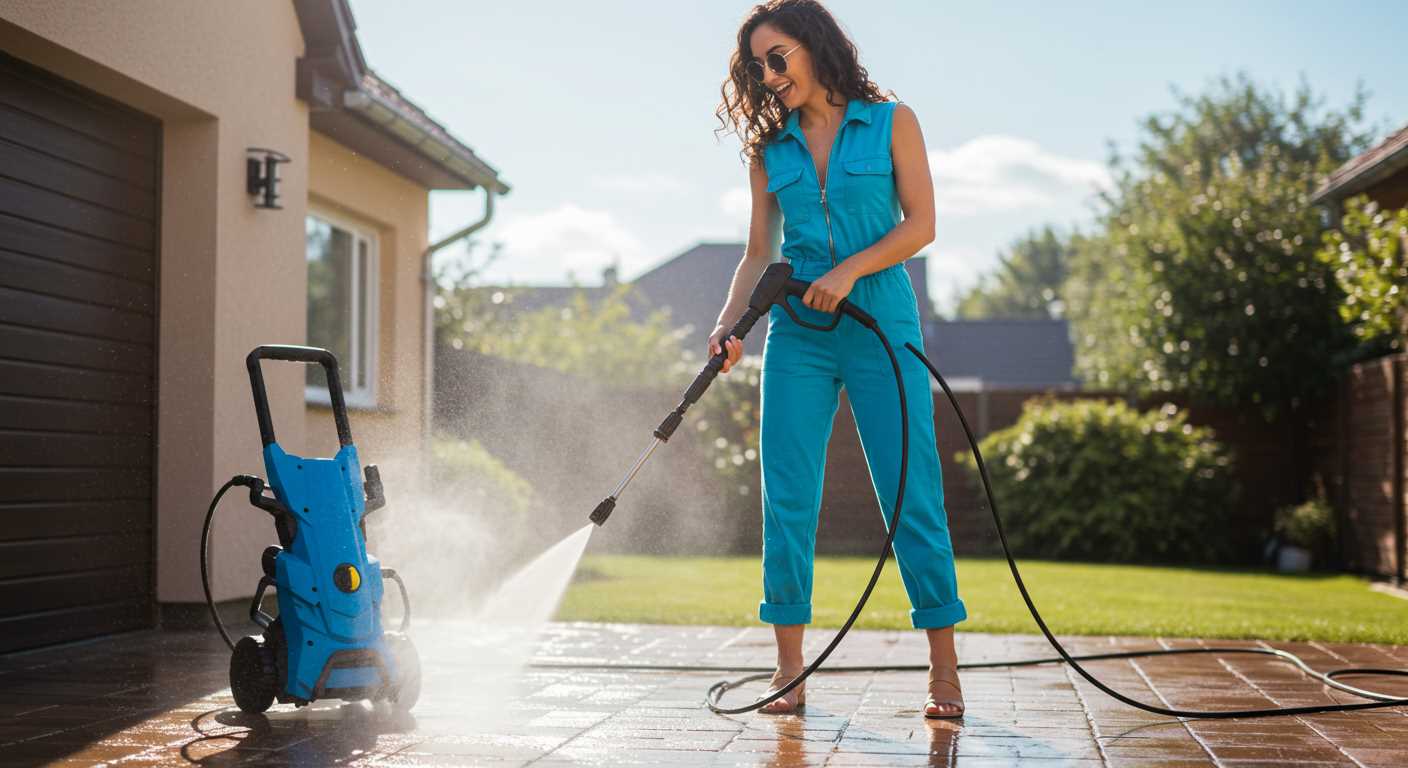
Check for any signs of rot, cracks, or structural issues. Addressing these areas before commencing will prevent further damage during the cleaning routine. If repairs are necessary, consider taking the time to fix them prior to engaging in the washing exercise.
Safety Precautions When Using a Pressure Washer on Wood
Always wear safety goggles to protect your eyes from debris and powerful jets. Heavy-duty gloves should be used to prevent skin injuries from accidental contact with the high-pressure stream. Non-slip footwear is recommended, as the work area can become slippery with water and soap. Consider using hearing protection, especially if the device operates at a high decibel level. If handling chemicals for cleaning, ensure proper ventilation and consider wearing a mask to avoid inhaling fumes.
Maintain a safe distance from electrical outlets and ensure any electrical connections are waterproof. Check for overhead wires or obstacles to avoid accidents. Ground the equipment properly to eliminate the risk of electric shock. Secure any loose items in the vicinity that could be damaged or become projectiles.
Inspect the device before use. Ensure hoses are intact, and seals are functioning correctly to avoid leaks or bursts during operation. Familiarise yourself with the equipment manual, focusing on safety information and operational guidelines.
Do not aim the spray at yourself or others, and avoid using the stream on pets or plants. For elevated surfaces, use appropriate ladders or platforms, ensuring they are stable and secure. Never exceed the recommended settings for the designated surface type to prevent damage.
Monitor the cleaning process continuously. If the wood begins to splinter or shows signs of damage, adjust the pressure or stop entirely to avoid further harm. Always be cautious around soft or treated wood, as they may require specialized handling.
Post-Washing Care for Wooden Surfaces
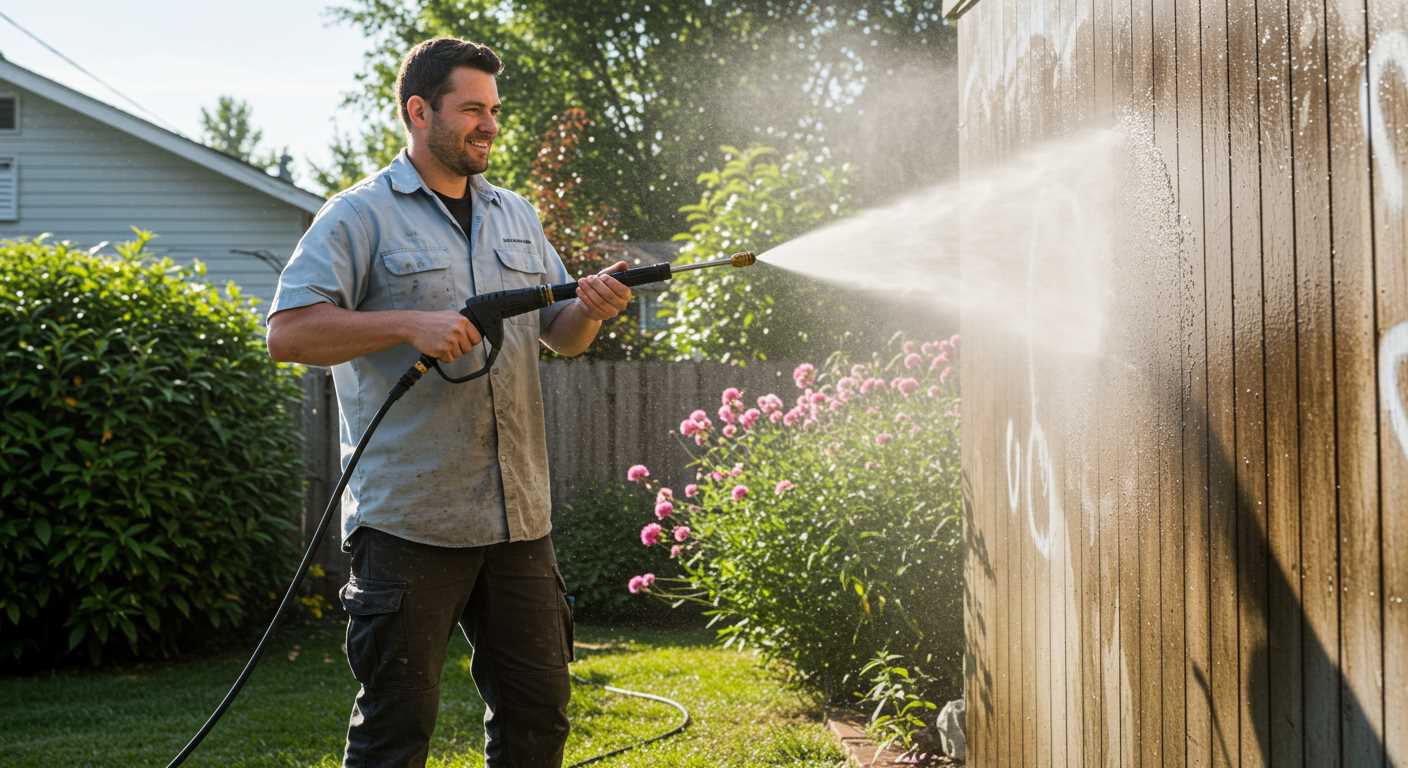
After cleaning a wooden surface, applying a protective sealant is crucial. This prevents moisture absorption and potential damage. Choose a high-quality wood sealer specifically designed for the type of timber you are treating.
Restoration and Repair
Inspect for any damaged areas. Fill in cracks or holes with a suitable wood filler and sand down to create a smooth finish. This step enhances the overall appearance and durability.
Finishing Touches
Once the surface is clean and restored, consider applying a fresh coat of wood stain or paint. This not only improves aesthetics but also adds a layer of protection against the elements.
Regular maintenance is essential. Schedule periodic checks to ensure that the sealant remains intact and the wood stays in good condition. Clean debris and dirt regularly to prolong the life of the finish.
Alternatives to Pressure Washing for Paint Removal
For effective removal of coatings from timber, consider chemical strippers as a primary method. These products penetrate the layers and soften the material, allowing for easier scraping. Choose a biodegradable formula for safety. Always follow the manufacturer’s instructions for optimal results.
Utilising a heat gun is another viable option. This technique softens the coating with direct heat, making it simple to scrape away. Maintain control over the heat to avoid damaging the wood beneath. Ensure you’re working in a well-ventilated area to dissipate fumes effectively.
Sanding is a traditional yet reliable method for addressing stubborn coatings. Select sandpaper with the right grit for the task. Start with coarser paper to remove most of the material and finish with a finer grit for a smooth surface. Be cautious with this approach, as excessive sanding can alter the wood’s profile.
An abrasive cleaning method, such as soda blasting, employs sodium bicarbonate to remove old coatings without harming the timber. This method is particularly effective and leaves the substrate intact. Professional services typically offer this option, ensuring a thorough and careful approach.
Scraping, whether manually or with a mechanical scraper, is straightforward yet labour-intensive. It requires patience and precision but can be very effective, especially in detailed areas. Invest in quality tools to enhance your efficiency.
Lastly, consider eco-friendly solutions like vinegar or citrus-based cleaners. These natural options can be less effective on tougher coatings but are safe for the environment and easy to work with. They are ideal for light-duty tasks and can help maintain the integrity of the wood.


