

Using high-intensity cleaning tools on brick surfaces isn’t just a simple task; the potential for causing harm exists. Opting for a gentle approach, particularly with older or brittle brickwork, can prevent aesthetic and structural damage. My years in the cleaning equipment industry, alongside hands-on testing of countless models, have shown that the right technique and settings are crucial.
First, a setting below 1500 PSI is typically safer for most masonry surfaces. For work involving older bricks or weak jointing materials, consider lower pressure options and a wider nozzle. A narrow spray might be efficient for robust surfaces, but it can compromise more delicate structures, leading to unnecessary wear.
It’s advisable to test a small, inconspicuous area before proceeding with extensive cleaning. Observe the brick and the joints for any signs of distress. This initial evaluation helps gauge the true effect of the process on your structure.
In my experience, the use of chemical cleaners in conjunction with high-intensity tools requires caution. Some substances can react adversely with older materials, leading to discolouration or degradation. A careful selection of cleaning agents, coupled with the appropriate washing method, ensures optimal results without compromising integrity.
Will a Pressure Cleaner Harm Jointing Material?
Using a high-powered cleaning device on jointing material is a delicate matter. While these machines offer efficiency in removing dirt and grime, improper use can lead to problems.
Here are some insights based on my extensive experience:
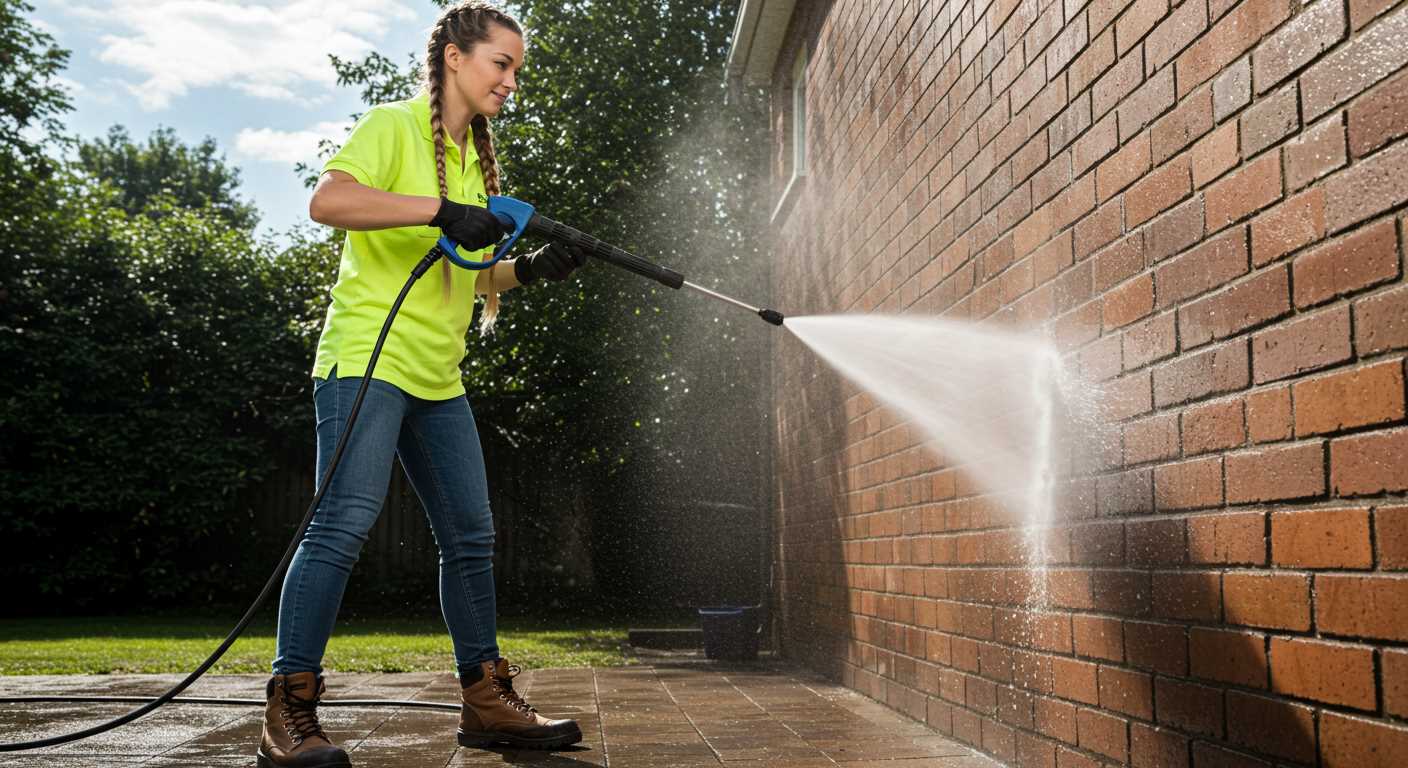
- Distance Matters: Maintain a safe distance of at least 18 inches from the surface. This reduces the risk of eroding the joint material.
- Angle is Key: Aim the nozzle at a 45-degree angle. This technique helps direct the water flow without directly blasting the joints.
- Pressure Settings: Adjust the PSI (pounds per square inch) to a lower setting, ideally under 1500 PSI, to minimise any forced removal of the joint material.
- Wide Nozzle Use: Opt for a wider nozzle tip. This disperses the water over a larger area, reducing concentrated force.
- Routine Inspection: After cleaning, check for any signs of deterioration. Early detection can prevent costly repairs.
Choosing the right approach can ensure efficient cleaning without compromising the integrity of the jointing material. Always test a small area first to observe how the surface reacts before proceeding with larger sections.
Understanding Mortar Composition and Strength
To assess the resilience of a joint material, knowing its composition and structural integrity is crucial. Traditional compounds typically comprise cement, sand, and water, resulting in a matrix that bonds bricks and stones. The proportions used in mixing these ingredients directly influence the strength and durability of the final product.
Generally, a stronger blend consists of a higher ratio of cement to sand. A typical recipe might contain one part cement to three parts sand, providing a balance of workability and compressive strength. However, specific applications like exterior masonry may call for specialised types or additives that enhance water resistance or adhesion.
| Type of Mortar | Main Components | Typical Uses | Compressive Strength (MPa) |
|---|---|---|---|
| Type N | Cement, lime, sand | Above ground projects | 7.0 |
| Type S | Cement, lime, sand | Load-bearing walls | 10.0 |
| Type M | Cement, sand | High strength applications | 14.0 |
| Type O | Cement, lime, sand | Interior, non-load bearing walls | 5.2 |
The curing process also plays a significant role in achieving maximum strength. A period of at least 28 days is recommended to ensure hydration and proper hardening. The environment, such as humidity and temperature, can affect this process, requiring careful monitoring to maintain optimal conditions.
Understanding the specific characteristics of the material used in masonry helps greatly in making informed decisions regarding maintenance and protection techniques. Based on my experience, knowing how to handle these materials is essential to prevent any unnecessary deterioration during routine cleaning or maintenance. Always choose the right approach tailored to the type of joints and their composition.
How Cleaning Devices Operate and Their Impact
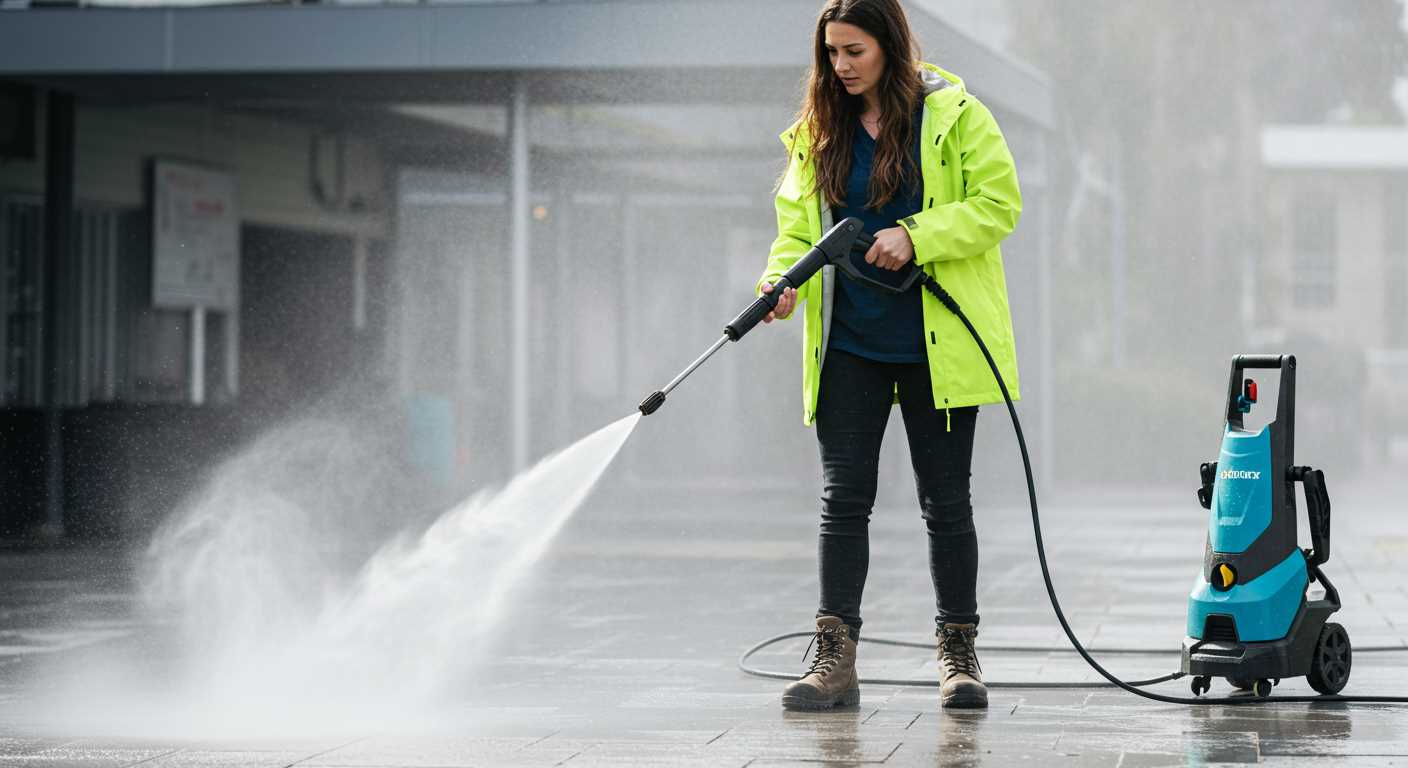
High-powered cleaning tools utilise a motor to pump water at varying pressures, allowing for effective eradication of grime and debris. These machines can reach pressures of up to 4000 PSI, depending on the model, and the intense force generated is capable of dislodging stubborn dirt from various surfaces.
When operating such equipment, the angle of the nozzle plays a significant role. A narrower spray pattern produces a higher pressure, while a wider angle decreases force but covers a larger area. It’s critical to choose the appropriate nozzle according to the task at hand; improper selection can lead to unwanted consequences for delicate surfaces.
Effects on Surrounding Materials
Using these devices indiscriminately may compromise the integrity of surrounding structures. For instance, excessive focus on joints and seams can adversely affect the bonding agents that hold bricks or stones together. It’s advisable to maintain a safe distance from sensitive areas, applying the spray at an angle to diffuse the impact and minimise harm.
Furthermore, it’s prudent to conduct a test on a small, inconspicuous area prior to full application. This will provide insight into how the surface reacts to the force, allowing adjustments to be made before proceeding with larger areas. Careful monitoring during the process ensures that aesthetic and structural quality remains intact.
Factors Influencing Damage to Mortar
A few key elements dictate how vulnerable joints are when subjected to high-pressure cleaning devices.
- Composition of the Joint: The mixture ratio of sand, cement, and water significantly affects durability. A higher cement content generally offers greater resistance against erosion.
- Age and Condition: Older joints may be more susceptible due to wear, cracks, and degradation, making them easier to erode during cleaning.
- Water Temperature: Heated water can increase the effectiveness of the cleaning process but may also weaken older or low-quality materials, creating a risk of chipping or dislodging.
- Cleaning Nozzle Type: The specific nozzle attached influences the stream’s intensity. A concentrated stream will exert more force compared to a fan or wide-angle spray, potentially leading to harm.
- Distance from Surface: Maintaining an appropriate distance between the nozzle and the joint is critical. Closer ranges increase the likelihood of damaging effects, while distant application tends to be gentler.
- Type of Surface: Different substrates respond differently under pressure. For instance, a softer surface might absorb more impact than a hardened one, affecting the cleaning outcome.
- Technique: The manner of application, including the angle of approach, can influence how effectively the force interacts with the material. Sweeping motions are generally safer than direct and prolonged exposure.
- Environmental Factors: Pre-existing conditions like moisture levels can affect how easily a cleaning solution penetrates and interacts with the surface, thereby influencing potential risks.
Assessing these factors before initiating the cleaning method will ensure better preservation of joints, optimising the effectiveness of the procedure while minimising any risk of injury to the material.
Recommended Pressure Settings for Mortar Care
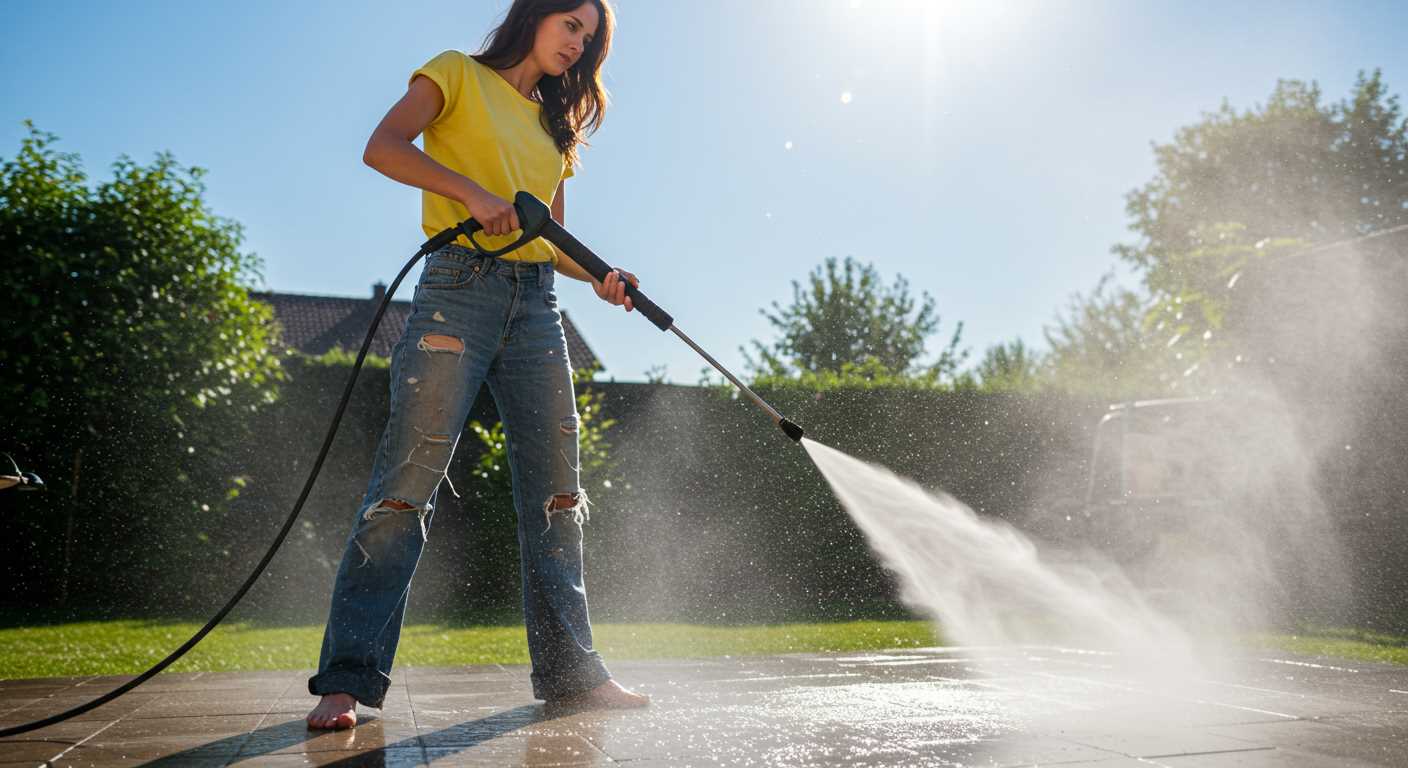
For optimal maintenance without risking harm, I suggest setting the equipment to a range of 1000 to 1500 PSI. This level will effectively cleanse the surfaces while being gentle enough to avoid dislodging the joints. Adjusting your distance from the surface is equally important; maintaining a distance of 12 to 24 inches will further minimise any adverse effects.
Using a fan spray nozzle between 25 to 40 degrees is advisable, as it distributes water over a wider area, reducing the intensity of the water stream on connections. Keep the spray at a slight angle, rather than directly at the joints, to deflect debris and grime without applying excessive force.
Before proceeding with the cleaning task, always conduct a test patch in a less visible area to assess how the mix reacts. Monitor for dislodged components or erosion. If any issues arise, reduce the pressure incrementally and reassess. This strategy ensures successful maintenance while preserving the integrity of your constructions.
Cleaning Techniques to Avoid Damage
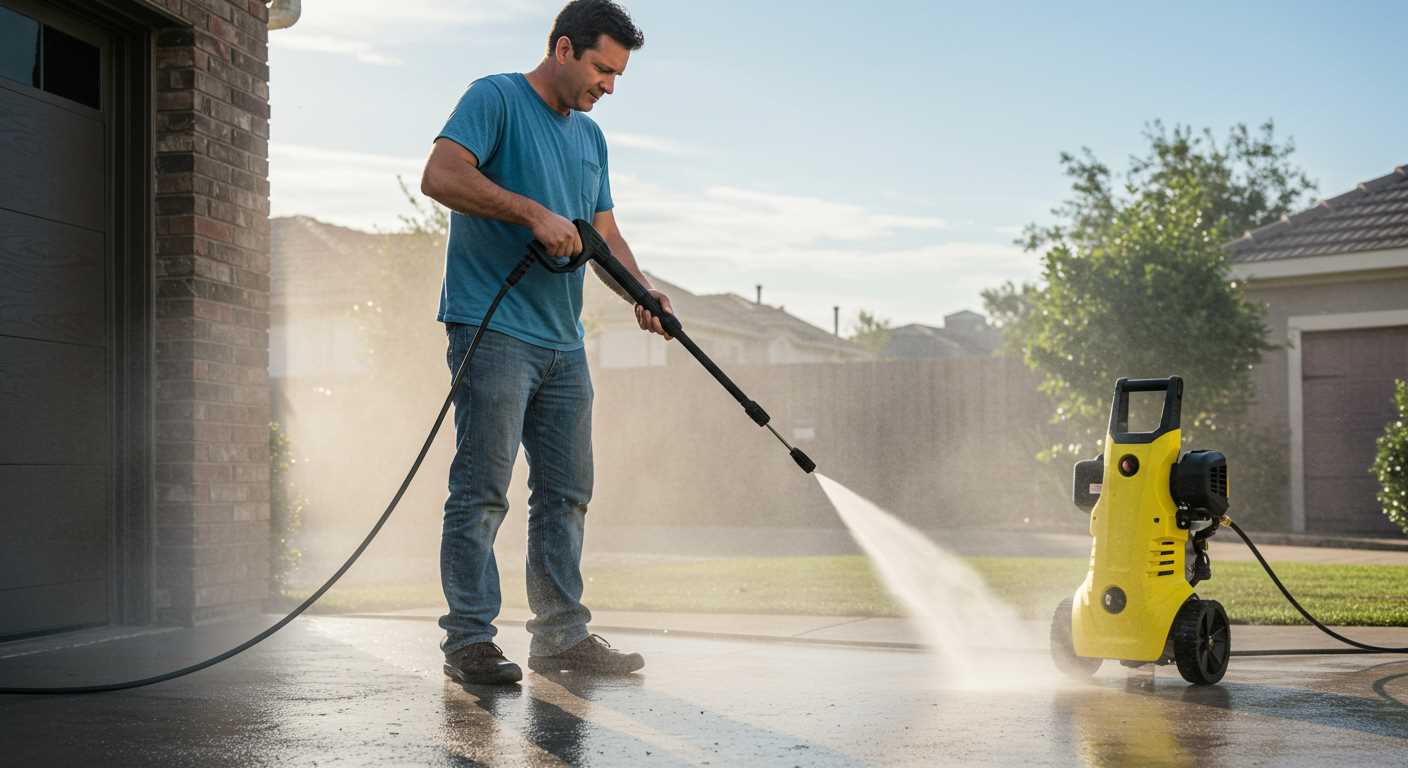
Utilise a soft-bristle brush alongside a mild detergent for cleaning surfaces that require gentleness. This method allows the removal of grime without the risk of harming the substrate. Follow up by rinsing thoroughly with water to ensure all residue is eliminated.
Utilising Low-Pressure Systems
Opt for low-flow equipment that produces minimal force while maintaining effective cleaning capabilities. This approach mitigates the likelihood of negatively affecting structural integrity, especially when working on historical structures or older construction methods.
Advanced Surface Treatment
Implement specialised surface treatments designed for protective enhancement. These treatments often create a barrier that reduces the adherence of dirt and grime, thus lessening the need for aggressive cleaning methods. Regular maintenance with approved cleaning solutions can further prolong the condition of surfaces and limit excessive wear.
Signs of Mortar Damage After Pressure Cleaning
After using a high-powered cleaning device, look for certain indicators that suggest harm to the jointing material. Cracks, even minor ones, can create pathways for water intrusion, potentially leading to further structural integrity issues.
Surface Erosion
If you notice pitting or surface erosion on the masonry, this can be a clear sign of excessive force used during cleaning. This not only affects the appearance but can also weaken the bond between bricks or stones.
Discolouration
A change in colour, especially a white or chalky residue forming on the surface, may indicate that the chemical composition of the jointing material has been affected by the strong blast of water. This is a signal that the cleaning method may have been too aggressive.
Pay attention to soft spots or sections where the jointing material seems to be crumbling or missing altogether. This can compromise the structure’s stability and may require repair or replacement of the jointing material.
For best results, always inspect the area thoroughly after using any cleaning equipment. Addressing issues promptly will help maintain the longevity and sturdiness of your surfaces.
Restoration Options for Compromised Mortar
For mortar that has suffered from excessive force during cleaning, restoration methods can vary based on severity. In minor cases, a simple repointing might suffice. This involves removing the compromised layer with a chiselling tool and replacing it with fresh mortar. Ensure the new mix matches the original’s composition to maintain uniformity.
In more severe situations where structural integrity is compromised, consider applying a liquid polymer additive to a new mortar mix. These polymers enhance bonding and reduce permeability, thereby improving durability. Additionally, using a lime-rich mortar can help accommodate slight movement and thermal expansion.
If the problem persists, a thorough investigation may be necessary. Consulting a structural engineer can identify underlying issues, possibly involving moisture ingress or foundational problems. Addressing these root causes is critical before any cosmetic repairs.
For large areas of deterioration, it’s advisable to re-tuckpoint the entire section. This extensive process ensures long-term stability and aesthetic appeal. Professional assistance is often recommended, as it requires precision and skill.
Once repairs are complete, consider applying a breathable sealant to protect against future weather-related wear. Ensure the chosen product allows moisture vapor to escape, preventing trapped dampness that could lead to further issues.


