

For optimal performance, ensure that your machine is compatible with the foam attachment. Most units accommodate such accessories, but it’s wise to confirm compatibility based on the model you own.
Attach the foaming accessory securely to the front of your device. Check that it fits snugly to prevent any leaks during usage. Consult the manufacturer’s manual for specific tightening instructions to ensure a proper fit.
Prepare your cleaning solution by mixing it with water in the recommended ratio, typically found on the product label. A standard dilution of 1:10 usually yields excellent results. Pour the mixture into the foam container attached to your tool.
Adjust the nozzle for the desired spray pattern. A wider setting allows for even distribution, while a narrower jet focuses the product on stubborn stains. Test the spray pattern on a discreet area before proceeding with full application.
Finally, connect your equipment to a water source. Start the machine and engage the foaming feature, allowing the solution to blanket the surface effectively. This method will ensure thorough cleaning while minimising the risk of streaks or damage.
Selecting the Right Foam Generator for Your Pressure Tool
Choose a model compatible with your unit’s PSI and GPM ratings. Check the manufacturer’s specifications; aim for a foam generator delivering a foam thickness you desire. Generally, units with adjustable nozzles allow for better control over foam output. Select a product constructed from durable materials, preferably resistant to corrosion. Pay attention to the inlet fitting size and ensure it aligns with your equipment.
Look for a foam generator with a wide spray pattern for even coverage. Many models offer quick-connect fittings making attachment seamless. A tank capacity is crucial; larger tanks prolong working time before refilling. Some designs feature built-in filters to prevent clogging, ensuring consistent performance.
Consider user reviews and expert opinions when selecting. Test various brands to find the right balance of performance and ease of use. Trustworthy manufacturers often provide warranties, indicating confidence in their products. Investing in a quality device will enhance your cleaning experience significantly.
Understanding the pressure requirements for foam devices
To achieve optimal results, select a sprayer with a minimum working pressure of 2000 PSI. This threshold ensures sufficient power to generate thick, clingy suds that effectively lift dirt and grime from surfaces.
Key Pressure Specifications

Here are some crucial specifications to keep in mind:
- Minimum Required PSI: 2000 PSI
- Optimal PSI Range: 2500 to 3000 PSI for comprehensive cleaning
- Recommended GPM: 1.4 to 2.5 GPM for effective foam generation
Consequences of Inadequate Pressure

Using a device with insufficient power can lead to:
- Inadequate foam consistency, resulting in reduced cleaning performance.
- Increased cleaning time as dirt fails to lift effectively.
- Potential for damaging surfaces due to excessive scrubbing.
For the best user experience, ensure compatibility between your cleaning machine and the sprayer. Testing various settings allows for fine-tuning and maximising efficiency during use.
Preparing Your Equipment for Attachment
Disconnect any existing fittings to ensure a clean attachment point for the cleaning accessory. Inspect both the nozzle and the connecting point on your machine to ensure no debris is lingering, which could hinder performance. Regular maintenance of these areas helps achieve optimal results when applying cleaning agents.
Water Supply Check

Verify that your water source is capable of providing a consistent and adequate flow. A minimum of 5 litres per minute is typically recommended, so adjust your garden hose and faucet accordingly. Ensure there are no leaks and that the hose is in good condition to prevent pressure loss during operation.
Pressure Unit Specifications
Review the specifications of your cleaning unit to confirm compatibility with the attachment. Look for details regarding connection types and operating pressure ranges. Having the right adapter may be necessary for the seamless installation of the accessory. Additionally, consult the user manual for specific guidance on component settings to accommodate the extra load when in use.
Mixing the soap solution for optimal foam generation
The key to producing thick, clingy suds lies in the correct mixing of the cleaning solution. I recommend using a dedicated snow foam product specifically designed for this purpose. Start with a product-to-water ratio of approximately 1:10; this means one part soap and ten parts water. Adjust this ratio depending on the product specifications and the level of dirt on the surface.
Water Quality and Temperature

Use warm water when mixing the solution; this helps emulsify the soap better, resulting in a richer foam. Additionally, softer water enhances the cleaning properties of the solution. If your tap water is hard, consider using a water softener to reduce mineral content for improved results.
Mixing Technique
To achieve an optimal mixture, pour the desired amount of soap into the container first, followed by the water. This prevents the soap from clumping at the bottom. Gently swirl the container to mix the solution rather than shaking it, as excessive agitation can create premature bubbles that may break before application.
Connecting the foam generator to the high-pressure cleaner

Begin by ensuring the appliance is powered off and disconnected from any electrical source. Locate the outlet on the front of the device that’s specifically designed for accessories. This is typically a quick-connect fitting that allows for easy attachment.
Align the connector of the foam generator with the fitting on the cleaner, pressing it firmly into place until you hear a click. This sound confirms a secure connection, preventing any leaks during operation. If your unit uses a threaded attachment, hand-tighten it without tools to avoid damaging the threads.
Check the setting on your equipment to ensure it’s compatible with the specifications of the generator. Adjust the pressure level if necessary before proceeding with operation. Proper pressure settings enhance the performance of the cleaning solution, maximising the effectiveness of the application.
After connection, inspect the hose and check for any visible kinks or obstructions that could obstruct flow. For optimal results, ensure that both the generator and cleaner are in good condition and free of debris. A clean line guarantees a consistent and reliable output, allowing for thorough coverage during your cleaning tasks.
Adjusting settings for the best foam output on different surfaces
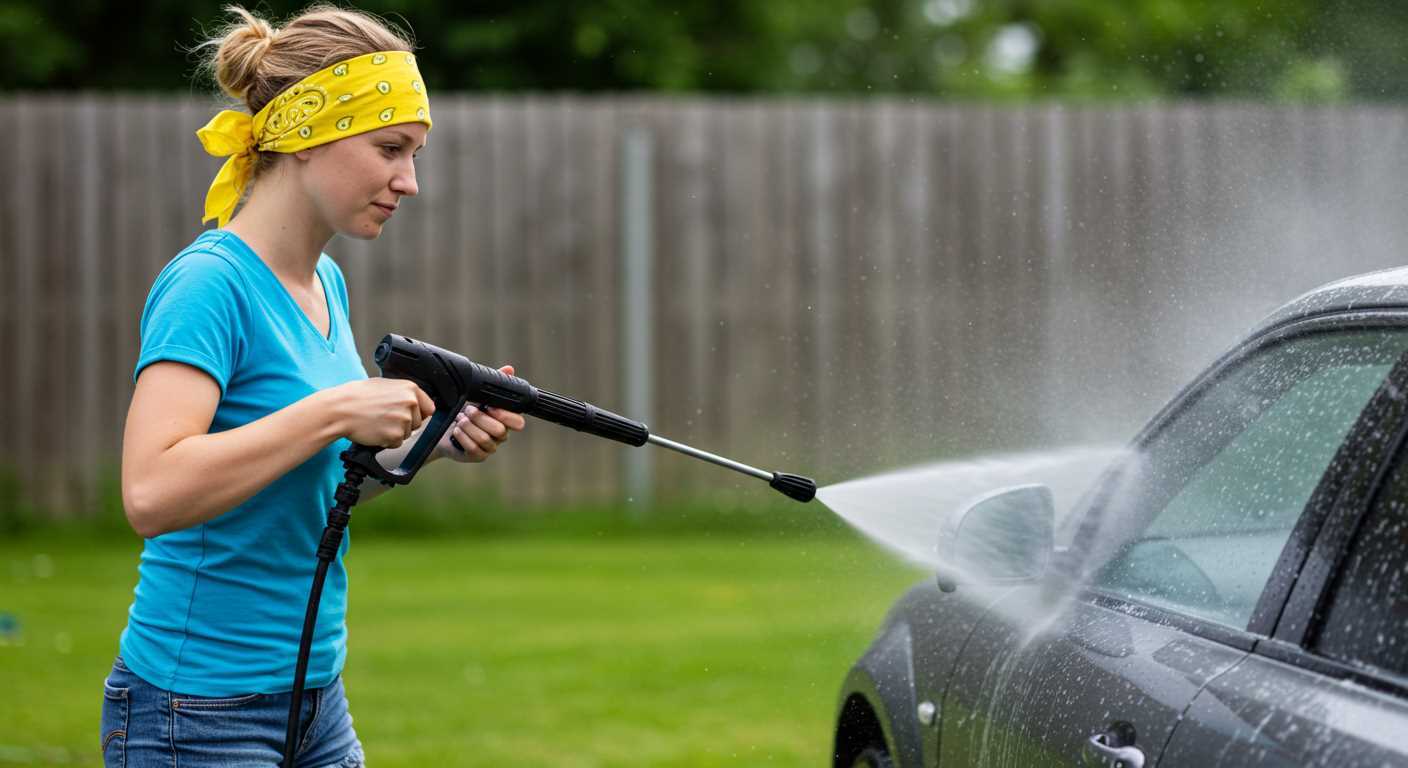
For optimal lather on automotive paint, set your device to a lower pressure, around 1000-1500 PSI, ensuring the soap clings without damaging the finish.
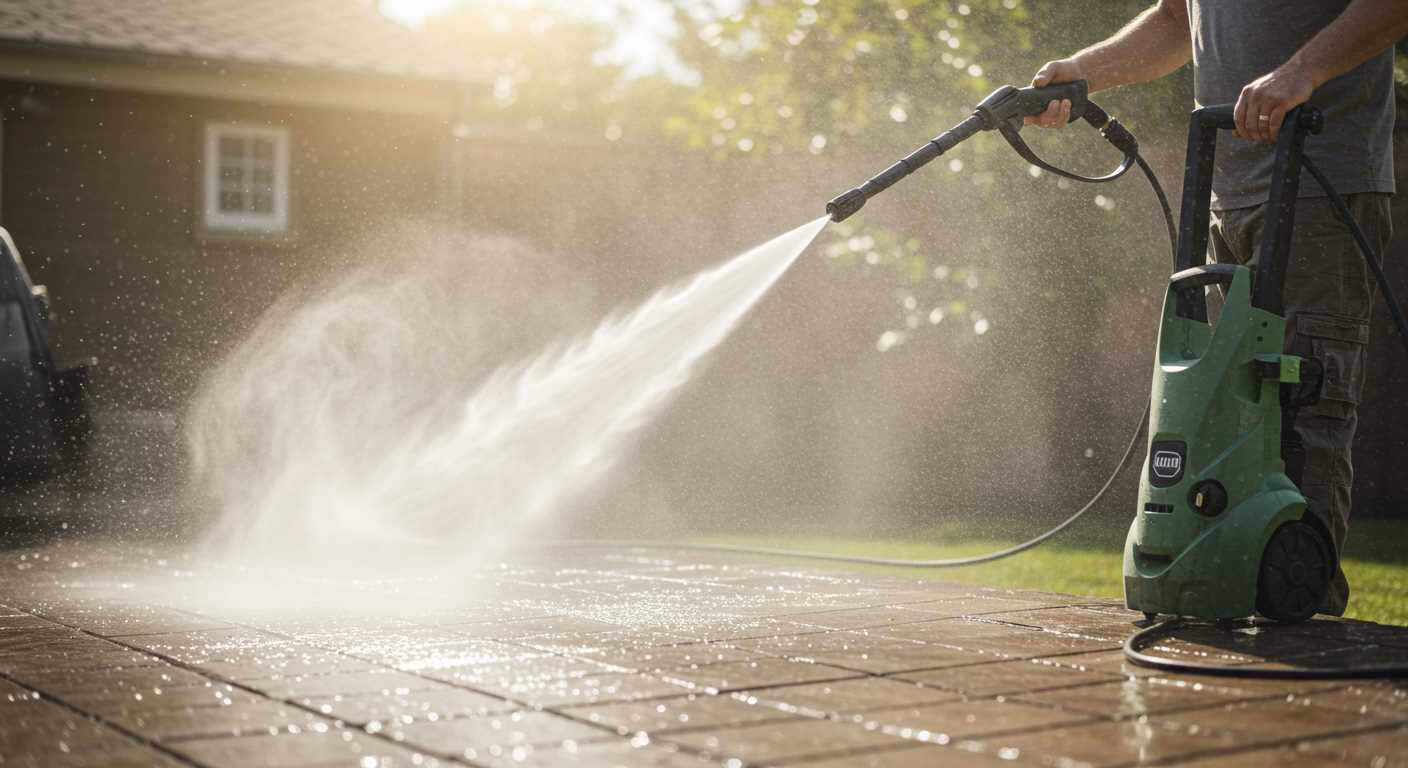
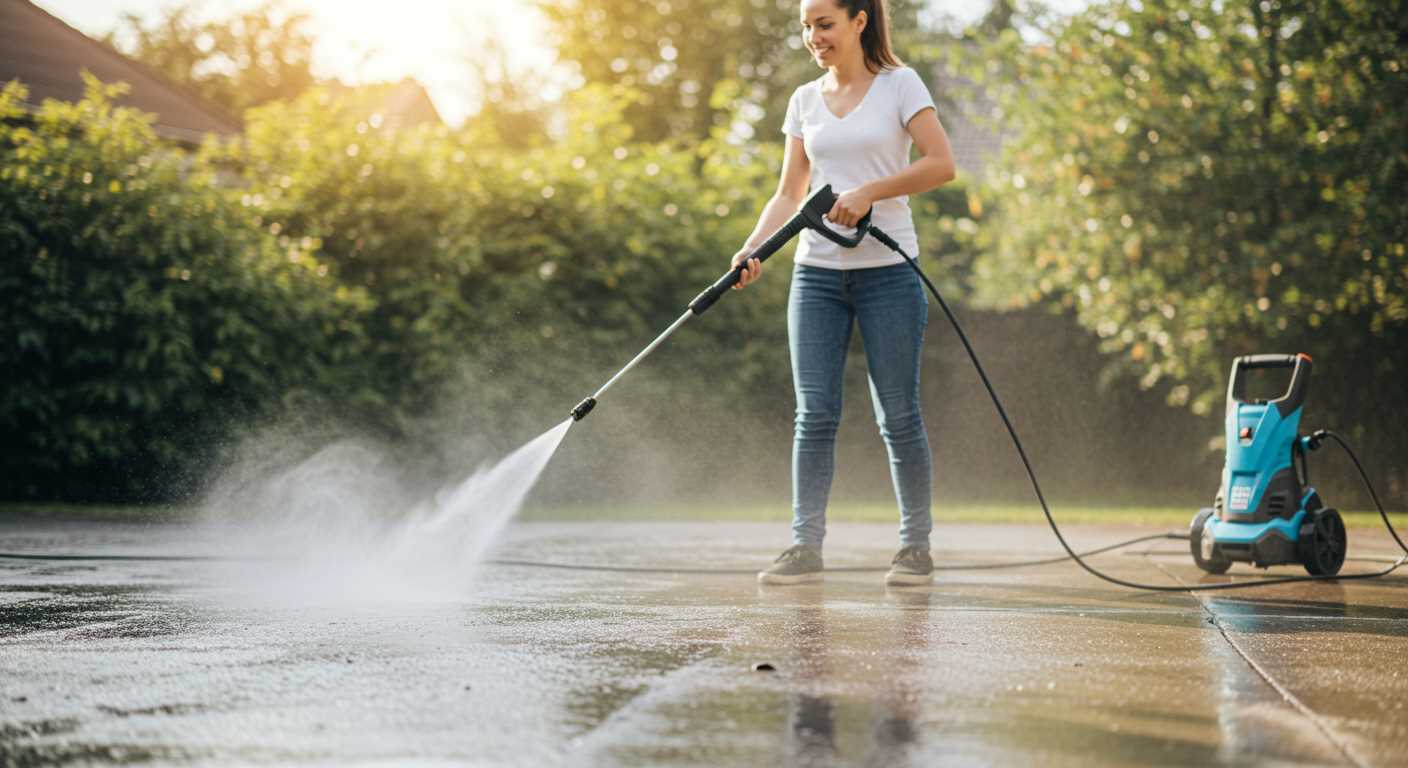
On rough or textured surfaces, like concrete or brick, increase the pressure to 1500-2000 PSI to penetrate the crevices effectively. A wider spray pattern can help cover more area without excessive force.
For delicate materials such as plastics or vinyl siding, maintain lower settings to avoid potential harm, aiming for about 1000 PSI. Using a fan nozzle will also help distribute the cleaner evenly without causing harm.
When dealing with sensitive finishes, adjust the dilution ratio of the cleaning agent. Use a stronger mixture for tough stains on hard surfaces, while a diluted solution suffices for regular maintenance on smoother finishes.
In colder weather, consider warming up the solution slightly to facilitate better coverage and functionality, especially on carpets or upholstery.
Finally, always test a small, inconspicuous area first before applying the mixture broadly, ensuring that you achieve the desired results without adverse reactions.


