
.jpg)
.jpg "Can a pressure washer damage concrete")
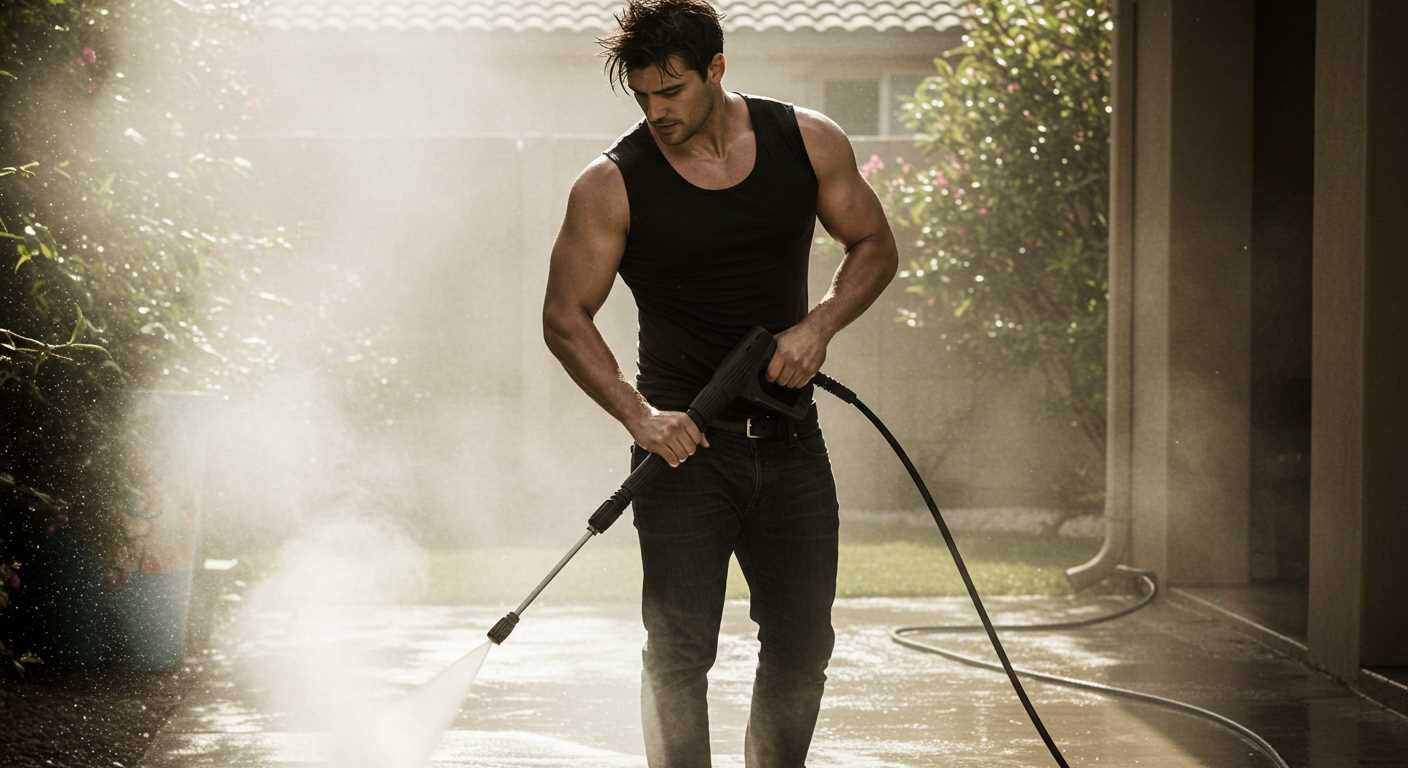
Using high-pressure cleaning equipment on pavement can lead to unwanted consequences if not handled correctly. My years as a consultant in the cleaning equipment industry taught me that the force exerted by these machines can strip away the surface layer of certain materials, especially if the settings are too aggressive.
It’s critical to assess the condition of your pavement before starting any cleaning project. For example, older surfaces or those with pre-existing cracks may be more susceptible to damage. I recall a situation where a homeowner attempted to clean their driveway without adjusting the pressure settings, resulting in noticeable pitting and surface erosion. This not only affected the appearance but also compromised the integrity over time.
To avoid mishaps, I always recommend starting with a lower pressure setting and gradually increasing it while monitoring the surface’s response. Using the right nozzle is equally important; a wider spray pattern distributes the force, reducing the risk of harm. If you’re unsure, testing a small, inconspicuous area first can provide valuable insight into how the material will react.
Remember, a cautious approach ensures that your cleaning efforts yield positive results without compromising the pavement’s durability. Always prioritise safety and technique over sheer power.
Understanding Pressure Washer PSI Ratings
Choosing the right machine for your cleaning task hinges significantly on the PSI (pounds per square inch) rating. A higher PSI indicates more force, but this doesn’t always mean better results. For example, during my years in the cleaning equipment industry, I frequently encountered scenarios where users opted for machines with excessively high PSI ratings, only to find they were unsuitable for their specific surfaces.
For most hard surfaces, a rating between 2000 and 3000 PSI is typically adequate. This range effectively removes dirt and grime without posing a risk to the material. I recall a job where a client insisted on using a 4000 PSI unit on a patio. The result was not just an overly aggressive clean but also visible etching on the surface. Understanding the balance between power and safety is key.
| Surface Type | Recommended PSI Range | Notes |
|---|---|---|
| Driveways | 2500 – 3000 | Effective for oil stains; maintain distance. |
| Patios | 2000 – 2500 | Avoid high PSI to prevent surface damage. |
| Wood Decks | 1500 – 2000 | Use a wide spray nozzle to reduce risk. |
| Vehicles | 1200 – 1900 | Keep nozzle at least 2 feet away. |
Additionally, the nozzle type plays a crucial role in how the machine operates. A narrower nozzle can concentrate the force, increasing the risk of surface harm, while a wider nozzle disperses the water, reducing potential damage. I always recommend testing on a small, inconspicuous area before committing to a full clean.
In my experience, reading the manufacturer’s guidelines is crucial. Each unit comes with specific recommendations based on its design and intended use. Ignoring these can lead to unsatisfactory results or damage to the cleaner’s components.
Identifying Concrete Types and Their Durability
To ensure optimal care and maintenance, recognise different types of cementitious surfaces and their inherent resistance levels. Common varieties include standard concrete, reinforced concrete, and decorative options like stamped or exposed aggregate. Each type exhibits unique properties that influence how they respond to high-velocity cleaning methods.
Standard Concrete is the most prevalent form, often used in sidewalks and driveways. Its durability typically ranges from 20 to 30 MPa, making it resilient but susceptible to surface wear if subjected to excessive force. Always approach cleaning with a measured approach to preserve its integrity.
Reinforced Concrete, embedded with steel bars or mesh, enhances strength, pushing durability ratings to 30 MPa and beyond. This type can withstand stricter cleaning methods, yet caution is still advised to prevent surface abrasion that could expose the reinforcement over time.
Decorative Concrete is visually appealing but can be more sensitive to aggressive techniques. Stamped and stained variants often have thinner top layers, making them more vulnerable. When maintaining these surfaces, utilize lower intensity settings and gentle techniques to maintain their aesthetics and prevent peeling or discolouration.
In my experience, using the correct approach to cleaning not only prolongs the life of these surfaces but also keeps them looking fresh. I recall a project where I mistakenly applied too much force on a decorative patio, leading to visible wear. It taught me the importance of assessing material types and adapting techniques accordingly. Always examine the surface condition and make an informed decision about the cleaning intensity.
Lastly, understanding that environmental factors, such as exposure to chemicals and weathering, also affect durability is crucial. Regular maintenance can mitigate these effects, but knowing your material helps tailor the best strategy for preservation. Choose your tools wisely and respect the nature of the surface you’re working on.
Common mistakes when using a pressure cleaner on concrete
One frequent error is using a nozzle with too narrow of a spray pattern. This concentrates the force on a small area, increasing the risk of etching or gouging. Opt for a wider spray nozzle to distribute the pressure evenly. I’ve seen people ruin a driveway by focusing on one spot for too long, thinking they were achieving better results. In reality, they were just creating damage.
Another common misstep involves standing too close to the surface. Maintaining a distance of at least 12 inches is crucial. I remember a time when I was too eager to tackle a stubborn stain and got too close; the result was an unsightly mark that required patching later. Always keep a safe distance to avoid unnecessary wear.
Using excessive pressure is another pitfall. Many believe that higher settings guarantee a cleaner finish, but this is a myth. I’ve tested various models, including the Karcher residential pressure washer, and found that moderate pressure often yields better results without risking harm. Find the right balance for the task at hand.
Not pre-treating surfaces is also a problem. Stains like oil or rust can be tough to remove without the right chemicals. I’ve had success using the best chemicals for deck pressure washing to break down tough grime before cleaning. This preparatory step can save time and prevent damage.
Lastly, neglecting to follow the manufacturer’s guidelines can lead to regrettable outcomes. Every model has specific recommendations for use, and straying from these can compromise both the surface and the equipment. Always check the manual before starting a project.
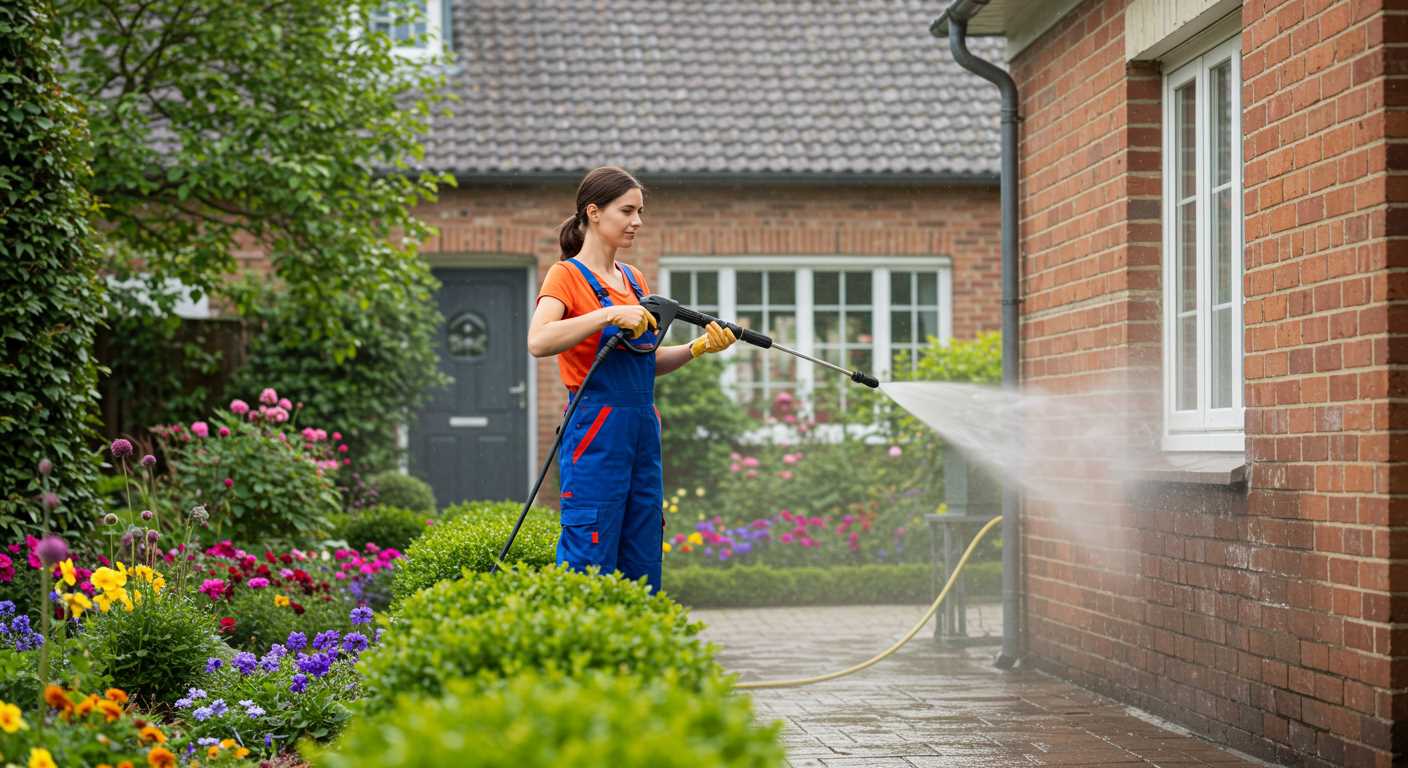
Best practices for pressure washing concrete surfaces
Begin with a thorough inspection of the area. Identify any cracks, stains, or loose materials that may require special attention. If you skip this step, you risk causing further issues.
Equipment and Setup
- Select a unit with an appropriate PSI for your task. For most surfaces, a range of 3000-4000 PSI works well.
- Use a fan nozzle for vast areas and a rotating nozzle for stubborn stains. The right attachment can make a significant difference.
- Ensure you have a steady water supply. A continuous flow prevents overheating and maintains performance.
Technique and Method
- Always start from the highest point of the surface and work your way down. This prevents dirty water from running onto already cleaned areas.
- Maintain a consistent distance of approximately 12 to 24 inches from the surface. Too close, and you risk etching; too far, and you won’t achieve effective cleaning.
- Use overlapping strokes to ensure complete coverage. This method prevents streaks and leaves a uniform appearance.
- For stubborn spots, allow the cleaning solution to dwell for a few minutes before rinsing. This extra time helps break down tough grime.
After completing the task, inspect the surfaces again. Look for any missed areas or lingering stains that may need a second pass. Regular maintenance also prolongs the lifespan of the surfaces and keeps them looking their best.
Signs of Damage After Pressure Washing Concrete
Inspect for spalling, which manifests as small flakes or chips on the surface. This occurs when the high-velocity stream dislodges the top layer, exposing the aggregate. I recall a time when a homeowner noticed this after a routine clean. It’s subtle at first but can lead to more significant issues if not addressed.
Look for pitting, characterised by small indentations that can weaken the structure. I once encountered a driveway that had been overzealously treated, resulting in a rough texture where the surface was eroded. Pitting could cause further deterioration over time, especially under heavy traffic.
Check for colour changes. If the surface appears lighter or discoloured, the intense force might have stripped away protective sealants or the top layer of the mix. I’ve seen this happen more often than not, particularly with older slabs that haven’t been sealed properly.
Pay attention to cracking. After a thorough wash, hairline fractures may emerge, indicating that the underlying integrity has been compromised. A friend of mine experienced this after a misguided attempt to clean his patio; the pressure was too much for the aged surface.
Examine the joints and edges for erosion. The high-pressure flow can wear down these vulnerable areas, leading to misalignment or gaps. I’ve had clients who faced costly repairs because they overlooked this aspect during cleaning.
Lastly, assess for loose aggregate. If small stones or pebbles start to dislodge, it’s a clear sign that the surface has been compromised. This can affect not just aesthetics but also the longevity of the surface. I always advise taking a gentle approach to avoid such outcomes.
Repairing Concrete Damage Caused by Pressure Washing
To effectively restore surfaces compromised by high-pressure cleaning, begin by assessing the severity of the erosion or cracking. Shallow surface issues can often be addressed with a simple patching compound, while deeper fractures may require more extensive repairs.
Step 1: Cleaning the Affected Area
Remove loose debris and dust from the damaged sections using a broom or vacuum. For more profound cracks, use a wire brush to eliminate any flaking material. This ensures that the repair materials adhere correctly and last longer.
Step 2: Selecting Repair Materials
Choose a suitable repair compound. For minor imperfections, a polymer-modified overlay can work wonders. For larger cracks, consider using a concrete repair caulk or epoxy filler, which provides a strong bond and flexibility. Always follow the manufacturer’s instructions for mixing and application.
Apply the selected material with a trowel, ensuring it fills the cracks completely. For a smooth finish, level the surface as you go. Allow adequate curing time as per the product guidelines–this is essential for a long-lasting repair.
Once cured, consider sealing the repaired areas to protect against future wear. A quality sealant can act as a barrier against moisture and stains, helping to maintain the integrity of the surface.
Regular maintenance, including periodic cleanings and inspections, will help identify issues early on, preventing the need for more extensive repairs down the line. Taking these proactive steps can ensure your surfaces remain in optimal condition for years to come.
.jpg)


