
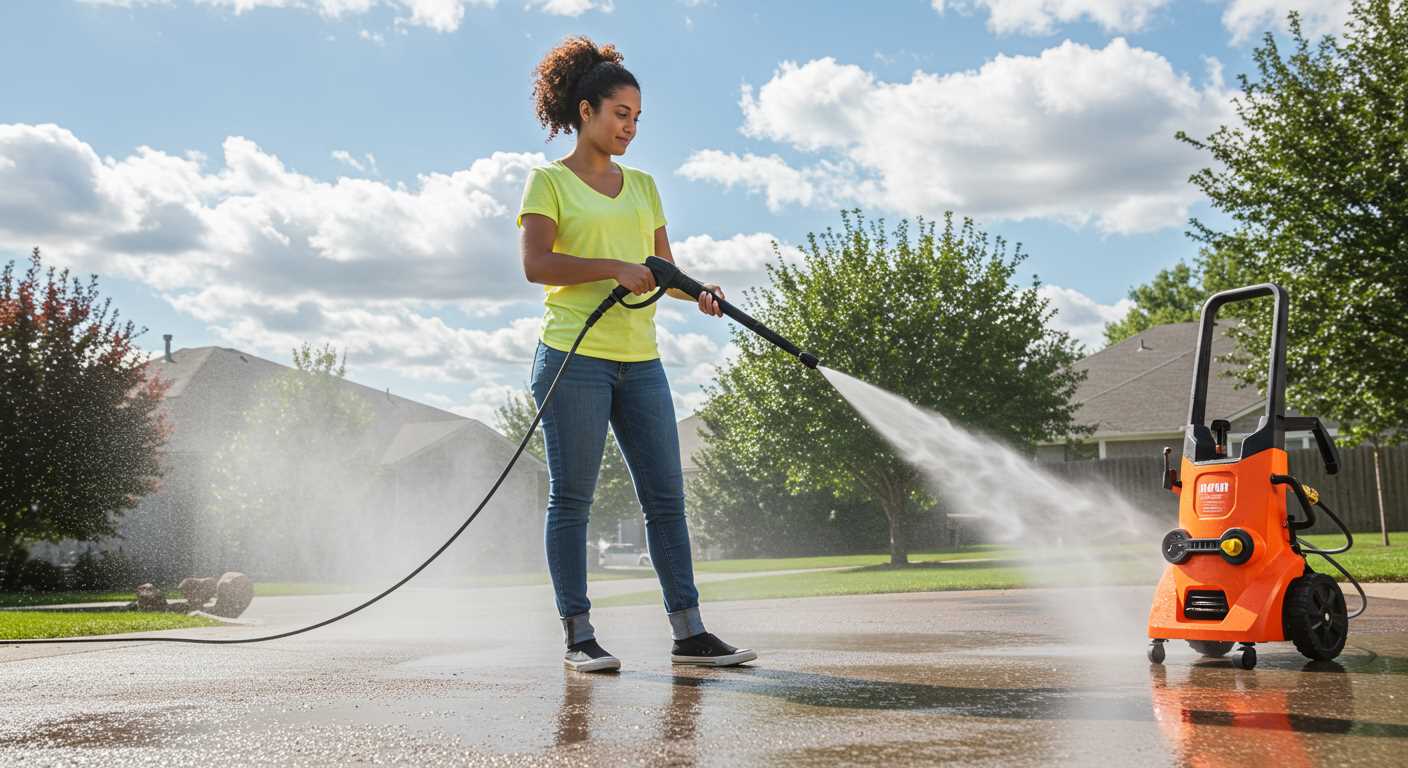


Using a high-powered cleaning device can effectively strip coatings from hard surfaces like pavements and driveways. I recall a project where a client needed to refresh their outdoor area. They were frustrated with layers of old coatings that had lost their appeal. After assessing the situation, I recommended a robust cleaning unit with the right nozzle and pressure setting.
During the process, I discovered the importance of evaluating the type of coating and the condition of the substrate. A lower pressure setting worked wonders for delicate surfaces, while a more intense setting was necessary for tougher, more resilient layers. It’s crucial to maintain a consistent distance to avoid damaging the underlying material.

Always remember to use appropriate safety gear. Eye protection and gloves are a must, as the force of the water can send debris flying, and the chemicals in some coatings can be hazardous. In my experience, taking these precautions is as important as selecting the right equipment.
After several rounds of cleaning, the surface transformed dramatically, revealing a clean slate ready for new treatments. This method not only saved time but also delivered impressive results, making it an invaluable approach for anyone looking to rejuvenate their exterior spaces.
Can a Pressure Washer Remove Paint from Concrete?
Yes, it is possible to strip away coatings from a hard surface using high-pressure cleaning equipment, provided that the right techniques and settings are employed. During my years in the industry, I’ve tackled countless projects where old layers were removed from a variety of surfaces, including pavements and driveways.
Technique and Equipment Choice
To achieve the best results, select a unit with a minimum of 3000 psi. This level of force will help dislodge stubborn residues. Pair this with a narrow nozzle for concentrated pressure, and you’ll maximise your chances of success. I’ve often found that using a fan spray can be less effective for this purpose, as it spreads the water over a larger area, reducing impact pressure.
Preparation and Safety Measures
Before starting, it’s wise to prepare the area. Clear any loose debris and cover nearby plants or surfaces that might be affected by the high-pressure spray. Always wear protective gear, such as goggles and gloves, to safeguard against flying debris and splashes. In some cases, using a chemical stripper beforehand can also aid in loosening the coating. I once combined water blasting with a stripping agent, and the results were remarkable. Just ensure the chemicals are safe for the environment and compatible with the surface.
Remember to test a small section first. This allows you to gauge the effectiveness and adjust settings as needed. Every situation is unique, and sometimes, getting it right involves a bit of trial and error.
With the appropriate approach and equipment, you can achieve a clean and refreshed surface, ready for whatever comes next.
Understanding the Types of Coatings Suitable for Elimination
To effectively tackle coatings on hard surfaces, it’s crucial to identify the type of coating you’re dealing with. Not all substances respond the same way to high-pressure cleaning techniques. Here’s a breakdown of the most common types of coatings and how they can be addressed:
| Type of Coating | Characteristics | Recommended Approach |
|---|---|---|
| Acrylic | Water-based, flexible, and often used for decorative finishes. | High-pressure cleaning can be effective, but may require a specific nozzle for optimal results. |
| Oil-Based | Thicker consistency, durable, and resistant to wear. | May need additional solvents to aid in breaking down before using high-pressure methods. |
| Epoxy | Very tough and chemical-resistant; common in industrial settings. | High-pressure techniques may not be sufficient alone; consider mechanical abrasion. |
| Latex | Quick-drying and easy to apply, often used for home projects. | Typically responds well to high-pressure cleaning with minimal effort. |
| Chalky Paint | Often used for exterior surfaces, can easily deteriorate. | High-pressure cleaning can effectively strip this type of coating without much hassle. |
Before starting any removal process, assess the surface thoroughly. For instance, coatings that are deeply embedded or have multiple layers may require a combination of techniques. Always test on a small area first to gauge the effectiveness without damaging the underlying material. For more intricate cleaning tasks, such as cleaning teak with a pressure washer be careful, understanding the specific requirements is key to achieving the best results.
Choosing the Right Pressure Washer for the Job
For effective surface cleaning, selecting the right equipment is crucial. I’ve tested various models, and certain specifications can significantly impact your results.
Key Specifications to Consider
- Pressure Rating: Look for a unit with a minimum of 3000 PSI for tough tasks. This level ensures sufficient force to tackle stubborn residues.
- Flow Rate: A higher GPM (gallons per minute) aids in rinsing away debris efficiently. Aim for at least 2.5 GPM to maximise cleaning power.
- Nozzle Types: Different nozzles provide varying spray patterns. A 0-degree nozzle delivers a concentrated jet, while a 25-degree nozzle offers a wider spray for larger areas.
Additional Features to Look For
- Adjustable Pressure Control: This allows you to tailor the intensity based on the surface being treated.
- Detergent Injection: A built-in system for applying cleaning solutions can enhance the cleaning process, especially on porous surfaces.
- Portability: Choose a model with wheels and a lightweight design for ease of movement during the task.
In my experience, electric models are quieter and easier to maintain, while gas-powered versions typically deliver more power. Consider your specific needs and frequency of use before making a choice.
Don’t overlook safety features such as automatic shut-off and thermal relief systems. These can prevent damage to the unit and ensure a longer lifespan.
Lastly, always read user reviews and consult with experts if you’re uncertain. Investing time in research pays off in the long run, leading to a successful cleaning experience.
Recommended Pressure Settings for Paint Removal
For optimal results, I suggest starting with a setting between 2000 to 3000 PSI. This range is generally effective for most coatings without causing damage to the substrate beneath. However, adjustments may be necessary based on specific circumstances.
- Light Coatings: If the surface has a thin layer of spray paint or similar, a setting around 1500 to 2000 PSI can suffice. This pressure is adequate for tackling lighter finishes.
- Moderate Coatings: For more robust applications, such as latex or oil-based finishes, increase the PSI to about 2500. This level provides the necessary force to lift stubborn layers without excessive risk.
- Heavy Coatings: In cases of thick, industrial-grade sealants, consider pushing the pressure up to 3000 PSI. Ensure you test a small, inconspicuous area first to avoid any unintended damage.
Distance also plays a crucial role in the outcome. Maintain a distance of 12 to 18 inches from the surface to balance effectiveness and safety. Adjust your stance as needed to find the sweet spot for each type of coating.
Using a wide-angle nozzle (25 or 40 degrees) can help distribute the force evenly, preventing concentrated damage. If you encounter particularly stubborn spots, a more focused nozzle (15 degrees) can be employed for short bursts, keeping in mind to manage the distance carefully.
Always take precautions. Protective gear is a must, as the force can send debris flying, and you want to protect both yourself and your surroundings. Regularly assess the surface throughout the process to ensure you’re achieving the desired outcome without compromising the integrity of the underlying material.
Preparing the Concrete Surface Before Washing
For optimal results, clear the area thoroughly. Remove all debris, such as leaves, dirt, and loose stones, to prevent any obstruction during the cleaning process. A clean surface allows for better access and enhances the efficiency of the cleaning method.
Next, inspect for any cracks or damage on the surface. Repairing these issues before starting is critical. Fill any gaps with a suitable concrete filler to ensure a smooth and even surface. This step not only improves aesthetics but also prevents further damage during the washing process.
Consider applying a degreaser to areas with heavy oil or grease stains. Allow it to sit for the recommended time before rinsing it off. This pre-treatment can drastically enhance the effectiveness of the subsequent cleaning.
Before getting started, it’s wise to dampen the surface lightly. This helps to prevent the cleaning solution from being absorbed too quickly, allowing it to work more effectively on the top layer. Just a quick mist is sufficient; avoid saturating the area.
Lastly, ensure that you gather all necessary tools and equipment beforehand. This includes protective gear like goggles and gloves, as well as any additional cleaning agents you might need. Being prepared saves time and ensures a smoother process.
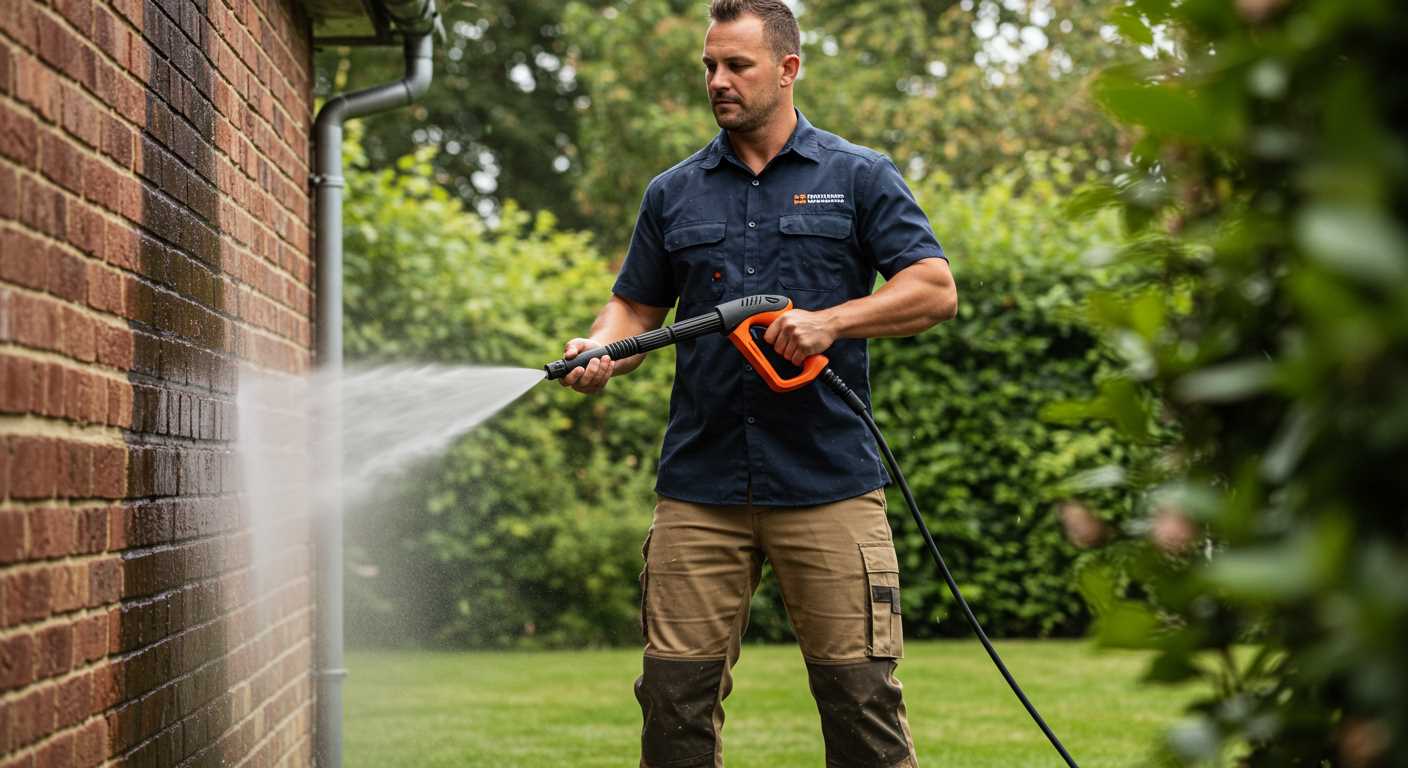
Techniques for Applying the Pressure Washer
Begin with a steady stance. Keeping your feet shoulder-width apart provides stability. Hold the nozzle at a 45-degree angle to the surface you’re treating. This technique helps prevent damage while ensuring an effective cleaning action. Start at a lower pressure setting if you’re unsure. Gradually increase it as needed, allowing you to gauge the impact on the surface without causing harm.
Maintaining Distance
Maintain a distance of around 12 to 18 inches between the nozzle and the surface. This range optimises the force while minimising the risk of etching or gouging. Move the nozzle in a sweeping motion rather than staying in one spot for too long. This method distributes the force evenly and helps avoid concentrated damage.
Working in Sections
Divide the area into manageable sections. This approach allows for thorough treatment and ensures no spots are missed. Start from the top and work your way down, allowing debris and residue to fall away rather than being pushed upwards. For stubborn sections, consider using a circular motion to enhance the effectiveness of the cleaning effort.
Post-Cleaning Treatment for Concrete Surfaces
After tackling the stubborn layers on your surface, applying a sealer is a must. It not only enhances the appearance but also provides protection against future stains and weathering. I’ve had clients who skipped this step, only to regret it when dirt and grime settled in again.
Choosing the Right Sealer
Select a sealer that suits the specific type of surface you’re working with. For porous surfaces, a penetrating sealer works best, as it seeps into the material and offers robust protection. On the other hand, a film-forming sealer creates a protective layer on top, ideal for surfaces needing extra durability. I recall a project where a client opted for a film-forming option, and it transformed the look of their patio while significantly reducing maintenance efforts.
Application Techniques
When applying the sealer, ensure the surface is completely dry. I recommend using a roller for large areas and a brush for corners and edges. Always follow the manufacturer’s guidelines for application rates and drying times. In my experience, applying multiple thin coats yields better results than one thick layer. It’s a simple trick that pays off in longevity and finish quality.
Lastly, allow the sealer to cure fully before exposing the surface to heavy foot traffic or furniture. This patience can extend the life of your treatment significantly. A client of mine once rushed this step and ended up with marks and scratches that were hard to fix later.
Safety Precautions When Using a Pressure Cleaner
Always wear appropriate personal protective equipment (PPE). Safety goggles are a must to shield your eyes from flying debris, while sturdy gloves will protect your hands from high-pressure water and any chemicals used. A good pair of non-slip shoes will ensure you maintain your footing on potentially slippery surfaces.
Inspect Your Equipment
Before starting, check the device for any signs of wear or damage. Pay special attention to hoses and connections, as leaks can cause accidents. Ensure that all safety features, such as the trigger lock and automatic shut-off, are functioning properly. A faulty unit can lead to serious injuries.
Mind Your Surroundings
Clear the area of obstacles and any items that might be damaged by high-velocity water. Keep children and pets at a safe distance. The high-pressure stream can cause injury or knock over objects. Additionally, be aware of your surroundings to prevent accidents, particularly wet or uneven surfaces.
Always direct the nozzle away from yourself and others. The force of the water can be unpredictable, and it’s best to keep your distance. If you’re using any cleaning agents, ensure proper ventilation. Inhalation of fumes can be hazardous. For more safety tips, check out this link.
After completing your task, thoroughly clean the equipment and store it in a safe place. Regular maintenance prolongs the life of the machine and keeps it ready for future jobs.
.jpg)
.jpg)


