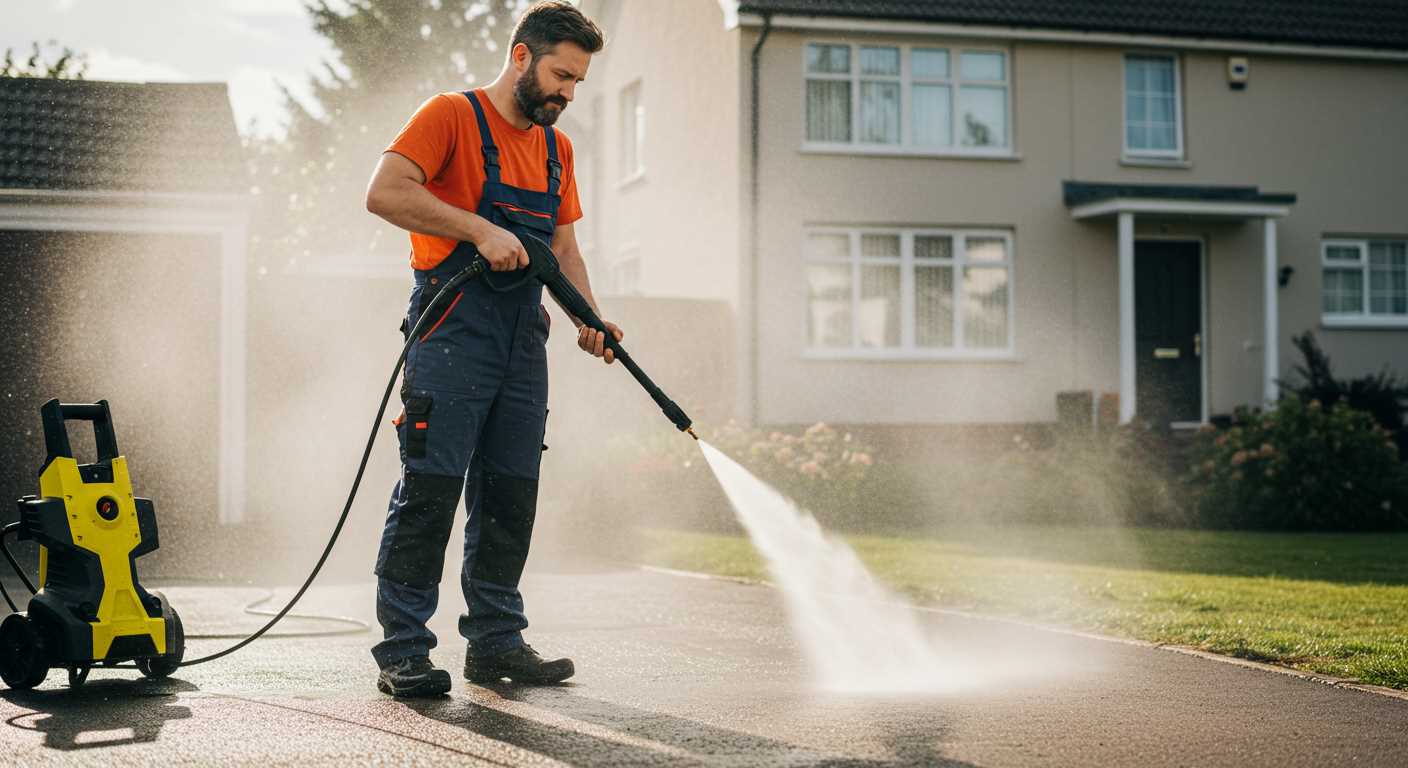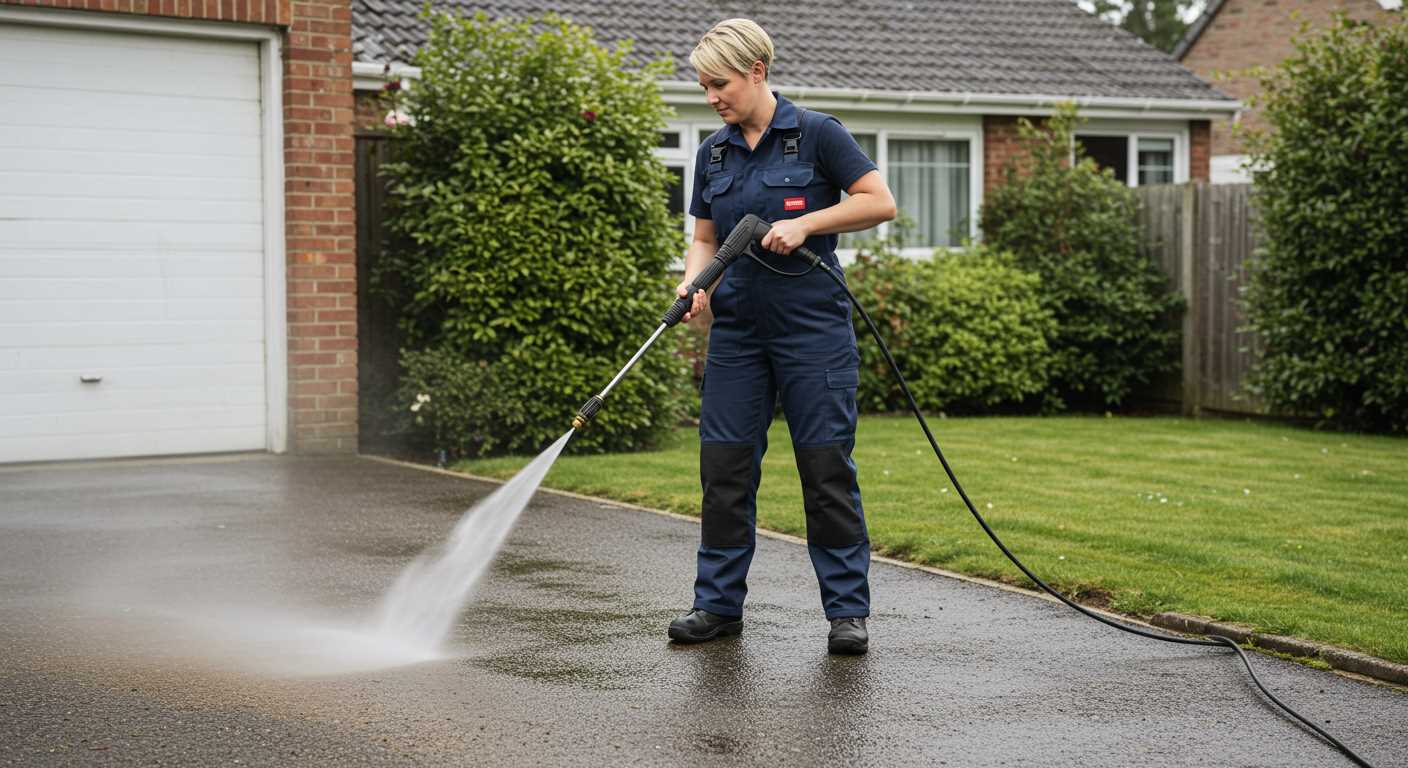


For those who prefer to avoid high-powered equipment, there are practical methods to refresh your driveway’s appearance. A simple mixture of warm water and a mild detergent can work wonders. Apply the solution with a stiff-bristled brush, scrubbing effectively to lift dirt and grime.
In my experience, natural solutions can also be quite effective. A blend of vinegar and water not only eliminates stains but also helps to deter moss and algae growth. This mixture, when sprayed onto the surface and left for a short period, can significantly improve the look of your driveway.
If stubborn stains remain, a paste of baking soda and water can be applied directly to the affected areas. Let it sit for about 15 minutes before scrubbing with a brush. This method is gentle yet powerful, especially for oil or grease marks.
Always remember to rinse thoroughly after cleaning. A garden hose with a spray nozzle can be used to ensure all residues are washed away, leaving your surface looking refreshed and inviting.
Regular maintenance, such as sweeping away debris and periodically treating with these simple mixtures, can prolong the life of your driveway without needing heavy machinery.
Understanding Block Paving Materials and Their Care
Choosing the right cleaning methods depends heavily on the materials involved. Different types of stones and aggregates have unique properties that influence their maintenance.
- Concrete Pavers: These are durable and can withstand various weather conditions. Regular sweeping and occasional scrubbing with a stiff-bristled brush can maintain their appearance. Using a mild detergent mixed with water can help remove stains effectively.
- Clay Pavers: Clay absorbs moisture and can fade over time. It’s advisable to use a solution of vinegar and water for cleaning, which brightens the colour without damaging the surface. Avoid harsh chemicals that may cause discolouration.
- Natural Stone: Travertine, granite, and slate require gentle handling. A mixture of warm water and a few drops of pH-neutral soap works wonders. Always rinse thoroughly to avoid residue that could lead to slipping.
Maintenance practices should consider the type of jointing material as well. Sand-filled joints are susceptible to erosion. Regularly replenishing the sand can prevent weed growth and stabilise the pavers.
- For moss or algae, a solution of baking soda and water can be effective. Apply it directly to the affected areas and let it sit for a few hours before scrubbing.
- For oil stains, sprinkle cornstarch or talcum powder on the stain and let it absorb overnight before sweeping it away. Follow up with a gentle scrub if necessary.
- Sealants may be beneficial for some materials, particularly concrete and clay. Applying a sealant every few years helps to protect against stains and enhances longevity.
Monitoring the conditions around the surface is also vital. Regularly check for any settling or shifting that may require adjustment. Keeping the area free from debris and leaves reduces the risk of staining and deterioration.
Engaging in these practices will not only preserve the aesthetic appeal but also extend the lifespan of your installation. Proper care ensures that your investment remains in top condition, ready to withstand the elements and everyday wear.
Preparing Your Paved Surface for Manual Cleaning
Begin by removing any loose debris, such as leaves, twigs, or dirt, with a broom or a stiff brush. This initial step allows for a more thorough job and prevents larger particles from scratching the surface during scrubbing.
Next, inspect for any weeds or moss that may have taken root in the joints. A mixture of vinegar and water can be effective in eliminating these unwanted plants. Apply the solution directly to the affected areas and allow it to sit for a few minutes before removing the remnants with a scraper.
After clearing the surface, consider applying a suitable cleaning solution. A mild detergent mixed with warm water can work wonders. Test the solution on a small, inconspicuous area first to ensure it does not cause discolouration or damage.
Gather your tools: a stiff-bristled brush, a bucket, and gloves to protect your hands. The brush will be essential for scrubbing away stubborn stains. Dip the brush into the soapy water, and work it into the surface in sections, focusing on heavily stained areas.
Finally, rinse the area thoroughly with clean water to remove any soap residue. A hose with a spray nozzle will suffice for this purpose. Ensure all corners and crevices are rinsed well, as leftover detergent can attract dirt and grime.
Choosing the Right Cleaning Solutions for Block Paving
Opt for a solution that effectively tackles grime and stains while being gentle on your surfaces. A mix of warm water and mild dish soap often does the trick for basic maintenance. For tougher stains, consider a combination of white vinegar and baking soda. This not only lifts dirt but also has natural antibacterial properties.
Acidic and Alkaline Cleaners
For stubborn moss or algae, an acidic cleaner can be beneficial. Look for products containing hydrochloric acid, but always dilute them according to the manufacturer’s instructions. On the flip side, alkaline cleaners are excellent for oil and grease stains. Products featuring sodium hydroxide can break down these tougher residues effectively.
Eco-Friendly Options
Many homeowners prefer biodegradable cleaners to minimise environmental impact. Enzyme-based products are particularly effective against organic stains while being safe for your surroundings. Always read labels to ensure the solution is safe for your specific materials.
After applying any solution, allow it to sit for a few minutes to enhance its effectiveness. Follow up with a stiff-bristled brush to agitate the surface, and rinse thoroughly with clean water. This method provides a thorough clean without the need for high-pressure equipment.
Tools Required for Cleaning Paving Stones Manually
To tackle the task of restoring your surfaces without high-powered equipment, a few essential tools will make a significant difference. First, grab a stiff-bristled broom for sweeping away loose debris. This will prepare the area for a more thorough clean. A plastic or rubber scraper is also handy for removing stubborn dirt and grime that may have settled into the crevices.
Brushes and Scrubbing Equipment

Investing in a range of brushes is wise. A deck brush with a long handle allows you to scrub larger areas with ease. For corners and tight spots, a smaller, handheld brush will do wonders. Pair these with a bucket for mixing your cleaning solution, and you’ll be set for manual scrubbing.
Cleaning Solutions
Homemade cleaning solutions can be remarkably effective. A mixture of warm water and vinegar works wonders for stains, while a solution of warm water and dish soap can help lift grime. If you’re dealing with more stubborn spots, consider a commercial cleaner specifically designed for your surface type. Just remember to check compatibility with your materials, and always test in a small area first. If you ever consider upgrading your tools down the line, a commercial pressure washer pump might be a worthwhile investment.
Step-by-step guide to scrubbing block paving
Begin by gathering your tools: a stiff-bristled brush, a broom, and a bucket. These will be your primary instruments for this task. Ensure your brush is firm enough to tackle tough stains, while still being gentle on the surface.
First, remove any loose debris and dirt. Sweep the area thoroughly with the broom. This initial step is crucial as it prevents any particles from scratching the surface during scrubbing.
Next, prepare your cleaning solution. A mixture of warm water and a suitable detergent works well. For stubborn stains, you might consider adding white vinegar or baking soda. Allow the mixture to sit for a few minutes to enhance its effectiveness.
Once your solution is ready, dip the brush into the mixture and start scrubbing the surface. Work in small sections to ensure an even clean. Apply consistent pressure, focusing more on areas with visible stains or discolouration.
After scrubbing, rinse the area with clean water. A bucket can be used for this, pouring water over the scrubbed sections to wash away any remaining solution and dirt. Be thorough to avoid any residue that could attract more dirt later.
For persistent stains that don’t respond to your initial scrubbing, consider repeating the process or using a stronger cleaner specifically designed for your surface type. Patience is key here, as some marks require extra attention.
Once satisfied with the appearance, allow the area to dry completely. This helps to maintain the integrity of the surface and prevent slippery conditions. If you plan to enhance the longevity of your work, a sealant can be applied after the surface is fully dry.
If you’re ever in need of a quicker option, I recommend checking out the best cordless pressure washers for those tougher jobs!
Using natural methods for stain removal on block paving
For effective stain removal on your outdoor surface, consider utilising simple, natural ingredients. One of my go-to solutions is a mixture of baking soda and vinegar. This combination not only lifts stains but also helps eliminate odours. Start by sprinkling baking soda generously over the affected areas, followed by a light application of white vinegar. Allow it to fizz and sit for 15-20 minutes before scrubbing.
Utilising salt and lemon juice
Another tried-and-true approach involves salt and lemon juice. The acidity of lemon juice works wonders on stubborn spots, while salt acts as a mild abrasive. Mix equal parts of salt and lemon juice to form a paste. Apply it to the stained area, let it sit for about 30 minutes, then scrub with a stiff brush. Rinse thoroughly to reveal a fresher surface.
Harnessing the power of soap and warm water
A simple solution of warm water and natural soap can tackle daily grime and lighter stains. Use a biodegradable dish soap to avoid harming the environment. Mix a few drops with warm water in a bucket, dip a stiff-bristle brush into the solution, and scrub the surface. Rinse with clean water to finish. This method is particularly effective for maintaining a clean appearance over time.
For organic stains like leaves or food, a paste of baking soda and water can be particularly effective. Apply it directly to the stain, let it dry, then brush away the residue. Always remember to test any solution on a small, inconspicuous area first to ensure it does not cause discolouration.
Maintaining Your Paved Surface After Cleaning
To keep your outdoor surface in prime condition post-cleaning, regular maintenance is key. Here are some strategies that I have found effective over the years:
Regular Inspections
- Check for weeds: Inspect joints for any signs of weed growth. If you spot any, remove them promptly to prevent them from spreading.
- Look for damaged stones: Examine the surface for any cracked or loose stones. Addressing these issues early can save you time and effort in the long run.
- Monitor jointing material: Ensure that the sand or jointing compound remains intact. Top up as necessary to maintain stability.
Routine Maintenance Practices
- Brushing: Use a stiff brush regularly to remove dirt and debris. This helps prevent the accumulation of grime.
- Re-sealing: Depending on the material used, consider applying a sealant every few years. This can protect against stains and enhance the colour.
- Watering: Occasionally, give the surface a gentle rinse with water to remove light debris without causing damage.
In my experience, keeping a consistent maintenance schedule not only preserves the aesthetic appeal but also extends the lifespan of your paved area. Remember, prevention is always easier than restoration.
Common mistakes to avoid when cleaning block paving
Rushing through the scrubbing process often leads to uneven results. Take your time to ensure every inch is addressed. Neglecting to pre-soak the surface can also be detrimental; it’s vital to loosen dirt and debris before applying any cleaning solution. I remember the first time I tackled a particularly stubborn area without soaking it first–what a mess that was.
Overusing chemicals is another pitfall. Many believe that a stronger solution guarantees better results, but this can damage the material. I learned this the hard way when a potent cleaner discoloured my own driveway. Always follow the manufacturer’s recommendations for dilution ratios.
Using the wrong tools can create scratches or marks. Opt for soft-bristled brushes instead of metal ones. I’ve seen countless individuals ruin their surfaces with abrasive tools, thinking they were being thorough. Stick to the right materials for optimal care.
Skipping the rinsing phase after scrubbing can leave residues that attract dirt. I recall a project where I didn’t rinse well enough, and within days, the area looked worse than before. Ensure to wash away any cleaning agents completely.
An often overlooked step is not re-sanding joints after cleaning. This is crucial for maintaining stability. During my early days, I used to forget this, only to find that weeds quickly returned, ruining my hard work.
Lastly, avoid cleaning during extreme weather conditions. Hot sun can dry solutions too quickly, while rain can wash away your efforts before they set in. I’ve had my fair share of frustrations trying to clean on a scorching day, only to see everything dry up and leave streaks.
| Mistake | Consequence | Solution |
|---|---|---|
| Rushing through scrubbing | Uneven results | Take your time and cover every inch |
| Neglecting pre-soaking | Dirt remains stubborn | Always soak the surface before cleaning |
| Overusing chemicals | Potential damage or discolouration | Follow dilution guidelines |
| Using wrong tools | Scratches or marks | Choose soft-bristled brushes |
| Skipping rinsing | Residues attract dirt | Rinse thoroughly after scrubbing |
| Not re-sanding joints | Weed regrowth | Re-sand after cleaning |
| Cleaning in extreme weather | Poor results | Choose moderate weather for cleaning |


.jpg)
.jpg)


