
.jpg)


.jpg "Can clean washer bottle car with pressure washer")
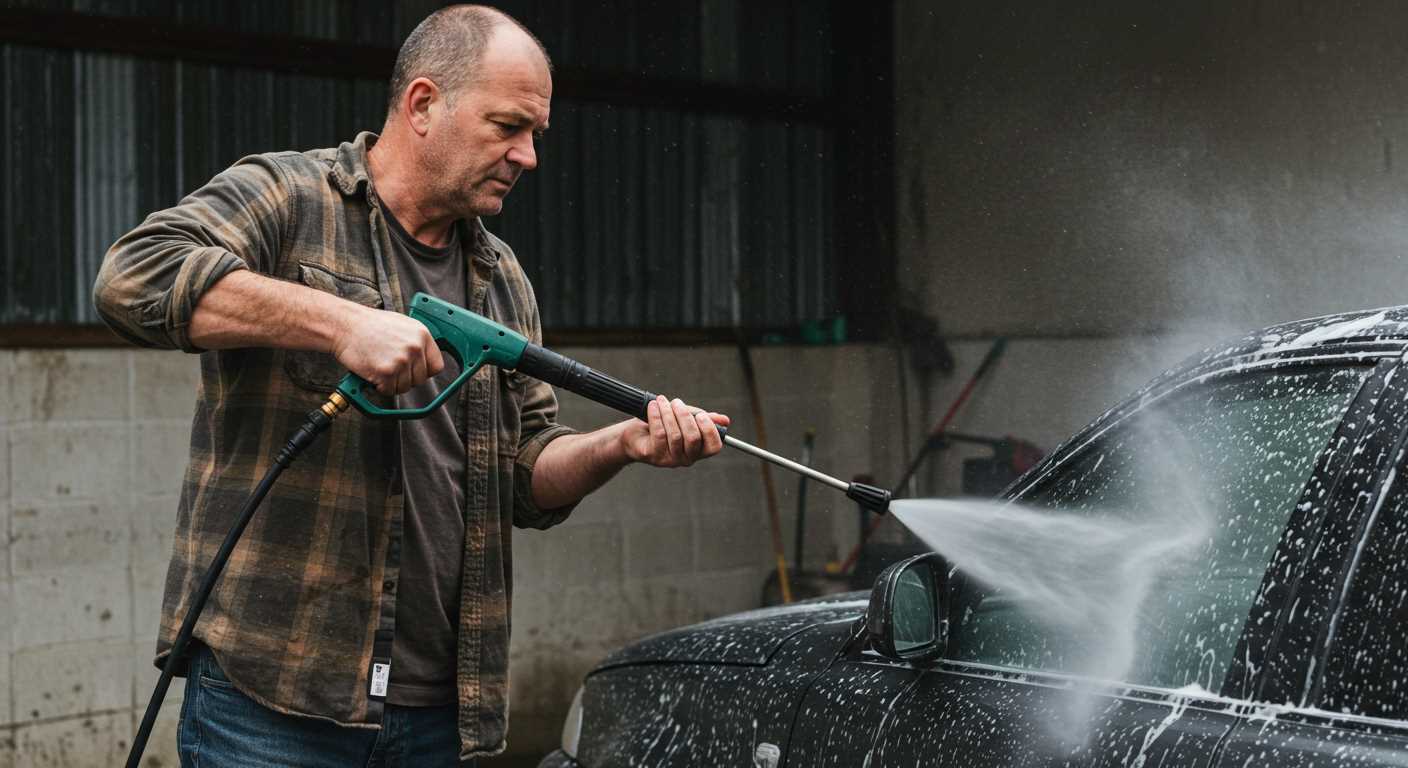
Using a high-powered cleaning unit to address the interior of your windscreen fluid container yields excellent results. I’ve personally tackled this task numerous times and found that a targeted approach maximises efficiency while minimising the risk of damage.
Begin by ensuring the equipment is set to a low pressure setting. This prevents any potential harm to the reservoir material. Direct the nozzle towards the interior surfaces, maintaining a safe distance to avoid splashing debris. I often use a spray attachment to increase coverage, allowing water to reach all corners of the tank.

In my experience, incorporating a mild cleaning solution enhances the outcome. A simple mix of water and a gentle detergent works wonders. After soaking for a few minutes, the combination of pressure and solution will dislodge stubborn grime. Rinse thoroughly to eliminate any residue from the cleaning agent.
Finishing touches involve inspecting the reservoir for any remaining deposits. If necessary, a soft brush can be used to reach areas that might require a bit more attention. This method not only ensures cleanliness but also promotes the longevity of the container.
Best Practices for Maintaining Your Vehicle’s Fluid Reservoir
Using a high-powered cleaning device to refresh the fluid reservoir of your vehicle is highly effective. Here’s how to do it safely and efficiently:
- First, ensure the vehicle is parked on a flat surface and the engine is cool. This prevents any accidental damage or injury.
- Identify the access point of the fluid reservoir. Most vehicles have a cap located near the windshield area. Removing this cap allows easier access for cleaning.
- Utilise a short handle pressure washer gun for better control. This tool helps you direct the water precisely, preventing wastage and ensuring thorough rinsing.
- Adjust the nozzle to a fan spray setting. This prevents concentrated jets from damaging the reservoir or associated components.
- Begin rinsing from a distance of about 2-3 feet, gradually moving closer if necessary. Keep the spray moving to avoid focusing on one spot for too long.
- After rinsing, inspect the reservoir for any remaining debris or buildup. If needed, a soft brush can help dislodge stubborn dirt.
- Once finished, replace the cap securely to avoid contamination. Ensure all tools are cleaned and stored properly.
In my years of experience, I’ve seen many individuals overlook this maintenance task. A clean reservoir not only optimises visibility but also prolongs the life of the vehicle’s systems. If you encounter stubborn residues, consider using a gentle cleaning solution before rinsing.
Additionally, while working on the vehicle, it’s wise to capture the process. Using a digital camera or digicam allows you to document any issues or improvements, helping you keep track of maintenance routines over time.
Regular attention to these details can make a significant difference in your vehicle’s performance and safety on the road.
Understanding the Function of a Washer Bottle
The primary role of this component is to hold a specialised fluid used for maintaining visibility while driving. It enables the removal of dirt, grime, and other contaminants from the windshield. This is crucial for safe driving, especially in adverse weather conditions.
Typically, the reservoir is connected to a system of pipes and nozzles that spray the liquid onto the glass surface. This action plays a significant part in ensuring that the driver has a clear view of the road. It’s fascinating how a simple mechanism can profoundly affect driving safety.
Regular maintenance of this unit significantly influences its performance. A clean reservoir prevents blockages and ensures that the fluid can be dispensed effectively. I have often encountered issues stemming from neglected reservoirs, leading to poor visibility and increased frustration for drivers.
To prevent issues, I recommend checking the fluid level frequently. If the liquid appears dirty or contaminated, it’s wise to replace it. I’ve seen many individuals overlook this aspect, only to experience reduced effectiveness of their system when they needed it the most.
| Aspect | Importance |
|---|---|
| Fluid Quality | Ensures clear vision and effective cleaning action |
| Reservoir Cleanliness | Prevents clogs and maintains optimal function |
| Regular Checks | Identifies potential issues before they escalate |
In my experience, understanding how this unit operates and maintaining it properly can save significant hassle and ensure that visibility remains uncompromised. It’s a small investment of time that pays off in safety on the road.
Advantages of Using a High-Pressure Cleaning Device for Maintenance
Using a high-pressure cleaning device offers remarkable benefits for maintaining automotive equipment. Firstly, the forceful jet of water can dislodge stubborn grime and debris that standard methods might miss. I recall a time when I was tasked with restoring an old vehicle; the nozzle’s concentrated spray revealed hidden dirt that had accumulated over years of use.
Another significant advantage is the speed of the process. What once took hours of manual scrubbing can now be accomplished in a fraction of the time. I remember finishing a complete cleaning session in under thirty minutes, allowing me to focus on other maintenance tasks without sacrificing thoroughness.
Additionally, this method is environmentally friendly. By utilising high-pressure technology, I managed to reduce the need for harsh chemicals. In one instance, I was able to achieve a spotless finish using just water, which not only saved costs but also aligned with my commitment to sustainability.
Moreover, the versatility of these devices is impressive. From loosening mud on the undercarriage to reaching tight spaces, I’ve found them invaluable in tackling various challenges. A memorable experience involved clearing out dirt from intricate engine components, which I once thought would require disassembly.
Finally, the satisfaction of seeing immediate results cannot be overstated. The transformation from a neglected finish to a gleaming surface is incredibly rewarding. After using the device, I often step back, admiring the outcome and knowing that the effort invested was well worth it.
Potential Risks of Pressure Washing a Washer Bottle
Using high-pressure cleaning equipment on a vehicle’s fluid reservoir can lead to serious issues. One major concern is the potential for damaging seals and connections. The intense force of the spray can dislodge or compromise these components, resulting in leaks or loss of functionality. I’ve seen firsthand how a seemingly harmless wash can turn into a costly repair job.
Damage to Components
Another risk involves the buildup of debris and residue inside the tank. High-pressure streams may not adequately remove these unwanted materials and could, instead, push them deeper into the system, causing blockages. I recall a case where a friend used a high-pressure cleaner, thinking he was doing a thorough job. Instead, he ended up with a clogged system that required extensive disassembly to fix.
Water Ingress
Excessive water force can also lead to ingress into areas not designed to handle moisture. This could cause electronic components to malfunction or corrode over time. I once encountered a vehicle where the owner had used a powerful cleaner, and the resulting water damage was extensive. It became a reminder of the importance of knowing the limits of cleaning equipment and being mindful of where that water might go.
Recommended Pressure Settings for Safe Cleaning
For optimal results while avoiding damage, I suggest using a setting between 1200 and 1500 PSI. This range provides sufficient force to remove dirt and grime without risking harm to delicate components.
Adjusting Nozzle Type
A 25-degree or 40-degree nozzle is ideal for achieving a gentle spray pattern. The wider angle helps distribute water pressure, reducing the risk of causing cracks or dislodging parts. I remember using a 15-degree nozzle once, which proved too harsh on a sensitive surface, resulting in a frustrating repair job.
Distance Matters
Maintain a distance of at least 12 to 18 inches from the surface being treated. Keeping the nozzle too close increases the risk of damage, as I learned during a cleaning session where I underestimated the power of the spray. A safe distance ensures effective cleaning without unintended consequences.
Step-by-Step Guide to Cleaning the Washer Bottle
Begin by ensuring the vehicle is parked on a level surface, and the engine is completely cool. This prevents any risk of burns or accidents during the process.
- Gather Your Supplies: You’ll need a suitable cleaner, a soft brush or cloth, a bucket, and a hose. If you prefer a more thorough approach, a high-pressure cleaning device can be used, but ensure it is set to a safe level.
- Remove the Reservoir: Depending on your vehicle model, you may need to detach the fluid tank. Refer to the manual for specific instructions on accessing it.
- Drain the Fluid: Completely empty any remaining liquid from the reservoir. This can usually be done by simply tipping it over or using a pump.
- Inspect for Residue: Look for any signs of mould, grime, or built-up deposits inside the container. This will guide your cleaning approach.
- Prepare the Cleaning Solution: Mix a mild detergent with warm water in a bucket. Avoid harsh chemicals that could damage the material.
- Scrub the Interior: Use a soft brush or cloth to scrub the inside of the tank. Pay special attention to corners and crevices where dirt tends to accumulate.
- Rinse Thoroughly: Use clean water to rinse the tank multiple times. Ensure no soap residue remains, as it can affect the performance of the fluid used later.
- Dry the Tank: Allow the reservoir to air dry completely. This step is crucial to prevent moisture from causing future issues.
- Reattach the Reservoir: Once dry, carefully position it back into place, ensuring a snug fit to avoid leaks.
- Refill with Fresh Fluid: Use a quality windshield cleaning solution to refill. This will ensure optimal visibility while driving.
Regular maintenance will not only prolong the life of the system but also enhance your driving experience. Don’t overlook this simple yet effective task!
Best Cleaning Solutions to Use with a Pressure Washer
For optimal results, I recommend using biodegradable detergents specifically formulated for high-pressure equipment. These solutions break down grime effectively without harming the environment or your vehicle’s surfaces. Look for products that are safe for various materials, including plastic and glass.
When I first experimented with different cleaners, I found that a foaming agent worked wonders. It clings to surfaces, allowing for longer dwell time, which enhances the cleaning process. Opt for a product that can be diluted, as it helps in adjusting the concentration based on the level of dirt.

Enzymatic cleaners are another excellent choice. They utilise natural enzymes to break down organic matter, making them ideal for tackling stubborn stains or residues. I often use these in combination with a gentle rinse to ensure thorough removal.
Another tip from my experience: avoid chlorine-based products. They can cause damage to seals and plastics over time, leading to costly repairs. Instead, consider oxygen bleach, which is safer and equally effective for most cleaning tasks.
Lastly, always test any solution on a small, inconspicuous area before full application. This simple step can save you from potential mishaps and ensures compatibility with your surfaces.
Signs Your Washer Bottle Needs Cleaning
Identifying when your reservoir requires attention is straightforward. Look for these signs:
- Reduced Fluid Flow: If the spray is weak or inconsistent, debris might be obstructing the nozzle or the internal components.
- Cloudy or Discoloured Liquid: A change in appearance indicates contamination. This may stem from stagnant water, which can also promote the growth of algae.
- Unpleasant Odour: A foul smell emanating from the reservoir suggests bacterial growth or decaying matter, signalling a need for cleaning.
- Frequent Clogs: If you find yourself clearing blockages often, it’s a clear sign the internal parts require a thorough wash.
- Streaks on Windshield: If fluid fails to clean properly, it may be time to check for impurities affecting performance.
What to Do Next
Once you notice these indicators, take immediate action. Ignoring them may lead to larger issues, such as damage to the system or poor visibility while driving. Regular maintenance helps prevent these problems, ensuring optimal operation.
Always prioritise safety and use appropriate methods to restore functionality. A well-maintained system enhances your driving experience and contributes to overall vehicle longevity.
Alternative Methods for Cleaning the Washer Bottle
For those looking to maintain vehicle fluid reservoirs without resorting to high-pressure cleaning, several effective strategies exist. One of my preferred techniques involves using a vinegar and water solution. Mix equal parts of both, pour it into the reservoir, and let it sit for about 30 minutes. The acidity of the vinegar breaks down grime and residues, making it easier to rinse out.
An alternative is baking soda paste. Combine baking soda with a small amount of water to create a thick paste. Apply this to stubborn spots inside the tank, allowing it to sit for around 15-20 minutes before scrubbing gently with a soft brush. Rinse thoroughly afterward.

If you’re dealing with particularly stubborn deposits, consider using a dedicated automotive cleaning solution. Many products on the market target fluid reservoirs specifically. Follow the manufacturer’s instructions for best results. Always ensure that any cleaner used is compatible with the materials of the reservoir.
When performing maintenance manually, take advantage of a long, flexible brush. This tool can reach areas that are difficult to access otherwise. Ensure that your brush is soft enough to avoid scratching the interior surfaces.
| Method | Materials Needed | Time Required |
|---|---|---|
| Vinegar Solution | Vinegar, water | 30 minutes |
| Baking Soda Paste | Baking soda, water, soft brush | 35 minutes |
| Dedicated Cleaner | Automotive cleaner, water | Varies by product |
| Flexible Brush Use | Soft brush, water | 10-15 minutes |
For regular upkeep, I recommend checking the reservoir every few months. This proactive approach can prevent buildup and ensure that everything operates smoothly. Remember, consistency is key in automotive maintenance.
Maintaining a Clean Washer Bottle Long-Term
Regular upkeep starts with preventive measures. I recommend inspecting the reservoir monthly to identify any build-up or residue. Using distilled water instead of tap water can significantly reduce mineral deposits, which often contribute to clogs and poor visibility while driving.
Routine Checks and Maintenance
During routine maintenance, check the connections and hoses for any signs of wear or leaks. A simple visual inspection can save you from larger issues down the line. If you notice any debris, gently flush the system with clean water to prevent blockages. This straightforward approach keeps everything flowing smoothly.
Choosing the Right Cleaning Agents
Opt for gentle, biodegradable solutions specifically formulated for cleaning reservoirs. Avoid harsh chemicals that could damage the components. A mixture of vinegar and water is a safe option that I’ve used effectively. Just remember to rinse thoroughly afterward to ensure no residue remains, as it can affect the performance of the system.
FAQ:
Is it safe to clean my car’s washer bottle with a pressure washer?
Yes, you can clean your car’s washer bottle with a pressure washer, but caution is necessary. Use a moderate pressure setting to avoid damaging the bottle or any connected components. Make sure to keep the nozzle at a safe distance to prevent any forceful water entry that could harm the electrical systems.
What are the steps to safely clean my washer bottle using a pressure washer?
To clean your washer bottle with a pressure washer, first, disconnect the bottle from the vehicle if possible. This allows for better access and reduces the risk of damage. Rinse the outside with water first, then use the pressure washer to clean the inside. Ensure the nozzle is at least 12 inches away and use a wide spray pattern to evenly distribute the water. After cleaning, reconnect the bottle and refill it with washer fluid.
Can using a pressure washer damage the washer bottle or its components?
Yes, there is a risk of damage if the pressure is too high or if the nozzle is too close. The high pressure can crack or break the plastic, and forceful water may disrupt seals or connections. It is advisable to start with a low pressure and gradually increase it while monitoring for any signs of damage.
How often should I clean my car’s washer bottle?
It is generally recommended to clean your washer bottle at least once a year, or more frequently if you notice it becoming dirty or clogged. Regular cleaning ensures that the washer fluid remains effective and helps prevent blockages that can hinder performance.
What should I do if my washer bottle is still dirty after using a pressure washer?
If your washer bottle remains dirty after using a pressure washer, consider using a cleaning solution designed for automotive use. Pour the solution into the bottle, let it sit for a while, and then rinse thoroughly with water. If the problem persists, you may need to remove the bottle for a more thorough cleaning or replacement.
Is it safe to clean the washer bottle of my car using a pressure washer?
Using a pressure washer to clean the washer bottle can be risky. While the high-pressure water can effectively remove dirt and grime, it may also damage the bottle or dislodge components. It’s advisable to check the manufacturer’s recommendations first. If you decide to use a pressure washer, maintain a safe distance and use a lower pressure setting to avoid any potential damage.
What are the best methods to clean a car’s washer bottle if I shouldn’t use a pressure washer?
If a pressure washer isn’t suitable for cleaning your car’s washer bottle, there are several alternative methods. You can use a mixture of warm water and vinegar or a dedicated washer fluid cleaner. First, remove the bottle from the vehicle if possible. Rinse it out with warm water, then add your cleaning solution and shake gently. Rinse thoroughly with clean water to ensure no residue remains. This method is gentle yet effective, helping to maintain the integrity of the washer bottle while ensuring it is clean.

.jpg)


