
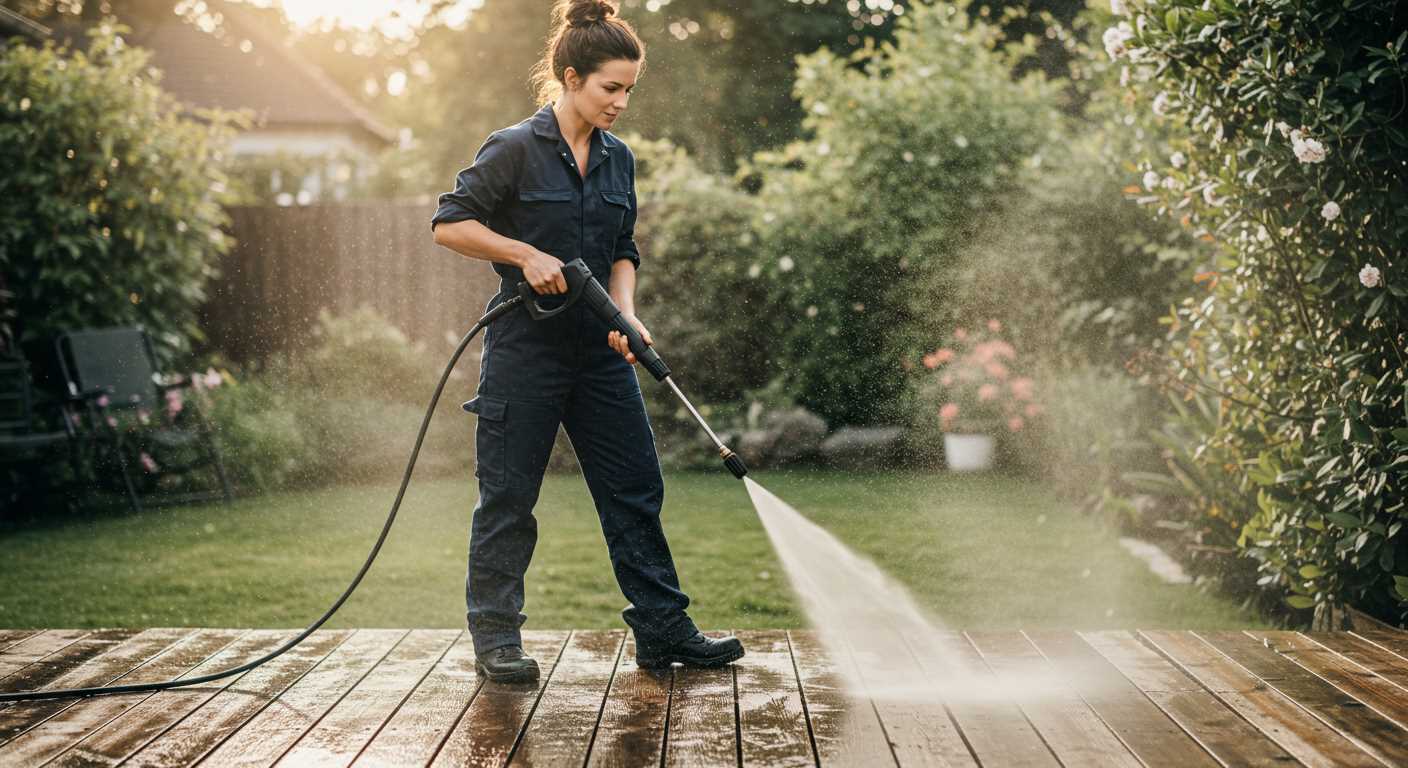


Absolutely, tackling grime on paved surfaces with a high-pressure cleaning unit can yield impressive results. I recall a day when I tackled my own driveway, which had accumulated years of dirt and oil stains. The transformation was astonishing; the surface looked as if it had just been laid. The key here is to choose the right nozzle and pressure setting to avoid any damage while ensuring optimal cleanliness.
In my experience, using a wide-angle nozzle is ideal for large areas, as it disperses water over a broader surface, preventing concentrated force that could harm the pavement. I always recommend starting with a lower pressure setting to test the waters. It’s a simple way to gauge how the surface reacts without risking any harm.

Another tip I learned over the years involves pre-treating stubborn stains with a suitable cleaning solution. Allowing it to sit for a few minutes before rinsing can significantly enhance the effectiveness of the cleaning process. Just remember to rinse thoroughly afterwards; any residue left behind can lead to slippery surfaces.
Lastly, always be mindful of your surroundings. Directing the spray away from windows and delicate plants will save you from potential mishaps. With the right approach, cleaning paved surfaces can be a straightforward task that rejuvenates your outdoor space.
Using a High-Pressure Cleaner on Tarmac Surfaces
Absolutely, employing a high-pressure cleaner on asphalt or concrete surfaces is feasible and can yield impressive results. However, specific guidelines must be followed to prevent damage and ensure safety.
Key Recommendations
- Adjust the nozzle to a wide spray pattern to avoid chipping the surface.
- Maintain a distance of at least 12 inches from the surface to mitigate the risk of causing divots.
- Begin with a lower setting and gradually increase pressure as needed.
Potential Risks
- Over time, excessive force may erode the surface, leading to cracks.
- Directly targeting oil stains may require additional cleaning solutions for effective removal.
- Avoid using on newly laid asphalt, as it requires time to cure properly.
In my experience, tackling oil stains with a mixture of hot water and a suitable detergent enhances outcome significantly. It’s always wise to test any cleaning solution in a small, inconspicuous area first. This way, you can observe how the surface reacts without risking damage.
For larger areas, consider dividing the task into sections. This approach allows for better control and thoroughness, ensuring no spots are missed. Always wear protective gear to shield against debris and chemicals during the process.
Understanding the Impact of Pressure Washing on Asphalt
When tackling the cleaning of asphalt surfaces, caution is key. I’ve seen many enthusiasts jump straight into using high-powered equipment without considering the potential damage. It’s crucial to understand how aggressive cleaning can affect the integrity of asphalt.
Effects on Asphalt Structure
Asphalt is a composite material, and its structure can be compromised by excessive force. High-velocity streams can erode the surface, leading to stripping of the top layer and revealing the underlying aggregate. This can cause premature wear and reduce the lifespan of the pavement.
Recommended Techniques
To maintain the quality of asphalt while cleaning, opt for lower pressure settings. A range of 1,500 to 2,000 PSI is typically safe for most surfaces. Use a wider nozzle to disperse the force evenly. This approach minimises the risk of damage while still providing adequate cleaning.
| Pressure (PSI) | Effect on Asphalt | Recommended Nozzle |
|---|---|---|
| Below 1,500 | Very safe, minimal risk of damage | 25° or wider |
| 1,500 – 2,000 | Safe for most surfaces, moderate cleaning | 15° to 25° |
| 2,000 – 3,000 | Risk of surface damage, use with caution | 15° |
| Above 3,000 | High risk of erosion and structural damage | Not recommended |
In my experience, it’s also helpful to keep the nozzle at a safe distance (around 12 to 18 inches) from the surface. This further reduces the potential for harm while allowing effective cleaning of oil stains and debris. Always test a small area first to gauge the response of the asphalt before proceeding with extensive cleaning.
Choosing the Right Pressure Washer for Road Cleaning
For optimal results while tackling surface grime, selecting the right cleaning machine is paramount. Based on my experience, machines with a minimum pressure rating of 3000 PSI are ideal for asphalt and concrete surfaces. This level of pressure effectively removes stubborn stains such as oil and dirt without damaging the material.
Types to Consider
Two primary types stand out: electric and petrol-powered models. Electric units are quieter and suitable for light cleaning tasks, making them ideal for residential areas. However, if tackling larger or heavily soiled surfaces, a petrol model is preferable. These machines typically offer higher pressure and flow rates, allowing for more thorough cleaning in less time.
Key Features
Look for units with adjustable pressure settings. This feature is invaluable for adapting the intensity based on the type of surface and the nature of the grime. Additionally, consider those with interchangeable nozzles. Different nozzle angles can significantly impact cleaning efficiency. A wider angle is great for rinsing, while a narrow focus helps remove stubborn spots.
Lastly, check the weight and portability of the equipment. A lightweight model with wheels can ease manoeuvrability, reducing fatigue during prolonged cleaning sessions. Investing time in choosing the right machine will ensure a successful cleaning experience, leaving the surface looking pristine.
Recommended Pressure Settings for Different Road Surfaces
For optimal cleaning results, adjusting the pressure settings according to the surface type is crucial. Here’s a breakdown based on my extensive experience in the field:
| Surface Type | Recommended Pressure (PSI) | Comments |
|---|---|---|
| Asphalt | 1500 – 2000 | Gentle enough to prevent damage while effectively removing dirt and grime. |
| Concrete | 2500 – 3000 | Higher settings are suitable for tough stains like oil and grime. |
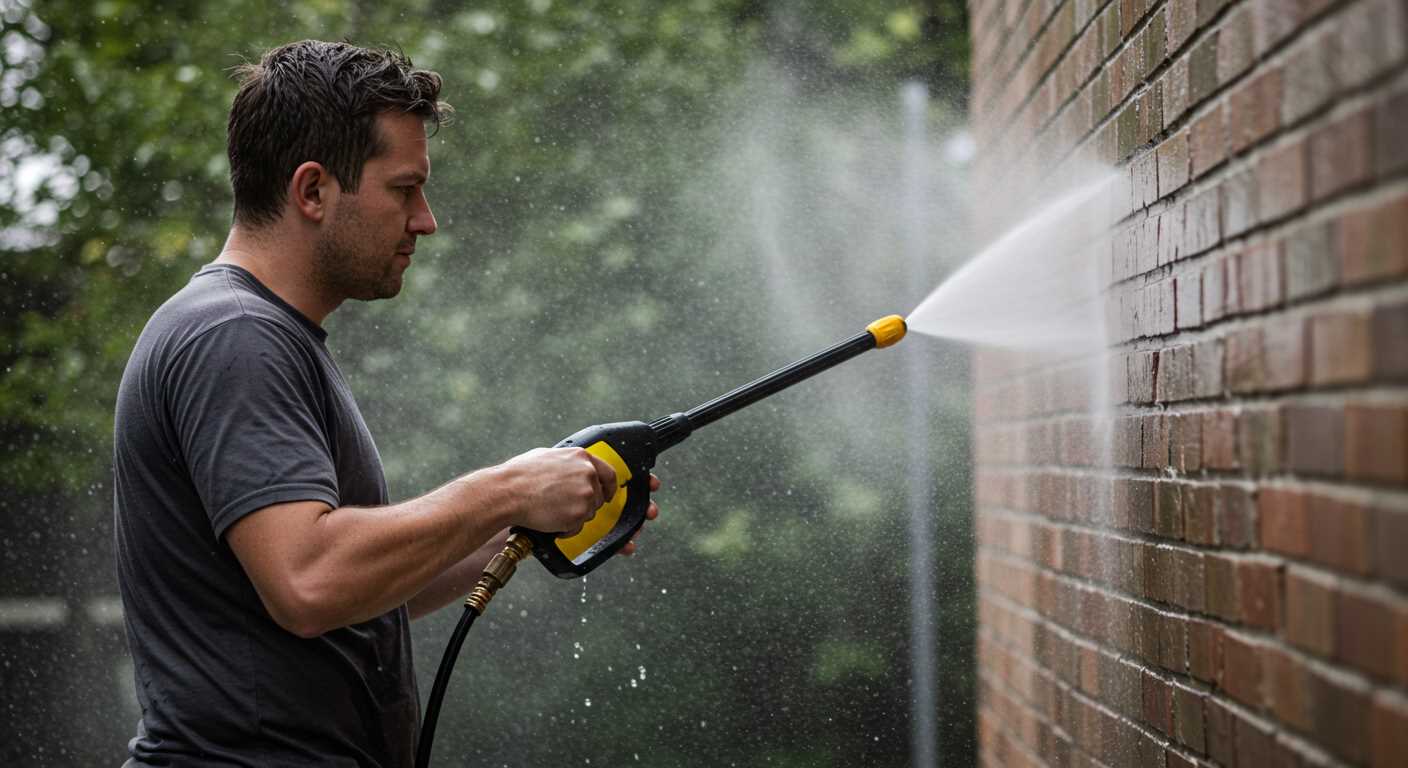
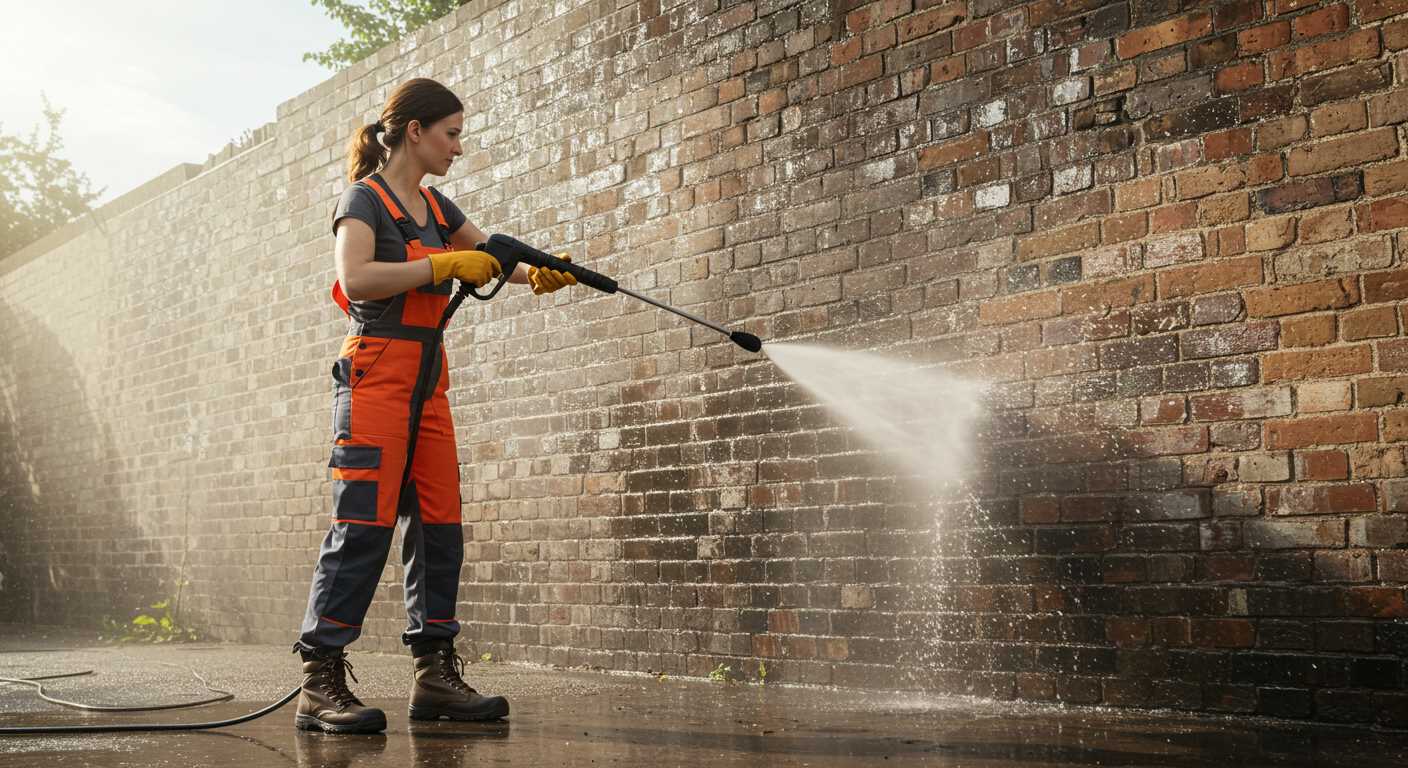
| Brick Paving | 2000 – 2500 | Avoid excessive pressure to protect the joints between bricks. |
| Stone | 1500 – 2500 | Depends on the stone type; softer stones require lower pressure. |
| Wooden Surfaces | 1200 – 1500 | Low pressure needed to prevent splintering and damage. |
Always start with the lowest setting and gradually increase if necessary. This avoids unintentional harm to surfaces while ensuring thorough cleaning. In my early days, I learned this the hard way on a historic brick path–too much pressure led to chipped edges that took a lot of effort to fix. Take your time to assess the condition of the surface before diving into the cleaning process.
Additionally, keeping the nozzle at a consistent distance–typically around 12 to 24 inches–helps maintain control over the cleaning action. This distance is especially critical on more delicate surfaces like asphalt and wood. Remember, cleanliness doesn’t equate with high pressure; it’s about the right balance.
Identifying Suitable Detergents for Road Cleaning
Choosing the right cleaning agents can significantly enhance results when tackling tough grime on surfaces. My experience has shown that not all detergents are created equal, especially for outdoor applications. Here are key factors to consider:
- pH Level: Opt for neutral or slightly alkaline products. Acidic solutions can damage asphalt and concrete.
- Biodegradability: Select environmentally friendly detergents that break down naturally. This choice helps avoid harm to surrounding vegetation and wildlife.
- Stain Specificity: Identify stains before selecting a detergent. For oil or grease, look for degreasers specifically formulated to tackle these substances.
- Concentration: Highly concentrated detergents may require dilution. Always follow the manufacturer’s guidelines to avoid damage.
- Compatibility: Ensure the cleaning agent is compatible with the equipment being employed. Some formulations may cause wear on seals and hoses.
During one project, I experimented with a biodegradable degreaser designed for use in a variety of outdoor settings. The results were impressive, cutting through grease without leaving any harmful residue. This experience reinforced the importance of selecting appropriate products.
Be mindful of local regulations regarding chemical use. Some areas have strict guidelines to protect the environment, and non-compliance can lead to fines or clean-up costs. Always check local regulations before proceeding.
For maintenance tasks that don’t require heavy-duty cleaning solutions, consider using natural alternatives. For example, a mixture of vinegar and baking soda can effectively lift light stains without harmful side effects.
For those interested in maintaining aquatics, understanding how to clean an aquarium filter without harming beneficial bacteria can be equally important. You can learn more about this by visiting how to clean aquarium filter without killing bacteria.
In conclusion, selecting the right detergent involves careful consideration of the surface material, the type of stains present, and environmental impacts. By making informed choices, the cleaning process will be more efficient and effective.
Safety Precautions When Using a Pressure Cleaner on Roads
Before tackling any cleaning task, ensure you’re wearing appropriate safety gear. This includes goggles to protect your eyes from debris and high-pressure water, gloves to safeguard your hands, and sturdy footwear to prevent slips. I’ve seen accidents occur simply because someone was wearing flip-flops while cleaning; don’t let that be you.
Assessing Surroundings
Always examine the area first. Look for loose gravel, cracks, or uneven surfaces that could become hazardous when wet. I once overlooked a small pothole, and it resulted in a nasty fall when water made it slippery. Clear any obstacles, such as debris or furniture, to create a safe working environment.
Water Management
Pay attention to water runoff. Directing water towards storm drains can be problematic, as it can carry contaminants into the drainage system. I recommend using a squeegee or a broom to guide water away from sensitive areas. Additionally, consider the environmental impact; using biodegradable detergents can make a significant difference.
When selecting equipment, ensure it’s rated for outdoor use and appropriate for the task. Not all machines are designed for heavy-duty outdoor applications. If looking for something specific, check out this pressure washer for wooden patio cleaning. It’s crucial to avoid damaging the asphalt or concrete surfaces with excessive pressure.
Taking these steps will not only ensure your safety but also enhance the effectiveness of the cleaning process. Happy washing!
Common Mistakes to Avoid When Cleaning Roads
One prevalent error is neglecting to assess the surface condition prior to starting. Always inspect for cracks or loose materials. If the asphalt is compromised, high-velocity streams might exacerbate the damage.
Another frequent blunder involves selecting inappropriate nozzles. A narrow jet can cause surface erosion, while a wide spray may not remove stubborn grime effectively. Opt for a nozzle that balances power and coverage.
Many overlook the importance of pre-treating stains. Applying a suitable cleaner beforehand can significantly enhance the cleaning process. This step often saves time and reduces the effort required later.
Timing is also critical. Engaging in cleaning during peak hours can lead to safety hazards. It’s advisable to choose off-peak times, ensuring minimal traffic interference and enhancing safety for everyone involved.
A common misconception is that higher settings equate to better results. This isn’t true. Excessive pressure can damage surfaces, so finding the optimal setting for the specific material is crucial.
Not wearing appropriate safety gear is another mistake. Protective eyewear and clothing are essential, as debris may be propelled during the cleaning process. Always prioritise personal safety.
Finally, failing to maintain equipment leads to inefficiencies. Regular checks and maintenance ensure everything operates smoothly and prolongs the lifespan of your tools. Keep your gear in top shape for the best results.
How to Prepare the Road Surface Before Pressure Washing
Clear the area of any debris, such as leaves, stones, or loose gravel. A clean surface ensures that the cleaning solution can penetrate effectively and the equipment can operate without obstruction. I remember a job where I skipped this step, thinking it wouldn’t matter. The results were far from satisfactory, and I had to redo the work.
Assessing the Surface Condition
Examine the pavement for cracks or damage. If there are significant issues, consider repairing these areas first. High-intensity cleaning can exacerbate existing problems, leading to further deterioration. I learned this the hard way on a project where I neglected to inspect the surface properly, resulting in extensive repair costs after the washing.
Choosing the Right Time
Select a dry day for this task. Moisture can hinder the cleaning process and make it less effective. I’ve found that working in the early morning or late afternoon provides the best conditions, as the sun isn’t too harsh, allowing for a more manageable experience. Scheduling cleaning during peak traffic times can also lead to unnecessary complications, so aim for off-peak hours.
Post-Cleaning Maintenance Tips for Roads
After tackling the grime and dirt on asphalt surfaces, certain steps ensure longevity and cleanliness. Here are my recommendations based on years of experience in the field.
- Inspect for Damage: Once the surface is clean, examine it for cracks or potholes. Early identification of issues prevents larger repair needs later.
- Sealant Application: Consider applying a sealant to protect the surface from weathering and oil stains. This not only extends the life of the asphalt but also enhances its appearance.
- Regular Sweeping: Keep the area free from debris. Regular sweeping prevents dirt accumulation, which can lead to staining and deterioration over time.
- Monitor Drainage: Ensure that drainage systems are functioning properly. Blocked drains can lead to water pooling, causing damage to the surface.
- Schedule Routine Cleanings: Establish a cleaning schedule based on traffic and environmental factors. Consistent maintenance reduces the need for extensive cleaning sessions.
- Educate Users: Inform users about avoiding the use of harsh chemicals that might harm the surface. Knowledgeable drivers can contribute to better preservation.
Implementing these practices not only preserves the aesthetics of the surface but also maintains safety for all users. Regular attention and maintenance create a welcoming environment while minimising future repair costs.
When to Consult Professionals for Road Cleaning
In certain situations, seeking expert assistance for cleaning surfaces is the best option. If you encounter stubborn stains, oil spills, or ingrained dirt that doesn’t budge with basic equipment, professionals possess advanced tools and techniques to restore the surface effectively.
For large-scale projects, such as municipal or commercial cleaning, hiring specialists ensures compliance with local regulations and safety standards. Their experience with high-traffic areas minimises disruption and optimises results.
If the surface is in poor condition, with cracks or structural issues, it’s wise to consult qualified contractors. They can assess the integrity of the material before any cleaning occurs, preventing further damage.
After significant weather events, like heavy storms or flooding, debris and residue may require professional attention. They can efficiently clear away hazards and restore safety.
Lastly, if you’re unfamiliar with cleaning agents or techniques, reaching out to a cleaning service can prevent mishaps. Their knowledge of suitable chemicals and methods ensures the process is safe for both the surface and the environment.
.jpg)


