
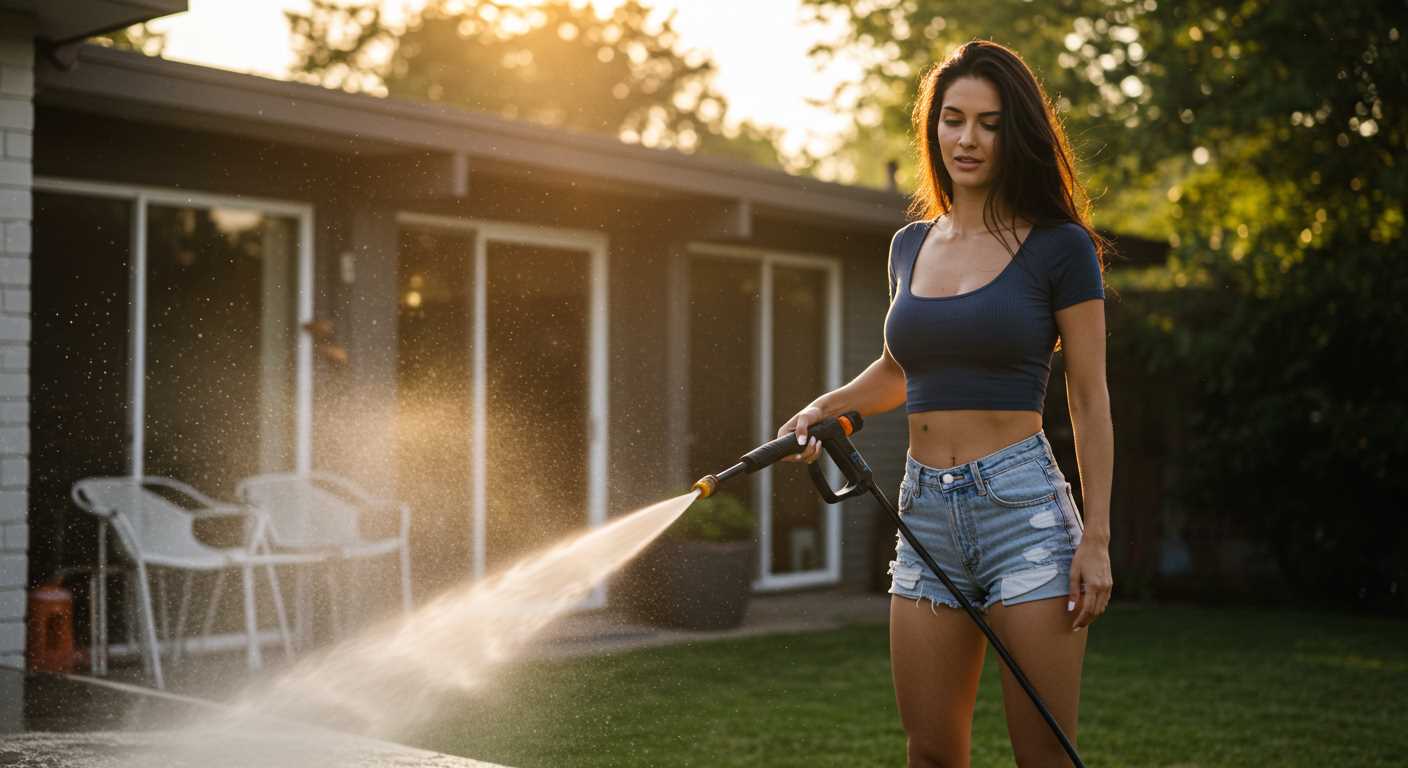


Using high-pressure cleaning tools on paved surfaces can result in unintended consequences. While they are effective for removing grime, dirt, and stains, improper use may lead to deterioration. I’ve seen it firsthand in my years as a consultant in the cleaning equipment industry. Over time, I’ve learned the delicate balance between achieving cleanliness and preserving the integrity of the surfaces.
When operating these machines, it’s crucial to consider the pressure settings. A nozzle that delivers excessive force can erode the surface, especially if it has already developed hairline fractures. I recall a project where a colleague inadvertently used too high a setting on a driveway, causing noticeable chipping. It’s a mistake that can be easily avoided by selecting an appropriate pressure level for the specific material.
Technique plays an equally significant role. Maintaining a consistent distance from the surface is essential. I often recommend staying at least 12 inches away and using sweeping motions rather than concentrating the spray in one place. This method not only ensures thorough cleaning but also minimises the risk of causing harm. The angle of the nozzle can make a difference too; a flat angle is generally safer for paved areas, while a narrow angle can be aggressive.
Lastly, always check for existing damage before starting. Cracks and chips can worsen under high pressure, leading to costly repairs. My advice is to assess the condition of the surface beforehand and adjust your cleaning strategy accordingly. With careful consideration, high-pressure cleaning can be a valuable tool without compromising the durability of paved surfaces.
Potential Risks of High-Pressure Cleaning on Hard Surfaces
Using high-pressure cleaning equipment on hard surfaces requires careful consideration to avoid unintended consequences. I’ve seen firsthand how improper usage can lead to issues that range from superficial damage to more significant structural concerns.
- Choosing the Right Nozzle: The nozzle’s angle and size matter greatly. A narrow spray can concentrate force in one spot, leading to surface erosion. Opt for a wider angle when cleaning.
- Distance Matters: Maintaining an appropriate distance from the surface is crucial. Standing too close can result in pitting or flaking, while being too far might not achieve desired results.
- Water Temperature: Hot water can enhance cleaning results but can also soften certain materials. Be cautious when using heated water on sensitive surfaces.
- Cleaning Solutions: Some chemicals can react with materials, leading to discolouration or degradation. Always test in an inconspicuous area first.
- Surface Condition: Assess the state of the surface before cleaning. Cracks or existing damage can worsen under high pressure, so repairs should be made beforehand.
In my experience, I’ve encountered clients who faced costly repairs due to a lack of attention to these factors. It’s essential to approach high-pressure cleaning with knowledge and caution to protect your surfaces effectively.
Understanding Concrete Durability and Pressure Washing
To maintain the integrity of surfaces, using the appropriate techniques and settings is paramount. A common practice in surface cleaning is utilising high-pressure tools, but it’s crucial to know the right parameters to avoid unintended consequences.
Concrete Composition and Its Resilience
Concrete is a composite material made primarily of water, aggregates, and cement. The durability of this mix can vary significantly based on its formulation, curing process, and environmental factors. A well-cured slab with the right water-to-cement ratio can withstand substantial force and wear over time.
Optimal Cleaning Techniques
When it comes to surface cleaning, adhering to certain guidelines can prevent surface harm. For instance, always start with the lowest setting. Gradually increase pressure if necessary, while keeping a safe distance from the surface. Utilize fan tips to disperse water over a larger area, which reduces the risk of concentrated force.
| Tip | Description |
|---|---|
| Distance | Maintain a minimum of 12 inches from the surface to prevent chipping. |
| Angle | Keep the nozzle at a 45-degree angle to avoid direct force on the surface. |
| Technique | Use a sweeping motion instead of holding the nozzle in one spot. |
| Cleaning Solutions | Consider using biodegradable detergents to enhance cleaning without harming the surface. |
Over time, I’ve encountered various instances where improper techniques led to surface deterioration. Once, a client insisted on using the highest setting to tackle stubborn stains. The result was a pockmarked surface that required extensive repair. Learning from these experiences, I’ve emphasised the importance of methodical approaches.
In conclusion, understanding the material’s properties and adopting suitable methods can ensure effective cleaning without compromising longevity.
Recommended Pressure Settings for Concrete Surfaces
For optimal results, set the output to between 3000 and 4000 PSI when treating hard surfaces like driveways or patios. This level effectively removes dirt, grime, and stains without compromising the integrity of the material.
- 3000 PSI: Ideal for general cleaning tasks. This setting is effective for removing loose debris and light staining.
- 3500 PSI: Recommended for tougher jobs, such as removing oil stains and ingrained dirt. Use this setting for areas subject to heavy traffic.
- 4000 PSI: Best reserved for the most stubborn stains or heavily soiled areas. This pressure level can strip away years of buildup but requires caution to avoid surface abrasion.
When using these settings, maintain a distance of at least 12 inches from the surface. Gradually approach closer if necessary, particularly for stubborn spots. Testing a small, inconspicuous area first helps determine the appropriate distance and pressure.
Pay special attention to nozzle selection; a 15-degree nozzle is typically best for tough grime, while a wider nozzle (25 or 40 degrees) can be used for lighter cleaning tasks to prevent etching.
- Start with the lowest pressure and gradually increase as needed.
- Keep the nozzle moving to prevent concentrated pressure on one spot.
- Consider using a cleaning solution designed for hard surfaces to enhance effectiveness.
In my years of experience, I’ve seen the difference that correct settings can make. A few years back, I worked on a commercial property where the owner insisted on using maximum power right away. The result? Unintentional surface damage. Taking the time to adjust settings not only preserves the material but also achieves a cleaner finish.
In summary, using the right pressure settings and techniques can yield impressive results while safeguarding structural integrity. Always prioritise care over speed to avoid costly mistakes.
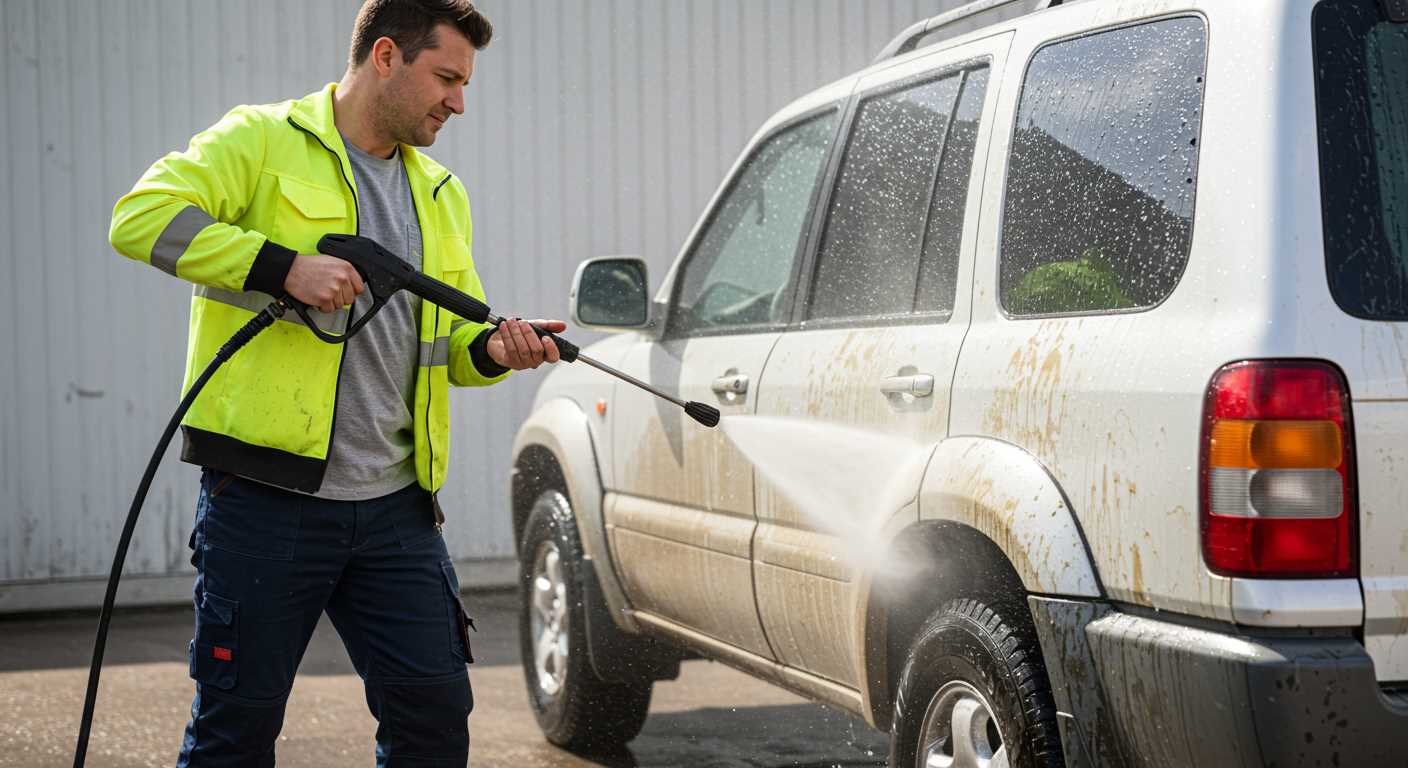
Common Mistakes When Using Pressure Washers on Concrete
One critical misstep is neglecting to assess the surface first. I once encountered a client who had a lovely patio but decided to use a high setting without checking for cracks. The result? Several chips in the surface that required costly repairs. Always inspect your area; if you spot any imperfections, adjust your technique accordingly.
Inappropriate Nozzle Selection
Using the wrong nozzle can lead to serious issues. I’ve seen individuals use a narrow spray tip, thinking it would provide a more thorough clean. Instead, it can gouge the surface. Opt for a wider fan tip to distribute the force evenly. It’s a simple fix that can save you from unnecessary repairs.
Ignoring Distance from the Surface
Another common error is maintaining an incorrect distance while cleaning. Standing too close can cause unnecessary wear, while being too far can lead to ineffective results. Aim for about 12 to 24 inches away from the surface. This balance allows for effective cleaning without compromising integrity.
Lastly, avoid rushing through the process. I’ve learned that taking your time yields better results. If you’re curious about other time-saving techniques, check out this how to can chili without a pressure cooker guide. It’s a reminder that preparation and patience are key in any task, whether cleaning or cooking.
Signs of Damage After Pressure Washing Concrete
Look for surface flaking, which may indicate that the top layer of the floor has been compromised. I remember a client who called me in a panic after noticing the edges of their driveway peeling away. A closer inspection revealed they had used too high a setting, stripping away the protective layer.
Cracks are another clear signal. If you see new fissures appearing after cleaning, it’s likely that the high-force stream has exacerbated existing weaknesses. I once witnessed a driveway that looked pristine after a clean, but within days, hairline cracks became visible, leading to more serious structural issues over time.
Uneven texture can also arise, making the surface feel rough or abrasive. This happened at a commercial property I serviced. The owner wanted a spotless exterior but ended up with a bumpy texture that made it hazardous for pedestrians. It’s vital to choose the correct nozzle and distance to maintain a uniform finish.
Discolouration is another sign to watch for. If certain areas appear lighter or darker, this could indicate that the cleaning method removed protective sealants or treated layers. I recall helping a homeowner whose patio turned a shade of grey after a clean, revealing that the sealant had been stripped away, leaving the surface vulnerable to stains.
Lastly, pooling water may suggest improper drainage. If you notice water collecting in areas post-cleaning, this could indicate that the surface has been altered. A friend of mine had to deal with extensive water damage after a botched cleaning led to stagnant water on their newly cleaned patio.
Recognising these signs early can save time and money in repairs. Always assess your surfaces carefully after cleaning to ensure they remain safe and intact.
Preventive Measures to Avoid Concrete Damage

Choosing the right nozzle is critical. I often recommend a 25-degree or 40-degree nozzle for most surfaces. This reduces the risk of etching while still providing adequate cleaning power.
Avoid using a narrow jet, as it can carve into the surface, leading to long-term issues. Always maintain a distance of at least 12 inches between the nozzle and the surface. I learned this the hard way during a project where I got too close, resulting in noticeable scars on the slab.
Before starting, assess the condition of the surface. Look for cracks, chips, or other signs of wear. If you spot any damage, consider repairing it prior to cleaning. I once worked on a patio that had minor cracks, and the high-intensity blast exacerbated the problem. Repairing those areas first would have saved time and effort.
Using the correct cleaning solution can also help. Opt for a mild detergent specifically designed for outdoor surfaces. This can help loosen grime without the need for excessive force. I’ve had great success with biodegradable options that are safe for the environment and effective in cleaning.
Regular maintenance is key. Instead of waiting for dirt to accumulate, establish a routine. I typically recommend cleaning surfaces every six months, which not only keeps them looking good but also helps to identify potential problems early.
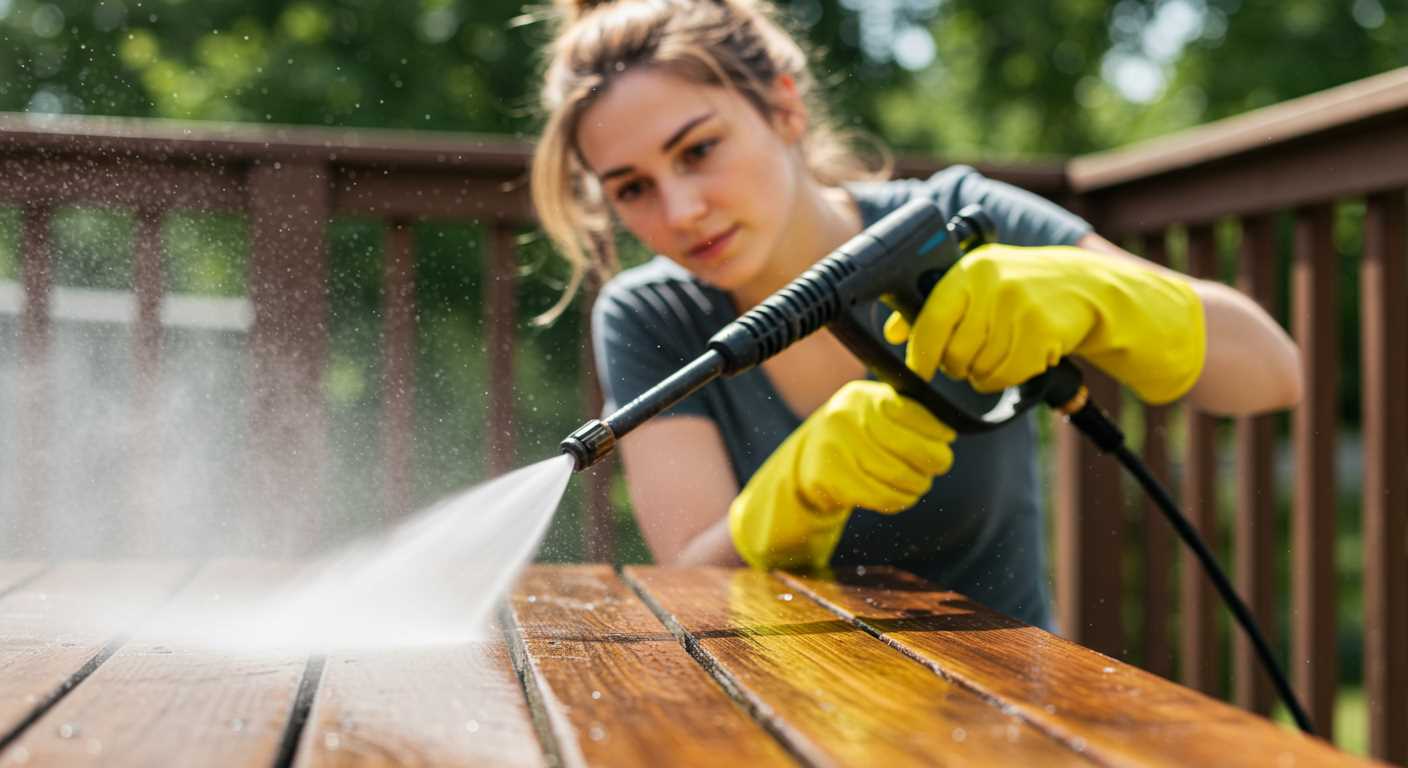
Finally, consider investing in quality equipment. Brands like Kärcher offer models tailored for various tasks. For instance, I found the Kärcher pressure washer for decking particularly effective for outdoor surfaces, striking a balance between power and gentleness.
Restoration Options for Damaged Concrete Surfaces
For surfaces that have seen better days, consider resurfacing with a polymer-modified overlay. This option not only conceals imperfections but also enhances durability. I once had a client with extensive wear on their patio. After applying a polymer overlay, the transformation was remarkable, and the surface stood up to the elements beautifully.
Another viable choice is concrete staining. This method adds colour and can help mask minor abrasions. I recall a project where a faded driveway was revitalised with a vibrant stain. The change not only improved aesthetics but also provided a protective layer against moisture infiltration.
For deeper cracks or structural issues, epoxy injection is effective. It involves injecting a resin into the cracks to bond the existing material and restore integrity. On one occasion, I assisted a homeowner with significant cracking. The epoxy application not only sealed the fissures but also reinforced the overall strength of the surface.
If the surface is severely compromised, consider full replacement. While this is a more drastic measure, it ensures a fresh start. I encountered a situation where patching failed to yield satisfactory results, leading to the decision for complete removal and replacement. It was an investment, but the long-term benefits were undeniable.
Sealing is another important step post-restoration. A quality sealant protects against stains and moisture, prolonging the life of the restoration. I’ve seen the difference a good sealant makes, especially in areas exposed to harsh weather.
Regular maintenance after restoration is crucial. Routine cleaning and inspections help catch potential issues early. I always advise clients to keep an eye on their surfaces, as early intervention can prevent more extensive repairs down the line.
.jpg)


