
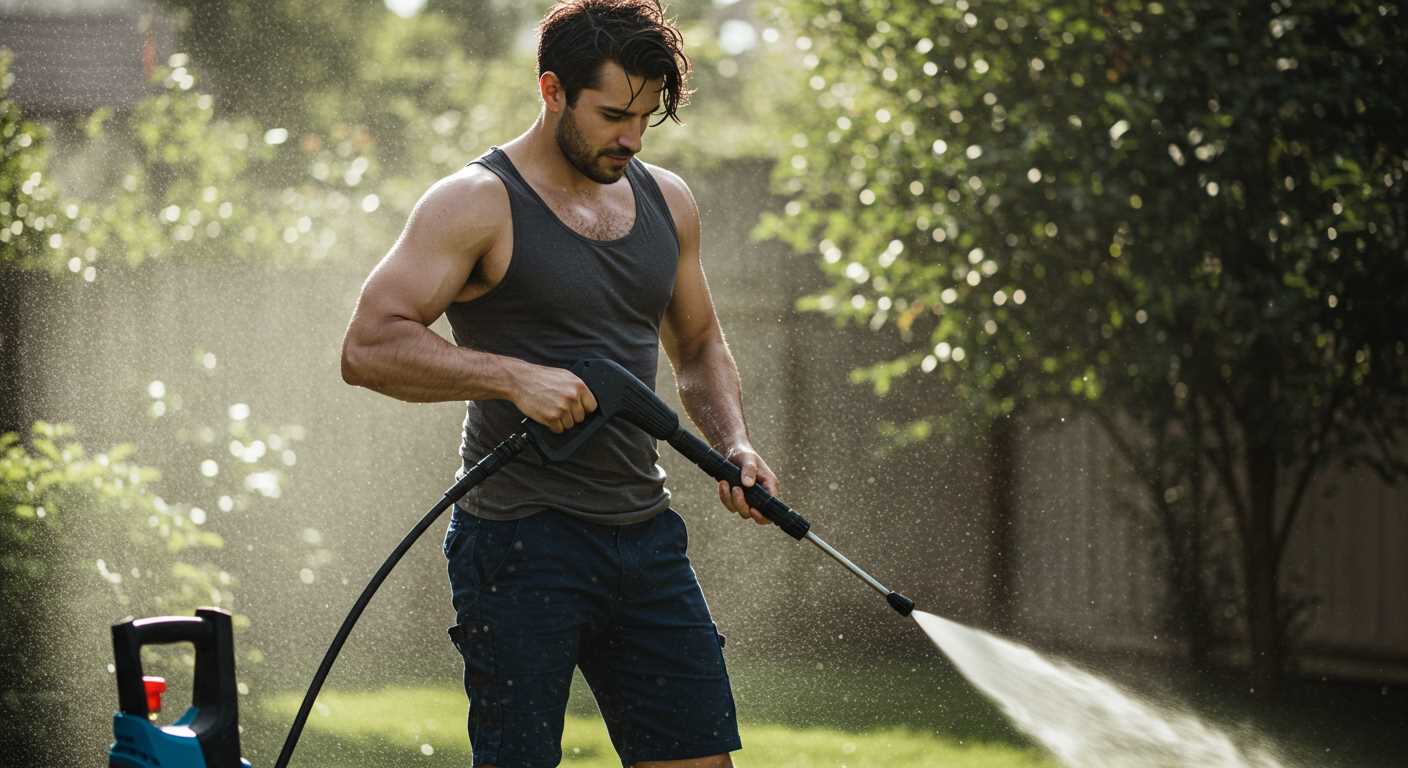


Applying a thick layer of cleaning foam on your vehicle is achievable even if you lack a high-pressure apparatus. I’ve had my share of experiences experimenting with various products and methods, and I can assure you that a simple hand-held applicator can yield impressive results. The key lies in selecting the right formulation and technique.
For effective application, consider a foam formulation designed for manual use, often found in automotive care shops. These products typically come in concentrated forms, allowing you to mix them with water in a bucket. A sturdy sponge or a wash mitt can then be employed to distribute the foam evenly across the surface of your vehicle. This method not only helps in lifting dirt but also provides a gentle cleaning action that reduces the risk of scratches.

Another approach involves using a dedicated foam applicator, which often features a trigger mechanism. This allows for a more controlled application, ensuring that the cleaning agent adheres well to the surface. I’ve found that letting the foam sit for a few minutes enhances its effectiveness, as it breaks down stubborn grime and contaminants. Afterward, rinsing with a garden hose or a simple bucket of water is usually sufficient to achieve a clean finish.
Experimentation is key here. Start with a small area to gauge the product’s performance and adjust your technique according to the results. Remember, consistency in application is crucial for optimal results, and patience pays off when it comes to achieving a spotless exterior.
Utilising Foam Solutions Without a High-Pressure System
Absolutely, applying a thick lather to your vehicle is achievable even if you don’t own a high-pressure system. My experience has shown that alternative methods can yield satisfying results.
Recommended Techniques
- Bucket Method: Incorporate a dedicated wash bucket. Mix the cleaning solution with water according to the manufacturer’s guidelines. Use a wash mitt or sponge to apply the mixture onto the surface, allowing it to sit for a few moments to break down grime.
- Garden Sprayer: A handheld garden sprayer can be an excellent substitute. Fill it with your cleaning solution and water, ensuring you achieve a foamy consistency. Apply the lather evenly across the vehicle, targeting heavily soiled areas first.
- Soft Brush Application: If you prefer a more hands-on approach, utilise a soft brush to apply the cleaning agent. This method allows for more control while also agitating the dirt.
Tips for Best Results
- Always ensure the vehicle’s surface is cool to the touch before application to prevent streaking.
- Work in sections, allowing the product to sit briefly before rinsing to maximise cleaning potential.
- After application, rinse thoroughly with a hose or a bucket of clean water to avoid residue build-up.
- Consider using a drying towel afterwards to prevent water spots.
With these techniques, a satisfying clean is within reach, even in the absence of specialised equipment. Enjoy the process and the results!
Understanding Foam Spray and Its Components
Choosing the right cleaning solution is vital for achieving a spotless finish. The key ingredients in a quality cleaning agent are surfactants, which reduce the surface tension of water, allowing it to penetrate and lift dirt more effectively. These compounds create that rich lathering effect, essential for loosening grime. A good cleaner should also include emulsifiers to disperse oils and dirt, ensuring they can be rinsed away easily.
Key Ingredients
Surfactants are classified into three categories: anionic, cationic, and non-ionic. Anionic surfactants are often favoured for their exceptional cleaning capabilities, making them ideal for automotive applications. Cationic surfactants, on the other hand, are more effective at killing bacteria and are generally used in sanitising products. Non-ionic surfactants strike a balance, providing moderate cleaning power without excessive foaming, making them versatile in various formulations.
Impact of pH
The pH level of a cleaning solution significantly influences its performance. Alkaline cleaners are effective at breaking down grease and oils, while acidic solutions can tackle mineral deposits and rust. For automotive surfaces, a neutral to mildly alkaline cleaner usually works best, as it’s gentle on paint yet tough on contaminants.
| Component | Function |
|---|---|
| Surfactants | Lowers surface tension, allows water to penetrate dirt |
| Emulsifiers | Disperses oils and dirt for easier rinsing |
| pH Adjusters | Optimises cleaning effectiveness based on surface needs |
When selecting a cleaning agent, always check the label for these components. Quality products often provide a perfect balance of these ingredients, ensuring optimal results while being safe for various finishes. My experience has shown that investing in a reliable cleaner pays off in the long term by maintaining the aesthetics and integrity of your vehicle.
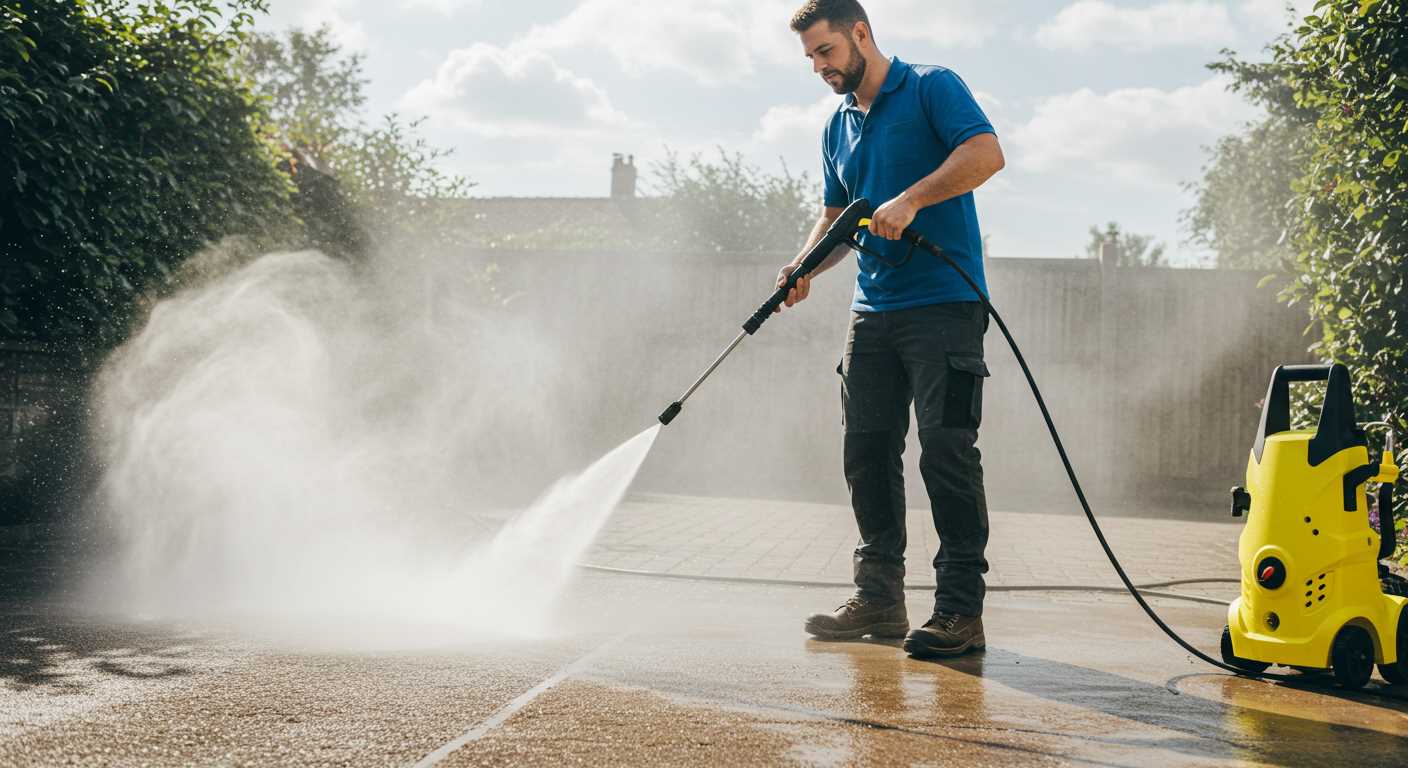
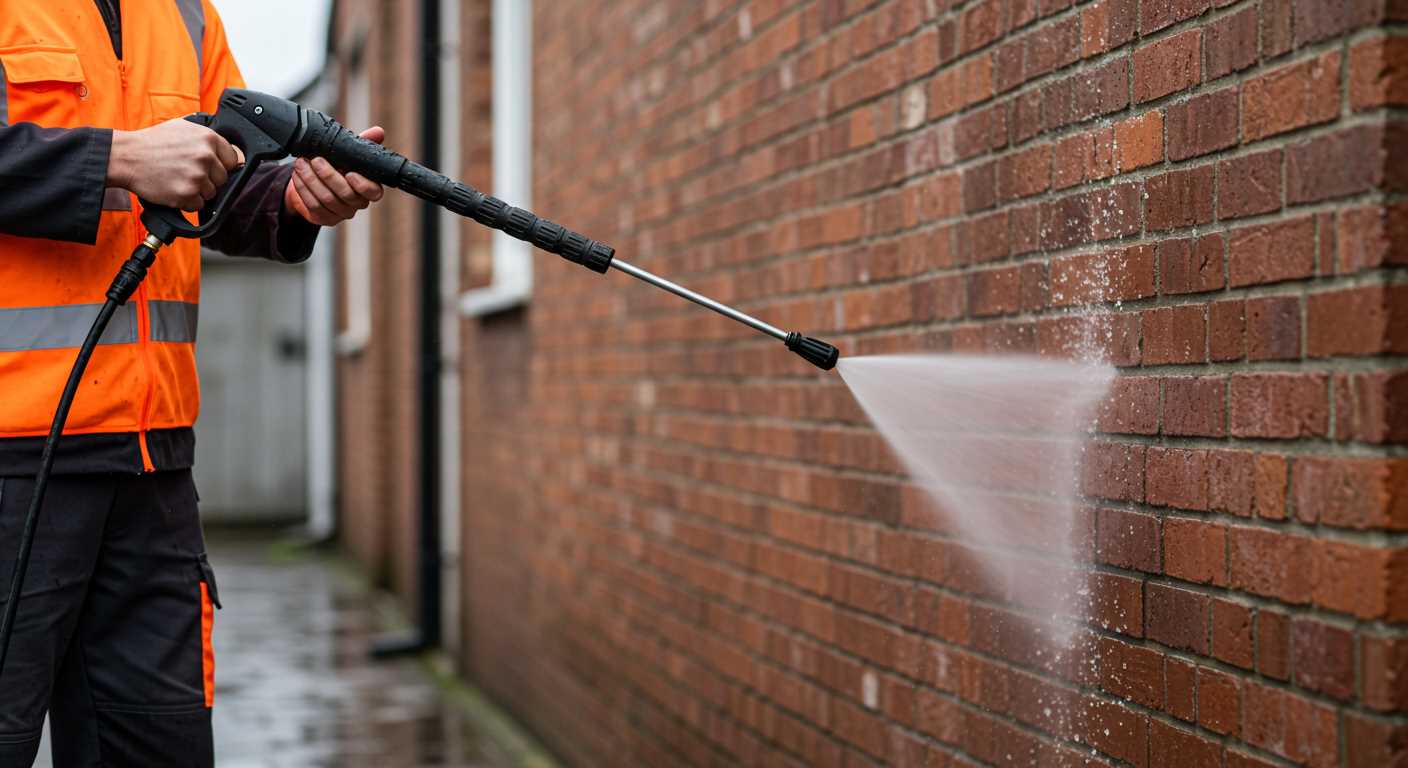
Alternatives to Pressure Washers for Applying Foam Spray
Using a garden hose with a foam cannon attachment serves as an excellent alternative. This setup allows for a reasonable distribution of cleaning solution while maintaining some level of pressure. The foam cannon mixes water and detergent, creating a thick lather that clings to the surface, aiding in the removal of grime.
Another option is a handheld pump sprayer. These devices can generate sufficient pressure for applying cleaning agents effectively. Fill the sprayer with the desired solution and pump it manually to achieve an adequate spray. This method is particularly useful for smaller areas or spot cleaning, where precision is key.
Consider using a bucket and sponge method as well. Though it requires more effort, soaking a sponge in a soapy mixture and applying it directly can still yield satisfactory results. This approach allows for thorough cleaning, especially in intricate areas where a sprayer might miss spots.
Lastly, a simple spray bottle can be an effective choice, especially for applying concentrated solutions. Dilute the cleaner as needed, and spray directly onto the surface. This method works well for quick touch-ups or smaller sections of the vehicle.
Step-by-Step Guide to Using Foam Spray by Hand
To achieve a thorough cleaning of your vehicle without heavy machinery, follow these straightforward steps.
Gather Your Materials
Start by collecting all necessary items: a suitable cleaning solution, a bucket, a sponge or wash mitt, a garden hose, and a soft cloth for drying. Ensure that the cleaning agent is compatible with the surface of your vehicle to avoid any damage.
Prepare the Surface
Rinse the vehicle with plain water to remove loose dirt and debris. This initial step prevents scratching during the subsequent cleaning. Ensure the surface is cool to the touch, as applying your cleaning solution in direct sunlight may lead to streaks or an uneven finish.
Next, fill your bucket with water and add the recommended amount of cleaning solution. Stir gently to create a rich lather.
Using a sponge or wash mitt, apply the mixture to the vehicle’s surface, starting from the top and working your way down. This method helps in avoiding dirt from falling onto cleaned areas. Make sure to rinse the sponge regularly to prevent dirt from scratching the paint.
Once you’ve covered the entire vehicle, allow the mixture to sit for a few minutes, ensuring it penetrates any stubborn grime.
Final Rinse and Drying
After the dwell time, rinse the vehicle thoroughly with clean water. Use a hose with a nozzle to control the water pressure, ensuring that all cleaning agents are fully removed. Pay special attention to crevices and wheel arches where residue may accumulate.
Finally, dry the surface using a soft cloth to prevent water spots. A microfiber towel works best for this task. If desired, you can apply a wax or sealant to enhance protection and shine.
This straightforward method allows for effective cleaning without relying on cumbersome equipment. It’s efficient and can yield impressive results with a bit of effort and the right materials.
Choosing the Right Foam Spray for Manual Application
Opt for a thick, high-viscosity formulation when selecting a product for manual application. These types create a rich lather that adheres well to surfaces, ensuring optimal coverage and cleaning efficacy. In my experience, products like these deliver better results, especially when applied with a detailing brush or sponge.
Look for a pH-balanced solution. Acidic or overly alkaline compositions can damage paintwork or protective coatings. I remember a time when I used a harsh cleaner on my vehicle, and the paint started to dull. A balanced option not only cleans effectively but also protects your finish.
Consider the scent and environmental impact of your chosen cleaner. Some formulations are made with biodegradable ingredients and pleasant fragrances, making the washing experience more enjoyable. I prefer products that don’t leave behind strong chemical odours, as it enhances my overall cleaning routine.
Packaging matters as well. Choose containers that allow for easy dispensing without wastage. I’ve found that bottles with spray nozzles or dispensers help control the amount used, preventing excessive product from going to waste. It’s all about efficiency in application.
Lastly, read reviews or seek recommendations from fellow enthusiasts. Personal experiences often highlight the strengths and weaknesses of various products. I’ve discovered hidden gems through community feedback that I might not have considered otherwise. Always stay informed about the latest developments in vehicle care products to enhance your cleaning arsenal.
Tips for Achieving Optimal Results Without a Pressure Washer
To achieve outstanding cleaning results manually, ensure that you apply the cleaning solution evenly across the surface. Here are some practical tips that have worked well for me over the years:
Preparation is Key
- Start with a thorough rinse using a regular hose to remove loose dirt and debris.
- Choose a shaded area to avoid the cleaning solution drying too quickly, which can leave streaks.
- Gather all necessary tools: a bucket, sponge, soft-bristle brush, and a nozzle for the hose.
Application Techniques
- Mix the cleaning product according to the instructions, ensuring you get the right concentration for effectiveness.
- Apply the solution from the bottom up to prevent drips from settling on already cleaned areas.
- Allow the product to dwell for a few minutes to break down grime, but avoid letting it dry completely.
- Use a soft-bristle brush for tougher spots, applying gentle pressure to avoid scratching surfaces.
After scrubbing, rinse thoroughly with a hose to remove all residues. A tip I often share is to rinse from the top down, ensuring that the cleaning solution is fully washed away. For those looking for more cleaning insights, check out this guide on how to clean a fish tank without killing the fish.

Regular maintenance is a game changer; it makes future cleaning much simpler. A consistent schedule helps keep surfaces looking pristine and reduces the amount of effort needed in the long run.
Common Mistakes to Avoid When Using Foam Spray Manually
One major error is applying too much product at once. A thick layer can actually hinder the cleaning process, making it harder to rinse away grime. Instead, opt for a light, even coating to allow the solution to break down dirt effectively.
Neglecting Surface Preparation
Before tackling the dirt, ensure the surface is free from loose debris. Skipping this step can lead to scratching the finish. A quick rinse with water or a gentle wipe down can make a significant difference in the outcome.

Incorrect Dilution Ratios
Another common pitfall is failing to follow the recommended dilution ratios. Using too concentrated a mixture can lead to streaks or residues that are difficult to remove. Always check the instructions for the right proportions to achieve optimal results.
Additionally, timing is crucial. Allowing the solution to sit for too long can dry on the surface, making it harder to remove. Follow the recommended dwell time, usually between 5 to 10 minutes, depending on the product.
Finally, consider the tools you’re using for application. A standard sponge or cloth may not be effective for applying the mixture evenly. A dedicated applicator or a soft brush can provide better coverage and results. For more insights on effective cleaning methods, check out this resource on cleaning pavement slabs with or without a pressure washer.
Post-Cleaning Care and Maintenance for Your Car
After completing the washing, it’s crucial to ensure the vehicle remains in top condition. Start by drying the surface thoroughly with a microfibre towel to prevent water spots. Pay attention to areas like the mirrors and door handles where water may accumulate.
Next, applying a protective layer is advisable. Wax or sealant forms a barrier against environmental pollutants and UV rays. I remember a time when I neglected this step; the paint deteriorated faster than expected, leading to costly repairs. Invest in a high-quality product and follow the manufacturer’s instructions for the best results.
Don’t forget about the wheels and tyres. A dedicated cleaner will remove brake dust and grime. Afterward, dressing the tyres enhances their appearance and provides protection against cracking. I often recommend using a foam applicator for even distribution; it makes a noticeable difference in the final look.
Regular interior upkeep is equally important. Vacuum the seats and carpets, and use an appropriate cleaner for the dashboard and other surfaces. I’ve found that a simple solution of warm water and mild detergent works wonders for most materials. Avoid harsh chemicals that might damage the interior.
Finally, maintaining a consistent cleaning schedule helps prolong the vehicle’s life and keeps it looking fresh. I usually suggest a routine every few weeks, depending on driving conditions. Regular maintenance not only enhances appearance but also increases resale value down the line.
.jpg)


