


Using high-pressure equipment for tackling grime on soffits can yield impressive results. It’s a method I’ve employed countless times throughout my career, and the outcomes speak for themselves. The key lies in selecting the appropriate nozzle and pressure settings to avoid any damage to the material.
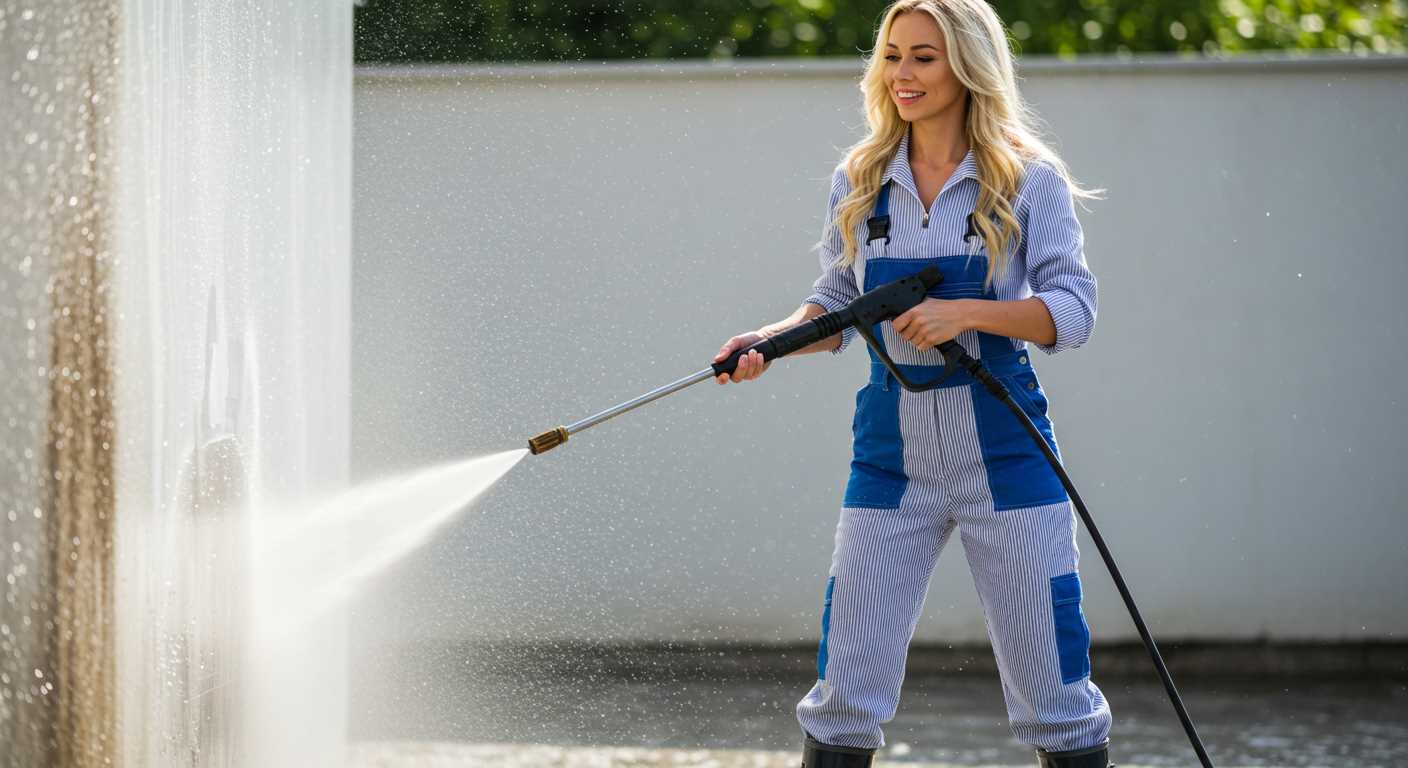
In my experience, a fan spray nozzle works best for this task. It disperses water over a larger area, ensuring that dirt and debris are lifted away without risking harm to the surface. A pressure range of 1200 to 1500 PSI is typically ideal, striking a balance between power and safety.
Always start at a distance of about two feet from the surface. Gradually move closer as you assess the effectiveness of the spray. This approach prevents any potential issues and allows for a thorough inspection of the results. I recall one project where a client was amazed at how revitalised their exterior looked after just a few minutes of careful work.

Don’t forget to incorporate a cleaning solution specifically formulated for exterior surfaces. Applying this before using the high-pressure tool can enhance the cleaning process significantly. After all, a clean surface not only improves aesthetics but also contributes to the longevity of the materials.
Finally, ensure safety precautions are in place. Protective eyewear and sturdy footwear are essential, as water and debris can create hazardous conditions. Following these guidelines will lead to a successful cleaning experience, leaving soffits looking fresh and well-maintained.
Cleaning Soffits Using High-Pressure Equipment
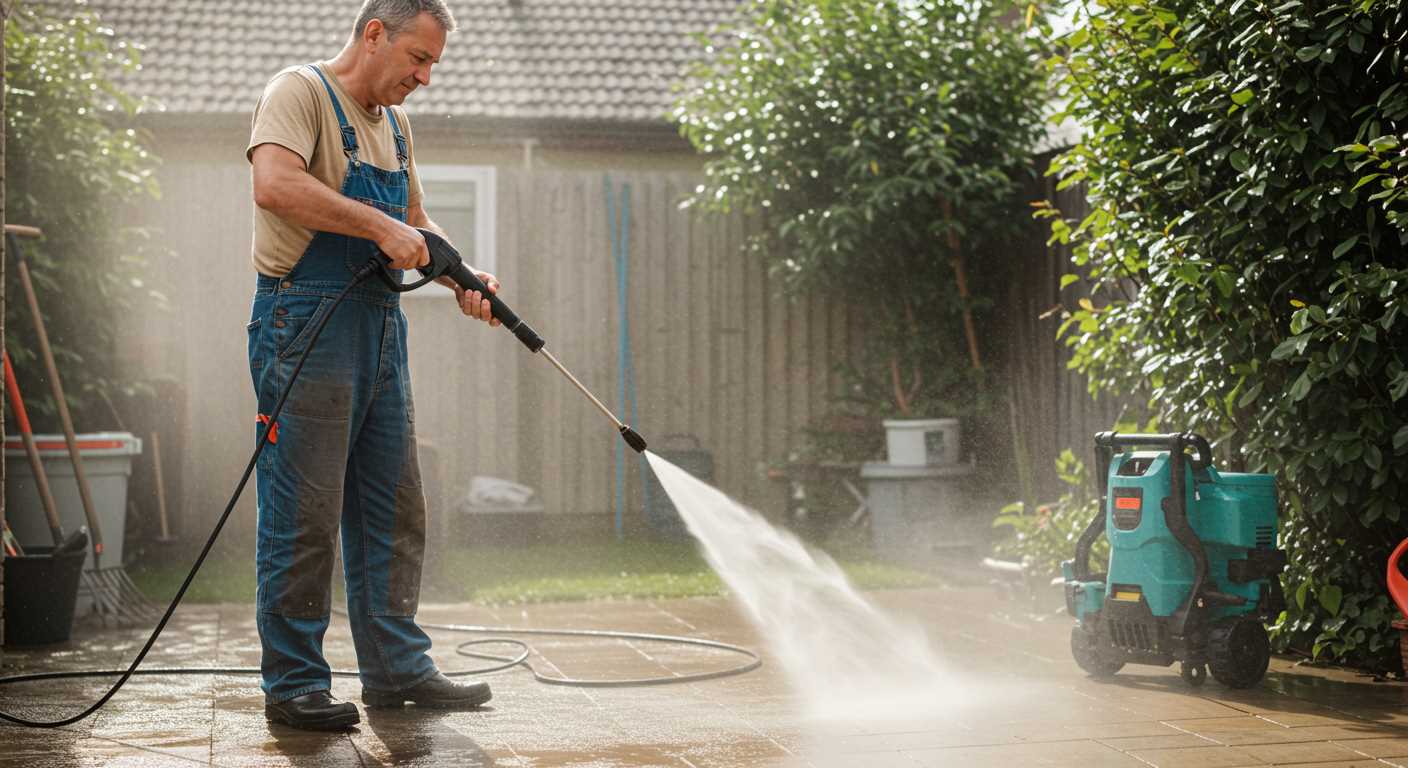
Relying on high-pressure devices for maintenance tasks, including soffit upkeep, can yield impressive results. Ensure the chosen setting is appropriate to avoid damaging the material. I recommend starting with a lower pressure setting, particularly for fragile surfaces.
During my years of experience, I discovered that using a fan tip nozzle works wonders. This type of nozzle disperses water over a wider area, minimising the risk of concentrated streams damaging the soffit. Always maintain a safe distance; I usually keep the nozzle about two feet away to prevent any potential harm.
When working on dirty surfaces, a pre-treatment with a suitable cleaner can enhance results significantly. Apply the cleaner, allow it to sit for a few minutes, and then rinse it off using the high-pressure device. This method has proven effective during various cleaning projects I’ve undertaken, especially after observing stubborn stains that seemed impossible to remove.
After the cleaning session, check for any missed spots. It’s easy to overlook corners and edges, so a little manual touch-up may be necessary. If you’re also considering other outdoor maintenance tasks, don’t forget about cleaning patio slabs, which can be done efficiently using similar techniques.
| Tip | Description |
|---|---|
| Pressure Setting | Start with a low pressure to protect delicate materials. |
| Nozzle Type | Use a fan tip nozzle for even water distribution. |
| Pre-treatment | Apply a cleaner before rinsing for better results. |
| Distance | Maintain a distance of at least two feet from the surface. |
| Final Check | Inspect for missed areas and touch up as needed. |
Understanding Soffits and Their Purpose
Soffits play a critical role in home construction, providing both functional and aesthetic benefits. They are the horizontal surfaces that connect the exterior walls of a building to the eaves of the roof. Their design helps to enhance ventilation and protect the roof from moisture accumulation.
- Ventilation: Soffits often contain vents that allow air to circulate in the attic space. This circulation helps regulate temperature and prevents heat buildup, reducing the risk of damage to roofing materials.
- Protection: By covering the rafters, soffits shield them from the elements. This protection helps prevent rot and decay, extending the life of the roof and structural components.
- Aesthetic Appeal: Soffits contribute to the overall look of a home. They provide a finished appearance to the roofline and can be customised in various materials and colours to match the architectural style.
Maintaining soffits is crucial for ensuring they function effectively. Regular inspections can help identify any signs of damage or build-up of dirt and debris, which might impede their performance. Keeping them in good condition not only enhances the home’s curb appeal but also contributes to its longevity.
In my experience, I’ve often found that homeowners overlook these areas during maintenance routines, leading to potential issues down the line. Simple tasks such as checking for blockages or signs of wear can save significant repair costs in the future.
Understanding the importance of soffits can help you appreciate their role in your home’s overall health. Whether you’re considering upgrades or simply performing routine checks, keep these factors in mind for optimal home care.
Choosing the Right Pressure Washer for Soffit Cleaning
For effective maintenance of eaves, selecting the right equipment is key. After testing numerous models over the years, I’ve found that a unit with adjustable pressure settings is ideal. This allows for a tailored approach, ensuring that delicate areas are treated gently while tougher grime is tackled effectively.
Pressure Rating
A machine with a pressure rating between 1500 to 2500 PSI is suitable for most residential tasks. For those stubborn stains, a higher PSI may be necessary, but caution is required to avoid damaging surfaces. Always start with the lowest setting and gradually increase as needed. Remember, achieving a clean finish is often about technique rather than sheer power.
Flow Rate
The flow rate, measured in gallons per minute (GPM), plays a significant role in rinsing away debris. Aim for a washer with at least 1.5 GPM. This ensures that water effectively washes away dirt, especially when paired with the right nozzle. A 25-degree nozzle is typically versatile for various tasks, providing a good balance between pressure and coverage.
Preparing Your Soffits for Pressure Washing
First things first, ensure the area is clear. Remove any furniture, plants, or decorations beneath the eaves. This will prevent any damage and make the process smoother. I recall a time when I neglected this step; the aftermath involved a lot of cleaning up and a few broken items. Trust me, it’s not worth the hassle.
Inspect for Damage
Before applying any high-powered cleaning, conduct a thorough examination of the eaves. Look for signs of decay, rot, or insect infestations. A friend of mine discovered a significant issue while prepping; a small repair saved him from a much larger problem later. Any visible cracks or loose materials should be addressed beforehand to avoid exacerbating the damage.
Gathering Supplies
Having the right tools at hand is key. Aside from the washing device, consider using a mild detergent specifically formulated for exterior surfaces. A soft brush can help dislodge stubborn grime without causing scratches. I learned this the hard way after using a rough scrubber and regretted it immediately–scratches on white vinyl are hard to hide.
Lastly, ensure you have a sturdy ladder if your eaves are high. Safety is paramount; I once witnessed a mishap due to a flimsy ladder. Always secure it properly and have someone nearby if possible. Preparing thoroughly will ensure a smooth and effective cleaning session.
Safety Precautions When Using a Pressure Washer
Always wear protective eyewear. A sudden spray can launch debris, risking eye injuries. Sturdy, non-slip footwear is essential as well; wet surfaces can be treacherous.
Check the area for electrical hazards. Look for loose wires or sockets that might be affected by water spray. Keeping a safe distance from these hazards is crucial to avoid accidents.
Ensure the equipment is in good condition. Inspect hoses for cracks and leaks. A damaged hose can burst under pressure, leading to injuries.
Maintain a firm grip on the handle. Pressure levels can be intense, and losing control can result in injury or damage to nearby objects. Use both hands for stability.
Be mindful of the direction of the spray. Always aim away from yourself and others. The force can cause serious injuries or damage delicate surfaces.
Do not operate the machine while standing on ladders or unstable surfaces. If a height is necessary, invest in scaffolding or a platform for stability.
Keep children and pets at a safe distance. The noise and spray can startle them, leading to accidents. Establish a clear safety zone around the work area.
Utilise the appropriate nozzle for the task. A narrow spray can cause damage, while a wider spray might not be effective. Adjusting the nozzle correctly can prevent mishaps.
Stay hydrated and take breaks. Operating this equipment can be physically demanding. Fatigue can lead to mistakes, so rest as needed to maintain focus.
Finally, read the manufacturer’s manual. Familiarising yourself with the specific model ensures proper handling and safety measures tailored to the equipment.
Techniques for Cleaning Soffits with a Pressure Washer
The key to achieving a spotless finish lies in the right techniques. Here are methods I’ve found effective over the years.
Adjusting Pressure Settings
Start by adjusting the pressure settings on the machine. A lower pressure setting, typically around 1500 to 2000 PSI, is ideal for delicate surfaces. High pressure can damage the material or push water into areas where it shouldn’t go.
Using the Correct Nozzle
- 25-degree nozzle: This is great for wide coverage while still being gentle enough for most surfaces.
- 40-degree nozzle: Perfect for rinsing off soap or debris without risk of damage.
- Rotary nozzle: Useful for tougher stains but should be used sparingly to prevent surface damage.
Pre-Treatment with Cleaning Solutions

For stubborn grime, pre-treating with a cleaning solution can make a significant difference. Apply the solution and let it sit for about 10 to 15 minutes before rinsing. This helps to break down dirt and mildew effectively.
Technique for Application
- Stand at a safe distance, usually around 3 feet, to avoid damaging the surface.
- Use a sweeping motion, starting from the top and working your way down to ensure all debris is washed away.
- Maintain a consistent distance from the surface to avoid streaks and uneven cleaning.
Rinsing Thoroughly
After the application of any cleaning solution, ensure thorough rinsing. It’s crucial to remove all residues, as leftover chemicals can cause discolouration or damage over time. Rinse from the top down, similar to the initial wash, to ensure all soap is cleared away.
Final Touches
Once finished, inspect the areas closely. If any spots remain, a light touch-up with the nozzle can address those issues. Remember, patience pays off in achieving a pristine finish.
These techniques have served me well, ensuring that every cleaning session leaves surfaces looking like new. Adjust as necessary based on your specific conditions and materials.
Common Mistakes to Avoid During the Cleaning Process
One major oversight is selecting an inappropriate nozzle. A wide fan can cover more area, but it doesn’t provide the precision needed for corners and crevices. I remember a time when I used a 40-degree nozzle on a particularly dirty section, thinking it would be safe. The result? Grime remained lodged in hard-to-reach spots, requiring a second round of work. Always opt for a narrower spray when targeting specific areas.
Ignoring Surface Material
Using excessive force on delicate materials can lead to damage. I’ve seen homeowners blast away at vinyl or painted surfaces, only to find the paint peeling or the siding dented. It’s crucial to know what materials you’re dealing with. Take the time to test a small, inconspicuous area first to gauge how the surface reacts. A gentle touch often yields better results.
Neglecting to Clear the Area
Failing to remove obstacles can complicate the task. I recall one afternoon, I was so eager to start that I overlooked the flower pots and garden furniture in the vicinity. Water and debris sprayed everywhere, creating a bigger mess. Always clear the area first. This not only protects your belongings but also gives you a clear path for effective cleaning. Planning ahead saves time and effort.
Post-Cleaning Maintenance for Soffits
After the washing session, focus on maintaining the appearance and functionality of the eaves. Regular upkeep can prevent the accumulation of dirt and debris, extending the lifespan of the materials used.
- Inspect for Damage: Check for cracks, peeling paint, or signs of rot. Early detection of issues can save time and money on repairs.
- Regular Dusting: Use a soft brush or cloth to remove dust and cobwebs monthly. This simple task keeps the area looking tidy.
- Sealants: Consider applying a protective sealant to wooden soffits. This can help resist moisture and prevent rot.
- Check Ventilation: Ensure that vents are not obstructed. Proper airflow is crucial to prevent moisture build-up and promote longevity.
Cleaning tools should also be maintained. For those who utilise air compressors, investing in the best air compressor for computer cleaning can be beneficial for delicate tasks, ensuring no dust settles post-cleaning.
Keeping gutters clear is vital. Blocked gutters can lead to water pooling around soffits, causing damage over time. Schedule regular inspections, especially before heavy rainfall.
Finally, don’t forget to assess the entire home exterior. This holistic approach ensures that all parts work harmoniously, preventing future issues and maintaining the aesthetic appeal.
Alternative Methods for Cleaning Soffits
Using a pressure washer isn’t the only route. I’ve encountered several effective alternatives that can tackle grime on soffits without the need for high-pressure equipment.
Soft Washing Technique
This method employs low-pressure water combined with a cleaning solution. The solution, often containing bleach or a special detergent, is sprayed onto the surface. After allowing it to dwell for a short period, rinse it off gently. This approach minimises the risk of damage while still achieving a thorough clean. I found that soft washing effectively removed mildew and dirt from soffits, especially in areas with heavy shade.
Manual Scrubbing
For those who prefer a hands-on approach, manual scrubbing can be quite effective. Use a long-handled brush with soft bristles to prevent scratches. Mix warm water with a mild detergent or vinegar solution for a natural cleaner. I remember taking an afternoon to scrub a particularly dirty overhang, and while it required effort, the results were rewarding. It’s a great workout too!
| Method | Advantages | Disadvantages |
|---|---|---|
| Soft Washing | Minimises damage, effective against mildew | Requires waiting time for the solution to work |
| Manual Scrubbing | Control over cleaning process, no equipment needed | Time-consuming and labour-intensive |
Another option is to use a garden sprayer. Fill it with a cleaning solution, spray on the soffits, and follow up with a rinse. In my experience, this method is particularly useful for hard-to-reach areas where a ladder might not fit comfortably.
Finally, consider hiring a professional cleaning service if the task seems daunting. They often have the right tools and expertise to handle tough jobs efficiently.
.jpg)


