
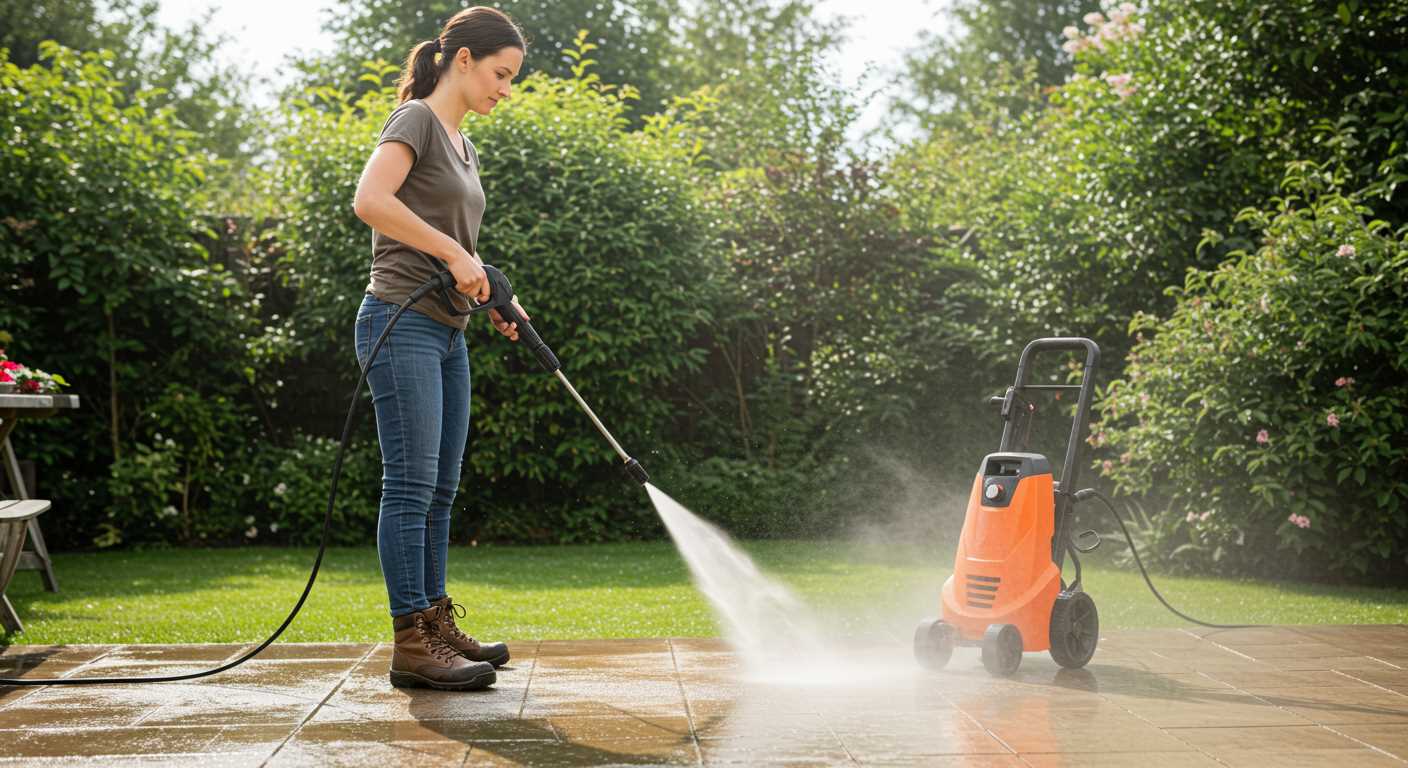


Using a domestic water supply for a high-pressure cleaner is possible, provided certain conditions are met. Ensure the water flow rate from the faucet is adequate, typically around 8-10 litres per minute. This ensures optimal performance and prevents any damage to the equipment.
Before proceeding, check the fitting of your machine. Most models require a specific adaptor to fit standard sink connections. It’s advisable to invest in a quality connector that can handle the water pressure without leaks. A mismatch can lead to frustrating interruptions during cleaning tasks.

During my years in the industry, I encountered numerous situations where users attempted to use unsuitable connections. I recall one instance where a client faced severe water pressure issues because they used a low-quality adaptor. After switching to a reliable one, the performance improved dramatically, saving them both time and effort.
Always remember to turn off the water supply when not in use. Leaving it on could lead to wear and tear on the fittings and hoses over time. Regular maintenance will also prolong the life of the machine, ensuring it remains a dependable tool in your cleaning arsenal.
Connecting a High-Pressure Cleaner to a Sink
It is possible to attach a high-pressure cleaner to a sink, but specific considerations are crucial for a successful setup. Ensure the sink’s water supply can handle the required flow rate without reducing pressure significantly. Standard kitchen fixtures often do not provide sufficient volume for optimal operation, which can lead to inefficiency.
In my experience, using a suitable adapter is vital. Most high-pressure equipment comes with a variety of connectors, but not all of them fit standard sink fittings. Look for a universal connector that matches your sink’s dimensions. An incorrect fit can result in leaks or damage to the equipment.
Keep in mind the distance from the water source to the cleaning area. A longer hose can lead to pressure loss, so aim for a short, direct run if possible. A garden hose can often be used in conjunction with the cleaner’s intake, but verify that the diameter is compatible to maintain efficiency.
Here’s a quick reference table for the best practices when setting up a high-pressure cleaner with a sink:
| Aspect | Recommendation |
|---|---|
| Water Flow Rate | Minimum 8-10 litres per minute |
| Adapter Type | Universal connector for compatibility |
| Hose Length | Keep it short to reduce pressure loss |
| Check for Leaks | Inspect connections before use |
| Temperature Limits | Ensure water is not too hot, max 50°C |
Lastly, consult the manufacturer’s guidelines for your specific equipment. Each model may have unique requirements that need to be adhered to for safe and effective operation. I’ve seen too many individuals overlook these details and face frustrating setbacks. Avoid those pitfalls by being thorough in your setup process.
Understanding Pressure Washer Connections
To ensure optimal performance while using your cleaning device, it’s crucial to grasp the specifics of connecting it to a water source. A standard household faucet may not provide adequate flow or pressure for some models. Always check the specifications of your unit to determine the minimum water flow rate required. If the flow is insufficient, the motor may overheat, leading to potential damage.
Utilising the right adapters is key. Most units come with a range of fittings designed to accommodate various tap sizes, but having a universal adapter on hand can save time and hassle. Ensure all connections are secure to prevent leaks, which can reduce the efficiency of the operation.
In my experience, I’ve found that using a hose long enough to reach your cleaning area without straining the connections can make a significant difference. Short hoses can create tension at the joints, leading to wear and potential failure over time.
Additionally, consider the temperature of the water used. Hot water may improve cleaning efficiency, but not all devices are designed to handle it. Always refer to the user manual to avoid any mishaps.
For those looking to enhance their washing experience, exploring tools like an air compressor for car wash can provide added versatility, especially for tasks that require air pressure in addition to water.
Types of Taps Suitable for High-Pressure Equipment
For optimal performance, specific types of faucets are preferable for high-pressure devices. Standard taps can pose challenges, while others facilitate a seamless connection. The most suitable options are:
1. Compression Faucets
These are commonly found in kitchens and bathrooms. Their design allows for a steady flow of water, making them ideal for high-demand tasks. Ensure the threads are compatible with your equipment’s fittings to prevent leaks.
2. Ball Faucets
Ball-style models provide excellent water control and flow rates. Their single-handle operation simplifies adjustments, which is beneficial during usage. Verify the diameter of the outlet; a wider opening can enhance efficiency.
Additionally, hose bibs or garden faucets are often the best choice due to their robust construction and compatibility with standard hoses. These taps typically handle higher flow rates, ensuring your equipment operates at peak efficiency.
For those considering installation, compression or ball types are reliable options. Always examine the fittings and ensure a secure, leak-free connection to avoid any mishaps during operation.
Required Adapters and Hoses for Connection
For a seamless setup between your cleaning device and the water source, specific adapters and hoses are necessary. First, assess your water outlet. Standard fittings often require a universal connector, which screws directly onto the faucet. This ensures a tight seal and prevents leaks.
Next, consider the hose. A high-pressure hose with a diameter compatible with your unit is vital. Typically, a 3/4 inch or 1/2 inch hose works well, but always check the manufacturer’s specifications. A longer hose grants flexibility, but avoid excessive lengths that may impair water flow.
Adapters are crucial for compatibility. If your device lacks a direct fit for your faucet’s threading, an adapter kit will bridge this gap. Many kits include various sizes to accommodate different types of outlets, ensuring you have the right fit regardless of your setup.
For those with an aerator on their faucet, a faucet adapter might be necessary. This component replaces the aerator and allows for a secure connection. Always ensure the adapter matches both the faucet size and the hose diameter.
Lastly, inspect all connections for durability. Reinforced hoses and solid brass adapters withstand wear and tear better than plastic counterparts. Investing in quality components saves time and frustration during use, ensuring a reliable and effective cleaning experience.
Checking Water Flow Rate and Pressure
Before attaching a high-powered cleaning unit to your home’s water supply, assess the flow rate and pressure to ensure compatibility. Start by measuring the flow rate using a bucket and timer. Fill a standard 10-litre bucket and time how long it takes to fill. Divide 10 by the time in minutes to get the flow rate in litres per minute (L/min). A minimum of 8-10 L/min is typically recommended for optimal performance.
Next, check the water pressure. This can be done with a pressure gauge attached to the tap. Ideally, the pressure should be between 1.5 to 6 bar. If the reading is lower, the cleaning device may not operate effectively, leading to subpar results.
In my experience, many homeowners underestimate the importance of these measurements. I recall helping a friend who rushed to use his new unit without verifying the flow rate. The result? An unsatisfactory clean and frustration. After a quick check, we discovered his flow rate was only 6 L/min, which wasn’t sufficient. Once he made adjustments to ensure a higher flow, the performance improved dramatically.
Monitoring these factors not only enhances cleaning efficiency but also extends the lifespan of the equipment. Always prioritize these checks before starting any cleaning tasks. A little preparation can save time and effort in the long run.
Potential Risks of Connecting to a Kitchen Tap
.jpg "Can you connect a pressure washer to a kitchen tap")
Using a domestic water source for high-pressure cleaning can lead to several issues. It’s crucial to assess potential hazards to ensure safety and equipment longevity.
Water Quality Concerns
- Tap water may contain minerals and sediment that can clog filters and damage internal components.
- Chlorine and other chemicals in municipal water might react unfavourably with certain cleaning solutions, affecting performance.
Pressure and Flow Rate Challenges
- Standard household plumbing may not provide the required flow rate or pressure, leading to diminished cleaning efficiency.
- Inadequate water supply can cause the machine to overheat, risking motor damage or failure.
Regularly inspect hoses and connections for leaks. A small leak can waste water and put additional strain on the system. For those looking for effective solutions, consider a pressure washer for pavement that suits your needs without compromising on quality.
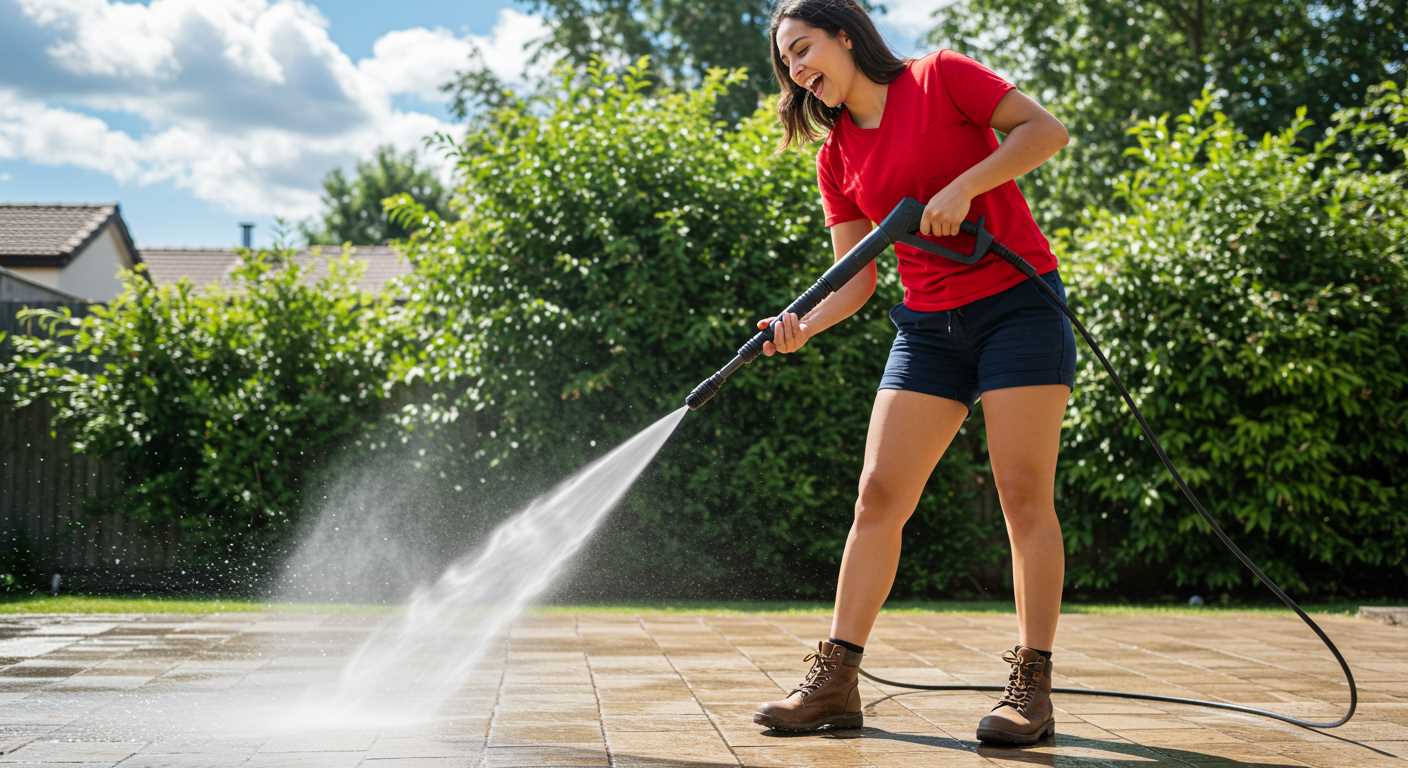
Tips for Safe and Correct Setup
Ensure the water supply is stable before initiating the assembly process. A consistent flow is necessary to avoid interruptions during operation. I once experienced a frustrating situation when a weak flow halted my work midway, leading to delays. Always check the faucet’s functionality first.
Choosing the correct hose is vital. I recommend using a high-quality, reinforced hose designed for high flow rates. Standard hoses may collapse under pressure, leading to leaks or ruptures. My first attempt involved a regular garden hose that failed spectacularly, resulting in a soggy mess and a trip to the hardware store.
Pay attention to the connections. Use appropriate fittings that create a secure seal. I’ve had instances where loose connections resulted in spray back, making for an unpleasant experience. Invest in reliable connectors to ensure everything stays firmly in place.
Double-check the water temperature before starting. Excessively hot water can damage equipment, so it’s best to use cold or lukewarm water. I learned this lesson the hard way after noticing some wear on my unit from a previous incident involving heated water.
Monitor the water flow rate. Ideally, it should meet the specifications of the machine. For example, many models require a minimum of 5 litres per minute. I once ignored this detail and ended up with inadequate cleaning power, leaving dirt stubbornly in place.
| Tip | Description |
|---|---|
| Check Water Supply | Ensure a steady flow to avoid interruptions. |
| Use Quality Hose | Opt for a reinforced hose suitable for high flow rates. |
| Secure Connections | Use reliable fittings to prevent leaks and sprays. |
| Monitor Water Temperature | Avoid hot water to prevent damage. |
| Check Flow Rate | Ensure it meets machine specifications for optimal performance. |
Be mindful of the surrounding area. Ensure there are no obstacles or hazards, as water can create slippery conditions. I’ve witnessed a few near slips and falls that could have been avoided with a little more attention to the workspace.
Lastly, always wear appropriate protective gear. Safety goggles and gloves can save you from splashes and debris. I can’t stress enough how many times a simple pair of goggles saved me from unwanted eye irritation.
Maintenance After Using a Pressure Washer with a Tap
After finishing a cleaning session, it’s critical to ensure proper care of your equipment to prolong its lifespan and maintain optimal performance. Here are the steps I recommend based on years of hands-on experience:
- Disconnect All Hoses: Always detach the hoses immediately after use. Leaving them connected can lead to wear and tear or leaks over time.
- Drain Water: Ensure all water is removed from the hoses and the machine itself. This prevents any potential damage from freezing temperatures if stored outside.
- Flush the System: Run clean water through the unit for a few minutes. This clears any residual detergent or debris and helps maintain the internal components.
- Inspect Filters: Regularly check and clean or replace the inlet filters. Clogged filters can hinder water flow and pressure.
- Check Seals and O-Rings: Look for any signs of wear or damage. Replacing these small parts promptly can prevent larger issues down the line.
- Store Properly: Keep the equipment in a dry, sheltered location. Avoid direct sunlight which can degrade plastic components and hoses.
- Conduct Regular Maintenance: Schedule periodic checks and servicing to ensure all parts function correctly. Pay attention to the motor and any electrical components.
Following these steps will help maintain your cleaning unit’s efficiency and durability, based on my extensive experience with various models and setups.

.jpg)


