
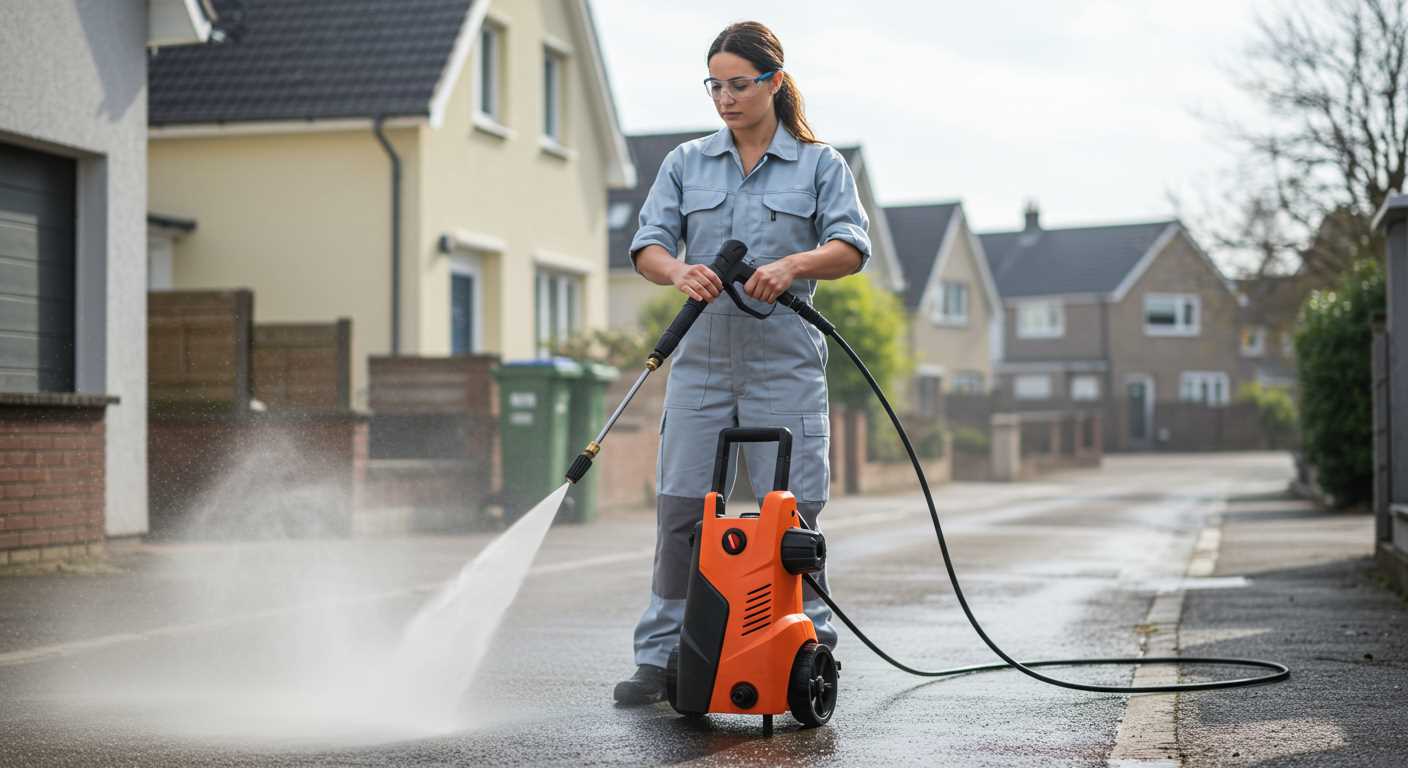


Using high-pressure cleaning equipment on hardwood can yield impressive results, but caution is paramount. I’ve seen too many people damage their beautiful wooden surfaces due to improper techniques or settings. For anyone considering this method, start with a low-pressure setting and a wide-angle nozzle to avoid gouging or stripping the wood.
In my experience, maintaining a safe distance from the surface is crucial. Aiming the spray too closely can cause splintering or even remove the protective finish. When I tested various models, I found that adjustable nozzles offered the best versatility, allowing for a gentle yet thorough clean without compromising the integrity of the wood.

Always conduct a patch test in an inconspicuous area before proceeding with the entire surface. This simple step can prevent costly mistakes and ensure that the wood responds well to the cleaning process. Remember to keep the nozzle moving consistently to avoid concentrating the spray in one spot.
After cleaning, applying a suitable wood preservative can help protect against moisture and UV damage, prolonging the life of the surface. Investing time in preparation and the right equipment will pay off in maintaining the natural beauty of hardwood.
Pressure Washing Techniques for Oak Surfaces
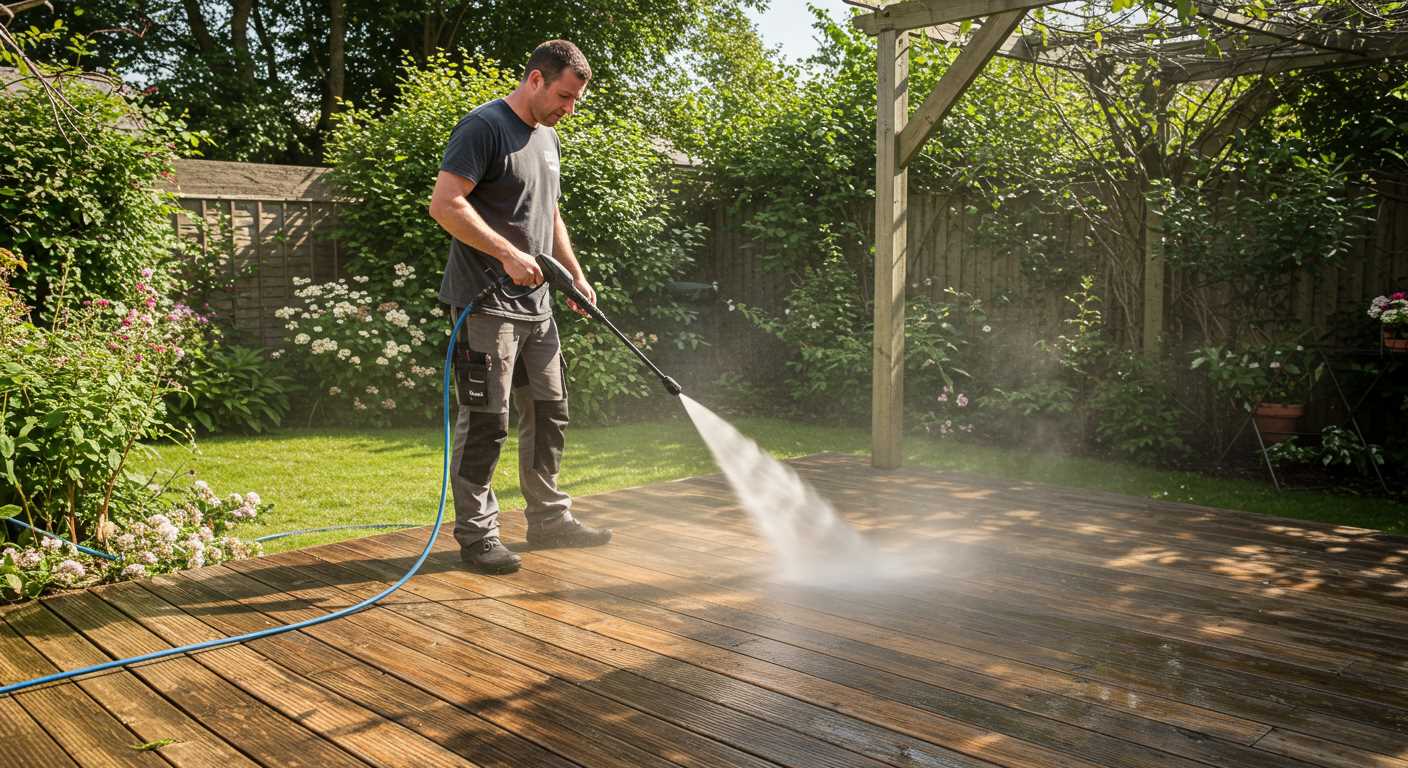
It’s possible to clean oak surfaces using a high-powered cleaning device, but caution is crucial. I remember a project where I tackled a weathered oak deck. The key was to adjust the settings properly to avoid damage.
Here are some recommendations based on my experience:
- Choose the Right Nozzle: A wide-angle nozzle, such as a 25-degree or 40-degree, is ideal to protect the wood from gouging.
- Maintain a Safe Distance: Keep the nozzle at least 2 feet away from the surface. This prevents etching and helps to achieve an even clean.
- Use Low Pressure: Opt for a lower PSI setting. Around 1200-1500 PSI is generally safe for oak, ensuring you don’t strip the wood’s natural finish.
- Clean Along the Grain: Always work in the direction of the grain for a uniform appearance and to minimise damage.
After using the device, I often recommend applying a wood preservative or sealant. It not only enhances the appearance but also provides protection against future weathering. If you’re looking for reliable models, check out the best portable pressure washers for your needs.
In my experience, a careful approach yields the best results while maintaining the integrity of the wood. Always test on a small area first to ensure the desired outcome.
Understanding the Impact of Pressure Washing on Oak Wood
Before considering high-pressure cleaning for timber, it’s essential to understand its effects on the material. During my years in the cleaning equipment industry, I’ve observed that oak, with its dense grain and natural oils, can react variably to high-velocity water streams. If the setting is too intense, the surface may become damaged, leading to splintering or loss of texture.
For optimal results, select a lower pressure setting, ideally below 1500 PSI, and maintain a distance of at least 12 inches from the surface. This approach allows for effective dirt removal without compromising the wood’s integrity. Using a fan tip nozzle helps distribute the water evenly, reducing the risk of concentrated force that can harm the grain.
In my experience, combining the cleaning with a mild detergent can enhance results. However, it’s crucial to ensure any chemical used is suitable for the specific type of wood. After treatment, always rinse thoroughly to avoid residue build-up, which could attract dirt over time.
After cleaning, consider applying a wood conditioner or sealer to restore protection. Oak benefits from regular maintenance, and reapplication of protective finishes can extend its lifespan significantly. Observing these practices will ensure that the natural beauty of the timber is preserved while keeping it clean and well-maintained.
Choosing the Right Pressure Washer Settings for Oak
For optimal results when cleaning oak surfaces, set your equipment to a low pressure of around 1200 to 1500 PSI. This range effectively removes dirt without damaging the wood. Adjust the nozzle to a wide spray pattern to avoid concentrated force that can gouge the timber.
Temperature and Water Selection
Use cold water for most jobs, as hot water may open the wood’s pores excessively. If dealing with stubborn grime or mildew, consider adding a suitable cleaning solution designed for wood. Remember to test it on a small area first to ensure compatibility.
Technique and Movement
Maintain a distance of about 12 to 18 inches from the surface and keep the nozzle moving in a steady, even manner. This prevents streaking and reduces the risk of deep abrasions. Always work with the grain of the wood for the best finish.
| Setting | Recommendation |
|---|---|
| Pressure | 1200-1500 PSI |
| Nozzle Type | Wide spray pattern |
| Distance | 12-18 inches |
| Water Temperature | Cold recommended |
| Cleaning Solution | Wood-compatible solution |
For specific applications like removing graffiti, consider using a pressure washer for graffiti removal. This will ensure you have the right equipment to tackle tough stains without damaging the surface.
Preparing Oak Surfaces Before High-Pressure Cleaning
Before engaging in any cleaning activity involving timber, ensure to remove all furniture and decorative items from the area. This will prevent any damage during the process and allow for a thorough job. A simple broom or vacuum will help eliminate loose dirt and debris from the surface. Pay extra attention to crevices and joints, where grime often accumulates.
Inspect for Damage
Take a moment to examine the wooden surface for any signs of rot or decay. If any areas appear compromised, it’s advisable to address these issues prior to commencing with the cleaning. Treating damaged spots with a wood preservative can prevent further deterioration. In cases of severe damage, consider replacing affected sections altogether.
Moisture Considerations
Check the moisture content of the wood, as it should ideally be below 20% for optimal cleaning. If the timber feels damp, allow it to dry naturally for a few days. High moisture levels can lead to unwanted effects, such as warping or splitting, especially when subjected to powerful jets of water. A moisture meter can be a valuable tool for this assessment.
Post-Washing Care for Oak Wood
After cleaning hardwood, it’s crucial to implement a proper maintenance routine. Begin with drying the surface thoroughly, as excess moisture can lead to warping or mould growth. I often recommend allowing the wood to air dry for at least 24 hours, especially in a well-ventilated area.
Next, inspect the wood for any signs of damage or wear. If you notice rough patches or splinters, lightly sand those areas with fine-grit sandpaper. This step can restore the smooth finish and improve the wood’s overall appearance.
Following sanding, applying a suitable wood conditioner or sealant is advisable. This not only protects against future moisture damage but also helps enhance the natural grain of the wood. In my experience, a high-quality penetrating oil works wonders for maintaining the beauty of hardwood.
Regular upkeep is essential. I suggest a maintenance schedule that involves periodic cleaning with gentle soap and water, avoiding harsh chemicals that could harm the finish. Additionally, consider reapplying the sealant every couple of years, depending on exposure to the elements.
Finally, keep an eye on the surrounding environment. Ensure proper drainage to prevent water pooling near wooden structures and monitor for any signs of insect activity. Taking these steps will prolong the life and beauty of your hardwood surfaces significantly.
Common Mistakes When Using a High-Pressure Cleaner on Oak
Avoid using excessive pressure. Many underestimate the power of a high-pressure cleaner, assuming a higher setting will yield better results. However, this can quickly damage the grain and surface of oak, leading to splintering and a rough texture. I recall a project where a homeowner used too much force, resulting in deep grooves that required extensive sanding to repair.
Neglecting to test a small area first is another common pitfall. I always recommend trying a less visible spot to assess how the wood reacts. This simple step can save a lot of heartache later. I once witnessed a client skip this test, and the results were disastrous–a beautiful oak deck became marred and uneven.
Ignoring the Direction of the Grain
Working against the natural grain can lead to significant damage. Pressure cleaning should follow the grain to avoid raising the fibres and creating an uneven finish. I’ve seen decks that looked like they had been sanded with a chainsaw because someone didn’t follow this simple rule.

Overlooking Proper Cleaning Solutions
Using the wrong cleaning solution can also spell trouble. Some chemicals can react poorly with the wood, causing discolouration or damage. I learned this the hard way when I experimented with a cleaner not designed for wood surfaces. It left a cloudy residue that took forever to remove. Always choose products specifically formulated for wood and check compatibility with oak.
Alternatives to High-Pressure Cleaning for Wood Maintenance
Opting for gentler methods can significantly enhance the longevity and appearance of timber. One effective approach involves using a soft-bristle brush combined with a mild soap solution. This method allows for thorough cleaning without damaging the wood fibres. I often recommend a solution of warm water and a few drops of dish detergent. Apply this mixture with the brush, focusing on one section at a time to ensure thorough coverage and rinsing.
Natural Cleaning Solutions
Another option is utilising natural cleaning agents like vinegar or baking soda. For a vinegar solution, mix equal parts of vinegar and water to create a gentle cleaner. Spray it on the surface, let it sit for a few minutes, and scrub lightly. Baking soda can be mixed with water to form a paste, which can be applied to stubborn stains. After scrubbing, rinse thoroughly to prevent any residue from remaining.
Regular Maintenance Tips

Incorporate regular inspections and maintenance to prevent build-up. A simple routine of wiping down surfaces with a damp cloth can prevent the accumulation of dirt and grime. Applying a protective sealant every few years can also help maintain the integrity of the wood, offering a layer of defence against moisture and UV damage. This proactive approach saves time and effort in the long run, allowing your timber surfaces to remain beautiful and durable.
.jpg)


