


Yes, reconnecting the fittings on your cleaning machine’s flexible tubing is entirely possible. In my years of experience, I’ve encountered numerous situations where users faced wear and tear on their equipment. A damaged line doesn’t always mean a complete replacement; often, with the right approach and tools, a simple reconnect can suffice.
First, assess the damage. If the end fittings are compromised but the tubing remains intact, consider purchasing a crimping tool specifically designed for this purpose. I recall a time when a colleague managed to salvage an expensive piece of equipment by simply replacing the fittings instead of the entire line. It saved both time and resources.
Next, ensure you have the correct fittings for your specific model. There’s a range of sizes and types available, so carefully check compatibility. I once made the mistake of assuming a universal fitting would work, only to find out that it led to leaks. It’s always better to verify before proceeding.

Once equipped, carefully remove the old fittings and prepare the tubing for the new ones. Apply heat if necessary to ensure a snug fit. I’ve learned that a secure connection is key to preventing future issues. A proper seal can make all the difference in performance and longevity.
Finally, test the connection under pressure. It’s crucial to ensure that everything is secure and functioning well before putting your equipment back into regular use. I’ve seen the frustration caused by overlooked issues during this step, leading to more significant problems down the line.
Reattaching High-Pressure Hoses
Reattaching the fittings on a high-pressure line is feasible under certain conditions. If the existing fittings are damaged but the line remains intact, replacing the fittings can restore functionality. Ensure that the hose diameter matches the fitting size for a secure connection.
First, cut the hose cleanly with a sharp utility knife to remove any damaged section. Measure and mark where the new fitting will attach, ensuring a snug fit. Use a heat gun to soften the hose end if necessary, allowing the fitting to slide on more easily. Once the fitting is in place, use a crimping tool specifically designed for this purpose to secure the connection. Make sure the crimp is tight to prevent leaks during operation.
Always inspect the hose for signs of wear before reattaching any fittings. If the inner lining is cracked or the outer cover has significant abrasions, replacing the entire unit is advisable. This ensures safety and efficiency while using the equipment.
In my experience, I’ve seen many users attempt to salvage hoses that are beyond repair, leading to avoidable failures during critical tasks. Investing in a quality replacement can save time and frustration in the long run.
Lastly, after reattaching, conduct a thorough pressure test. Check for leaks by running the machine briefly and inspecting all connections. A reliable seal is paramount for safe operation.
Understanding the Need for Re Crimping a Pressure Washer Hose
Maintaining a high-quality cleaning tool often involves addressing wear and tear on components. One of the most common issues I’ve encountered is the need to repair the fittings on hoses. If you’ve noticed leaks or fraying, it might be time to consider redoing the fittings.
Reasons for Repairing Fittings
- Leaking water can reduce the efficiency of your equipment, leading to more time spent on tasks.
- Frayed or damaged fittings can pose safety risks, such as sudden bursts of water pressure.
- Replacing a whole hose can be costly, while repairing the ends is often more economical.
Signs That Repair is Necessary
- Visible wear around the connection points.
- Water escaping from fittings during operation.
- Difficulty connecting or disconnecting the hose from the unit.
In my experience, addressing these issues promptly can extend the lifespan of your equipment. If you’re looking to enhance your setup, consider exploring the best pressure washer extension wands to improve your reach and efficiency while using your tools.
Tools and Materials Required for Re Crimping
To successfully reattach fittings to your high-pressure line, you’ll need a specific set of tools and materials. Based on my experience, having the right equipment can make this task far easier and more efficient.
Essential Tools
1. Crimping Tool: A quality crimping tool is non-negotiable. Look for one that accommodates the size of your line’s fittings and provides a secure connection.
2. Cutting Tool: A sharp utility knife or hose cutter is essential for trimming the end of the line. Ensure a clean cut to avoid leaks.
3. Measuring Tape: Accurate measurements are crucial. Use a measuring tape to confirm the length of the line before making adjustments.
4. Wrench Set: A set of wrenches will help tighten fittings securely, preventing any future leaks.
Materials Needed
1. Replacement Fittings: Ensure that the fittings match the specifications of your existing equipment. Mismatched parts can lead to failure.
2. Clamps: High-quality clamps can provide additional security for your connections, especially if the line will be under high pressure.
3. Lubricant: A silicone-based lubricant can help ease the assembly of fittings and provide a better seal.
4. Protective Gear: Safety goggles and gloves are advisable to protect yourself from potential hazards during the process.
With these tools and materials gathered, the task of reattaching fittings becomes straightforward. If you’re considering investing in a new system, I recommend checking out a bucket fed pressure washer for its convenience and effectiveness.
Step-by-Step Guide to Re Crimping a Pressure Washer Hose

To successfully reattach the end fittings on a high-pressure line, follow these precise steps:
- Preparation: Ensure the line is fully drained of any residual liquid. Lay the hose flat on a clean surface to prevent debris from contaminating the fittings.
- Cutting: Use a sharp utility knife or hose cutter to remove the damaged section, making a clean, straight cut. This ensures a proper fit for the new connector.
- Choose the Right Fittings: Select compatible end fittings that match the diameter of the hose. Verify that the fittings are designed for high-pressure applications.
- Insert the Fitting: Slide the fitting into the end of the hose. Push it in as far as it will go. It should sit snugly against the inner wall.
- Position the Ferrule: Place the ferrule over the hose, ensuring it is aligned with the fitting. The ferrule is crucial for securing the connection and preventing leaks.
- Crimping: Using a crimping tool, firmly apply pressure to the ferrule. Ensure the crimping is even around the entire circumference to avoid weak spots.
- Inspection: After crimping, visually inspect the connection. Look for any gaps or misalignments. A proper fit should be tight and secure.
- Testing: Before using the equipment, conduct a pressure test. This confirms that the connection holds under operational pressures and prevents potential leaks.
In my experience, taking the time to thoroughly check each step can save you from future headaches. I once rushed through a reattachment and ended up with a significant leak during a job. Always prioritise quality over speed.
Common Mistakes to Avoid When Re Crimping
One of the biggest pitfalls I’ve encountered is using the wrong fittings. Always ensure that the connectors match the diameter and pressure ratings of your tubing. Mismatched components can lead to leaks or even catastrophic failures during use.
Another frequent error is inadequate preparation of the tubing ends. Failing to cut the hose squarely can create uneven surfaces, making it impossible to achieve a secure seal. I’ve seen this lead to leaks that could have been easily avoided with a clean, straight cut.
Neglecting to Check Compatibility
Compatibility isn’t just about size. Different materials behave differently under pressure. Using incompatible materials can weaken the assembly. I once made this mistake, thinking a certain metal would hold up well with a rubberised tube. It didn’t, and I ended up with a mess on my hands.
Skipping the Testing Phase
Never skip the testing phase after reassembling the connection. I learned this the hard way after rushing through a project. A quick check for leaks under pressure could save you from a major malfunction later. It’s worth taking that extra time to ensure everything functions properly.
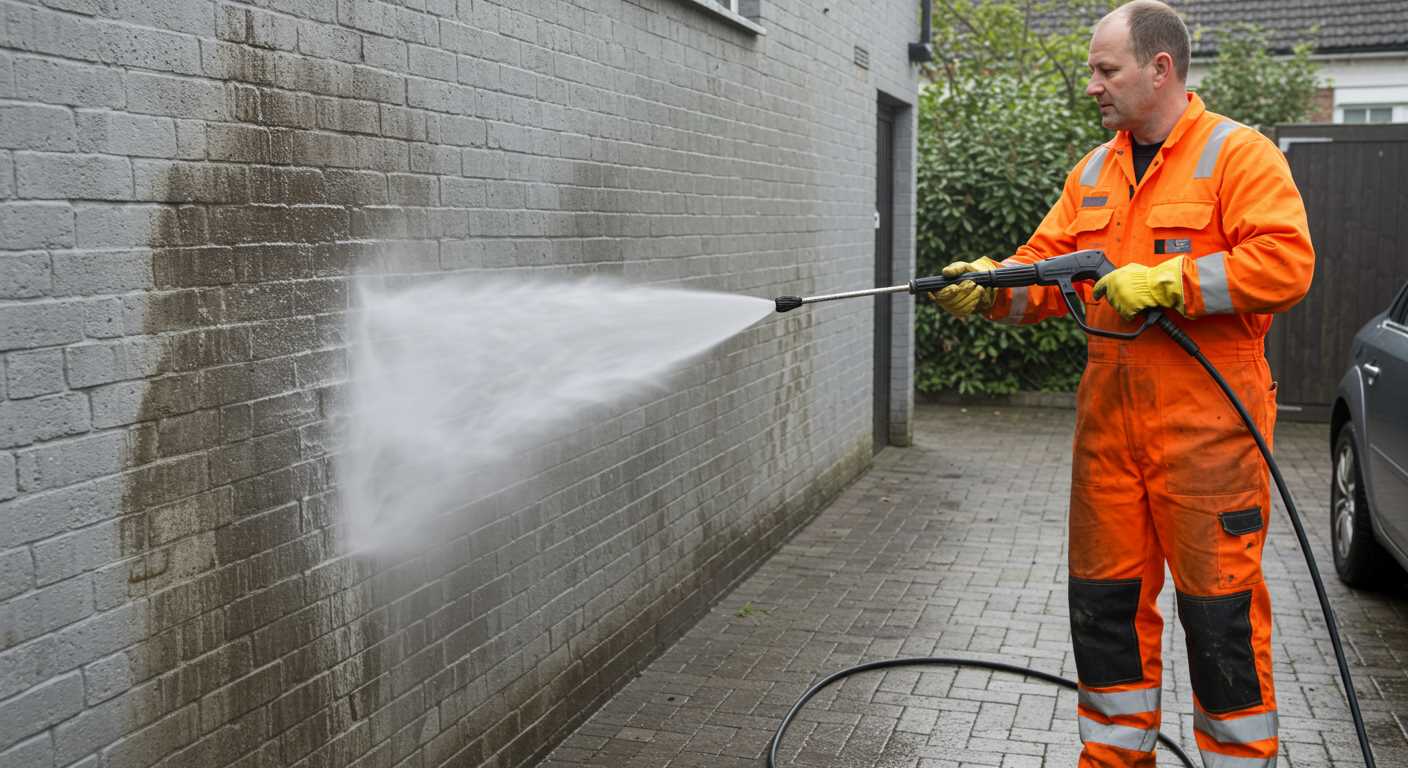
Signs That Your High-Pressure Cleaning Equipment’s Flexible Tubing Needs Replacement Instead
When dealing with flexible tubing for cleaning equipment, certain indicators suggest it’s time for a replacement rather than repair. Recognising these signs early can save both time and resources in the long run.
Visible Damage and Wear
Examine the tubing closely for any visible signs of damage. Look for cracks, cuts, or abrasions. If the outer layer is frayed or compromised, it’s often a clear signal that replacement is necessary. In my experience, even small cuts can lead to significant issues during operation.
Decreased Performance
Notice a drop in performance? If the flow rate diminishes or pressure fluctuates, this may indicate internal damage or blockages within the tubing. I once encountered a situation where a seemingly minor leak drastically reduced cleaning efficiency, leading to frustratingly longer work hours.
| Sign | Description |
|---|---|
| Visible Damage | Cracks, cuts, or frayed edges on the tubing. |
| Performance Issues | Noticeable drop in flow rate or fluctuating pressure. |
| Leaks | Water escaping from joints or along the tubing. |
| Age | Older tubing may become brittle and prone to failure. |
Keep an eye out for leaks as well. Water escaping from joints or along the length of the tubing indicates deterioration. In a previous project, I underestimated a small leak that escalated into a larger issue, leading to more extensive repairs than necessary.
Lastly, consider the age of the tubing. Older materials can become brittle and lose flexibility. I’ve found that even if there are no visible issues, tubing beyond a certain age often fails unexpectedly, interrupting work and leading to added costs. Trust your instincts and experience; when in doubt, replacing is usually the best course of action.
FAQ:
Is it possible to re-crimp a pressure washer hose if it gets damaged?
Yes, you can re-crimp a pressure washer hose if it gets damaged. However, this process requires specific tools such as a crimping tool and the correct size fittings. First, you should cut the damaged section of the hose, ensuring you have a clean cut. Then, slide the fitting onto the hose and use the crimping tool to secure it in place. Make sure to follow the manufacturer’s guidelines for the correct pressure and fitting type to ensure a proper seal.
What tools do I need to re-crimp a pressure washer hose?
To re-crimp a pressure washer hose, you will need a crimping tool, replacement fittings that match the hose size, and possibly a hose cutter for a clean cut. Additionally, having a vice or a sturdy surface to secure the hose while you work can make the process easier. Always check the specifications of your hose to ensure you have the right tools and fittings for a successful crimp.
How can I tell if my pressure washer hose needs to be re-crimped?
Signs that your pressure washer hose may need to be re-crimped include visible leaks at the fittings, reduced water pressure during operation, or any separation between the hose and the fittings. If you notice water spraying from the connection points or if the hose feels loose, it is advisable to inspect the crimp. If any of these issues are present, re-crimping or replacing the hose may be necessary.
Can I use a regular hose crimping tool for my pressure washer hose?
Using a regular hose crimping tool for a pressure washer hose is not recommended. Pressure washer hoses are typically designed to withstand higher pressures, and specific crimping tools are made to accommodate the thicker walls and materials of these hoses. It is best to use a dedicated pressure washer hose crimping tool to ensure a proper fit and seal, preventing leaks and potential failure during use.
What should I do if I don’t have the tools to re-crimp my pressure washer hose?
If you don’t have the tools to re-crimp your pressure washer hose, you have a few options. You can take the hose to a local hardware store or a professional repair shop where they may offer crimping services. Alternatively, you can purchase a crimping tool and fittings to do it yourself, as this can be a worthwhile investment for future repairs. If neither option is viable, consider replacing the entire hose to ensure safe and effective operation of your pressure washer.
.jpg)


