


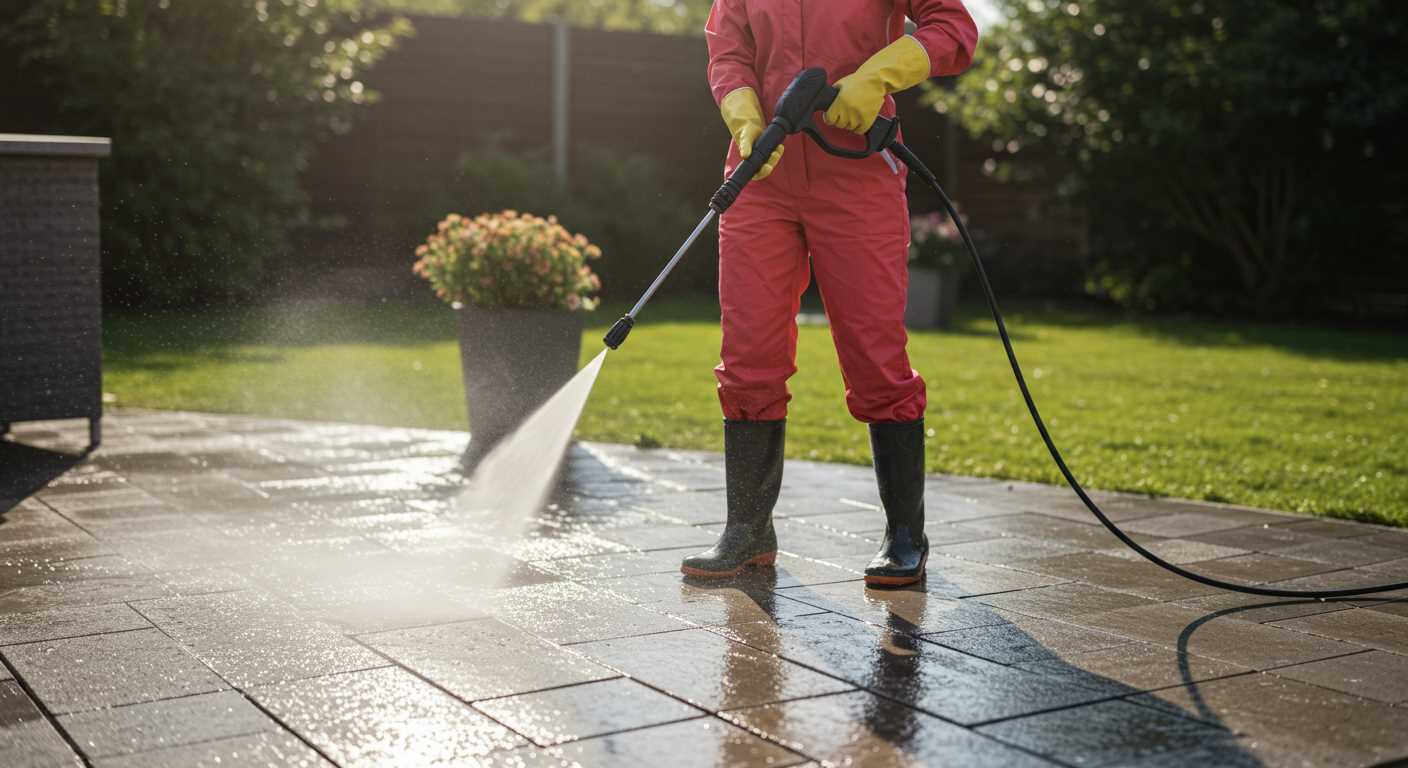
Restoring a malfunctioning cleaning unit is entirely feasible, and I’ve tackled this task numerous times throughout my career. It’s not just about replacing parts; it’s about understanding how the components interact. When the mechanism starts to falter, often it’s due to wear and tear or a simple blockage, rather than an irreparable failure.
First, assess the situation. If water flow is weak or non-existent, inspect the inlet filter and hoses for clogs. A thorough cleaning can often resolve the issue without the need for any replacement parts. If the motor is running but pressure is insufficient, the issue might lie within the internal valves or seals. These components can wear out over time, but with the right tools and a bit of patience, they can be replaced effectively.
In my experience, disassembling the mechanism is the best way to identify problems. Make sure to keep track of the order of parts during this process. Documenting your steps can save a lot of time when reassembling. The most common failures involve O-rings and seals, which are inexpensive and can be purchased at any hardware store. Always opt for high-quality replacements to ensure longevity.
Finally, after addressing any identified issues, it’s crucial to test the unit before considering the job complete. Run it at low pressure first, gradually increasing to operational levels. This method not only confirms repairs but also allows for any last-minute adjustments. With a little effort and the right approach, your cleaning apparatus can be restored to its former glory.
Identifying Signs of Pump Failure
Watch for inconsistent water pressure as a primary indicator of malfunction. When the stream fluctuates, it often suggests internal wear or damage. Regularly inspect the hose for kinks or blockages that could contribute to this issue.

Listen closely for unusual noises. A grinding or rattling sound can imply that components are misaligned or that bearings are failing. If you hear these sounds, it’s advisable to examine the assembly thoroughly.
Examine for leaks around the unit. Water pooling at the base can signal seal failures or cracks in the housing. Addressing leaks promptly can prevent further damage and maintain performance.
Check the temperature of the unit during operation. Overheating can indicate that the cooling system is compromised or that there is insufficient water flow. Allowing the machine to overheat can lead to irreversible damage.
Monitor for excessive vibrations. If the equipment shakes during use, this could suggest that components are loose or unbalanced. Tightening screws and ensuring proper alignment can often resolve this issue.
| Sign | Possible Cause | Recommended Action |
|---|---|---|
| Inconsistent water pressure | Internal wear or blockage | Inspect hoses and internal components |
| Unusual noises | Misalignment or bearing failure | Examine and adjust assembly |
| Leaks | Seal failure or cracks | Replace seals or repair housing |
| Overheating | Insufficient water flow | Check water supply and cooling system |
| Excessive vibrations | Loose or unbalanced components | Tighten screws and balance unit |
These signs, when observed, should prompt immediate inspection. Ignoring them can lead to more extensive damage, resulting in costly repairs or replacement. Regular maintenance and paying attention to these indicators will extend the lifespan of your equipment.
Tools Needed for Rebuilding a Pump Assembly
Start with a set of basic hand tools: a socket set, wrenches, and screwdrivers. I remember the first time I tackled a similar task; having the right sizes saved me from a lot of frustration. It’s crucial to ensure the tools fit snugly to avoid rounding off screws or bolts.
Next, grab a torque wrench. This will help maintain the correct tension on bolts, ensuring everything is sealed properly without risking damage. I once skipped this step, thinking it wasn’t necessary, and ended up with leaks that required reassembly.
A clean workspace is key. Lay out a magnetic tray for small parts like screws and washers. They can easily roll away, and trust me, looking for a lost screw can be a time-consuming hassle. I learned that the hard way!
Have a rubber mallet handy. Sometimes, parts can be stubbornly stuck together. A gentle tap can help dislodge components without causing damage. I’ve had my share of awkward moments when I had to improvise, but this tool saved me more than once.
Don’t forget about lubrication. A good assembly grease will make reinstallation smoother and prevent future issues. I prefer using silicone-based grease as it withstands high temperatures and pressure well. It’s a small detail that can make a big difference.
Lastly, a good set of safety gear is non-negotiable. Safety goggles and gloves are a must. I had a close call with a spring that shot out unexpectedly during disassembly. Protecting yourself is always wise.
Step-by-Step Guide to Disassembling the Pump
Begin by disconnecting the water supply and power source. This ensures safety throughout the process.
1. Gather Necessary Tools
- Socket set
- Adjustable wrench
- Screwdrivers (flathead and Phillips)
- Torque wrench
- Sealant or thread tape
2. Remove the Housing
Start unscrewing the outer casing. Use the appropriate screwdriver to avoid stripping screws. Keep track of all screws and small parts to prevent loss.
3. Detach the Inlet and Outlet Connections
- Carefully unscrew the inlet and outlet hoses.
- Inspect the fittings for damage or wear.
4. Take Out the Internal Components
Once the housing is removed, locate the internal assembly. Remove bolts or screws holding it in place. Note the arrangement of components for reassembly.
5. Clean and Inspect
- Use a soft brush and solvent to clean parts.
- Check for cracks, wear, or other signs of damage.
6. Document the Process
Take photos or make notes during disassembly. This will be invaluable during reassembly.
Following these steps will facilitate a smooth disassembly process. Pay attention to details and maintain an organised workspace to ensure successful reassembly later on.
Inspecting and Replacing Worn Components
Begin with a thorough examination of the internal parts. Look for any visible signs of wear, such as cracks in the casing or pitting on the valves. Pay particular attention to seals and O-rings; these components often degrade over time and can lead to leaks. It’s wise to have a replacement kit on hand, as new seals can prevent further damage to the assembly.
Common Components to Inspect
During your inspection, focus on the following components:
- Valves: Check for proper seating and sealing. Worn valves can affect pressure output significantly.
- Piston: Look for scoring or scratches that can hinder performance. A damaged piston often indicates a need for replacement.
- Connecting Rods: Ensure they are intact and not bent. Misaligned rods can cause severe operational issues.
- Bearings: Listen for unusual noises during operation; worn bearings may create grinding sounds.
Replacing Worn Parts
When you find worn components, replacing them promptly is essential. Use parts that match the original specifications to ensure compatibility and performance. For example, if you need to replace a chemical injector, consider checking out the best chemical injector for pressure washer options available. Once replacements are fitted, reassemble the unit carefully, making sure all seals are properly placed to avoid future leaks.
If you’re looking for high-performance units for specific tasks, like cleaning decking, exploring the pressure washers for cleaning decking can lead you to find the right tools for the job.
Reassembling the Pressure Cleaning System Correctly
Ensure all components are clean and free from debris before assembly. Use a lint-free cloth to wipe down surfaces, especially seals and gaskets. This prevents contamination that could lead to future leaks.
Aligning Components
Begin with the casing. Place the main body on a flat surface and carefully position the internals, making sure all parts align perfectly. Misalignment can cause excessive wear or even damage. If your system features a drive shaft, ensure it slots in smoothly without any force.
Sealing and Fastening
Apply a thin layer of grease on all gaskets to enhance sealing. Carefully insert each gasket, ensuring no twists occur. When tightening screws, follow a star pattern to distribute pressure evenly, preventing warping. Use a torque wrench if possible to avoid overtightening, which can crack the casing.
After assembly, double-check all connections and fittings. A thorough inspection at this stage can save time later. Once reassembled, run a brief test to check for leaks or unusual noises. If all seems well, your cleaning machine should be ready for action.
Testing the Rebuilt Unit for Performance
After reassembly, the moment of truth arrives: testing the modified unit. Begin by filling the water tank, ensuring all connections are secure. Attach a suitable nozzle based on the task at hand. I often start with a low-pressure nozzle to observe initial performance without risking damage.
Next, connect the unit to a power source, ensuring it’s in a safe location away from any obstacles. Turn it on and listen for unusual sounds. A smooth operation is expected, while any grinding or high-pitched noise could indicate misalignment or improper assembly. If this occurs, it may be necessary to disassemble again for further inspection.
As the water flows, monitor the pressure gauge. A consistent reading within the manufacturer’s specified range indicates successful refurbishment. If the pressure fluctuates drastically, re-evaluate the seals and components for proper fit and function.
Test various nozzles to assess versatility. I typically switch between a fan pattern and a pinpoint jet to gauge performance across different applications. Each should deliver a steady stream without sputtering. If there are inconsistencies, it likely points to an issue with the unloader valve or the inlet filter.
Finally, conduct a thorough inspection of all hoses and fittings during operation. Look for leaks, as these can undermine efficiency and lead to further complications down the line. If everything checks out, take a moment to enjoy the satisfaction of a job well done. A well-functioning unit is a testament to careful attention to detail during the refurbishment process.
Maintenance Tips to Extend Pump Life
Regular maintenance is the key to longevity. I recommend flushing the system with clean water after each use to prevent debris buildup that can wear down components. This simple step can save hours of disassembly later on.
Lubrication Matters
Applying lubricant to the seals and O-rings periodically is essential. I’ve seen too many units fail due to dried-out seals. A few drops of appropriate grease can significantly extend their lifespan. Just make sure not to overdo it; excess lubricant can lead to complications.

Monitor Operating Conditions
Avoid running the equipment without water, as this can lead to overheating and subsequent damage. Always check that your inlet filter is clean, as a clogged filter can restrict flow and cause unnecessary strain on the inner workings. Keeping an eye on the temperature and pressure during operation can help you catch potential issues early.
.jpg)


