
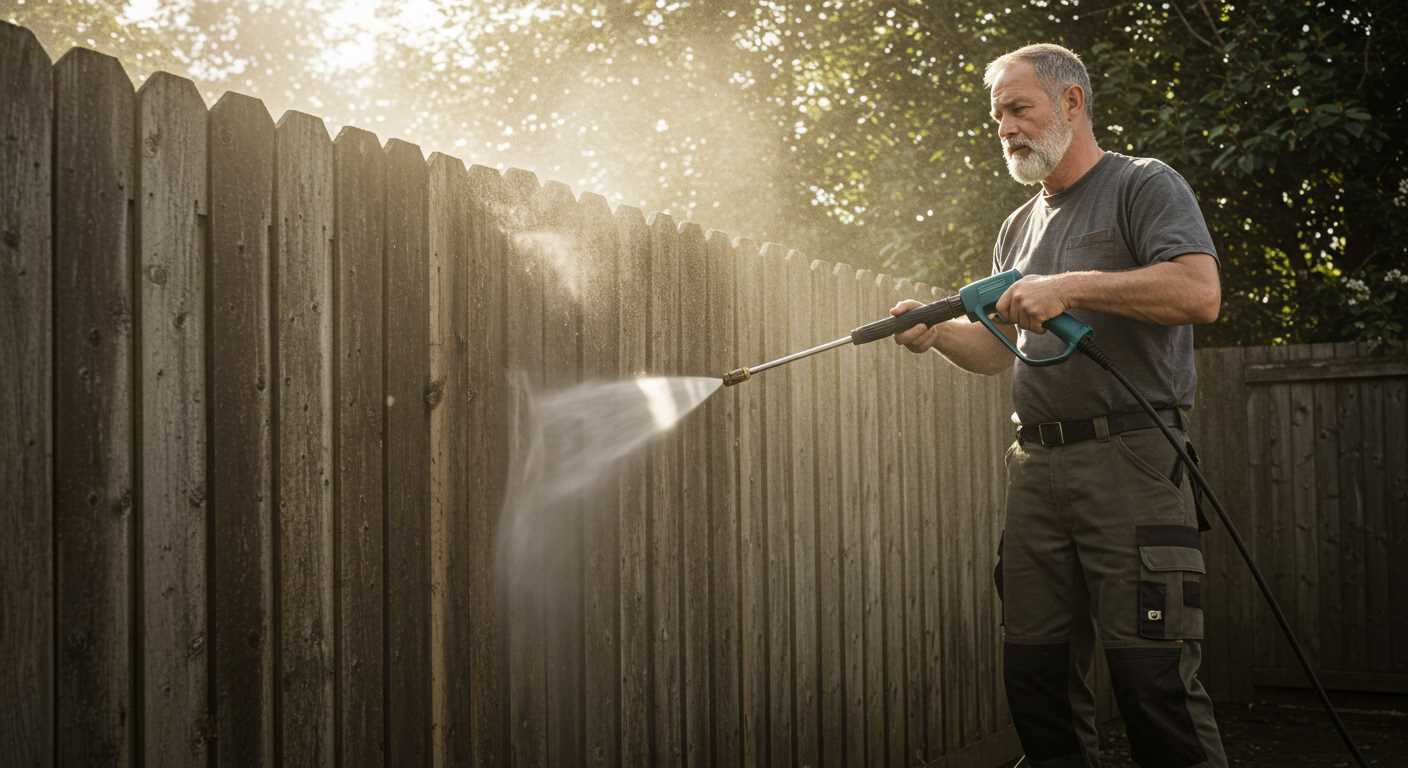


Yes, tackling those unsightly marks on your outdoor surfaces can be achieved using high-pressure equipment. Having tested various models over the years, I can attest to the effectiveness of this method, especially for stubborn blemishes that seem to cling on. It’s not just about blasting away dirt; the right technique can truly rejuvenate your wooden features.
First, selecting the appropriate nozzle is key. I’ve found that a 25-degree nozzle typically provides a good balance between power and precision. Too narrow of a spray can cause damage, while too wide might not eliminate the marks effectively. When I first attempted this technique, I was amazed at how quickly the right nozzle made a significant difference.
Prior to starting, ensuring the surface is clear of debris is crucial. I’ve made the mistake of rushing into it, only to realise that small stones and leaves can cause scratches. A thorough sweep of the area not only sets the stage for a better outcome but also protects your equipment.
Another important aspect is the distance from which to operate the unit. Maintaining a distance of about 12 inches from the surface allows for optimal results without risking damage. I remember a time when I got a bit too close, and the wood suffered as a result. A steady, controlled approach yields far superior results.
Utilising a detergent specifically designed for wood surfaces can enhance the process. Applying it before using the high-pressure gear allows the solution to penetrate and break down the marks more effectively. In my experience, letting the detergent sit for a few minutes can yield a much cleaner finish.
Finally, be prepared for a bit of elbow grease, as some areas may require multiple passes. It’s all part of the process, but the satisfaction of seeing the surface regain its former glory makes it all worthwhile. Trust me, the effort pays off when you see the transformation unfold before your eyes.
Removing Stains from Wooden Surfaces Using High-Pressure Equipment
Using high-pressure cleaning tools can be a suitable method for tackling stubborn marks on wooden surfaces. Here’s what I’ve learned over the years:
- Choose the Right Nozzle: Opt for a wide fan spray nozzle, usually 25-40 degrees. This helps spread the force evenly, minimising the risk of damaging the wood.
- Adjust Pressure Settings: Start at a lower pressure setting. A pressure of around 1500 to 2000 PSI is typically sufficient for most wooden surfaces. Higher pressures can lead to splintering.
- Distance Matters: Maintain a distance of at least 12 inches from the surface. Gradually move closer as needed, but always keep an eye on the wood’s condition.
- Follow the Grain: Direct the spray along the grain of the wood. This technique helps in lifting the marks effectively while preserving the surface integrity.
- Use Detergents Wisely: Consider using a specialised wood cleaner. Mix it with water according to the instructions, and apply it before pressure washing for better results.
From personal experience, I’ve found that pre-soaking the area with a cleaning solution and allowing it to sit for a few minutes can enhance the overall outcome. After washing, let the wood dry completely to assess any remaining marks. If necessary, repeat the process or consider sanding for persistent blemishes.

Always conduct a small test in an inconspicuous area to gauge how the wood reacts. This precaution ensures that your cleaning approach is safe and effective.
Understanding Deck Stain Types Before Pressure Washing
Knowing the type of finish on your outdoor surface is crucial before starting any cleaning process. Oil-based finishes, for instance, often penetrate deeply into the wood, providing a rich colour but can be tough to eliminate. Water-based options, while easier to wash off, might not withstand the elements as well as their oil counterparts. Each type reacts differently to high-pressure cleaning, impacting the outcome significantly.
During one project, I encountered a client with an oil-based treatment on their patio. After attempting to strip it using a high-pressure unit, the results were patchy. The powerful jet didn’t fully lift the heavy residue, requiring additional scrubbing and chemical agents. In contrast, when tackling a water-based coating, the task was far less laborious; the finish lifted cleanly and quickly, showcasing the wood’s natural beauty beneath.
Stains also vary in transparency. Semi-transparent options offer a blend of colour and wood grain visibility, while solid stains resemble paint and cover imperfections. The latter can be particularly stubborn. On one occasion, I worked with a solid colour stain that resisted removal despite multiple passes. It became clear that relying solely on high-pressure cleaning wasn’t enough; a combination of techniques was necessary.
Before initiating the washing process, always perform a small test area. This strategy provides insight into how the staining reacts to the pressure and helps avoid potential damage. I’ve learned this the hard way; skipping this step once led to visible lines where the pressure was too strong, ruining an otherwise pristine surface.
Ultimately, understanding the type of finish and its characteristics allows for a more precise approach, ensuring optimal results without unnecessary complications. Always select appropriate strategies tailored to the specific stain type for the best outcome in your cleaning project.
Choosing the Right Pressure Washer for Deck Stain Removal
For optimal results in eliminating unwanted coatings from outdoor surfaces, selecting the appropriate equipment is crucial. Based on my extensive experience, here are key factors to consider:
- Pressure Rating: Look for a unit that offers a pressure range between 1500 to 3000 PSI. Higher pressure is effective for tougher substances, but too much force can damage wood.
- Flow Rate: Aim for at least 1.5 GPM (gallons per minute). A higher flow rate aids in rinsing away residues efficiently.
- Nozzle Selection: Opt for adjustable nozzles. A 25-degree nozzle is typically ideal for wood surfaces, providing a good balance between cleaning power and safety.
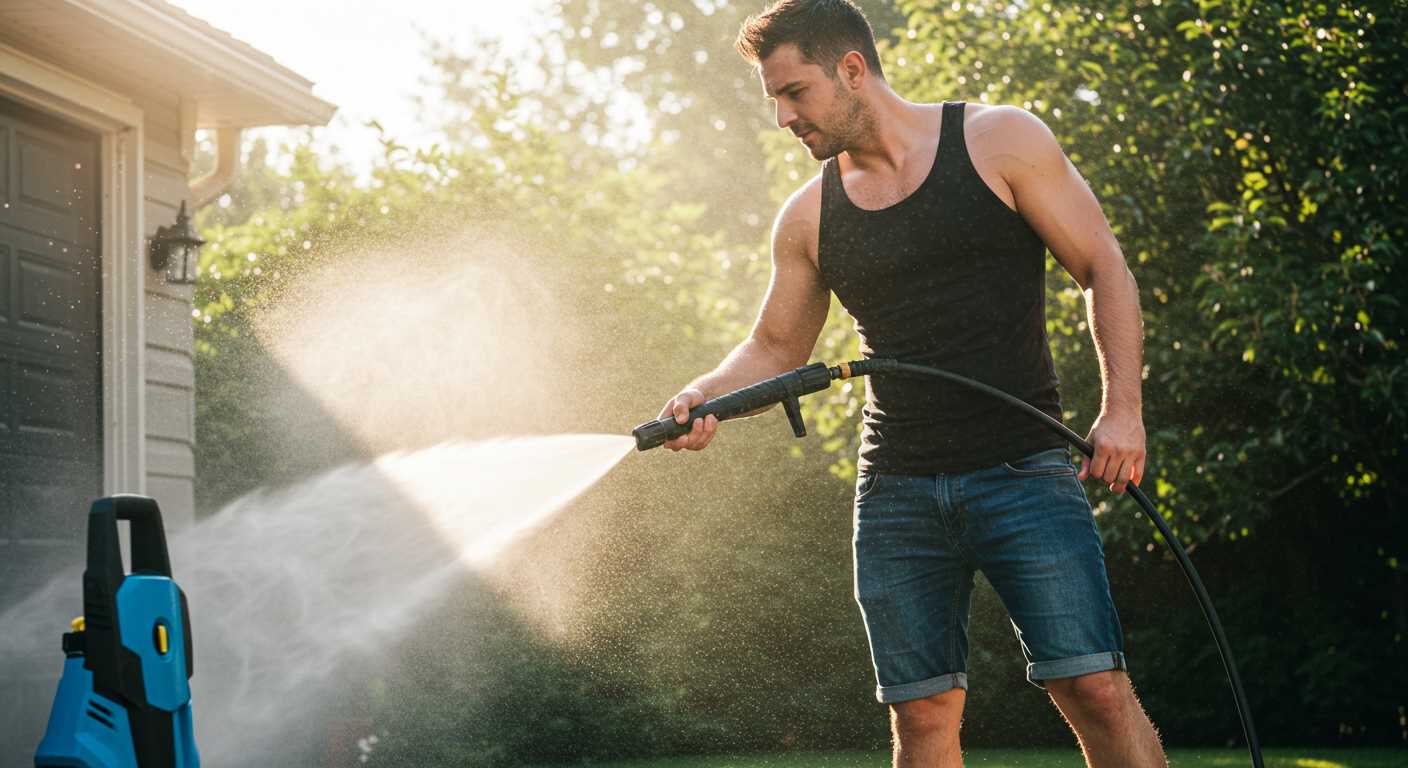
- Electric vs. Gas Models: Electric units are quieter and easier to maintain, while gas models offer more power for larger jobs. Choose based on your project size and frequency of use.
- Portability: Consider weight and design for ease of movement. Wheels and a lightweight frame can make a significant difference during use.
In my early days, I rented various models and quickly realised that while some were powerful, they were cumbersome. I found that a mid-range electric model worked wonders for my patio, allowing me to clean efficiently without damaging the wood.
Before starting, ensure you gather necessary accessories like a surface cleaner attachment. This can save time and ensure an even clean across the entire area.
Lastly, when planning your cleaning sessions, factor in the weather. For instance, on a sunny day, surfaces dry too quickly, which can lead to streaks. Always aim to work in cooler conditions or when the surface is shaded.
For those curious about related cooking techniques, check out this article on how long to reheat xmas pudding in pressure cooker. It’s a delightful change of pace!
Preparing Your Deck for Pressure Washing
Before starting the cleaning process, ensure the area is clear of furniture, plants, and decorative items. This not only protects your belongings but also enables full access to surfaces needing attention. I recall one instance where I overlooked moving some potted plants, and the aftermath was a muddy mess that took extra effort to clean up.
Inspect the Surface
Conduct a thorough inspection of the surface. Look for any damaged boards, loose nails, or protruding screws. Repairs should be made prior to any washing activity. I once encountered a deck with several loose boards, and after the wash, they became even more unstable, warranting immediate attention. Addressing these issues beforehand prevents further problems and enhances safety.
Gathering Supplies
Collect necessary supplies before beginning. Aside from the washing equipment, consider having a broom, a garden hose, and a suitable cleaner on hand. A good cleaner can help in breaking down tough grime. I often keep a few different types of cleaners available, as certain formulations work better on specific stains. Always follow the manufacturer’s recommendations for use.
| Item | Purpose |
|---|---|
| Broom | To sweep away debris. |
| Garden Hose | For rinsing and pre-soaking. |
| Cleaner | To assist in removing stubborn dirt. |
| Protective Gear | To safeguard yourself from debris. |
Taking these steps will streamline the process and help achieve better results. A well-prepared area not only simplifies washing but also prolongs the life of your outdoor space. Trust me, a little preparation goes a long way in ensuring a successful cleaning experience.
Safety Precautions When Using a Pressure Washer
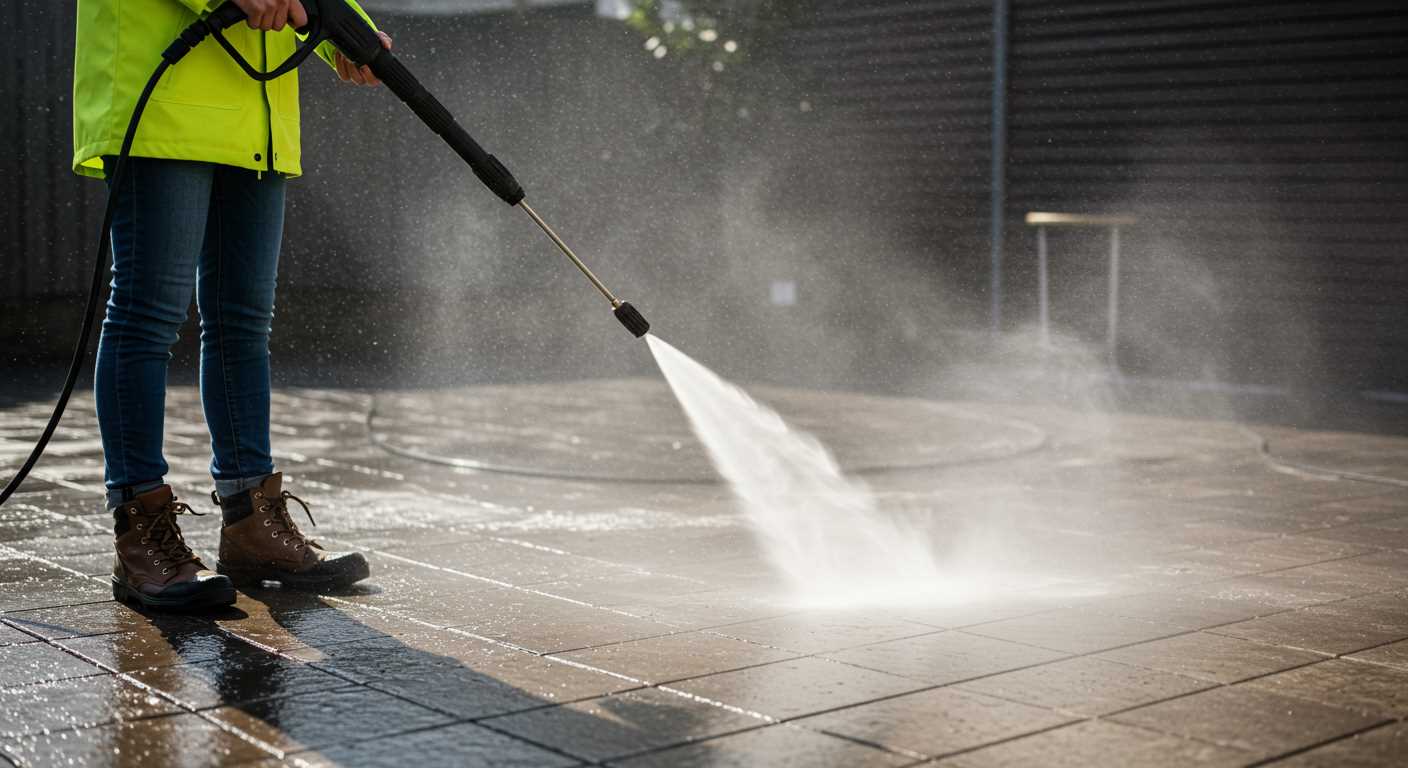
Always wear protective gear, including safety goggles, gloves, and steel-toed boots. This protects against flying debris and potential slips. I remember a time when a small piece of wood flew up and nearly hit me in the face–luckily, I had my goggles on.
Check the area before starting the machine. Ensure there are no pets, children, or fragile items nearby. I once had to stop mid-clean because my neighbour’s cat decided to investigate my workspace. It’s best to have a clear zone.
Inspect the equipment thoroughly. Look for any leaks or damage before plugging it in. A faulty hose can lead to serious accidents. I had a hose burst once, and it was a messy situation–water everywhere and a lot of cleanup afterwards.
Maintain a safe distance from surfaces while operating. The force from the nozzle can be deceptive. I once got too close while cleaning a fence and ended up chipping the wood. Keeping a safe distance prevents damage and ensures better control.
Use the correct nozzle for the task. Different nozzles have varying degrees of pressure. I learned this the hard way when I used a narrow nozzle on a delicate surface and caused more harm than good. Always match the nozzle to the surface type.
Be mindful of electrical sources. Avoid using the machine near power lines or outlets. Water and electricity don’t mix well. I recall a colleague who had a close call when a hose accidentally sprayed an outlet–it was a shocking experience for him.
Lastly, never operate the equipment while standing on a ladder or elevated platform. Stability is key. I had a friend who tried this once and ended up slipping. It’s safer to use a long wand or extension to reach high areas.
Step-by-Step Guide to Pressure Washing Deck Stain
Begin by selecting a suitable nozzle. A 15-degree or 25-degree nozzle typically works best. The narrower the spray, the more concentrated the force, which is ideal for tough residues. Attach the chosen nozzle securely to your equipment.
Next, prepare a cleaning solution. Mix a deck cleaner with water according to manufacturer instructions. It’s wise to do a patch test in an inconspicuous area to ensure compatibility with the surface material. Allow the solution to sit for a few minutes to penetrate the stain.
Washing Process
Start at one end of the area. Maintain a consistent distance of around 12 to 24 inches from the surface while operating the machine. Move the wand in a side-to-side motion to ensure even coverage. Overlapping strokes help avoid streaks. Rinse the area thoroughly with clean water after applying the solution.
For stubborn patches, consider a second application of the cleaning solution. Allow it to dwell longer before rinsing again. If necessary, a surface scrubber attachment can assist in loosening the residue without damaging the wood.
Final Touches
Once finished, inspect the surface for any remaining imperfections. A light sanding may be required for areas that still appear discoloured. Afterward, allow the surface to dry completely before applying a new finish or sealant to protect the wood.

Common Mistakes to Avoid When Removing Deck Stain
Skipping surface preparation is a frequent error. Before starting, ensure the area is clean, free from debris, and dry. A thorough sweep or blow-off prevents unwanted particles from interfering with the process.
Another blunder is using incorrect nozzle tips. Selecting the right tip affects the outcome significantly. For instance, a narrow nozzle may cause damage, while a wide one might not effectively lift the finish. Opt for a fan tip that suits the surface type and condition.
Neglecting to test a small, inconspicuous area first can lead to visible mistakes. Always try the technique on a hidden section to gauge the results before proceeding with the entire surface.
Oversaturating the wood is a common pitfall. Too much water can lead to warping or damage. Maintain a steady distance and avoid prolonged spraying in one spot to ensure even treatment.
Failing to follow up with sealing can result in rapid reapplication of the finish. After the wood dries completely, apply a suitable sealant to protect against future wear and tear. This step is often overlooked but essential for longevity.
Using inadequate equipment can hinder progress. Invest in a reliable short trigger pressure washer gun to facilitate control and precision during the task. This tool improves accuracy and reduces fatigue during extended use.
Lastly, ignoring safety measures can lead to accidents. Always wear protective gear such as goggles and gloves. This not only safeguards against debris but also against high-pressure water that can cause injury.
Post-Cleaning Care for Your Deck After Pressure Washing
After finishing the cleaning process, applying a protective finish is crucial for maintaining the appearance and longevity of your outdoor surface. A high-quality sealant or stain will prevent moisture damage and UV fading, ensuring your hard work pays off for years to come.

Choosing the Right Finish
Opt for a product specifically designed for exterior wooden surfaces. Look for a water-repellent formula that provides UV protection. Based on my experience, semi-transparent stains are excellent as they allow the natural wood grain to show through while offering adequate protection. Always test a small area first to check compatibility.
Regular Maintenance Tips
Once the protective finish has dried completely, establish a routine for upkeep. Regular sweeping to remove debris and occasional washing with mild soap will extend the life of your finish. Additionally, inspect the surface annually for signs of wear or damage, and reapply the finish as needed to maintain that fresh look. Trust me, a little effort goes a long way in preserving your outdoor space.
Alternative Methods for Deck Stain Removal
For those seeking alternatives to high-pressure cleaning, several effective methods exist for tackling unwanted coatings on outdoor surfaces. I’ve experimented with various approaches over the years, each with its own merits and drawbacks.

Chemical Strippers
Chemical strippers can be a powerful solution for eliminating stubborn finishes. These products work by breaking down the stain’s chemical bonds, allowing for easier removal. When using this method, ensure to select a stripper that is compatible with your surface material. Always follow the manufacturer’s instructions regarding application and safety precautions. I’ve found that applying the stripper and waiting for the recommended time can yield impressive results, often requiring less elbow grease than other methods.
Sanding
Sanding provides a more manual yet effective option for removing finishes. Using a power sander or hand sanding can strip away layers without the risk of damaging the wood, provided you choose the appropriate grit. I recommend starting with a coarser grit to remove the bulk of the stain, then finishing with a finer grit to smooth the surface. This method, while time-consuming, gives you control over the process and can be satisfying when you see the wood’s natural beauty emerge.
Remember to wear appropriate safety gear, such as a mask and goggles, while sanding to protect against dust and debris. Each method has unique advantages, and sometimes combining techniques can lead to the best outcome. Assess your specific situation and choose the method that aligns with your goals and resources.
FAQ:
Can I use a pressure washer to remove deck stain?
Yes, you can use a pressure washer to remove deck stain. It is a common method for this task because the high-pressure water can effectively strip away old stain and dirt from the wood surface. However, it’s important to adjust the pressure setting to avoid damaging the wood. A lower pressure setting is often recommended for softer woods.
What pressure setting should I use on my washer for removing deck stain?
For removing deck stain, a pressure setting between 1500 and 2500 PSI is typically recommended. This range is strong enough to remove the stain without causing harm to the wood. It’s advisable to test the pressure on a small, inconspicuous area first to ensure that the wood does not get damaged.
Are there any preparations needed before using a pressure washer on my deck?
Yes, there are several preparations to consider. First, you should clear the deck of furniture, plants, and any debris. Next, inspect the deck for any loose boards or nails that may need to be secured. It’s also wise to cover nearby plants and surfaces to protect them from the spray and any debris that may be dislodged during the cleaning process.
What should I do after I’ve removed the deck stain with a pressure washer?
After removing the deck stain, it’s important to allow the wood to dry completely before applying a new stain or sealant. This drying period can take several days, depending on the weather conditions. Once dry, you can sand the surface lightly to ensure an even application of the new stain, and then proceed with staining to protect the wood and enhance its appearance.
.jpg)


