


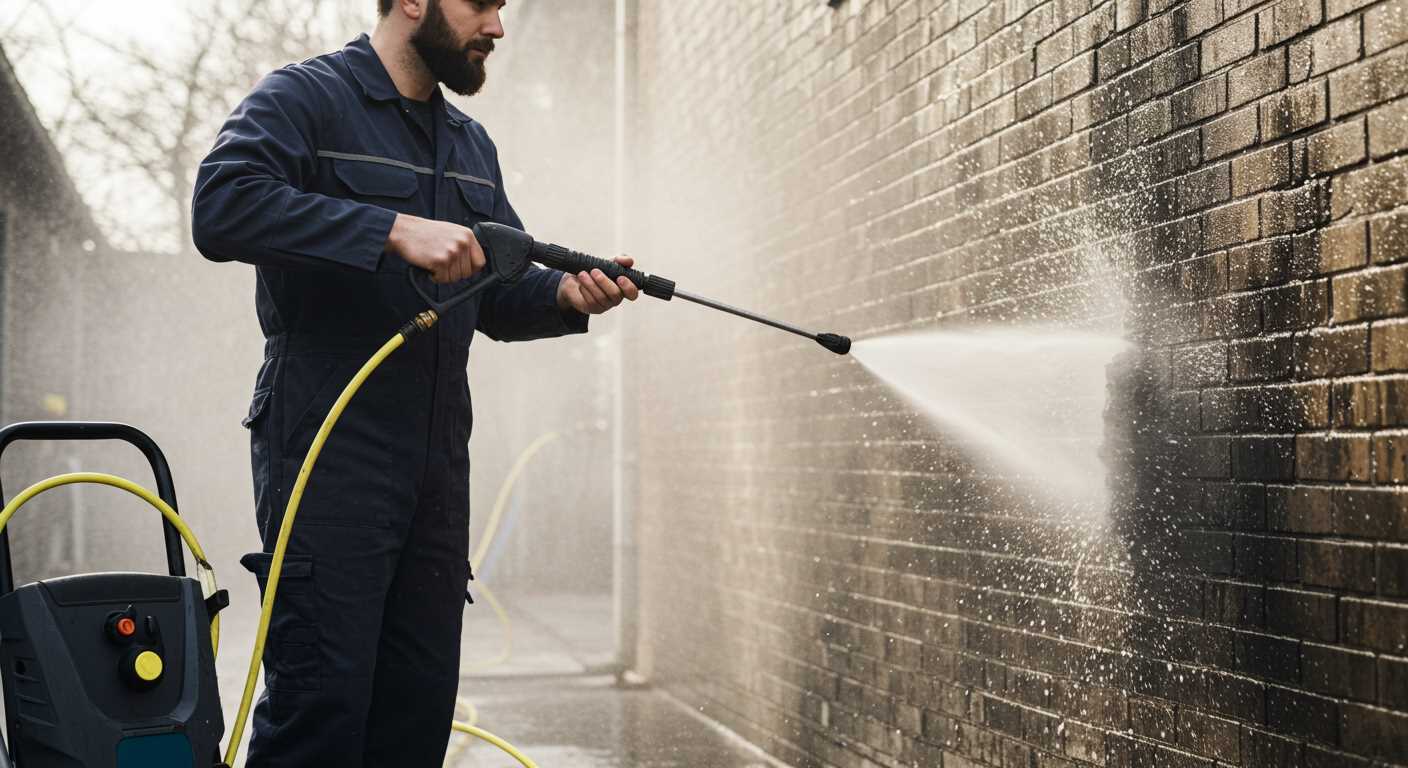
To tackle tough surfaces effectively, it’s absolutely feasible to employ a high-pressure cleaner equipped with the right attachments for abrasive tasks. From my experience, integrating a sandblasting kit designed specifically for this purpose can yield impressive results. These kits allow for the use of abrasive materials alongside water, creating a powerful cleaning combination that can strip away paint, rust, and grime.
In my many years in the cleaning equipment industry, I’ve had the chance to test various models and accessories. One crucial aspect to consider is the pressure settings; many units can handle the demands of abrasive cleaning, but ensure your machine can reach sufficient psi levels to maximise the effectiveness of the process. A unit rated above 3000 psi is generally ideal for this type of work, as it provides the necessary force to dislodge stubborn materials.

Don’t overlook the choice of abrasives either. Fine sand or specific media designed for pressure cleaning can enhance performance significantly. Regular sand may clog the nozzle, while specialised materials help maintain a consistent flow and prevent damage to your equipment. I’ve found that experimenting with different abrasives can be enlightening, leading to optimal results for various applications.
Safety is paramount. Always wear protective gear, including goggles and gloves, to shield yourself from flying debris. I’ve had my share of close calls when I neglected these precautions, and it’s a lesson I won’t forget. Setting up a safe working environment not only protects you but also ensures a smoother workflow.
Utilising a High-Pressure Cleaner for Abrasive Tasks
Utilising a high-pressure cleaner for abrasive tasks is feasible, but requires specific attachments and techniques. I’ve had my fair share of experiences in this area, having tested various setups over the years. A dedicated abrasive blaster attachment can convert a high-pressure cleaner into a makeshift blasting tool, allowing for the removal of paint and grime effectively.
Proper Setup
To achieve optimal results, ensure the following:
| Component | Recommendation |
|---|---|
| Abrasive Material | Use fine-grade media designed for blasting applications. |
| Attachment Type | Select an abrasive blaster nozzle compatible with your high-pressure unit. |
| Pressure Settings | Adjust to a suitable level; typically between 1500-2500 PSI is effective. |
| Safety Gear | Wear goggles, gloves, and a mask to protect against flying debris. |
Technique and Tips

Position the nozzle at an angle of approximately 30 degrees to the surface for even distribution of the abrasive material. Keep the nozzle moving to prevent damage to the underlying surface. I recall a project where I removed several layers of old paint from a wooden deck; using the right attachment and technique made the task significantly easier and quicker. Always test on a small area before committing to a larger section to gauge effectiveness and surface integrity.
While utilising a high-pressure cleaner for abrasive tasks can be beneficial, it’s crucial to recognise its limitations. Not every surface will respond well, and excessive pressure may cause damage. Always assess the compatibility of your equipment with the specific task at hand.
Understanding the Basics of Abrasive Blasting
Before attempting any surface restoration, it’s crucial to understand how abrasive techniques work. This method involves propelling abrasive materials against a surface to clean or etch it. Here are key aspects to consider:
Abrasive Materials
- Common types include silica sand, glass beads, and aluminium oxide. Each type serves a specific purpose based on the material being treated.
- Choosing the right abrasive affects the finish quality and surface integrity. For instance, using a finer material can achieve a smoother outcome.
Equipment Essentials
- A suitable blasting unit is vital. A unit designed specifically for abrasive techniques ensures better control and efficiency.
- Personal protective equipment (PPE) is non-negotiable. This includes goggles, gloves, and respirators to guard against dust and debris.
In my experience, understanding the interaction between the abrasive material and the surface is fundamental. For example, when I worked on a restoration project for an old car, selecting the right type of media made a significant difference in achieving a clean and smooth finish without damaging the underlying metal. Always remember: a digital cameras image quality is determined by the cameras. This principle applies similarly here; the right tools and materials dictate the quality of your outcome.
Tools Required for Abrasive Cleaning Using a High-Pressure Unit
To carry out abrasive cleaning effectively using a high-pressure unit, a few specific tools are necessary. First and foremost, an appropriate attachment for the high-pressure unit is essential. This attachment should be designed specifically for abrasive materials. It ensures a proper mix of water and the abrasive substance, allowing for efficient cleaning.
Next, selecting the right type of abrasive material is crucial. Common options include silica sand, glass beads, or baking soda. Each material has its unique properties and applications, so choose based on the surface being treated and the type of contaminants present.
A sturdy protective gear set is vital. This includes safety goggles, gloves, and a respirator. These items protect against dust and debris generated during the cleaning process. Trust me; I’ve seen firsthand the damage that can occur without proper protection.
Additionally, having a suitable collection system in place is advisable. This can be a vacuum attachment or a containment tarp. It helps manage the mess and keeps the workspace tidy, which can significantly speed up the cleanup process after the job is done.
Lastly, ensure that the high-pressure unit itself is powerful enough to handle the demands of abrasive cleaning. A model with adjustable pressure settings offers flexibility, allowing you to tailor the intensity based on the cleaning task at hand. Over the years, I’ve found that investing in quality equipment pays off in performance and durability.
By gathering these tools, anyone can approach abrasive cleaning confidently, achieving effective results while ensuring safety and efficiency throughout the process.
Step-by-Step Guide to Sandblasting with a Pressure Washer
Begin by gathering all necessary equipment. A compatible unit, such as a pressure washer with triplex pump, is crucial for optimal performance. Ensure the sandblasting attachment is suitable for your model.
Next, set up your workspace. Choose an outdoor area to avoid creating a mess indoors. Lay down a tarpaulin to catch debris and protect surrounding surfaces. Safety gear, including goggles and a mask, is non-negotiable; particles can fly unexpectedly.
Prepare the abrasive material. Use silica sand or a similar medium specifically designed for this type of task. Fill the sandblasting hopper according to the manufacturer’s instructions, ensuring not to overfill, which can cause clogging.
Connect the sandblasting attachment to the nozzle of the high-pressure apparatus. Make certain that all connections are tight to prevent leaks. Adjust the settings on the device, starting with a lower pressure to test the equipment. Increase gradually as you become comfortable with the process.
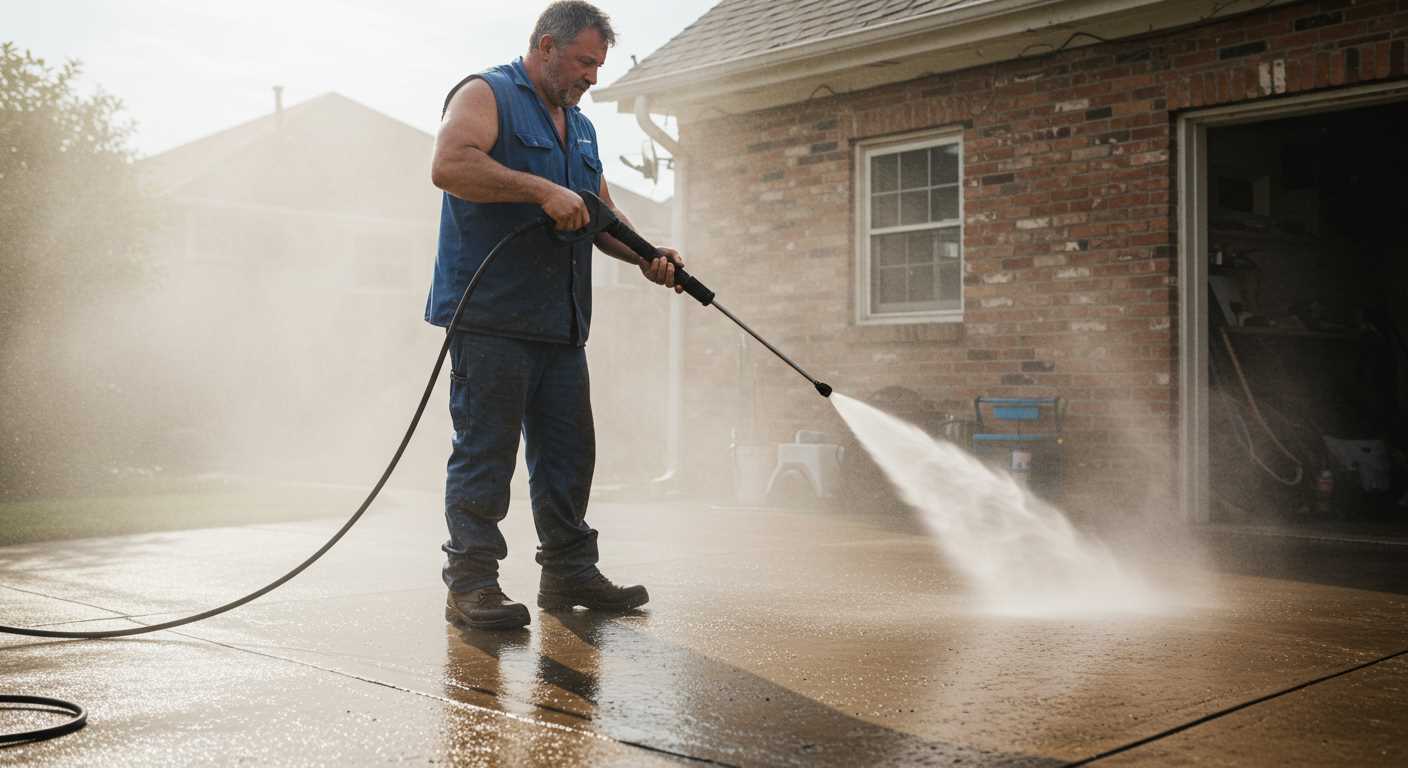
Begin the blasting process by directing the nozzle at the surface you intend to treat. Maintain a consistent distance to avoid damage. A sweeping motion works best; don’t linger too long in one spot to prevent uneven surfaces.
Monitor the flow of abrasive material. If the granules are not coming out smoothly, check for blockages in the hose or the nozzle. Adjust the flow rate as necessary to maintain a steady output.
After completing the task, clean up the work area. Dispose of any collected debris responsibly. Rinse off the treated surface to remove any remaining particles and evaluate the results. If needed, repeat the process for areas that require additional attention.
By following these steps, you’ll achieve professional-looking results while harnessing the power of a high-pressure system for blasting tasks.
Common Mistakes to Avoid During Sandblasting
Using incorrect media can lead to disastrous results. Always select a suitable abrasive for the surface being treated; for example, using too coarse a material on delicate surfaces can cause irreparable damage.
Not wearing appropriate personal protective equipment is another frequent error. Dust and debris generated during the process can be hazardous. Always don a respirator, goggles, and protective clothing to safeguard your health.

Failing to prepare the area properly can hinder effectiveness. Ensure the surrounding space is clear of obstacles and that all surfaces not intended for treatment are covered to prevent unwanted damage.
Ignoring the distance between the nozzle and the surface can affect the outcome. Maintain a consistent distance, typically around 12 to 18 inches, to achieve uniform results. Getting too close can cause pitting, while being too far may not remove the desired material.
Underestimating the importance of technique is a common pitfall. Move the nozzle in steady, overlapping strokes to ensure even coverage. Rushing through this step can leave uneven surfaces and require additional work.
Neglecting equipment maintenance can lead to inefficiencies and poor performance. Regularly inspect hoses, nozzles, and connectors for wear and tear. Keeping equipment in good condition ensures it operates smoothly and effectively.
Not testing on a small area first is a mistake I’ve seen many make. Always try your method on a less visible section to gauge how the surface reacts before committing to the entire area.
Lastly, overlooking environmental conditions can impact the project. Windy days can disperse abrasive materials unpredictably, while moisture can affect adhesion. Always check the weather before starting for optimal results.
Safety Precautions When Sandblasting
Wearing appropriate personal protective equipment (PPE) is non-negotiable. A full-face respirator, safety goggles, gloves, and heavy-duty coveralls are critical. The hazards of fine particles and dust are significant; without proper protection, respiratory issues and skin irritation can arise.

Protective Gear Checklist
- Full-face respirator with P100 filters
- Safety goggles with side shields
- Heavy-duty gloves (cut-resistant and chemical-resistant)
- Protective coveralls or work suits
- Steel-toed boots
Location matters. Ensure the area is well-ventilated and free from flammable materials. Outdoor settings are preferable, as confined spaces can trap harmful dust and particles.
Environmental Considerations
- Check the weather; avoid windy days to prevent debris from scattering.
- Identify nearby structures or vehicles that could be damaged by flying debris.
- Use tarps or sheets to protect surrounding areas from overspray.
Before beginning, perform a thorough inspection of your equipment. Look for leaks or damage that could pose risks. Regular maintenance extends equipment life and enhances safety.
Lastly, ensure everyone in the vicinity is aware of the operation. Establish a safety perimeter to keep bystanders at a safe distance. Clear communication is key; use hand signals or radios if necessary.
.jpg)


