


Absolutely, a high-pressure cleaning device can serve as a coating applicator, but there are specific conditions to meet for optimal results. My experience in the cleaning equipment sector has taught me that while these machines are designed for washing surfaces, with the right modifications, they can effectively apply a variety of coatings.
Firstly, it’s crucial to adjust the nozzle and pressure settings. A wider spray pattern is recommended to avoid excessive force, which can lead to uneven application or damage to the surface. In my early days, I attempted to spray a sealant using a standard nozzle, and the results were far from satisfactory. After experimenting with different nozzles, I found that a fan nozzle works best for achieving a smooth, uniform coverage.

Another tip that I learned through trial and error involves the viscosity of the coating. Thinning the substance according to the manufacturer’s guidelines is essential; if it’s too thick, it will clog the nozzle, and if it’s too thin, it won’t adhere properly. I once made the mistake of using an unthinned primer, which resulted in a frustrating cleanup process. Always check compatibility before proceeding.
Lastly, practice makes perfect. I recommend testing on a small, inconspicuous area before tackling larger projects. This approach not only saves time but also ensures that the final appearance meets expectations. Embracing this method has transformed my approach to home improvement, allowing me to achieve professional results without the hefty price tag.
Using a High-Pressure Cleaner for Coating Applications
Employing a high-pressure cleaner for the application of coatings is feasible, but it requires careful consideration. Regular nozzles designed for cleaning do not provide the fine mist needed for even coverage. Instead, an adjustable nozzle or a specific attachment for coating application is essential to achieve optimal results.
One memorable experience I had involved a DIY project where I attempted to refresh the exterior of an old garden shed. I filled the cleaner’s tank with a diluted acrylic finish, thinking it would save time. Initially, the results were promising, but soon I realised that without the proper tip, the finish was uneven and dripped in various spots. It became clear that a dedicated attachment was necessary for a uniform application.
When approaching such tasks, always keep the following pointers in mind:
| Aspect | Recommendation |
|---|---|
| Pressure Settings | Lower pressure is advisable to avoid damage to surfaces. |
| Nozzle Type | Use a fan nozzle designed for coatings, typically between 25° and 40°. |
| Material Compatibility | Ensure the coating is compatible with the equipment; some materials can clog the system. |
| Technique | Maintain a consistent distance from the surface to prevent streaking and ensure even coverage. |
It’s also wise to test the setup on a small, inconspicuous area first. This helps assess the performance and adjust the technique accordingly. In my case, I found that adjusting the distance and speed of application significantly improved the outcome.
In summary, while a high-pressure cleaning unit can aid in applying coatings, it demands specific adaptations and careful handling. Learning from experiences, both good and bad, makes the process smoother and more rewarding.
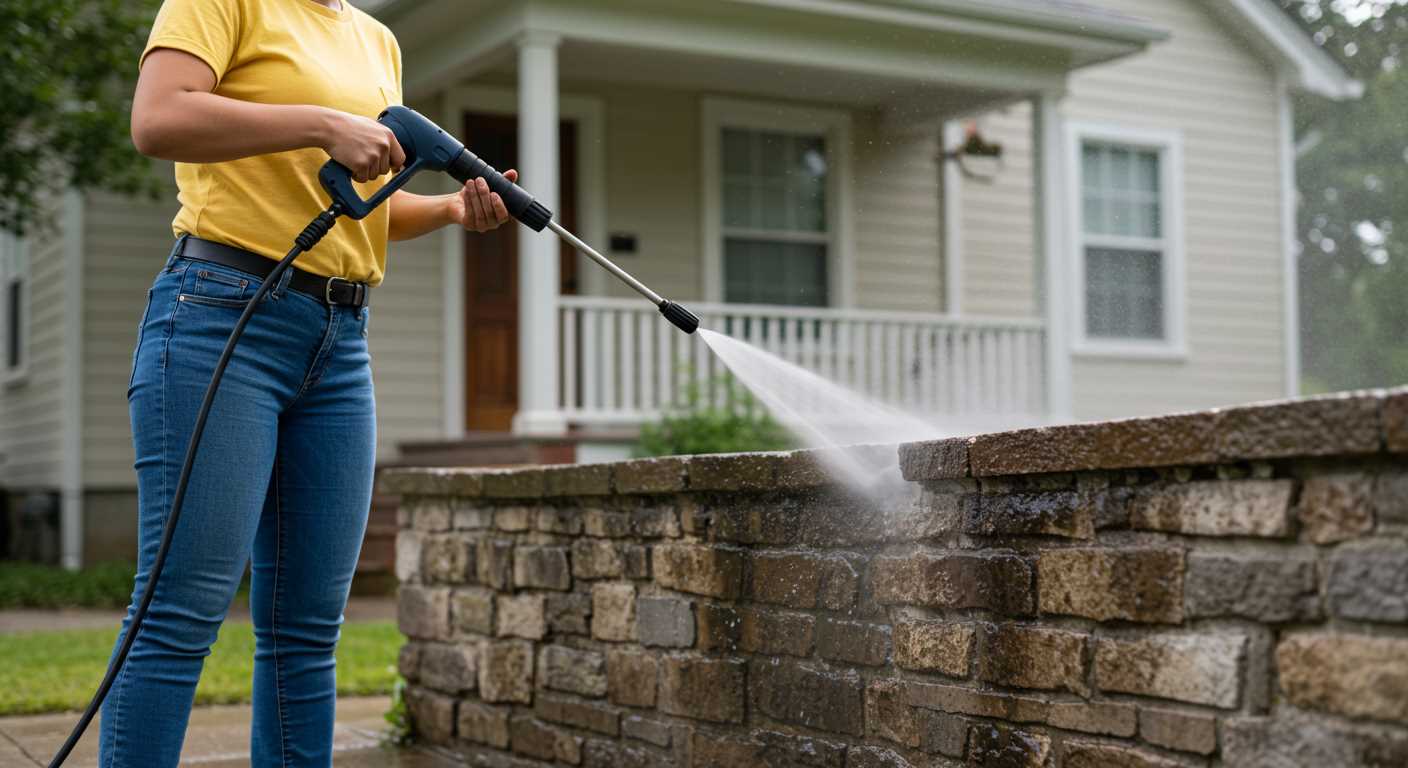
Understanding the Mechanics of High-Pressure Cleaning Devices
To grasp the workings of these cleaning machines, focus on the fundamental components: the motor, pump, and nozzle. The motor powers the pump, which generates the high-pressure water stream. This stream then exits through various nozzles, controlling the angle and intensity of the water spray.
Motor and Pump Dynamics
Electric and gas motors are the two primary types. Electric variants are quieter and easier to maintain, while gas engines typically deliver higher pressure. The pump type directly influences performance. Axial pumps are common in entry-level models, while triplex pumps are often found in higher-end versions, providing better durability and efficiency.
Nozzle Variations
Nozzles are pivotal in directing the water flow. Each nozzle produces a different spray pattern, which can drastically affect application. For instance, a narrow jet is suitable for tough stains, while a wider spray is ideal for rinsing surfaces. Understanding these variations allows for more precise cleaning and optimises the machine’s capabilities.
In my experience, switching nozzles can make a significant difference in outcomes. I once tackled an old patio with stubborn grime and found that a 25-degree nozzle worked wonders, allowing me to clean effectively without damaging the surface.
Maintaining these devices is straightforward but crucial. Regular checks on hoses, connections, and filters can prevent common issues, ensuring longevity and consistent performance. I recall one time neglecting a small filter, which led to a decrease in pressure and ultimately a frustrating cleaning session. Simple maintenance saved me from that hassle.
Understanding these mechanics gives insight into how to maximise the potential of these cleaning tools, whether for routine tasks or more demanding applications.
Preparing Your Pressure Washer for Painting
First, ensure the equipment is clean and free from any previous detergent or debris. A thorough rinse with clean water will set a solid foundation. Replace the nozzle with one suitable for a wider spray pattern to allow for even application of the liquid coating.
Next, it’s critical to check the water pressure setting. Adjust it to a lower level to avoid excessive force that can lead to uneven coverage. My experience has taught me that a gentle touch often produces the best results when applying finishes.
Inspect all connections and hoses for leaks or wear. Any weak points can compromise performance. I’ve had moments where a small leak turned into a big problem during a project, causing delays and messes that could have been avoided.
Consider using a container for the coating solution that is compatible with your setup. Ensure that the intake hose can handle the viscosity of the liquid. I once attempted to use a thicker substance without the right setup, leading to a frustrating clog that wasted time.
Lastly, always conduct a test spray on a scrap piece or an inconspicuous area to gauge the application. This step has saved me from potential mishaps more times than I can count. If you’re curious about preserving your harvest, check out this guide on how to can carrots without a pressure cooker.
Selecting the Right Paint for Pressure Spraying
For optimal results with a high-pressure device, choosing the correct coating is paramount. Latex-based products are generally recommended due to their water-based composition, ensuring easy cleanup and compatibility with various surfaces. These formulations dry quickly, allowing for efficient layering and minimal downtime.
When selecting a liquid, ensure it’s specifically designed for such applications. Look for products with a viscosity suitable for atomisation; too thick will clog the nozzle, while too thin may lead to overspray and uneven coverage. A paint with a proper flow rate enhances the experience, promoting an even finish.
In my experience, opting for semi-gloss or satin finishes can yield impressive results, especially on exterior surfaces where durability is key. These finishes offer a balance between aesthetics and protection against the elements. Always test a small area prior to full application to gauge adhesion and appearance.
For those considering versatility, explore options that allow for mixing with additives. This can improve performance and tailor the application to specific needs. For instance, incorporating a car wash liquid for pressure washer can enhance cleaning capabilities, ensuring the surface is prepped effectively for painting.
Finally, read labels carefully. Many brands provide detailed instructions regarding nozzle selection and dilution ratios, which are crucial for achieving the desired outcome. Following these guidelines can significantly impact your overall satisfaction with the results.
Technique for Applying Paint with a Pressure Washer
For optimal results in transforming surfaces, it’s vital to control the spray pattern and adjust the nozzle correctly. I’ve found that using a wide-angle nozzle allows for even coverage, minimizing streaks and patches. Here’s a step-by-step approach that I’ve honed over the years:
Preparation Steps
- Ensure the surface is clean and free from debris. A thorough wash beforehand helps the new layer adhere better.
- Protect surrounding areas with drop cloths or plastic sheeting to prevent overspray from affecting adjacent surfaces.
Application Method
- Mix the chosen coating according to the manufacturer’s specifications. Thin the substance if required, following guidelines for spray applications.
- Fill the tank with the prepared mixture, ensuring no air bubbles are present to avoid clogging.
- Begin spraying from a distance of about 12 to 18 inches, maintaining a steady hand to keep the flow consistent.
- Overlap each pass by 50% to ensure even coverage. Moving too quickly can lead to uneven finishes.
- Work in sections, allowing each area to dry before moving on to the next, especially in high humidity conditions.
In my experience, patience pays off. Rushing through the process often results in a less than satisfactory finish. When tackling larger areas, consider breaking the task into manageable segments, allowing for a more detailed application.
After completing the job, always clean the equipment thoroughly. Residue left in the system can cause issues in future projects. A quick rinse followed by a flush with clean water ensures longevity for your tools.
Cleaning and Maintenance After Use
After completing any project with the high-pressure equipment, proper care is crucial. Begin by disconnecting the water supply and power source. This step prevents any accidental activation while cleaning. I always recommend letting the device cool down for a few minutes, especially if it has been in heavy use.
Flushing the System
Next, flush the system with clean water. This action removes leftover residue, ensuring that paint particles do not clog any internal components. I typically run clean water through it for several minutes, allowing it to properly clear out any remnants. If paint has dried inside the nozzle, consider using a soft brush to gently dislodge it.
Inspecting Components
After flushing, inspect the nozzles and filters. Any blockages can lead to uneven spraying in future projects. I find it beneficial to keep a small toolkit handy for quick repairs or adjustments. Look for wear on seals and hoses, as these can affect performance. Regularly replacing worn-out parts extends the lifespan of the equipment and maintains optimal functionality.
Finally, store the machine in a dry, protected area. Avoid leaving it exposed to extreme temperatures or moisture. Following these steps not only ensures your tools remain in excellent condition but also saves time and effort on future tasks. From my experience, a little maintenance goes a long way in preserving these powerful machines.

.jpg)


