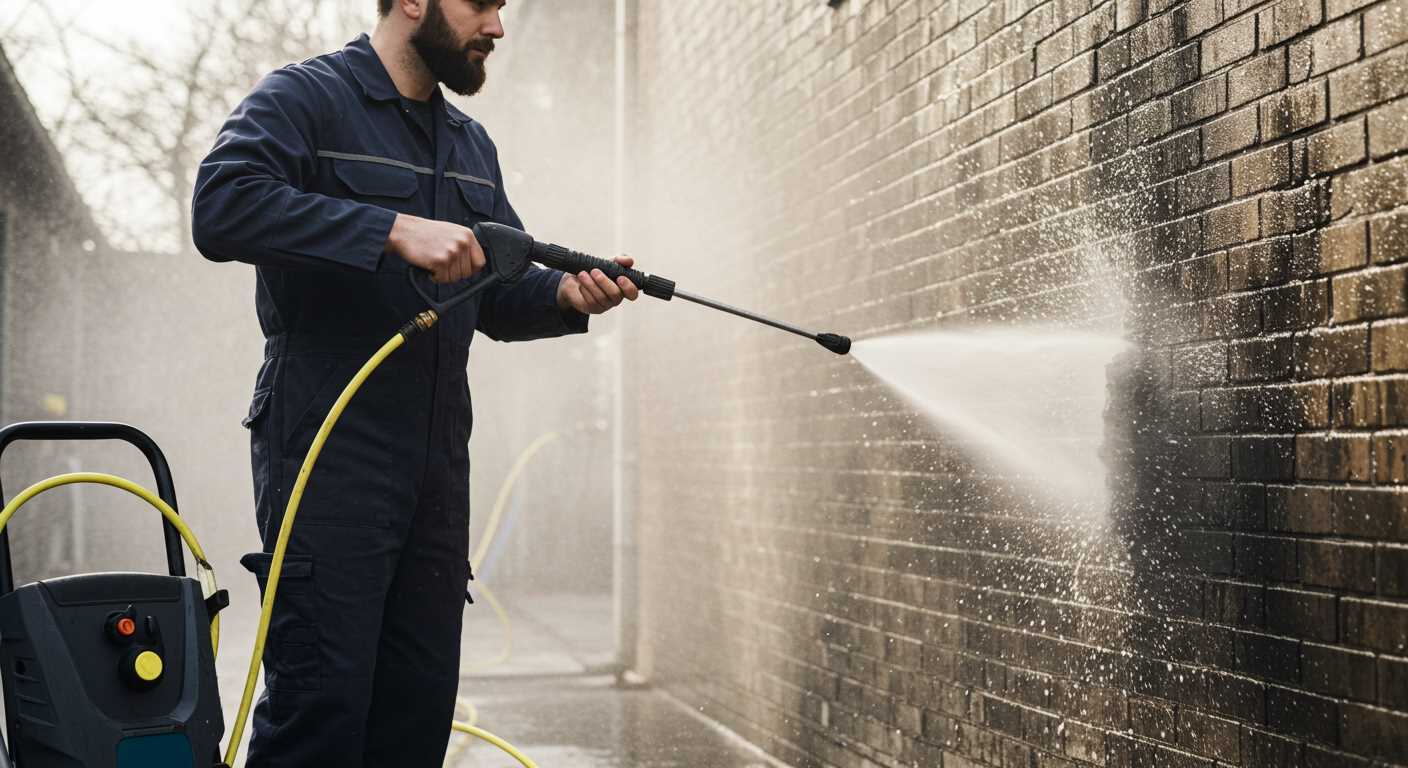


Absolutely, high-intensity cleaning equipment can effectively eliminate old coatings from surfaces. In my years as a consultant in the cleaning equipment industry, I often witnessed remarkable transformations during various projects. The right technique and equipment settings are crucial for achieving the desired results without damaging the underlying material.
When tackling the removal of coatings, it’s essential to select the correct nozzle and pressure settings. A narrow nozzle concentrates the stream, enhancing its power and precision, which is particularly useful for stubborn layers. I recall a project where an old wooden deck was covered in multiple layers of paint; using a 15-degree nozzle at a moderate distance allowed me to strip the surface cleanly without gouging the wood.
Always remember to maintain a safe distance from the surface. Starting too close can cause damage, while being too far may not yield effective results. I typically recommend beginning around 12 inches away and adjusting as needed based on the surface’s response. Additionally, testing a small, inconspicuous area before proceeding can save time and prevent unexpected issues.
Moreover, combining this method with appropriate cleaning agents can enhance the effectiveness of the process. For instance, applying a biodegradable stripper beforehand can soften the coating, making the subsequent removal much easier. In my experience, this combination not only speeds up the job but also ensures a cleaner finish.
Choosing the Right Pressure Washer for Paint Stripping
Select a machine with at least 3000 PSI for effective removal of old coatings. In my experience, anything below this threshold struggles to tackle tougher layers, especially on wood and metal surfaces. I recall using a lower-rated unit once; it felt more like watering the plants than removing paint. Save yourself the frustration and opt for a higher PSI model.
Additionally, GPM (gallons per minute) is equally significant. A machine with 2.5 GPM or more can deliver the necessary flow to wash away debris and loosen stubborn materials efficiently. I once paired a 3500 PSI unit with a flow rate of 2.0 GPM; it was powerful but left me cleaning up messes longer than I anticipated.
Look for a nozzle that suits the task. A 15-degree nozzle typically works best for paint removal, focusing the spray in a concentrated area to break down the coating. I learned this the hard way after trying a wider nozzle, which left me with more scrubbing than I bargained for.
Consider the weight and portability of your selected machine. A heavier unit may offer power but can be cumbersome to manoeuvre, especially during extended projects. I often prefer models with wheels and ergonomic handles, making it easier to navigate around the workspace without straining my back.
Don’t overlook the importance of a quality trigger gun for pressure washer. A comfortable grip and responsive trigger make all the difference, especially during long sessions. I remember using a poorly designed trigger that led to fatigue and frustration, slowing down my progress significantly.
Lastly, consider the type of detergent compatibility. Some older models may not accommodate modern eco-friendly solutions, which can enhance performance and reduce environmental impact. I often experimented with various detergents, and the right one paired with the right machine made the job not only easier but also cleaner.
Preparing Surfaces Before Using a High-Pressure Cleaner
Thorough preparation of surfaces can significantly enhance the results when utilising a high-pressure cleaner for removing coatings. My experience has taught me that taking the time to properly ready the area can save hours of work and frustration later.
First, clear the space. Remove any furniture, plants, or obstacles that may impede access. This not only protects your belongings but also allows for a more efficient cleaning process. I once spent an hour moving a patio set only to realise I had missed a spot because I didn’t clear the area properly.
Next, inspect the surface for any loose or peeling materials. Scrape away any flaking coatings to ensure a uniform surface. During one project, I encountered significant loose paint that, if left untouched, would have caused uneven results. A quick scrape with a putty knife made a world of difference.
After that, wash the area with water to remove dirt and debris. A simple garden hose can do the trick. I once neglected this step and ended up with mud mixed into the coating, which created a real mess. A clean surface ensures better adhesion for whatever comes next.
Consider the type of surface as well. For instance, wood and brick require different handling. Softwoods can be damaged easily, so I always recommend a lower setting for those. On the other hand, masonry can withstand a higher setting, which I learned the hard way when I left a mark on an old wooden fence by using too much force.
Lastly, protect surrounding areas. Cover plants and adjacent surfaces with tarps or plastic sheeting. I recall a time when I accidentally oversprayed a nearby garden, and while the flowers survived, the soil was not the same for a season. Being cautious can prevent unnecessary damage.
| Preparation Step | Tip |
|---|---|
| Clear the area | Remove all items to prevent damage. |
| Inspect the surface | Scrape off loose materials for an even finish. |
| Pre-clean | Wash the area with water to remove debris. |
| Consider surface type | Adjust settings based on material to avoid damage. |
| Protect surroundings | Use tarps to cover plants and adjacent surfaces. |
Techniques for Paint Stripping with a Pressure Washer
Start with a nozzle that delivers a concentrated stream, like a zero-degree or 15-degree nozzle. This directs the water with enough force to tackle multiple layers without damaging the underlying surface. From my experience, adjusting the distance from the surface can make a significant difference; keep it around 12 inches initially and adjust based on the results.
In my early days, I often underestimated the importance of technique. I learned the hard way that moving the nozzle in a consistent back-and-forth motion, rather than staying in one spot, prevents gouging and ensures a more uniform removal process. Overlapping each pass slightly helps avoid missed spots.
Using heat can enhance results. If the model permits, add hot water. The warmth softens the coating and allows the water to penetrate better. I recall a project where simply switching to hot water made a world of difference, speeding up the entire process significantly.
Don’t forget to pre-soak with a stripping solution designed for this task. Applying it prior to using the equipment lets the chemicals work their magic, making the subsequent washing much easier. I often combined this with a light scrubbing using a brush to loosen stubborn sections before the high-pressure clean.
Watch the angle of the spray. Tilting the nozzle slightly can help get under the edges of the coating. I once faced a challenging area where adjusting the angle allowed me to lift off layers that were otherwise stubborn. This small detail proved invaluable.
Finally, always test a small, inconspicuous area first. This helps gauge the effectiveness and ensures no damage occurs to the substrate. I once had a mishap with an older wooden surface that didn’t react well to the force applied, leading to more repair work than intended.
Common mistakes to avoid when stripping paint
Avoid using excessive pressure on surfaces, as this can cause damage. I recall a project where I aimed to remove old varnish from a wooden deck. Instead of a gentle approach, I cranked the machine to its highest setting, resulting in splintered wood. It’s critical to adjust the intensity based on the material being treated.
Neglecting to test a small area first can lead to costly errors. Always perform a spot test in an inconspicuous location to gauge how the surface reacts. I once overlooked this step and ended up with uneven patches on a historic building, which took more effort to fix than it would have to do it right from the start.
Rushing the process is another common pitfall. Stripping away layers takes time, and impatience can lead to a sloppy finish. I’ve seen people attempt to rush through a job, only to find that the results required more work later. Patience pays off in achieving a smooth and clean surface.
Skipping the preparation phase can also lead to issues. Ensure the area is clear of furniture and debris. I remember a time when I forgot to move some garden decorations, and they ended up getting damaged. Additionally, covering nearby plants and surfaces with tarps can prevent unintended damage from flying debris.
Lastly, failing to clean the equipment after use can lead to reduced performance in future tasks. After completing a job, I make it a point to rinse and store my tools properly. A clean machine ensures longevity and efficiency for the next time I need to tackle a similar project.
For those dealing with other cleaning challenges, check out this how to clean non removable cushions a step by step guide. It provides practical insights that can enhance your cleaning skills across various tasks.
Safety Precautions When Operating a High-Pressure Cleaning Device
Always wear appropriate protective gear before starting any cleaning task. This includes safety goggles to protect your eyes from debris, gloves to shield your hands from chemical exposure, and sturdy footwear to prevent slips.
Environmental Considerations
Be aware of your surroundings. Avoid working near electrical outlets, overhead power lines, or sensitive areas. Ensure that pets and children are at a safe distance from the cleaning area to prevent accidents.
Equipment Checks
- Inspect the device for any signs of wear or damage before use.
- Ensure all connections are secure to prevent leaks or malfunctions.
- Check the hose for kinks or abrasions that might cause it to burst during operation.
Always follow the manufacturer’s guidelines for safe operation. Keep the user manual handy for reference, especially for troubleshooting any issues that may arise during use.
When utilising chemicals, ensure they are compatible with the cleaning machine. Always work in a well-ventilated area to avoid inhaling fumes, and consider using a respirator if necessary.
Proper Technique
- Maintain a safe distance from the surface being cleaned, typically around 12 to 24 inches, to avoid damage.
- Test the device on a small, inconspicuous area to gauge its impact before proceeding with the entire surface.
- Use a steady, sweeping motion, avoiding prolonged focus on one spot to prevent etching or damaging the surface.
After completion, disconnect the equipment and store it properly. Always release any remaining pressure in the hose before coiling it up to avoid injury. Keep the device in a dry place to prolong its lifespan.
Post-stripping care and maintenance of surfaces
After removing the old coating, the next phase involves ensuring the surface is well-prepared for any future finishes or treatments. Here are the steps I recommend based on my years of experience in this field.
Cleaning the Surface
- Thoroughly rinse the area with clean water to eliminate any residual debris or chemicals.
- Use a mild detergent if necessary to remove grease or other contaminants.
- Allow the surface to dry completely before proceeding with any further treatment.
Inspecting for Damage
- Check for any signs of damage, such as cracks, splinters, or areas of rot, especially on wooden surfaces.
- Repair any imperfections using suitable fillers or patches.
- Sand down rough areas to create a smooth surface for the next coating.
In my experience, taking the time to properly clean and inspect the surface can prevent future issues, especially when applying a new finish. Any missed spots can lead to peeling or blistering down the line.
Applying a Primer
- Choose a primer that suits the material you’re working with – oil-based for wood or metal, and latex for masonry.
- Apply a uniform layer, ensuring full coverage to enhance adhesion and durability of the final coat.
I’ve often seen projects fail because of skipping this step. A quality primer can make all the difference in the longevity of the finish.
Final Coating
- Once the primer is dry, select a high-quality finish that fits the environment (e.g., exterior vs. interior).
- Apply according to the manufacturer’s instructions, ensuring even layers to avoid drips or uneven texture.
Maintaining surfaces post-treatment is just as crucial as the initial application. Regular inspections and maintenance can prolong the life of your finishes and keep surfaces looking fresh.
FAQ:
Can a pressure washer effectively strip paint from surfaces?
Yes, a pressure washer can be effective for stripping paint, especially on exterior surfaces like wood, concrete, and metal. The high-pressure water stream can remove loose or peeling paint, making it easier to prepare a surface for repainting. However, the effectiveness depends on factors such as the type of paint, the condition of the surface, and the pressure setting of the washer.
What are the best pressure settings for stripping paint?
For stripping paint, a pressure setting between 1500 to 3000 PSI is generally recommended. Lower pressures may not remove the paint effectively, while higher pressures can damage the surface. It’s advisable to start with a lower setting and gradually increase it if necessary, testing on a small area first to avoid unwanted damage.
Do I need any special attachments for my pressure washer to strip paint?
Using specific attachments can enhance the paint stripping process. A rotary nozzle or a surface cleaner attachment can help concentrate the water pressure and make the job easier. Additionally, using a wider spray tip can help prevent damage to the underlying surface while still being effective in removing paint.
What safety precautions should I take when using a pressure washer to strip paint?
Safety is paramount when using a pressure washer. Wear protective gear, including goggles, gloves, and sturdy footwear. Ensure the area is clear of bystanders and pets to avoid accidents. Additionally, be cautious of electrical outlets or wiring near the area you are cleaning, and always follow the manufacturer’s instructions for your specific pressure washer model.
Is it possible to damage the surface while stripping paint with a pressure washer?
Yes, there is a risk of damaging the surface when using a pressure washer for paint stripping. High pressure can strip away more than just paint, potentially harming wood, concrete, or other materials. To mitigate this risk, keep the nozzle at a safe distance from the surface, use the appropriate pressure setting, and test on a small area first to gauge the impact.
Can a pressure washer effectively remove paint from surfaces?
Yes, a pressure washer can be quite effective at removing paint from various surfaces, such as wooden decks, concrete, and metal. The high-pressure water stream can help to dislodge peeling or flaking paint. However, the effectiveness largely depends on the type of paint, the surface material, and the pressure setting used. For best results, it’s often recommended to use a specific nozzle and to test a small area first to avoid damaging the surface.


.jpg)


