


In my extensive experience with cleaning machinery, I’ve found that the compatibility of various soaps with different models is often a topic of confusion. Based on numerous tests, I can affirm that the foam produced by the well-known brand does indeed work effectively with certain types of cleaning devices. The key is to ensure that the foam is designed for the specific mechanics of the unit.
When I first experimented with this product, I was impressed by its ability to cling to surfaces and break down grime. However, it’s crucial to dilute the solution appropriately. A mixture that is too concentrated can lead to clogging, which I learned the hard way during a particularly ambitious cleaning session. The ideal ratio typically suggested is one part soap to ten parts water, but always check the manufacturer’s guidelines for your particular model.

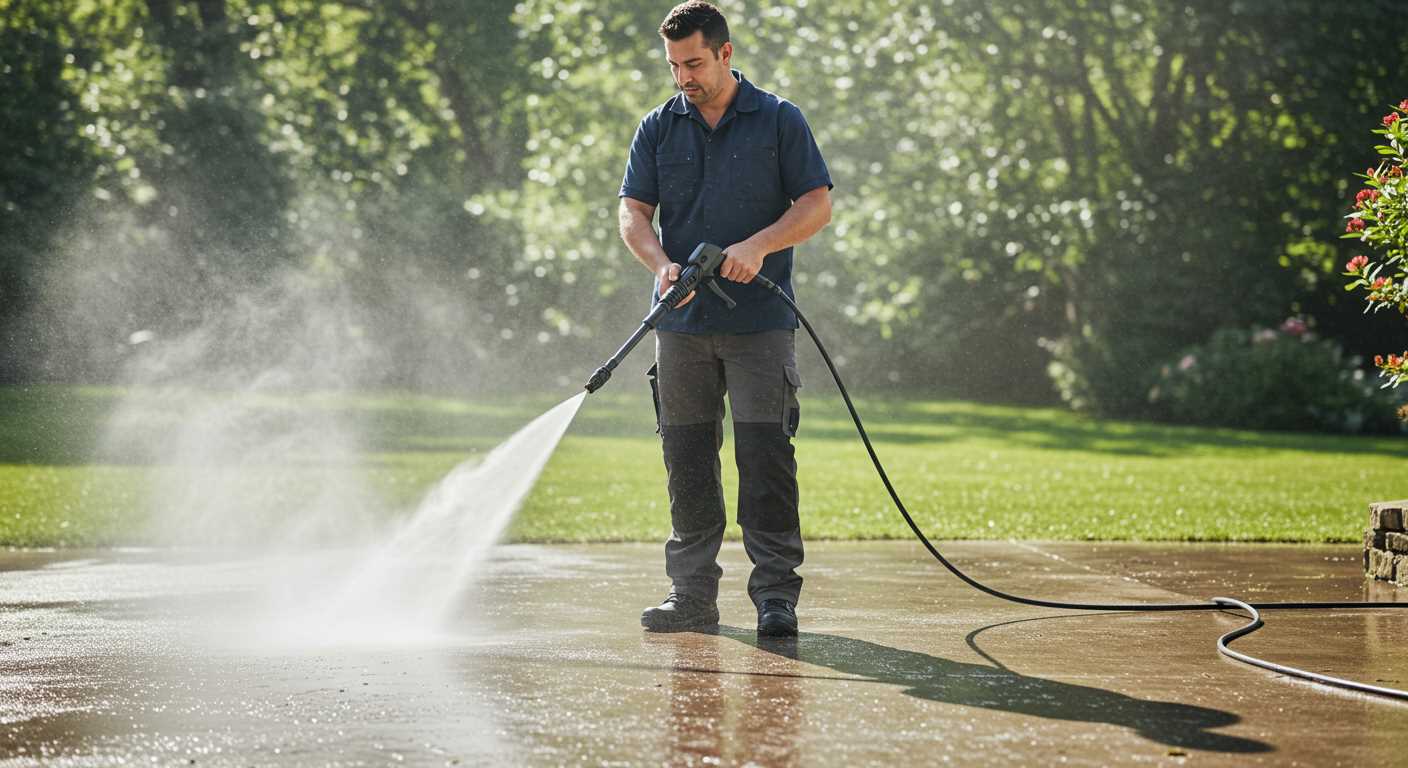
Another tip from my experience: applying the foam at a low pressure setting initially can help avoid splatter and ensure an even coating. After allowing it to sit for a few minutes, switching to a higher setting will provide that thorough clean we all strive for. This technique has transformed my approach to exterior cleaning, making the process not only more enjoyable but also more effective.
Always perform a test wash on a small, inconspicuous area first. This simple step can save you from potential mishaps and ensures that the cleaning solution plays nicely with the surfaces you’re tackling. Trust me, a little precaution goes a long way.
Understanding Demon Foam and Its Properties
For optimal results with foam applications, focus on specific characteristics. The viscosity of the liquid plays a significant role; thicker solutions adhere better to surfaces, ensuring prolonged cleaning. A higher foam density creates a rich lather that clings, which enhances cleaning efficacy.
Key Properties
- pH Level: A balanced pH is crucial. Formulations with a neutral pH are generally safe for various surfaces, preventing damage while effectively removing contaminants.
- Surfactants: Look for quality surfactants that break down dirt and grime. These ingredients lower the surface tension of water, allowing for better penetration into soiled areas.
- Biodegradability: Environmentally friendly options are increasingly popular. Biodegradable compositions ensure minimal ecological impact while maintaining cleaning power.
- Fragrance: Some formulations include pleasant scents, which can enhance the cleaning experience. However, always consider the scent’s potential impact on sensitive individuals.
Application Recommendations

- Always test a small area first to check for surface compatibility.
- Follow the manufacturer’s instructions for dilution ratios. Too concentrated may lead to residue issues.
- Adjust the application method based on the specific cleaning task. For instance, a foam cannon might be more effective for larger areas than a simple spray bottle.
Over the years, I’ve observed that users often underestimate the significance of preparation. Properly mixing and applying ensures the cleaning solution works as intended, maximising its potential.
Compatibility of Demon Foam with Pressure Washers
When it comes to pairing cleaning agents with high-pressure cleaning units, compatibility is key. From my experience, the formulation of the cleaning solution directly influences the performance and longevity of the equipment. The specific variant of foam designed for cleaning can be effectively integrated into machines if certain conditions are met.
Choosing the Right Equipment
Many cleaning devices are equipped with specific foam cannons designed to optimise the application of various cleaning products. For best results, ensure that the chosen foam is compatible with the cannon attachment. Some devices may not generate the necessary pressure to adequately disperse thicker solutions, which can lead to subpar cleaning results. Adjustments in dilution ratios may also be required to achieve the desired consistency.
Testing and Observations
During my time assessing various cleaning agents, I found that testing a small amount of the foam first can provide insights into its performance. Observing how it interacts with the surface being cleaned and how well it adheres can prevent issues down the line. If the foam runs off too quickly or fails to cling, it may be necessary to experiment with different formulations or adjust the application technique.
In summary, not all foams are created equal when it comes to compatibility with high-pressure systems. It’s crucial to verify that the cleaning solution matches the specifications of the equipment to ensure optimal cleaning results without damaging the unit.
How to properly mix demon foam for use
Start by adhering to the recommended dilution ratios specified on the packaging. Generally, a mixture of 1 part cleaning agent to 4 parts water works effectively. Use warm water to enhance the foam’s performance, ensuring optimal coverage and cleaning efficiency.
Mixing Instructions
Follow these steps for a successful blend:
| Step | Action |
|---|---|
| 1 | Gather a clean bucket for mixing. |
| 2 | Measure the required amount of the cleaning agent. |
| 3 | Add warm water gradually while stirring gently. |
| 4 | Ensure the mixture is homogeneous, without lumps. |
| 5 | Transfer the mixture to the foam cannon or applicator. |
Tips for Optimal Results
For the best outcome, test the mixture on a small area first. Adjust the concentration if necessary based on the surface’s condition. Avoid using hard water, as it may affect the foam’s stability. Regularly clean your mixing tools to prevent contamination, ensuring every application delivers peak performance. If you also maintain a garden, consider checking out the best garden blowers and vacuums for additional cleaning solutions.
Step-by-step guide to applying demon foam
For optimal results, first ensure that the surface you plan to clean is free from loose dirt and debris. This initial step will enhance the effectiveness of the cleaning process.
Next, prepare your mixture. Use a dedicated foam cannon or foam gun, as these tools deliver a thicker layer of cleaner, which clings to surfaces better. Follow the manufacturer’s guidelines for mixing ratios, typically around 1 part cleaner to 4 parts water. Adjust according to the level of grime present.
Once mixed, fill your foam cannon or gun with the solution. Secure it tightly to avoid any leaks during application. If you own a pump action pressure washer, connect the foam cannon directly to the lance. This connection allows for a seamless transition from applying foam to rinsing.
Now, apply the foam evenly across the surface. Start from the bottom and work your way up to prevent streaks. Allow the foam to dwell for a few minutes. This dwell time is crucial; it maximises the cleaning potential by breaking down stubborn dirt and grime.
After the dwell period, rinse off the foam thoroughly with clean water. Use a wide spray pattern to ensure all residues are removed. Inspect the surface for any missed spots; reapply if necessary for a second round of cleaning.
Finally, assess the results. If the surface is not up to your standards, consider repeating the process or adjusting your mixture for a stronger solution next time.
Common issues when utilizing demon foam in high-pressure cleaners
One major challenge encountered is improper dilution ratios. I’ve seen users mix the cleaning agent too strong, leading to residue that clogs nozzles or creates excessive suds, which can hinder the cleaning process. Always adhere to the manufacturer’s guidelines for mixing. I recall an experience where I was testing a new formulation, and the incorrect mixture resulted in a foamy mess that took ages to rinse away.
Another frequent problem is the choice of nozzle. A narrow nozzle might not allow the foam to disperse properly, resulting in uneven coverage. Switching to a wider nozzle typically improves distribution. I remember a time when I switched nozzles mid-task and noticed a significant difference in foam application–much more uniform and effective.

Foam consistency can also be an issue. If the solution is too thick, it won’t flow through the injector properly, affecting performance. Adjusting the water-to-foam ratio can help achieve an ideal consistency. I often experiment with different blends until I find the right balance for the task at hand.
Compatibility with various equipment models is another consideration. Some systems have specific requirements for detergents. I’ve had instances where a cleaning agent caused issues with seals or o-rings, leading to leaks. Always verify compatibility with your equipment before use to avoid damaging components.
Temperature can also play a role. If the water is too hot, it may degrade the cleaning agent, reducing its effectiveness. I learned this lesson the hard way when I noticed diminished cleaning results after using excessively heated water. Keeping the water at the recommended temperature ensures optimal performance.
Lastly, always check for buildup in the injector. If the cleaning agent is not cleared properly after use, it can lead to blockages. Regular maintenance of the injector will keep it functioning smoothly. I’ve made it a habit to clean mine after every session, which has saved me from headaches later on.
Best practices for cleaning and maintenance after use
After a session with your cleaning equipment, the first step is rinsing out any remaining solution from the tank. It’s vital to run clean water through the system to prevent residue build-up that can clog hoses or create undesirable reactions with future mixtures.
Next, thoroughly clean the nozzle and any attachments. I often find that a simple soak in warm soapy water followed by a gentle brush can remove stubborn debris. Make it a habit to inspect these components for wear and tear; replacing them promptly can save headaches later on.

Draining the remaining water from the unit is essential, especially if you live in an area where temperatures can drop. Water left inside can freeze and damage internal parts. I always recommend running the machine briefly after draining to ensure no moisture lingers.
Another critical aspect is wiping down the exterior of the equipment. A damp cloth often suffices to remove dirt and grime, preserving the finish and preventing corrosion. Don’t overlook the power cord; keep it coiled neatly and away from potential damage.
Regularly checking the filters is also necessary. Clogged filters can hinder performance, so giving them a clean or replacing them as needed is a good practice. It’s often easy to overlook these small components, but they play a significant role in maintaining optimal operation.
Lastly, storing the equipment in a dry, sheltered location will protect it from environmental factors that could lead to rust or other damage. If possible, cover it with a protective tarp or bag. I’ve learned that proper storage extends the life of the unit significantly.


.jpg)


