


Absolutely, integrating a foaming agent with high-pressure cleaning equipment is not only possible, but also highly effective. During my years in the cleaning equipment industry, I often recommended this method for achieving a thorough cleanse on vehicles and other surfaces. The process involves creating a thick layer of foam that clings to dirt and grime, allowing it to break down before rinsing.
Choosing the right foaming agent is crucial. Look for a product specifically designed for this purpose, as it ensures optimal cling and cleaning action. I’ve tested numerous formulations, and those with a pH-neutral balance are gentle on paintwork while still being tough on contaminants. Mixing the foam according to the manufacturer’s instructions will yield the best results. Typically, a ratio of 1:10 foam to water is a good starting point, but feel free to adjust based on your specific needs.

Once everything is set up, applying the foam is straightforward. Attach the foam cannon to your machine, and with a steady hand, cover the surface evenly. Allow the foam to dwell for a few minutes; this is where the magic happens, as it softens the dirt. Rinsing afterward with clear water will reveal a beautifully clean surface, often with much less effort than traditional washing methods. This technique not only enhances the cleaning process but also protects your vehicle’s finish.
Understanding Snow Foam and Its Purpose
Utilising a thick, clinging cleaning solution is highly effective for automotive detailing. This product adheres to surfaces, allowing dirt and grime to loosen without scratching the paintwork. The formulation includes surfactants that create a layer of bubbles, which encapsulate contaminants and facilitate their removal upon rinsing.
When applying this type of cleaning agent, the intention is to pre-soak the vehicle, making the subsequent wash more efficient. The dense consistency ensures that it remains on the surface longer, enhancing its cleaning action. This method is particularly beneficial for removing stubborn residues, such as bird droppings or tree sap, which can be problematic if left untreated.
Many enthusiasts rave about the visual aspect of the application – the thick foam covering the car can be quite satisfying. However, the aesthetic appeal is secondary to its functionality. It prepares the surface for a more thorough clean, minimising the risk of scratching during the actual washing process.
For those interested in maintaining cleanliness beyond vehicles, similar techniques can be applied in various settings. For example, knowing how to clean algae off aquarium decorations can enhance the overall appearance of your aquatic environment. Proper cleaning methods keep both your car and your home looking their best.
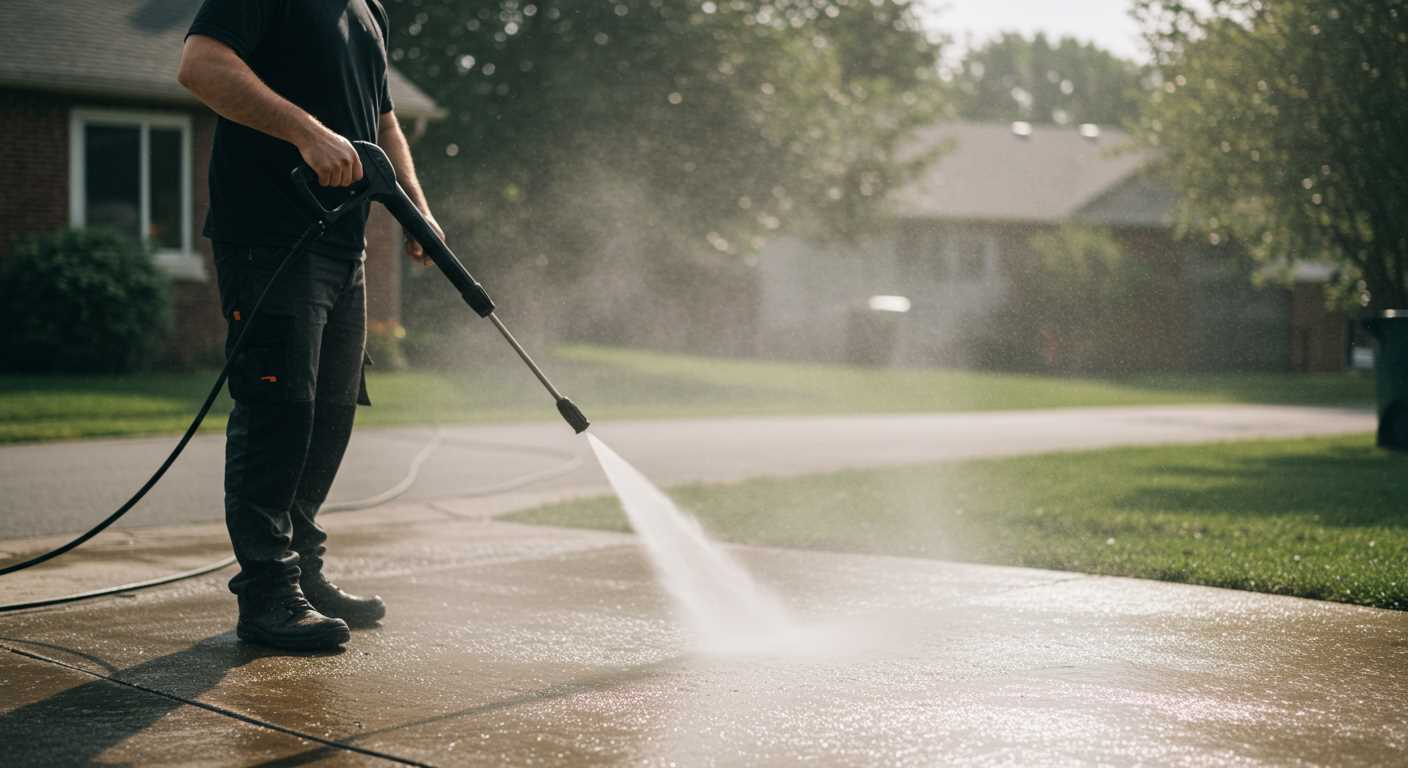
Choosing the Right Pressure Washer for Snow Foam Application
For optimal results, select a unit with a minimum pressure rating of 120 bar (1740 psi). This ensures adequate power to properly mix and dispense the cleaning solution. During my years in the field, I found that models around 150 bar (2175 psi) strike a perfect balance between performance and versatility, allowing for effective cleaning without excessive force that could damage surfaces.
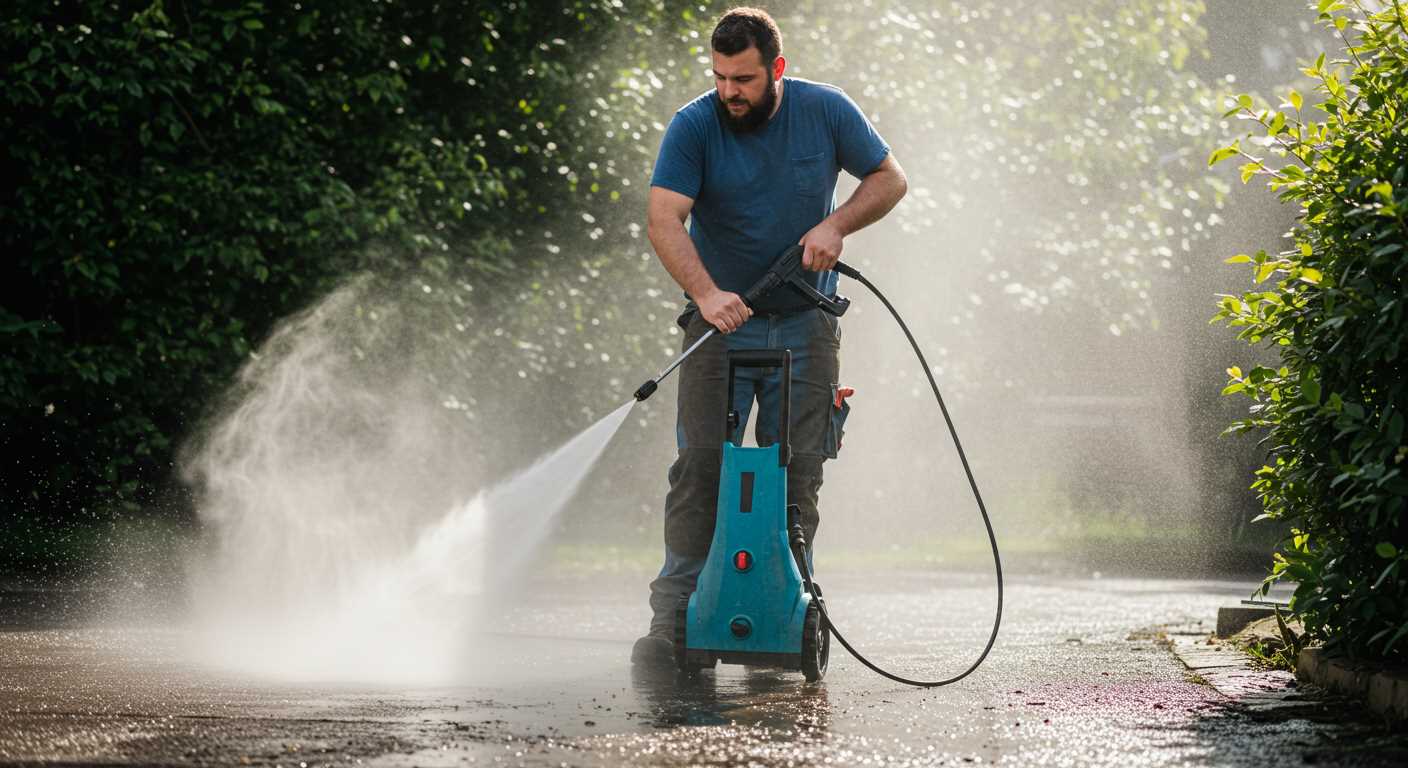
Flow Rate Matters
Alongside pressure, focus on the flow rate, typically measured in litres per hour (l/h). A rate of at least 400 l/h is advisable for effective foam coverage. Higher flow rates can help rinse away grime and residue more efficiently. I recall using a unit with a 500 l/h flow rate during a detailing session; it made a noticeable difference in the cleaning process, allowing the foam to cling longer and work its magic without constant reapplication.
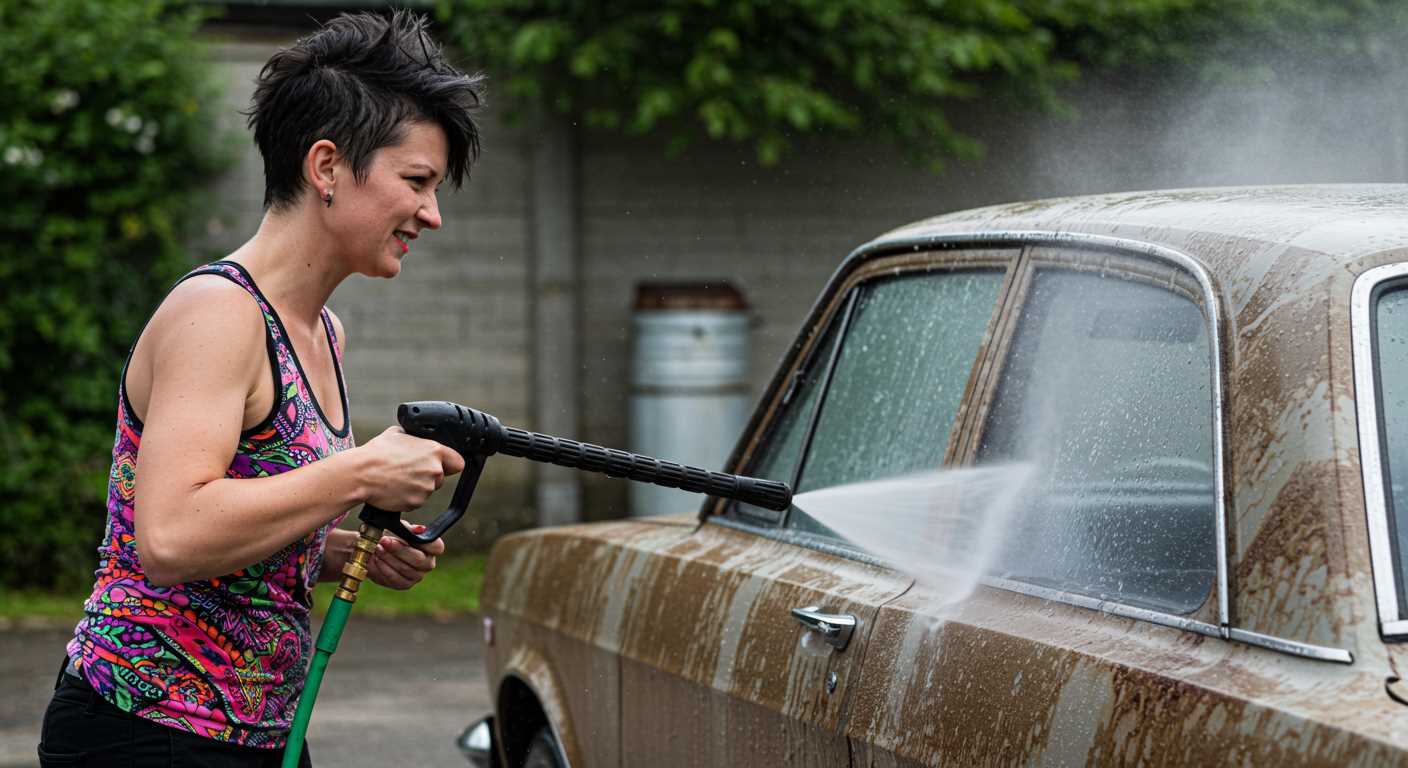
Compatibility with Foam Cannons
Check if the model is compatible with foam cannons. Many units come with quick-connect fittings that make attaching these accessories simple. I’ve often paired a high-pressure cleaner with a quality foam cannon, leading to impressive results. Ensure the nozzle size is appropriate; a wider nozzle allows for better foam dispersion. During one particularly satisfying job, using the right cannon transformed the cleaning experience, making it far more enjoyable and effective.
How to Prepare Snow Foam for Use with a Pressure Washer
To maximise the performance of your cleaning routine, follow these steps to prepare your foaming solution:
-
Select the Right Product:
Choose a quality foaming agent designed for pre-washing vehicles. Look for pH-neutral options that are safe for wax and sealants.
-
Mixing the Solution:
Refer to the manufacturer’s instructions for the correct dilution ratio. Generally, a ratio of 1:10 (foam to water) works well for most situations.
-
Use Clean Water:
Always use clean, preferably warm water to enhance the foam’s viscosity. Avoid using hard water, as minerals can affect foaming performance.
-
Prepare the Foam Cannon:
Ensure your foam cannon is clean and free from residue. Fill the cannon with the mixed solution, leaving some space to allow for foam expansion.
-
Check Pressure Settings:
Adjust the pressure settings on your device to a suitable level. Lower pressure is often better for applying foam evenly without wasting it.
-
Test the Foam:
Before applying to your vehicle, test a small area to see how the foam reacts. This will help you adjust the mixture if needed.
-
Use a Surface Cleaner:
For larger areas, consider a pressure washer surface cleaner with wheels to enhance efficiency and coverage.
Following these steps ensures a smooth application process, providing effective cleaning while protecting your vehicle’s surface.
Applying Snow Foam: Techniques and Tips
For optimal results, ensure a thick layer of the product covers the vehicle. The key lies in the application technique. Start from the top and work your way down. This prevents dirt from running down onto already cleaned areas. Use overlapping strokes to ensure full coverage and avoid missing spots.
Adjusting the Nozzle
Adjust the nozzle for a wide spray pattern. A wider angle helps distribute the mixture evenly across the surface. If using a lance, experiment with different settings until you find the perfect balance between coverage and thickness. A setting too narrow may lead to uneven application, while too wide can dilute the product.
Timing and Rinsing
Allow the mixture to dwell on the surface for 5-10 minutes. Don’t let it dry out, as this can cause streaks and make removal more challenging. Keep an eye on the weather; applying in direct sunlight can lead to rapid drying. When rinsing, use a gentle pressure to avoid damaging the paintwork. Start from the top again, ensuring all residue is removed thoroughly.
Incorporate these techniques into your routine, and you’ll notice a significant improvement in the cleanliness and shine of your vehicle. Proper application transforms the cleaning process into an effective and enjoyable experience.
Common Mistakes When Using Snow Foam with Pressure Washers

One of the most frequent errors involves using the incorrect dilution ratio. Always follow the manufacturer’s instructions for the right mix to achieve optimal cleaning performance. Over-concentrated solutions can lead to residue on surfaces, while overly diluted mixtures may not provide adequate cleaning power.
Another common pitfall is neglecting to pre-rinse the vehicle. Skipping this step allows dirt and grime to remain on the surface, making it harder for the cleaning agent to work effectively. A thorough rinse before application ensures that the cleaning solution can penetrate and lift contaminants more efficiently.
Inadequate Foam Application
Applying insufficient foam is a mistake I often observe. The foam needs to cling to the surface for the right amount of time to break down dirt. Ensure the nozzle on your attachment is set to produce thick, clinging foam. Adjusting the pressure settings can also help create a more effective layer.
Timing Issues
Allowing the foam to sit for too long or not long enough can hinder results. I recommend letting it sit for about 5-10 minutes, depending on the product used, but do not let it dry out. Monitoring the application time is key to achieving a balance between effective cleaning and preventing streaks or spots.

Finally, failing to clean equipment after use can lead to blockages and reduced performance. Always rinse out the foam lance and associated components thoroughly to keep them in good working order for your next cleaning session.
Cleaning and Maintenance After Using Snow Foam
After applying a thick layer of cleansing foam, immediate attention to maintenance is crucial for optimal performance of equipment and vehicle appearance. Once the foaming process is complete, the first step is to rinse the vehicle thoroughly. Start from the top and work your way down to ensure all residues are washed away effectively.
Equipment Care
Post-application, it’s vital to cleanse the equipment to prevent build-up. Flush out any remaining solution from the foamer and the nozzle. I recommend running clean water through the system for several minutes. This practice helps maintain the integrity of the components and prolongs their lifespan.
| Step | Action |
|---|---|
| 1 | Rinse the vehicle thoroughly from top to bottom. |
| 2 | Flush the foamer with clean water to remove residues. |
| 3 | Inspect hoses and connectors for any signs of wear or damage. |
| 4 | Store equipment in a dry place to prevent corrosion. |
Vehicle Surface Care
Once the vehicle is rinsed, inspect the surface for any remaining dirt or grime. A gentle hand wash may be necessary to remove stubborn spots. I’ve found that using a soft mitt along with pH-neutral shampoo ensures the paintwork remains intact. After washing, always dry the surface with a clean microfiber cloth to avoid water spots.

Regular inspection and maintenance of the equipment and vehicle are key to preserving their condition. By taking these steps, you ensure that both your tools and your vehicle remain in top shape, ready for the next cleaning session.
.jpg)


