


Yes, a high-pressure unit can effectively clean a vehicle, but it requires the right techniques and precautions. Based on my extensive experience in the cleaning equipment industry, I can assure you that while this method is feasible, it might not yield the desired results without proper execution.
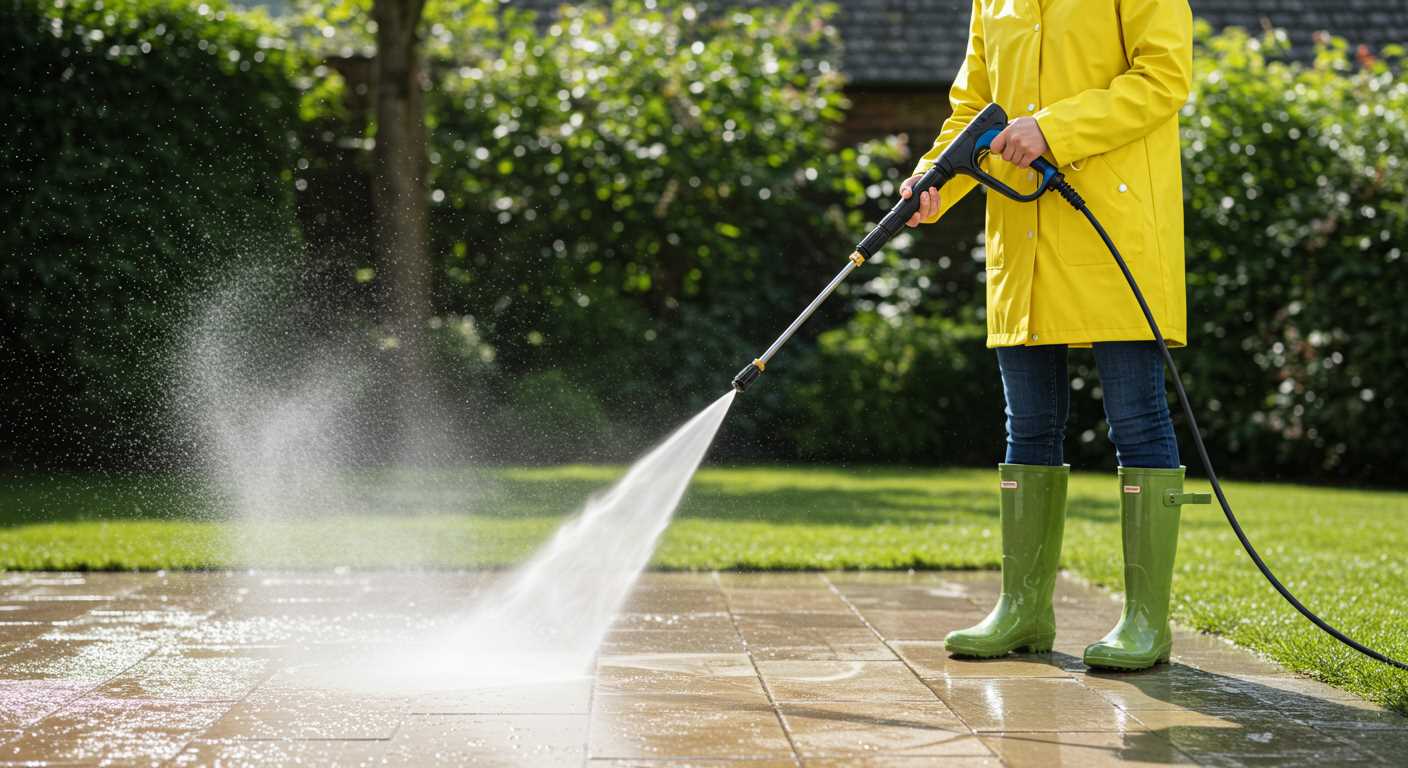
When opting for this approach, begin by selecting a nozzle with a suitable spray pattern. A wide-angle nozzle is preferable for initial rinsing, as it helps to remove loose dirt and grime without risking damage to the paintwork. I recall a time when I used a narrow nozzle too close to the surface, resulting in unfortunate scratches. Always maintain a safe distance of at least two feet from the surface to prevent any harm.
Incorporating a pre-treatment stage can significantly enhance results. A dedicated car shampoo, diluted as per the manufacturer’s instructions, can be sprayed on stubborn areas before the high-pressure rinse. This method not only helps to break down dirt but also adds a layer of protection. I often relied on this technique during my years testing various models, and it consistently produced superior outcomes compared to a straightforward rinse.
Finally, ensure thorough drying after the cleaning process. Using a microfiber towel can prevent water spots and streaks. In my experience, overlooking this step often leads to a less than satisfactory finish. By following these specific guidelines, a high-pressure unit can be a practical tool for vehicle maintenance.
Choosing the Right Pressure Washer for Car Cleaning
For effective vehicle maintenance, selecting the right high-pressure cleaning equipment is vital. I’ve tested numerous models over the years, and here’s what I’ve found to be most important.

Pressure Rating: Aim for a model with a pressure rating between 1200 to 1900 PSI. This range strikes a balance between power and safety, ensuring that dirt and grime are removed without risking damage to the paintwork.
Water Flow Rate: Look for a unit with a flow rate of around 1.4 to 1.6 GPM. Higher flow rates mean quicker cleaning, which can save time during a thorough session.
Adjustable Nozzles: Invest in a machine that offers interchangeable nozzles. A 25-degree nozzle is ideal for general cleaning, while a foam cannon attachment can help apply soap effectively.
Portability: Consider the weight and design. A lighter, wheeled model makes manoeuvring easier, especially when moving around the vehicle.
Build Quality: Go for a machine with a sturdy frame and durable components. Units made from high-quality materials can withstand regular use and harsh conditions.
Electric vs. Gas: Electric models are usually quieter and easier to maintain, while gas-powered units offer more power. If you have access to electric outlets, an electric washer is a practical choice for home use.
In my experience, the right equipment transforms the task from a chore into a satisfying experience. Always prioritise quality over price, as a reliable unit will serve you well for years to come.
Essential Accessories for Pressure Washing a Vehicle
Investing in a few accessories can elevate the experience of cleaning a vehicle dramatically. A foam cannon, for instance, transforms standard detergent into a thick foam that clings to surfaces, loosening grime effectively. I remember my first time using one; the satisfaction of watching dirt slide away was unmatched.
Another must-have is a soft-bristle brush attachment. While high-pressure streams are powerful, they can sometimes miss stubborn spots. A brush allows for gentle scrubbing without risking scratches. I often use it on wheels and lower panels, where dirt tends to build up.
Don’t underestimate the power of a good nozzle. A rotating nozzle offers versatility, enabling you to switch between a wide spray for rinsing and a concentrated jet for tough areas. I’ve found that having a few different nozzles on hand caters to various cleaning tasks and surfaces.
For those hard-to-reach areas, a telescopic wand can be a game changer. It extends your reach, making it easier to clean the roof and other elevated sections without straining. I’ve used one on taller vehicles, and it made the task much more manageable.
Finally, a quality drying towel or chamois helps avoid water spots after rinsing. Microfibre towels are particularly effective, absorbing moisture quickly. I always keep a couple in my cleaning kit for a spotless finish.
Step-by-Step Guide to Pressure Washing Your Vehicle
Begin by rinsing the surface thoroughly to eliminate loose dirt and debris. This step prevents scratching the paint during the cleaning process. Use a wide-angle nozzle for a gentle spray, maintaining a distance of about two feet from the surface.
Next, prepare a suitable cleaning solution. Avoid household detergents; opt for a pH-balanced car wash soap. Mix it according to the manufacturer’s instructions in a bucket or use a soap dispenser attached to the sprayer.
Apply the soap solution starting from the top and working your way down. This method helps gravity do its job, allowing the dirt to flow downward. Use a foam cannon for an even application if available, as it creates a rich lather that clings to the surface.
Allow the soap to dwell for a few minutes, but don’t let it dry out. This period helps loosen stubborn grime. While waiting, check the nozzles and attachments to make sure they’re clean and properly fitted.
Once the soap has had time to work, rinse it off using the same wide-angle nozzle. Start from the top again, ensuring all soap suds are completely removed. Pay extra attention to areas like wheel arches and undercarriage, where dirt tends to accumulate.
Inspect the surface for any remaining stains or spots. If needed, repeat the soaping and rinsing process on those specific areas. In my experience, stubborn marks often require a second application to be fully eliminated.
After rinsing, dry the surface with a microfiber towel to prevent water spots. Always use a soft towel to avoid scratching. This step is particularly important in areas with hard water.
Finally, apply a protective wax or sealant if desired. This adds a layer of protection against environmental elements and helps maintain that freshly cleaned appearance. It’s a step I always recommend, as it extends the lifespan of the finish.
Common Mistakes to Avoid When Using a Pressure Washer
Using a high-powered cleaning device can lead to impressive results, but several pitfalls may hinder your efforts. One mistake I often see is aiming the nozzle too close to the surface. This can cause damage to paintwork or even strip away protective coatings. Maintain a safe distance–typically around 18 to 24 inches from the surface–ensuring the water pressure effectively cleans without harm.
Inadequate Preparation
Rushing into the task without a proper pre-clean can lead to unsatisfactory outcomes. I recommend thoroughly rinsing off loose dirt and debris before applying any cleaning agents. This simple step can significantly boost the effectiveness of your cleaning routine and save you time. Additionally, failing to secure windows and doors can result in water intrusion, leading to interior damage.
Choosing the Wrong Nozzle

Each nozzle has its specific purpose, and using the wrong one can diminish your cleaning experience. For instance, a narrow nozzle might seem tempting for stubborn grime, but it can also increase the risk of damage. Opt for a wider spray pattern for general cleaning tasks, and reserve the more concentrated nozzles for challenging spots. Investing in quality attachments, such as a pressure washer cement cleaner, can enhance your results as well.
Post-Wash Care: Drying and Waxing After Pressure Washing
After completing a thorough clean with a high-pressure device, immediate attention to drying prevents water spots and streaks. I recommend using a soft, absorbent microfiber towel. This fabric is gentle on the surface and effectively absorbs moisture without causing scratches. Work from the top down, ensuring each section is dried before moving on. It’s best to have a couple of towels on hand for larger vehicles to maintain efficiency.
Once the vehicle is dry, applying a quality wax is the next step. Waxing not only enhances the shine but also provides a protective layer against contaminants. I prefer natural waxes for their durability and ease of application. Use an applicator pad to spread a thin, even layer, allowing it to haze before buffing it off with a clean microfiber cloth. This simple process adds a layer of gloss and shields the paint from UV rays and dirt accumulation.
For those who are serious about maintaining their vehicle’s appearance, consider using a clay bar treatment before waxing. This process removes embedded contaminants that regular washing may miss. After claying, a quick rinse and dry will prepare the surface perfectly for wax application.
Finally, keep in mind that regular maintenance is key. A quick wash and wax every few weeks will go a long way in preserving that freshly cleaned look. For an added touch, using tools like the best cordless garden leaf vacuum can help remove debris and leaves from nooks and crannies, ensuring a pristine finish.
Comparing Pressure Washing with Traditional Car Washing Methods
In my years of working with various cleaning machines, I’ve seen firsthand how pressure cleaning stacks up against traditional techniques. Here’s a breakdown based on my experiences.
-
Efficiency: High-pressure equipment can significantly reduce the time taken to clean vehicles. A thorough rinse and removal of grime can often be achieved in minutes, compared to the longer process of hand washing.
Top Rated Heliwoo High Pressure Washer GunRobust design for heavy-duty cleaningWith a maximum pressure of 5000 PSI, this sturdy gun is designed for professional-grade cleaning tasks, featuring a 360-degree swivel for ease of use.
 -
Water Usage: Contrary to popular belief, using a high-pressure unit can consume less water than a bucket and sponge method. This is particularly evident in cases where the equipment is used judiciously, targeting areas that need it most.
-
Effectiveness: The force generated by these machines penetrates dirt and debris that traditional methods struggle with. For instance, hardened mud or road film doesn’t stand a chance against a focused spray.
-
Accessibility: Many individuals find it easier to manoeuvre a high-pressure setup around their vehicles compared to lugging buckets and brushes. The mobility of these machines allows for cleaning in tight spaces.
-
Surface Safety: While high-pressure jets are effective, care must be taken to avoid damaging paintwork or trim. Traditional sponges and cloths can be gentler on delicate surfaces, but they may not provide the same level of cleanliness.
Reflecting on my experience, I recall a customer who switched to pressure cleaning after years of using the bucket method. They were amazed at how much quicker and more effective the process became, especially after a particularly muddy off-road trip. However, they also learned to adjust the pressure and nozzle type to prevent any potential damage to their vehicle’s finish.
Both methods have their merits. The choice often depends on personal preference, the condition of the vehicle, and the specific cleaning needs at hand. Balancing efficiency with care is key.
.jpg)


