


Absolutely, using a high-powered cleaning device can be an excellent way to maintain that structure. In my years of experience with various models, I’ve found that this method significantly reduces the time and effort needed to remove dirt, algae, and other stubborn residues. However, caution is essential to avoid damaging delicate components.
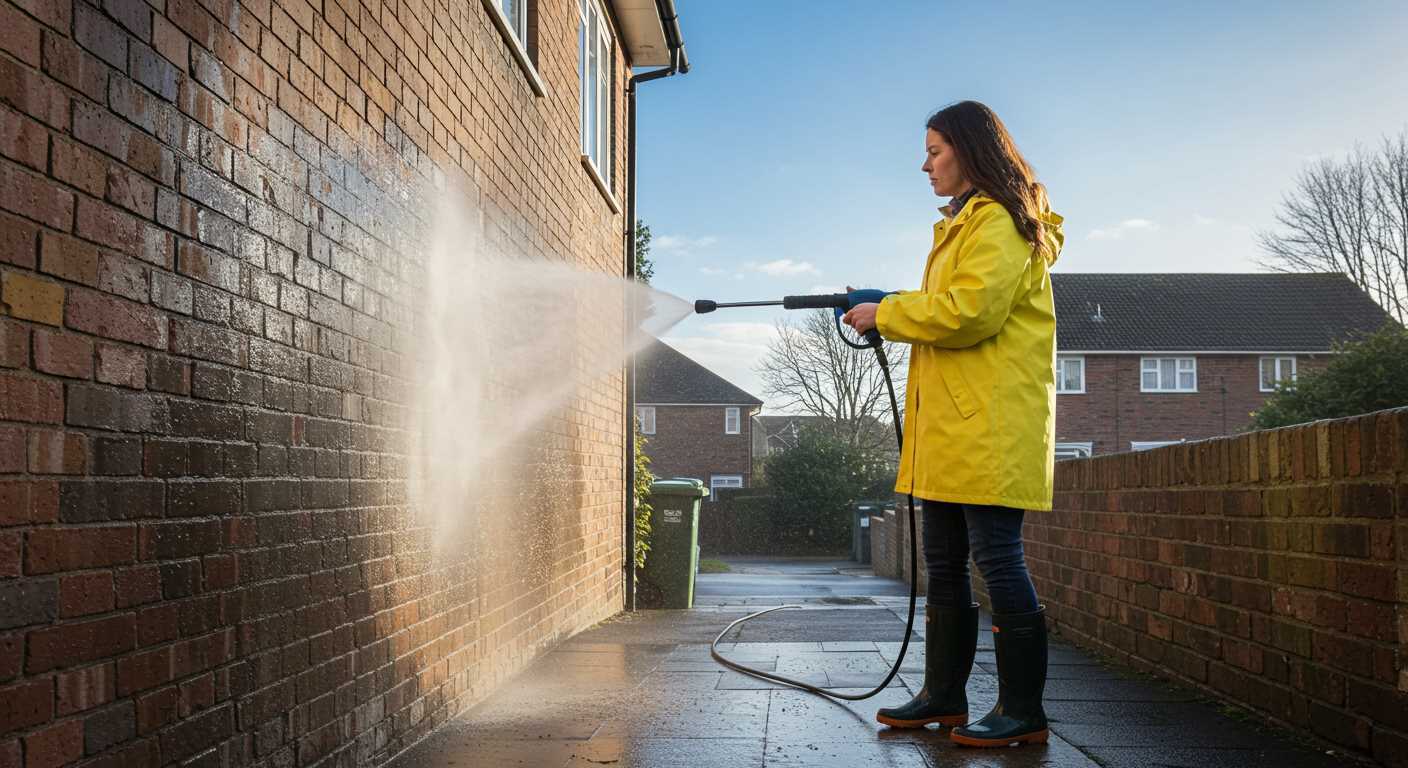
Start by setting the device to a low pressure setting. This helps prevent any unintended harm to glass or plastic panels. I recall a day when a client used maximum pressure, and it resulted in several cracked panes. The frustration of having to replace them was palpable. A gentle approach can still yield impressive results without the risk.

Ensure to keep the nozzle at a safe distance from the surfaces, typically around 12 to 18 inches. This distance allows for effective cleaning while protecting the integrity of the materials. When I first began using these machines, I learned the hard way that too close a distance can lead to unwanted scratches and marks.
Utilising a cleaning solution specifically designed for the job can enhance the effectiveness of the process. I often mixed a biodegradable cleaner with warm water, which worked wonders in breaking down stubborn grime. A thorough rinse afterward ensures no residue remains, leaving the structure sparkling clean and ready for the growing season.
Cleaning a Greenhouse Using a High-Pressure Device
Using a high-pressure device for cleaning can be beneficial, provided certain precautions are taken. My experience suggests that starting with a lower pressure setting is wise to prevent damage to fragile structures. Always keep the nozzle at a safe distance, ideally around 2-3 feet, to avoid any impact that could crack or shatter glass panels.
Before tackling the task, ensure that all plants and sensitive items are removed from the area. It’s also advisable to use a suitable outdoor cleaner for pressure washer designed for greenhouse materials. This will aid in breaking down grime without causing harm to the surfaces.
In my years of testing various models, I found that some high-pressure devices come equipped with adjustable settings that allow for a gentler spray, which is perfect for this type of task. After cleaning, consider investing in the best air compressor for cnc machines to help dry out any remaining moisture in hard-to-reach areas, ensuring that no water is left to promote mould or mildew.
Lastly, always check for any loose fittings or cracks before starting. Regular inspections can help maintain the integrity of the structure, making cleaning tasks easier and safer in the long run.
Choosing the Right Pressure Washer for Your Greenhouse
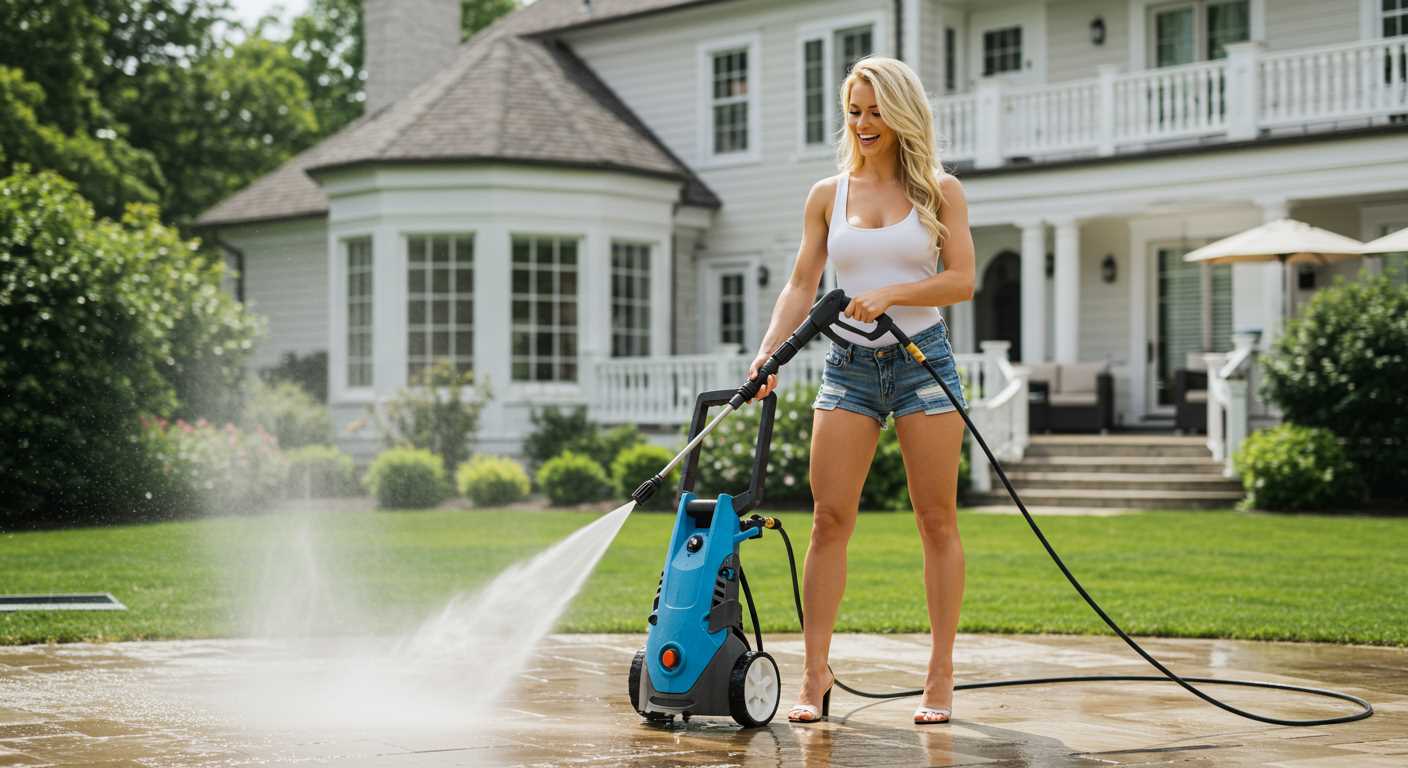
Opt for a model with adjustable pressure settings. During my years testing various makes, I found that flexibility in pressure allows for careful cleaning without risking damage to delicate surfaces. A lower PSI setting, around 1200-1500, is ideal for fragile structures, while a higher setting suits tougher stains.
Electric vs. Gas Models
Electric units are quieter and easier to handle, making them perfect for residential use. Gas-powered alternatives, while more powerful, tend to be heavier and less manoeuvrable. I’ve often recommended electric machines for greenhouses, especially for those who prioritise convenience and ease of use.
Accessories Matter
Invest in the right attachments. A rotating brush can make short work of grime, while a wide nozzle ensures even coverage. I once tackled a stubborn algae problem with a rotary nozzle, which provided the ideal balance of power and precision. A good detergent injector can also enhance results, especially for organic residues.
Check the hose length; a longer hose provides more reach without needing to reposition the unit constantly. From my experience, a 25-foot hose often suffices, but a 50-foot option can save time and effort in larger spaces.
Finally, consider portability. Lightweight models with wheels allow for easy movement around the area, which I’ve found invaluable during extensive cleaning sessions. Always prioritise your comfort and efficiency when selecting equipment.
Preparing Your Greenhouse for Pressure Washing
Before tackling the cleaning task, clear out all items, including pots, tools, and any furniture. This ensures no obstructions and prevents damage. After that, remove any stubborn debris, like cobwebs or dirt clumps, using a soft brush or cloth. This step allows the high-pressure equipment to work more effectively on surfaces.
Check for any cracks or loose seals in the structure. Addressing these issues beforehand prevents water from seeping into unwanted areas, which could lead to rotting or other damage. Use a silicone sealant for minor repairs; it’s straightforward and quick to apply.
It’s wise to cover any electrical outlets or sensitive areas to protect them from water exposure. Using waterproof tape or plastic sheeting can provide extra safeguarding. Ensure that all plants and soil are relocated outside the washing zone to avoid over-saturation and potential harm.
Gather the necessary equipment, including the high-pressure tool itself, appropriate nozzles, and a suitable detergent. Opt for biodegradable cleaners to protect the environment and your plants. Always read the labels to ensure compatibility with the materials of your structure.
Finally, ensure that the water source is adequate and that your hose is in good condition to avoid any interruptions during the cleaning process. Taking these steps will set the stage for a successful and thorough cleaning session.
Techniques for Safely Using a Pressure Washer on Glass
Utilising a high-pressure cleaning device on glass surfaces requires careful attention to prevent damage. Here are key techniques to ensure safety:
Adjust Pressure Settings
- Start with the lowest setting. Gradually increase as needed to avoid cracking or shattering.
- Use a pressure range of 1000 to 1500 PSI for standard glass. Higher pressures risk breakage.
Maintain Proper Distance
- Keep the nozzle at least 2 feet away from the surface. Closer distances can cause chips or cracks.
- Aim the spray at a 45-degree angle. This technique reduces direct impact and potential damage.
In my experience, positioning is crucial. I once had a client who aimed too closely and ended up replacing a panel due to splintering. Always remember to maintain that safe distance.
Use Appropriate Nozzle Types
- Opt for a fan nozzle rather than a direct stream. This distributes pressure more evenly across the surface.
- A 25-degree or 40-degree nozzle works best for glass, providing a gentle wash without excessive force.
Consider the Angle of the Glass
- If cleaning vertical surfaces, ensure the spray runs downwards to avoid water pooling, which can lead to streaks.
- For horizontal surfaces, angle the spray to prevent water from being forced underneath seals or frames.
In one project, I noticed how a slight tilt in spraying direction made all the difference in preventing water from seeping in through the edges of glass panes.
Use Soaps and Detergents Wisely
- Employ a mild soap specifically designed for glass surfaces. Harsh chemicals can lead to discolouration or etching.
- Rinse thoroughly after applying soap to remove any residue that could cause streaking.
One time, I underestimated the power of a good soap. It transformed a cloudy panel into crystal clarity, but I had to be diligent with the rinse to avoid film formation.
Regular Inspection
- After cleaning, inspect the glass for any signs of damage or weakness. Address issues immediately to prevent escalation.
- Check seals and frames to ensure no water has penetrated where it shouldn’t.
Being proactive saved me a lot of trouble in the past; a simple inspection revealed a small crack that could have worsened over time.
By adhering to these techniques, the risk of damage diminishes significantly, allowing for a thorough and safe cleaning experience for glass surfaces. Happy cleaning!
Cleaning Different Surfaces: Glass, Metal, and Plastic
For optimal results, approach each surface type with tailored methods. Here’s a breakdown based on my experience.
Glass Surfaces
Using high-pressure equipment on glass requires caution. Here are the steps to achieve a streak-free finish:
- Use a fan nozzle set to a low pressure to prevent breakage.
- Maintain a distance of at least 2 feet from the surface.
- Begin at the top and work downwards to avoid streaking.
- Follow up with a squeegee for a polished look.
Metal Surfaces
Metal frames and structures can withstand higher pressures but be mindful of paint finishes:

- Choose a medium pressure setting to avoid stripping paint.
- Utilise a rotating nozzle for stubborn grime.
- Rinse thoroughly to remove any soap residue, as it can lead to corrosion.
Plastic Surfaces
Plastic components often require a gentle touch to avoid damage:
- Opt for a low-pressure setting to prevent warping or cracking.
- Use a wide fan nozzle to disperse water evenly.
- Check for any weak spots before cleaning to avoid exacerbating damage.
Understanding the unique needs of each surface type can make a significant difference. Adapting your approach ensures longevity and maintains the aesthetic appeal of your structures.
Post-Washing Care: Inspecting for Damage
After the cleaning session, it’s crucial to thoroughly examine the structure for any signs of damage. Start with the glass panels. Look for cracks or chips that may have been overlooked before. Even minor imperfections can worsen over time, leading to leaks or breakage. If you spot anything suspicious, consider replacing the affected panels promptly.
Metal and Plastic Components
Next, turn your attention to metal and plastic parts. Check for rust on metal frames, particularly in joints or areas where water may have collected. Use a wire brush to remove any rust and treat the area with a rust-inhibiting primer. For plastic components, inspect for cracks or fading that may compromise their integrity. If any parts appear weakened, replace them to ensure longevity.
Seals and Gaskets
Don’t forget to inspect seals and gaskets around doors and vents. A good seal is vital for maintaining temperature and humidity levels. If they appear worn or damaged, replace them to prevent energy loss and keep pests out. Regular maintenance of these components can save time and money in the long run.

| Component | Inspection Tips | Action Needed |
|---|---|---|
| Glass Panels | Look for cracks or chips | Replace damaged panels |
| Metal Frames | Check for rust and corrosion | Remove rust and apply primer |
| Plastic Parts | Inspect for cracks or fading | Replace weakened components |
| Seals and Gaskets | Examine for wear and tear | Replace if damaged |
Regular inspections after cleaning not only extend the life of the building but also enhance its efficiency. Developing a checklist for post-cleaning inspections can streamline the process and ensure nothing is overlooked. Keeping everything in check helps maintain a healthy environment for your plants and maximises the effectiveness of your structure.
Alternative Cleaning Methods for Delicate Areas
For those intricate sections of your structure, traditional methods may be more suitable than high-pressure solutions. I often recommend using a soft cloth or sponge combined with a gentle cleaning solution for the glass sections. This approach ensures that no scratches or damage occur, which can be a risk when using high-powered equipment.
Natural Solutions
Consider a mixture of vinegar and water as an eco-friendly alternative. This combination not only cleans effectively but also acts as a natural disinfectant. Apply it with a spray bottle and wipe down surfaces with a soft cloth. This method avoids the risk of damaging sensitive materials while still achieving a sparkling finish.
Steam Cleaning
Steam cleaning is another excellent technique I’ve found to be effective, especially for areas prone to mould or mildew. The high temperature of the steam kills bacteria and cleans without harsh chemicals. Use a handheld steam cleaner for targeted areas that require extra attention. This method is both safe for glass and gentle on frame materials.
.jpg)


