
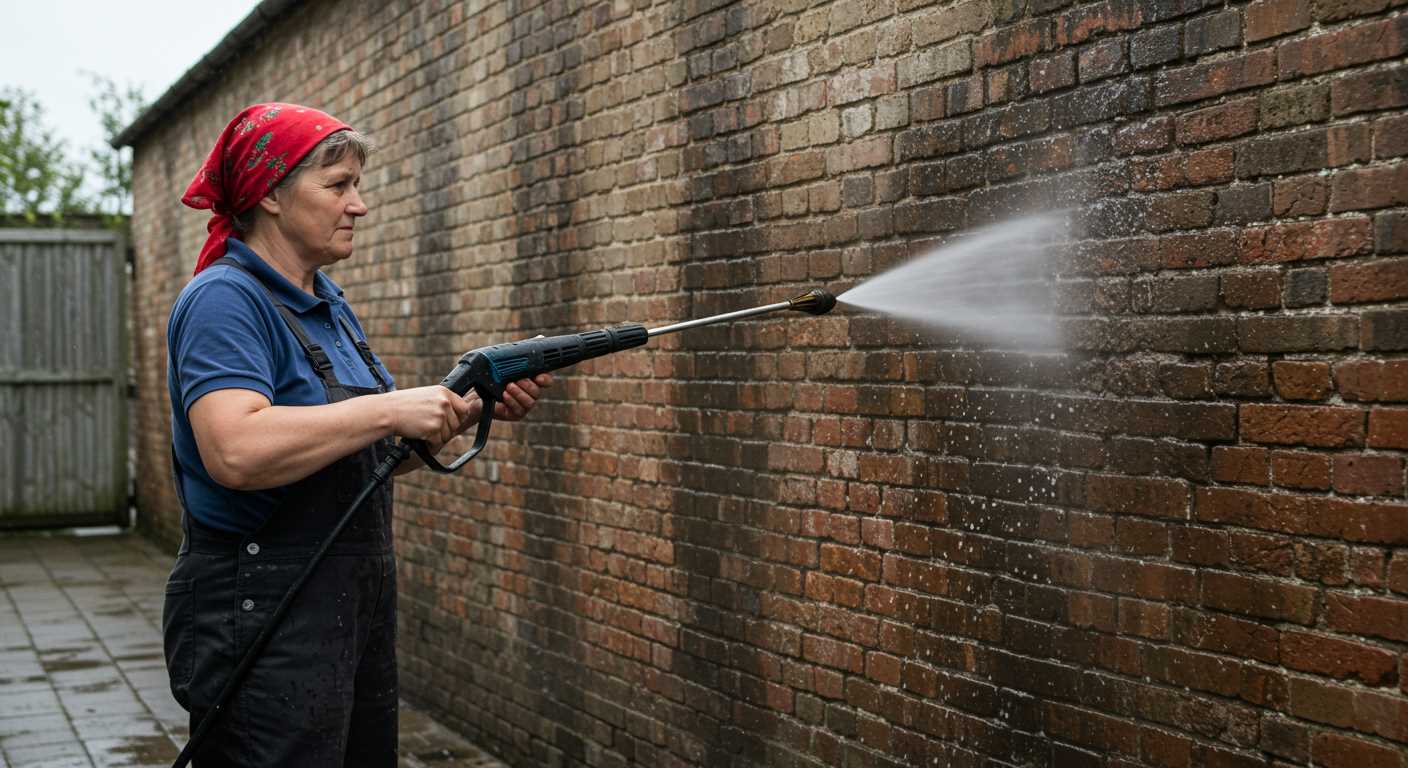


To achieve optimal results while cleaning outdoor surfaces, I recommend using a rotating nozzle attachment designed for gentle yet thorough washing. This particular tool allows you to maintain the integrity of the surface while efficiently removing dirt and grime.
In my years of testing various cleaning devices, I found that utilising a rotating nozzle significantly enhances the distribution of water flow. This method not only cleans effectively but also prevents damage to delicate surfaces such as stone or wooden decks. When I first experimented with this attachment, the difference was immediately apparent; stubborn stains that had lingered for months vanished in mere minutes.

Another tip is to adjust the distance between the nozzle and the surface being cleaned. Keeping it at a safe distance, around 30 centimetres, ensures that you avoid any unintended marks or damage while still achieving a thorough clean. During one of my practical tests, I noted how maintaining this distance allowed for a more even clean, resulting in a refreshed look without the risk of chipping or stripping any protective coatings.
Always remember to start with a dry surface; this helps in dislodging debris more effectively. I made the mistake of cleaning a damp area once, and it only smeared the dirt around. Waiting for the right moment made all the difference. Combining these techniques has always led to satisfactory results, making the cleaning process both simple and rewarding.
Using a Surface Cleaner with a Low-Pressure Unit
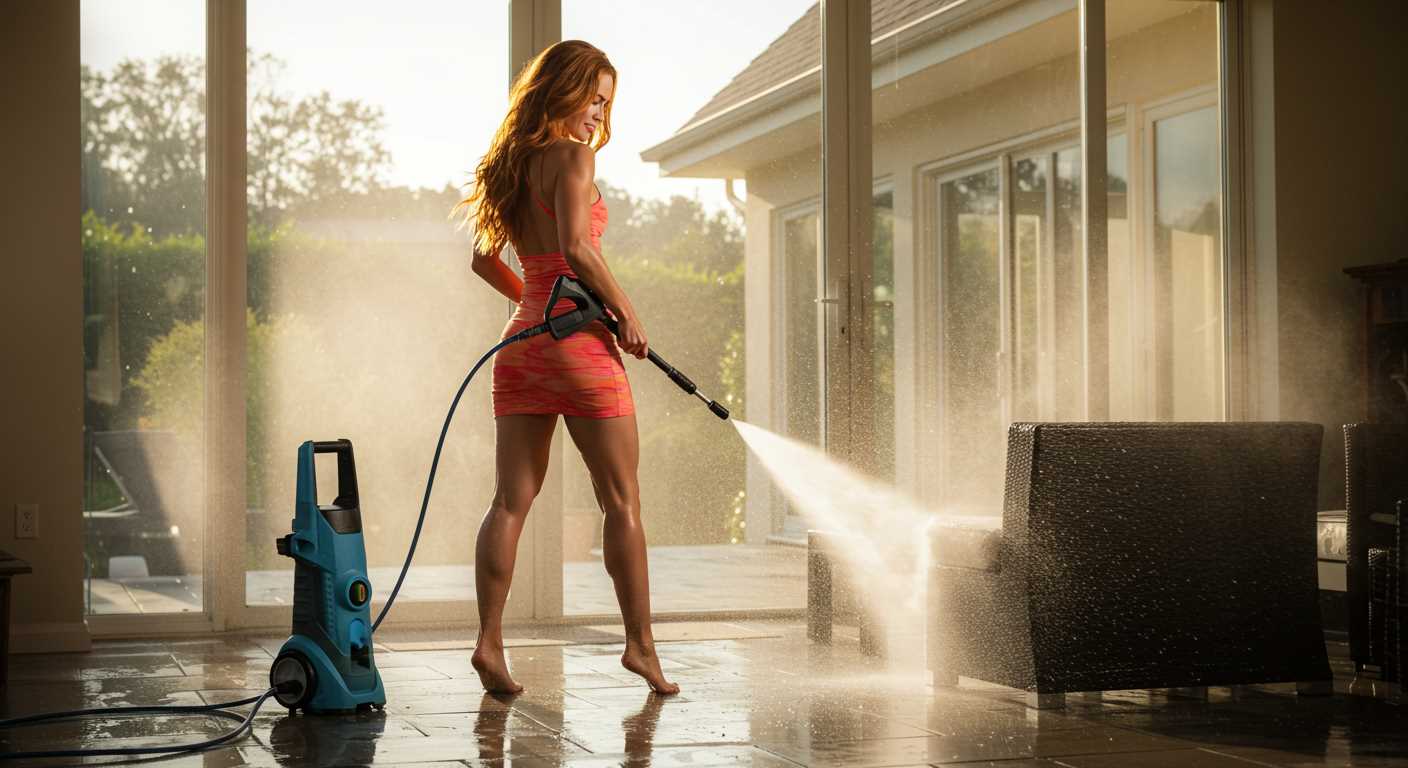
When tackling outdoor surfaces, a surface cleaner can be a game changer, even with a unit that operates at reduced power levels. In my experience, these tools provide an even clean, reducing the chances of streaks and ensuring thoroughness. You won’t miss out on results just because your machine isn’t the most powerful one on the market.
I’ve used various models over the years, and I can assure you that the right nozzle size and the correct technique can significantly enhance your cleaning experience. For instance, selecting a nozzle that matches your equipment’s capabilities is crucial. A wider spray pattern can help cover more ground efficiently, resulting in less time spent on the task.
While working on a friend’s garden patio, I opted for a surface cleaner attachment designed for lower-rated units. The results were impressive; dirt and grime lifted effortlessly, leaving the area looking refreshed. It’s important to maintain a steady pace as you move across the surface to ensure uniform cleaning. Rushing can lead to uneven areas that detract from the final outcome.
Another tip: watch the angle of the machine as you clean. Keeping it level with the ground maximises the effectiveness of the tool. I found that tilting the cleaner slightly can help dislodge stubborn debris, especially in corners or along edges where dirt tends to accumulate.
Finally, don’t underestimate the importance of pre-treating particularly dirty spots with a suitable cleaner. This can make a notable difference, even when using less powerful equipment. A little preparation goes a long way in achieving that pristine finish. Trust me, the satisfaction of seeing a surface restored is worth the effort.
Understanding Low Bar Pressure Washers for Patio Cleaning
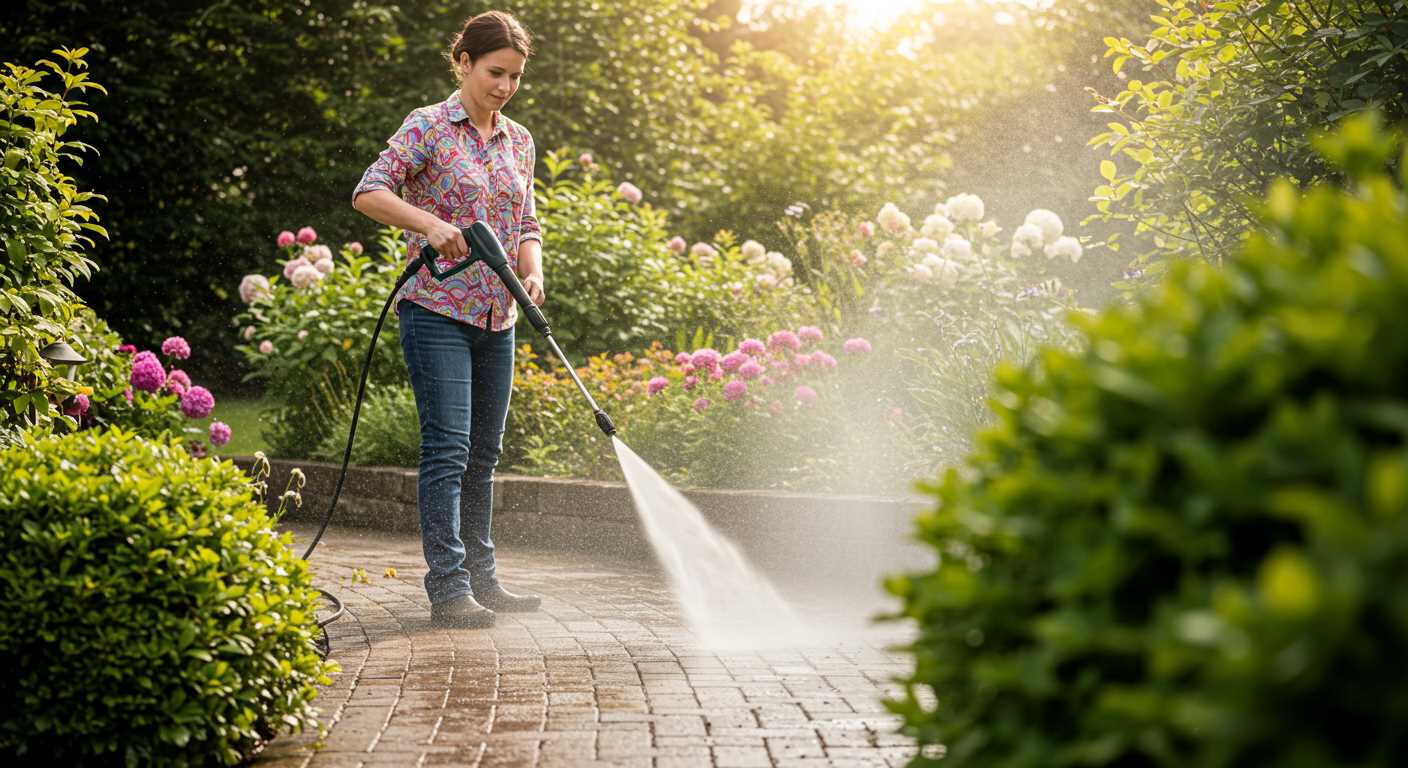
Choose a model that operates below 1500 psi for safer surface treatment. These units reduce the risk of damaging delicate materials. I recall a time when a friend used a high-pressure unit on his garden tiles, resulting in chipped edges and a costly repair. Opting for a gentler approach could have saved him both money and hassle.
When selecting your device, focus on those equipped with specific nozzles. A fan or wide-angle nozzle is ideal for large areas, while a rotating nozzle can handle stubborn grime without excessive force. I’ve often found that a rotating nozzle can cut through dirt and moss effectively, maintaining the integrity of the surface.
Key Features to Look For
Take note of the following characteristics while deciding on your cleaning equipment:
| Feature | Benefit |
|---|---|
| Adjustable Pressure Settings | Customise the intensity for different surfaces. |
| Lightweight Design | Easy manoeuvrability around your outdoor space. |
| Quick Connect Hoses | Speed up setup and storage processes. |
| Detergent Tank | Facilitates pre-treatment for stubborn stains. |
Maintenance Tips
After using your equipment, clean the nozzles and hoses to prevent blockages. I’ve learned the hard way that neglecting this step can lead to decreased performance over time. Regularly inspect hoses for wear and tear, ensuring safe operation during future uses. Store your device in a dry place to extend its lifespan.
Choosing the Right Patio Clear Attachment for Your Washer
For optimal results, select a device that matches your unit’s specifications. A model designed for lower power outputs can still deliver impressive results if paired with the right tool. My experience has shown that some attachments are tailored for specific surfaces and debris types, which can significantly enhance cleaning efficiency.
Compatibility and Performance
Before purchasing, confirm that the accessory fits your cleaning unit. I once made the mistake of assuming a universal model would work, only to find it lacked the necessary functionality. A well-matched piece will ensure a steady flow and maximise the tool’s potential. Look for options that are lightweight yet sturdy, as these often provide the best balance between ease of use and durability.
Material and Design
Consider the construction of the accessory. High-quality materials can withstand rigorous use and resist wear and tear. I’ve found that attachments with a rotating nozzle tend to be more effective at tackling stubborn grime. Additionally, choose a design that allows for easy manoeuvrability. If you can move seamlessly across surfaces without straining, you’ll save time and effort. For insights into different brands and models, check out this resource on Generac vs Troy Bilt pressure washers to help inform your decision.
Preparing Your Outdoor Area for Cleaning with a Low-Pressure System
Before engaging in a cleaning session, gather the necessary tools and supplies to ensure a smooth process. Here are the steps I follow to get ready:
1. Clear the Surface
- Remove all furniture, pots, and decorative items. This prevents damage and allows for a thorough clean.
- Check for loose debris, such as leaves or dirt, and sweep it away. A clear area makes it easier to see the grime that needs tackling.
2. Inspect for Damage
- Examine the surface for cracks or loose stones. Address any issues before cleaning to avoid further damage.
- Look for stains or spots that may require special treatment. Identifying these beforehand saves time later.
Having a clean workspace is crucial for effective results. I often find that taking these preparatory steps leads to a more efficient cleaning process and a better final outcome.
3. Gather Cleaning Solutions
- For stubborn stains, consider using a suitable cleaner designed for your surface type. Always follow the manufacturer’s instructions for application.
- Have a bucket and scrub brush handy to apply and work the cleaning solution into the surface before rinsing.
By carefully preparing your outdoor area, you set the stage for a successful cleaning experience, making the job quicker and more satisfying. Trust me; a little preparation goes a long way!
Step-by-Step Guide to Attaching the Patio Clear Tool
Begin by ensuring your cleaning device is switched off and unplugged for safety. Locate the connection point on your machine; it’s usually near the front where the nozzle attaches. Remove any existing nozzle by twisting it counterclockwise until it detaches completely.
Next, take your cleaning tool and align it with the connection point. Push it firmly into place, ensuring it fits snugly. You should hear a click or feel a slight resistance indicating that it’s securely attached. If your device has a locking mechanism, be sure to engage it to prevent accidental disconnection during use.
Once attached, check all connections for any signs of wear or damage. This ensures optimal performance and safety. After confirming everything is in good condition, plug in your device and turn it on. Adjust the settings according to the manufacturer’s guidelines for the best results.
Before beginning your cleaning task, conduct a brief test on a small, inconspicuous area to verify that the tool operates as expected. This step can help avoid any potential mishaps and allows for adjustments in pressure or angle as needed.
Finally, maintain a steady pace while cleaning. Keep the tool moving to prevent streaking and ensure an even clean across the surface. Regularly check the cleanliness of the area to gauge your progress and make necessary adjustments to your technique.
Adjusting Pressure Settings for Optimal Cleaning Results
To achieve the best results while cleaning surfaces, it’s necessary to fine-tune the settings of your equipment. Start by selecting a gentle setting, ideally around 1000-1500 PSI, which is effective for most surfaces without causing damage.
- Test on a Small Area: Before tackling the entire surface, try the adjusted setting on a less visible section. This helps to gauge the effectiveness and safety of the pressure level.
- Observe the Dirt Removal: If grime and stains lift easily, maintain that pressure. If not, incrementally increase the pressure until you find the sweet spot.
- Consider Surface Type: Different materials respond uniquely. For instance, concrete can withstand higher pressures than wood or composite materials, which require more caution.
In my experience, I often find that surfaces like tiles or stone can handle a bit more force, while wooden decks need a softer touch to avoid splintering. Adjust your approach based on the material to prevent damage.
- Monitor the Nozzle Choice: Switching nozzles can significantly impact the force. A wider spray angle reduces pressure, while a narrow angle concentrates force. Choose wisely based on your cleaning needs.
- Keep Distance in Mind: The distance between the nozzle and the surface affects cleaning. Maintaining a distance of around 30-40 cm usually provides effective cleaning without risking damage.
- Regular Maintenance: Clean your equipment regularly to ensure optimal performance. Clogged nozzles can lead to inconsistent pressure, affecting cleaning results.
Through trial and error, I’ve learned that adjusting the pressure settings can transform a tedious task into a straightforward one. Always prioritise safety and the integrity of the surface you are cleaning, and don’t hesitate to adapt your technique as needed. Happy cleaning!
Common Mistakes to Avoid When Using the Patio Cleaning Tool
Avoid using the wrong angle when positioning the cleaning device. A common error is maintaining a perpendicular stance rather than tilting it slightly. This adjustment ensures optimal dirt removal without damaging surfaces.
Inadequate Surface Preparation
Failing to clear the area of furniture, debris, and loose dirt can lead to disappointing results. Before you start, give the space a thorough sweep. It saves time and enhances the cleaning process.
Ignoring Manufacturer Guidelines
Each cleaning tool comes with specific instructions. Disregarding these can lead to misuse and potentially damage both the equipment and the surface. Always refer to the manual for recommended settings and techniques.
| Mistake | Consequence | Solution |
|---|---|---|
| Incorrect Angle | Surface damage | Adjust angle slightly |
| Not Clearing Area | Poor cleaning results | Thoroughly sweep before use |
| Ignoring Guidelines | Equipment damage | Follow manufacturer instructions |
Additionally, check your water supply. Insufficient flow can impact performance. Ensure your hose is free from kinks and obstructions. For those seeking additional cleaning options, consider exploring the best car wash high pressure spray gun for versatile applications.
Maintenance Tips for Your Patio Clear Attachment
Regular care of your cleaning tool extends its life and ensures optimal performance. After each use, rinse the device thoroughly to remove any debris or detergent residue. This simple act prevents clogging and keeps the nozzle functioning correctly.
Inspecting and Cleaning Components
Every few months, check the brushes for wear and replace them if they appear damaged. I recall a time when I neglected this step, and it resulted in uneven cleaning, requiring additional effort to get the surfaces spotless. Additionally, ensure all connections are tight and free from leaks, as this can cause a drop in cleaning efficiency.
Storage Recommendations
Store your equipment in a dry, sheltered location to protect it from the elements. Extreme temperatures can affect the integrity of the materials. I’ve seen hoses crack after a cold winter, leading to frustrating leaks. Wrapping the hose properly and keeping it off the ground can prevent damage. Always refer to the manufacturer’s guidelines for any specific storage advice.
Comparing Results: Low Bar Pressure vs. High Bar Pressure Cleaning
Using a gentle stream versus a robust jet can lead to vastly different outcomes. In my experience, the choice between these two approaches often hinges on the specific task at hand. When I first tried a gentle unit, I was pleasantly surprised by how effective it could be on delicate surfaces. The results were impressive, yet I found that it required more time and a few passes to achieve the same level of cleanliness that a more vigorous system provided in one go.
Efficiency in Cleaning
For instance, I once tackled a particularly grimy surface that had been neglected for years. Initially, I opted for the gentler method, anticipating a careful approach. While it worked, the effort was significant, and the dirt clung stubbornly to the surface. Switching to a more intense model transformed the task entirely. The debris lifted effortlessly, and I completed the job in nearly half the time. This taught me that while gentler techniques are suitable for certain situations, they may not always be the most practical choice for extensive cleaning jobs.
Surface Considerations
Another key factor is the type of material you’re working with. I recall cleaning a decorative stone surface that was sensitive to harsh treatment. A softer approach proved beneficial in preserving its integrity while still delivering satisfactory results. However, I’ve also worked on concrete areas where a firmer stream was necessary to remove ingrained stains. Understanding the unique characteristics of each surface is critical in determining which method to deploy.
In summary, both approaches have their strengths. A gentle method can be perfect for fragile surfaces requiring care, while a more powerful option excels on tough grime. Tailoring your cleaning strategy to the specific requirements of the task can yield superior results.
.jpg)


