


Yes, many models come with the capability to modify their output. This feature is particularly useful for various cleaning tasks, allowing you to adapt the intensity based on the surface you are working on. For instance, when tackling delicate surfaces like car paint or wooden decks, a gentler setting can prevent damage, while a more robust setting is ideal for concrete or heavily soiled areas.
In my years of working with cleaning equipment, I’ve encountered a range of devices that provide this flexibility. One memorable experience was with a popular brand that featured a simple dial system. When I tested it on a patio, I was able to adjust the output seamlessly, switching between settings as needed. This not only saved time but also ensured the job was done effectively without risking harm to the surfaces.
Another aspect to consider is the nozzle types. Many units come with interchangeable nozzles that can further refine the output. A narrow nozzle concentrates the force for stubborn stains, while a wider one disperses the flow, reducing the risk of surface damage. Understanding these options can significantly enhance your cleaning efficiency and outcomes.
So, if you’re contemplating a purchase, focus on models that offer this versatility. It can make all the difference in achieving the best results for your specific cleaning needs.
Do Pressure Washers Offer Variable Output?
Yes, many models allow you to modify the intensity of the water stream. This feature is particularly useful when tackling various surfaces or cleaning tasks. For instance, I remember using a unit with a dial that provided options ranging from light misting for delicate surfaces to a robust jet for stubborn stains. Adjusting the output made it easy to switch between cleaning a car and tackling the grime on a driveway without changing equipment.
Types of Adjustment Mechanisms
Some units employ a nozzle system where different attachments create varying degrees of force. I often recommend trying different nozzles to find what works best for your needs. On one occasion, I used a fan nozzle for a wider surface area, which significantly reduced my cleaning time on a large patio. Other models feature built-in controls that let you modify the output right on the handle, offering precision and convenience during use.
Benefits of Variable Output
Using a model with adjustable settings not only protects fragile items but also enhances efficiency. I recall a project where I had to clean an antique wooden fence. Lowering the force preserved the wood’s integrity while still removing dirt. This versatility extends the lifespan of both the equipment and the surfaces you clean, making it a smart investment in the long run.
Understanding Pressure Washer Pressure Settings
To optimise your cleaning tasks, it’s essential to grasp how the settings of these machines operate. Many models come equipped with features that allow you to modify the intensity of the stream. This flexibility is crucial for various applications, from gentle cleaning of delicate surfaces to tackling stubborn grime.
Types of Pressure Adjustments
- Variable Nozzles: Many units include nozzles that can modify the spray angle. A wider angle is suitable for rinsing surfaces, while a narrow angle concentrates force for tougher jobs.
- Pressure Regulators: Some machines come with built-in regulators that let you fine-tune the intensity directly on the unit. This is particularly useful when switching between tasks.
- Flow Rate Adjustments: Altering the flow rate can also affect how forceful the output is, adding another layer of control over your cleaning efforts.
Practical Tips for Setting Pressure
- Always start with the lowest setting to assess the surface you’re cleaning. Gradually increase if necessary.
- For painted surfaces, use a wider spray to prevent damage.
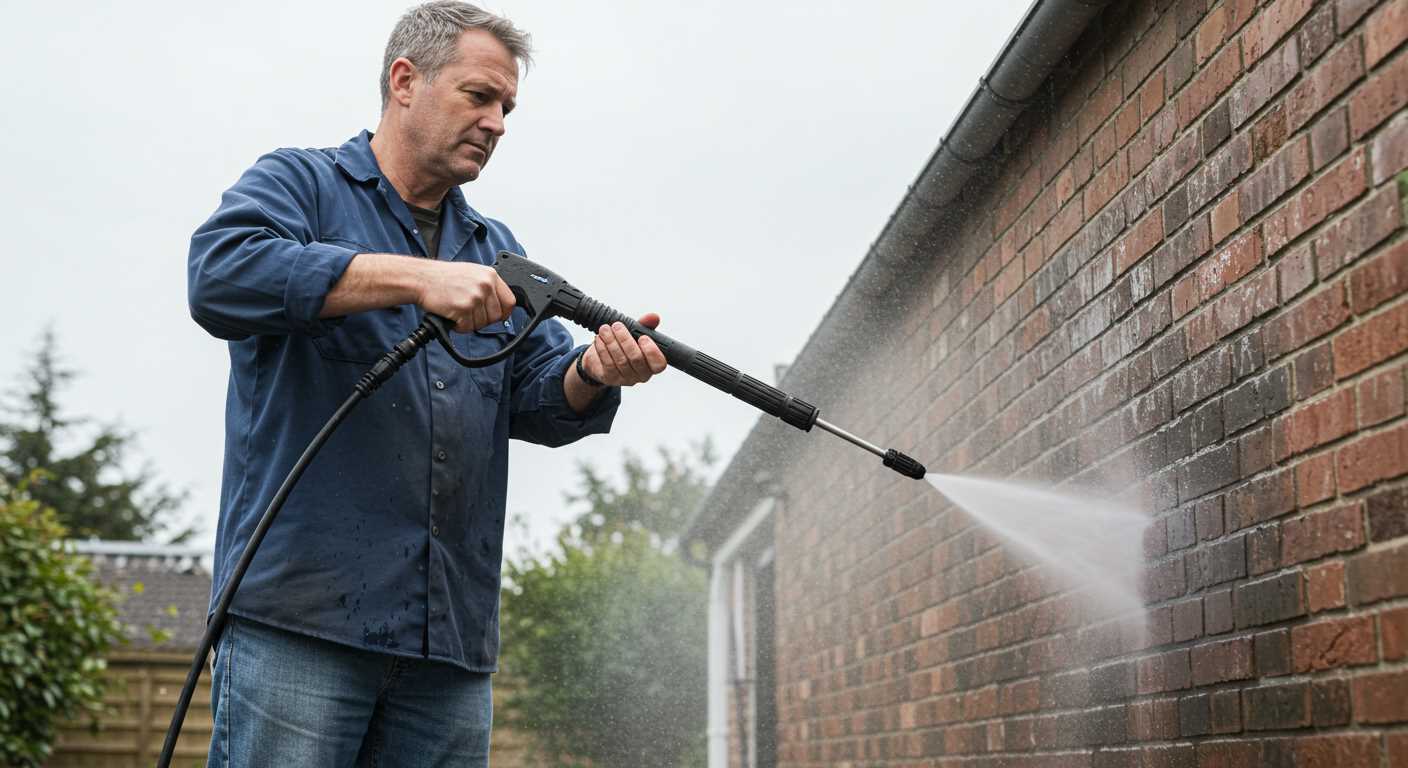
- When dealing with concrete or brick, a more concentrated stream can be effective for removing ingrained dirt.
- Test on a small, inconspicuous area first to ensure no damage occurs.
Having spent years in this field, I can attest that adjusting settings can significantly affect the outcome. The right configuration not only enhances cleaning efficiency but also protects the surfaces you’re working on. Don’t overlook the value of understanding these controls; they can save you time, effort, and potential repairs in the long run.
How to Adjust the Pressure on a Pressure Washer
Begin by checking if your device features a dedicated dial or lever for modifying the intensity. Most modern designs come equipped with this function, allowing for easy changes depending on the task at hand. If it’s present, simply turn the dial to the desired setting.
If your model lacks a dial, consider swapping the nozzle. Different attachments provide varying levels of force. For delicate surfaces, opt for a wider spray pattern, while a narrow nozzle is ideal for tougher grime. I remember using a narrow nozzle on a stubborn oil stain – it worked wonders without damaging the surface.
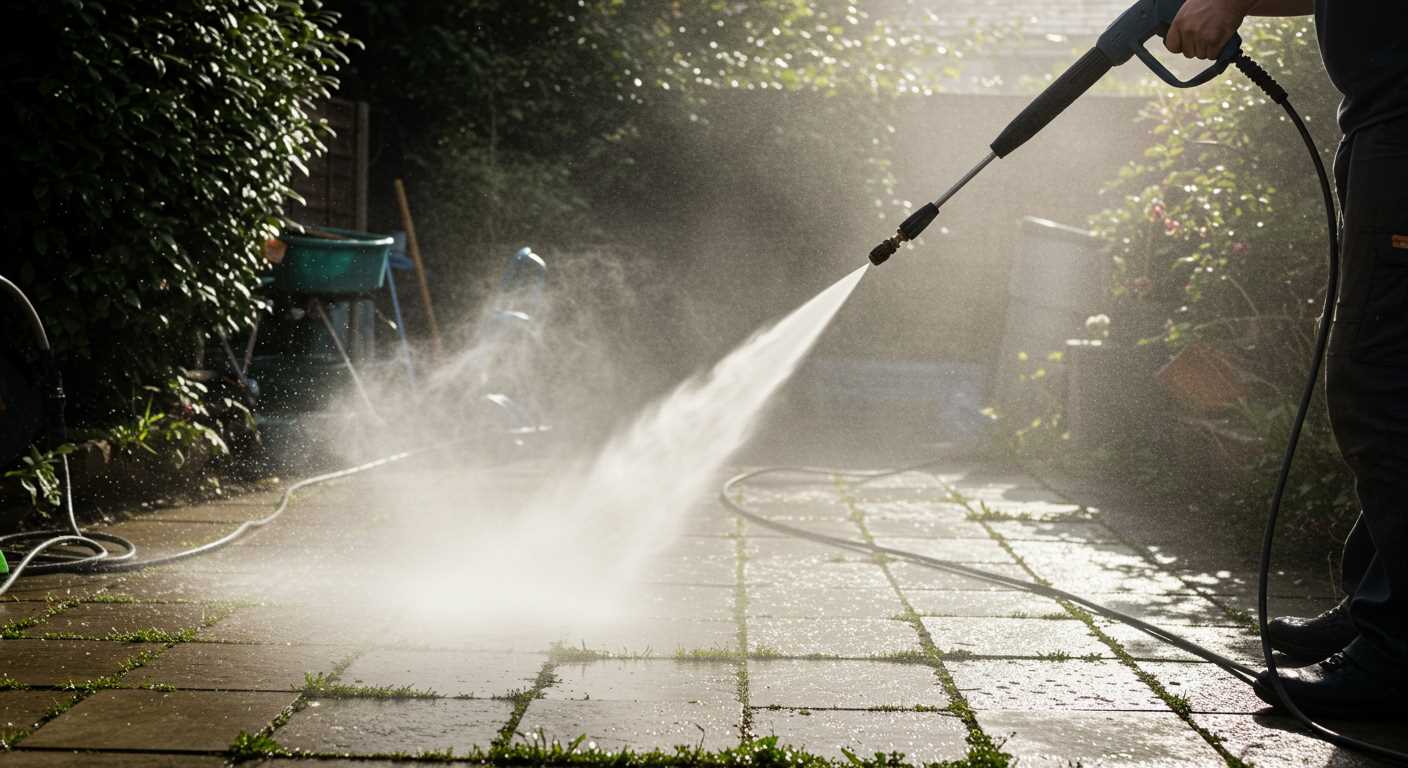
Another technique involves adjusting the flow rate. If your unit permits, reducing the water flow can effectively increase the impact of the water stream. I once experimented with this on a driveway covered in moss; by lowering the flow, I achieved a much more efficient clean.
Always consult the manufacturer’s manual before making alterations. Each machine operates differently, and understanding the specific requirements of your model is crucial. During my years as a consultant, I encountered numerous customers who overlooked this step, leading to frustration and ineffective cleaning.
Finally, practice makes perfect. Experiment with settings on various surfaces to find what works best. I recall a weekend spent testing different configurations on my patio; it turned into a learning experience that taught me the nuances of my equipment.
Benefits of Using Adjustable Pressure Settings
Utilising a system that allows for different intensity levels can greatly enhance your cleaning experience. Here are some advantages based on my extensive experience:
- Versatility: The ability to modify force means you can tackle a variety of surfaces. For delicate tasks, like cleaning vinyl siding, a gentler setting is ideal. For tougher grime on concrete, ramping up the intensity works wonders. You can even explore pressure washer detergent for vinyl siding to complement your efforts.
- Safety: Adjusting the force reduces the risk of damage. For instance, using a high setting on wood could lead to splintering. Keeping settings lower for sensitive materials safeguards against mishaps.
- Efficiency: Tailoring the force to the task at hand often leads to quicker results. For example, I once had a stubborn stain on a patio that required a higher setting to remove quickly, while a lower setting sufficed for a simple wash of a car.
- Conservation: Lower settings can help conserve water and energy, making your cleaning efforts more environmentally friendly. You don’t need to blast away at full force for every job.
- Skill Development: Learning to adjust settings fosters a deeper understanding of cleaning techniques. It encourages experimentation, which can lead to discovering new methods and products that enhance overall cleaning.
In my experience, taking the time to learn how to modify the intensity not only improves results but also makes the entire process more enjoyable. I even applied this knowledge when learning how to can corn with a pressure cooker, appreciating the benefits of adjusting pressure settings for optimal results!
Common Applications for Different Pressure Levels
For light tasks like cleaning patio furniture or vehicles, a lower intensity setting around 1,200 to 1,500 PSI suffices. I remember using this level to clean my car; it effectively removed grime without damaging the paintwork. Always start with a gentle approach, increasing force only if necessary.
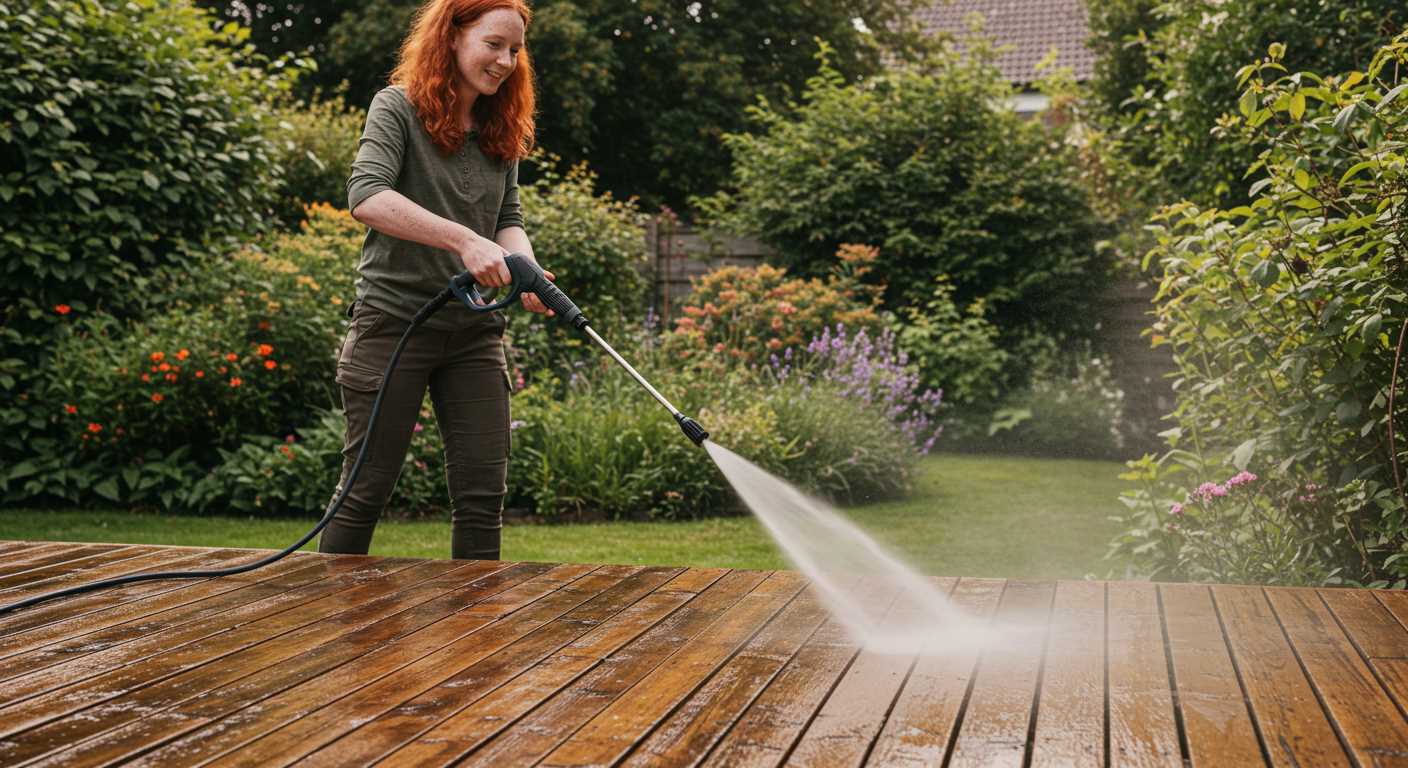
Medium intensity, typically between 1,500 and 2,500 PSI, is ideal for driveways and decks. I once tackled an old wooden deck that had seen better days. Using this level allowed me to strip away years of mildew and dirt without harming the wood. It’s crucial to keep a safe distance to avoid splintering the surface.
For tough jobs like cleaning concrete or brick surfaces, a high intensity of 2,500 to 3,500 PSI is required. I recall a project where I had to remove oil stains from a garage floor. This level was perfect; it blasted away the stains, revealing a clean surface underneath. However, caution is vital to prevent etching or damaging softer materials.
In industrial settings, where equipment and vehicles accumulate heavy deposits, extremely high settings exceeding 3,500 PSI may be necessary. I’ve seen heavy machinery restored to like-new condition using these settings, though it requires expertise to avoid damaging sensitive components.
Each application demands careful consideration of the intensity used. Knowing the right level to apply can save time, effort, and prevent damage. Always assess the surface and choose wisely for the best results.
Identifying Models with Adjustable Pressure Features
When searching for a cleaning device that allows for variable force, focus on specific brands and models known for their versatility. In my experience, several units stand out due to their design and functionality.
For instance, units from manufacturers like Kärcher and Ryobi include models equipped with settings that can easily be modified. Kärcher’s K5 series offers a simple dial on the unit to switch between intensities, making it suitable for both delicate surfaces and tough grime. Ryobi’s electric line also features a user-friendly nozzle that adjusts the output without the need for additional attachments.
Another noteworthy option is the Simpson MegaShot series, which allows users to change the intensity by swapping nozzles. This provides flexibility while maintaining the ability to tackle various tasks.
It’s worthwhile to consider whether the device operates with a variable flow rate, which many gas-powered options provide. These models often include a throttle control that directly influences the output, enhancing user control during operation.
Here’s a quick comparison of some popular models:
| Model | Type | Adjustability | Key Features |
|---|---|---|---|
| Kärcher K5 | Electric | Dial settings | Lightweight, compact, versatile nozzles |
| Ryobi RY142300 | Electric | Nozzle adjustment | Quiet operation, portable |
| Simpson MegaShot | Gas | Swappable nozzles | Powerful engine, durable frame |
| Sun Joe SPX3000 | Electric | Variable flow rate | Dual detergent tanks, lightweight |
Always check the specifications before purchasing. Read user reviews to understand how well these models perform in real-world situations. I’ve seen customers appreciate those with clear instructions for adjusting settings, making the transition between tasks seamless.
In conclusion, selecting the right model involves understanding how it can adapt to various cleaning needs. With the right choice, you’ll find your cleaning experience much more manageable and efficient.
Maintenance Tips for Pressure Adjustment Mechanisms
Regular upkeep is key to ensuring that the settings on your cleaning device function smoothly. I always recommend checking the adjustment knobs or levers for any debris or buildup. This can hinder their performance, so a quick wipe with a damp cloth can save you from frustration later. Make it a habit to inspect these parts before each use; it only takes a minute and can prevent issues down the line.
Lubrication and Moving Parts
Lubricating the moving components of the adjustment mechanism is crucial. I use a silicon-based lubricant for this purpose, applying it sparingly to avoid attracting dirt. A well-lubricated system not only operates more smoothly but also prolongs the life of the internal parts. Just remember to wipe off any excess to keep everything clean.
Regular Testing and Calibration
Every few months, I recommend testing the functionality of the adjustment feature. Simply set it to different levels and observe the output. If you notice inconsistencies, it might be time to recalibrate or consult the manufacturer’s guide. Keeping an eye on performance ensures you’re always getting the best results, no matter the task at hand.
Safety Considerations When Adjusting Pressure
Before changing the output force, ensure you’re wearing appropriate protective gear. At a minimum, that means safety goggles and gloves. I remember a day when I was adjusting settings on a unit without proper eye protection; a tiny stone flew out and hit me right in the face. It wasn’t a pleasant experience, and it taught me to always prioritise safety first.
Ensure the equipment is turned off and disconnected from its power source before making any modifications. I’ve seen too many people attempt adjustments while the machine is still running, leading to accidents. One time, a friend of mine nearly lost control of the unit because he didn’t follow this simple rule. Always treat the machine with respect.
When altering the intensity, do so gradually. Start at a lower level and increase incrementally. This approach allows you to gauge how the surface responds and ensures you don’t damage it. I learned this the hard way on a wooden deck; I cranked up the force too high right away and ended up with deep gouges. A slow approach helps avoid unpleasant surprises.
Be aware of your surroundings. Make sure bystanders are at a safe distance, especially children and pets. I once had my niece running around nearby while I was adjusting a unit. Thankfully, I noticed her just in time and halted the operation. It’s better to be cautious than to risk an accident.
Always refer to the manufacturer’s guidelines for your specific model. I’ve seen many users skip this step and end up causing damage or voiding warranties. Each model has unique specifications and limits; understanding these can save you time and expenses down the line.
Finally, after making adjustments, test on an inconspicuous area before proceeding with your main task. This practice can save you from potential mishaps. I always try this with any new setup; it gives me peace of mind that I’m not going to ruin the surface I’m working on.
.jpg)


